
Things You Should Consider Buying as Beginner Photographer
And, some things you might want to consider avoiding so that you can save some money!

This blog contains Amazon affiliate links and I may receive a small kickback if you decide to make a purchase using one of them.
So, you’ve got your camera and you’ve got your lens, you’ve spent some time getting to know it (having read the manual!) and now you’re looking for some accessories and equipment to take your photography to the next level.
Where should you be spending your money? What’s worth it? What is less effective?
In this blog I take a look at these questions from the point of view of someone who has made some mistakes when buying things to put into my bag, hopefully gaining some insight which means that you might not make the same mistakes!

Tripod
I am going to start with something that is one of the least exciting things to buy, but one of the things you will use the most. If you’re shooting in any kind of low-light and/or you’re using slow shutter speeds, then you are going to need a tripod, unless you’re using a camera which has crazy in body image stabilisation (IBIS).
When you’re looking for a tripod, look for something sturdy - it’s going to be be holding your precious camera! You also want something that is within your price range, so there’s definitely some compromises that may need to be considered.
The tripod I am using is from K&F concept, and cost around £50. I’ve had a couple of these and have been really happy with them. They come with with a solid ball head and I pair this with an L-bracket which means I can quickly from landscape to portrait orientation. L-brackets come in a variety of prices, but essentially more expensive means lighter and you can keep the weight of your bag down.
Camera Bag
This is a must if you’re taking your camera out with you. You want to keep it safe ans protected.
You won’t only buy one camera bag. I have 3 and will probably acquire another one by the end of the year. A good starting point is something like the LowePro Tahoe 150. This was my first camera bag around 6 years ago and it’s still going strong. It has enough space for a decent sized body a couple of lenses, as well as pouches for things like filters, shutter release cable, camera multi-tool, spare batteries etc.
I also own a LowePro Pro Tactic 450 AW II. This is a much bigger bag and will take everything I have mentioned above, my drone, a laptop up to the size of 16”, a 70-200 F/4 lens, filter pouch, lens cloths…you name it (within reason), this bag will fit it. It’s designed for walking longer distances and has hip straps to help distribute the weight better throughout the bag. Its a big bag for carrying a lot of kit so you can end up making it very heavy. It also has a lot of webbing on the back which you can attach things like tripods and water bottles to.
Another bag I love using is my LowePro (Can you see the pattern here!?) FastPak. This is a great day bag and has a couple of compartments for camera gear and then anything else you need to take with you for the day. There’s a full review of this bag here.
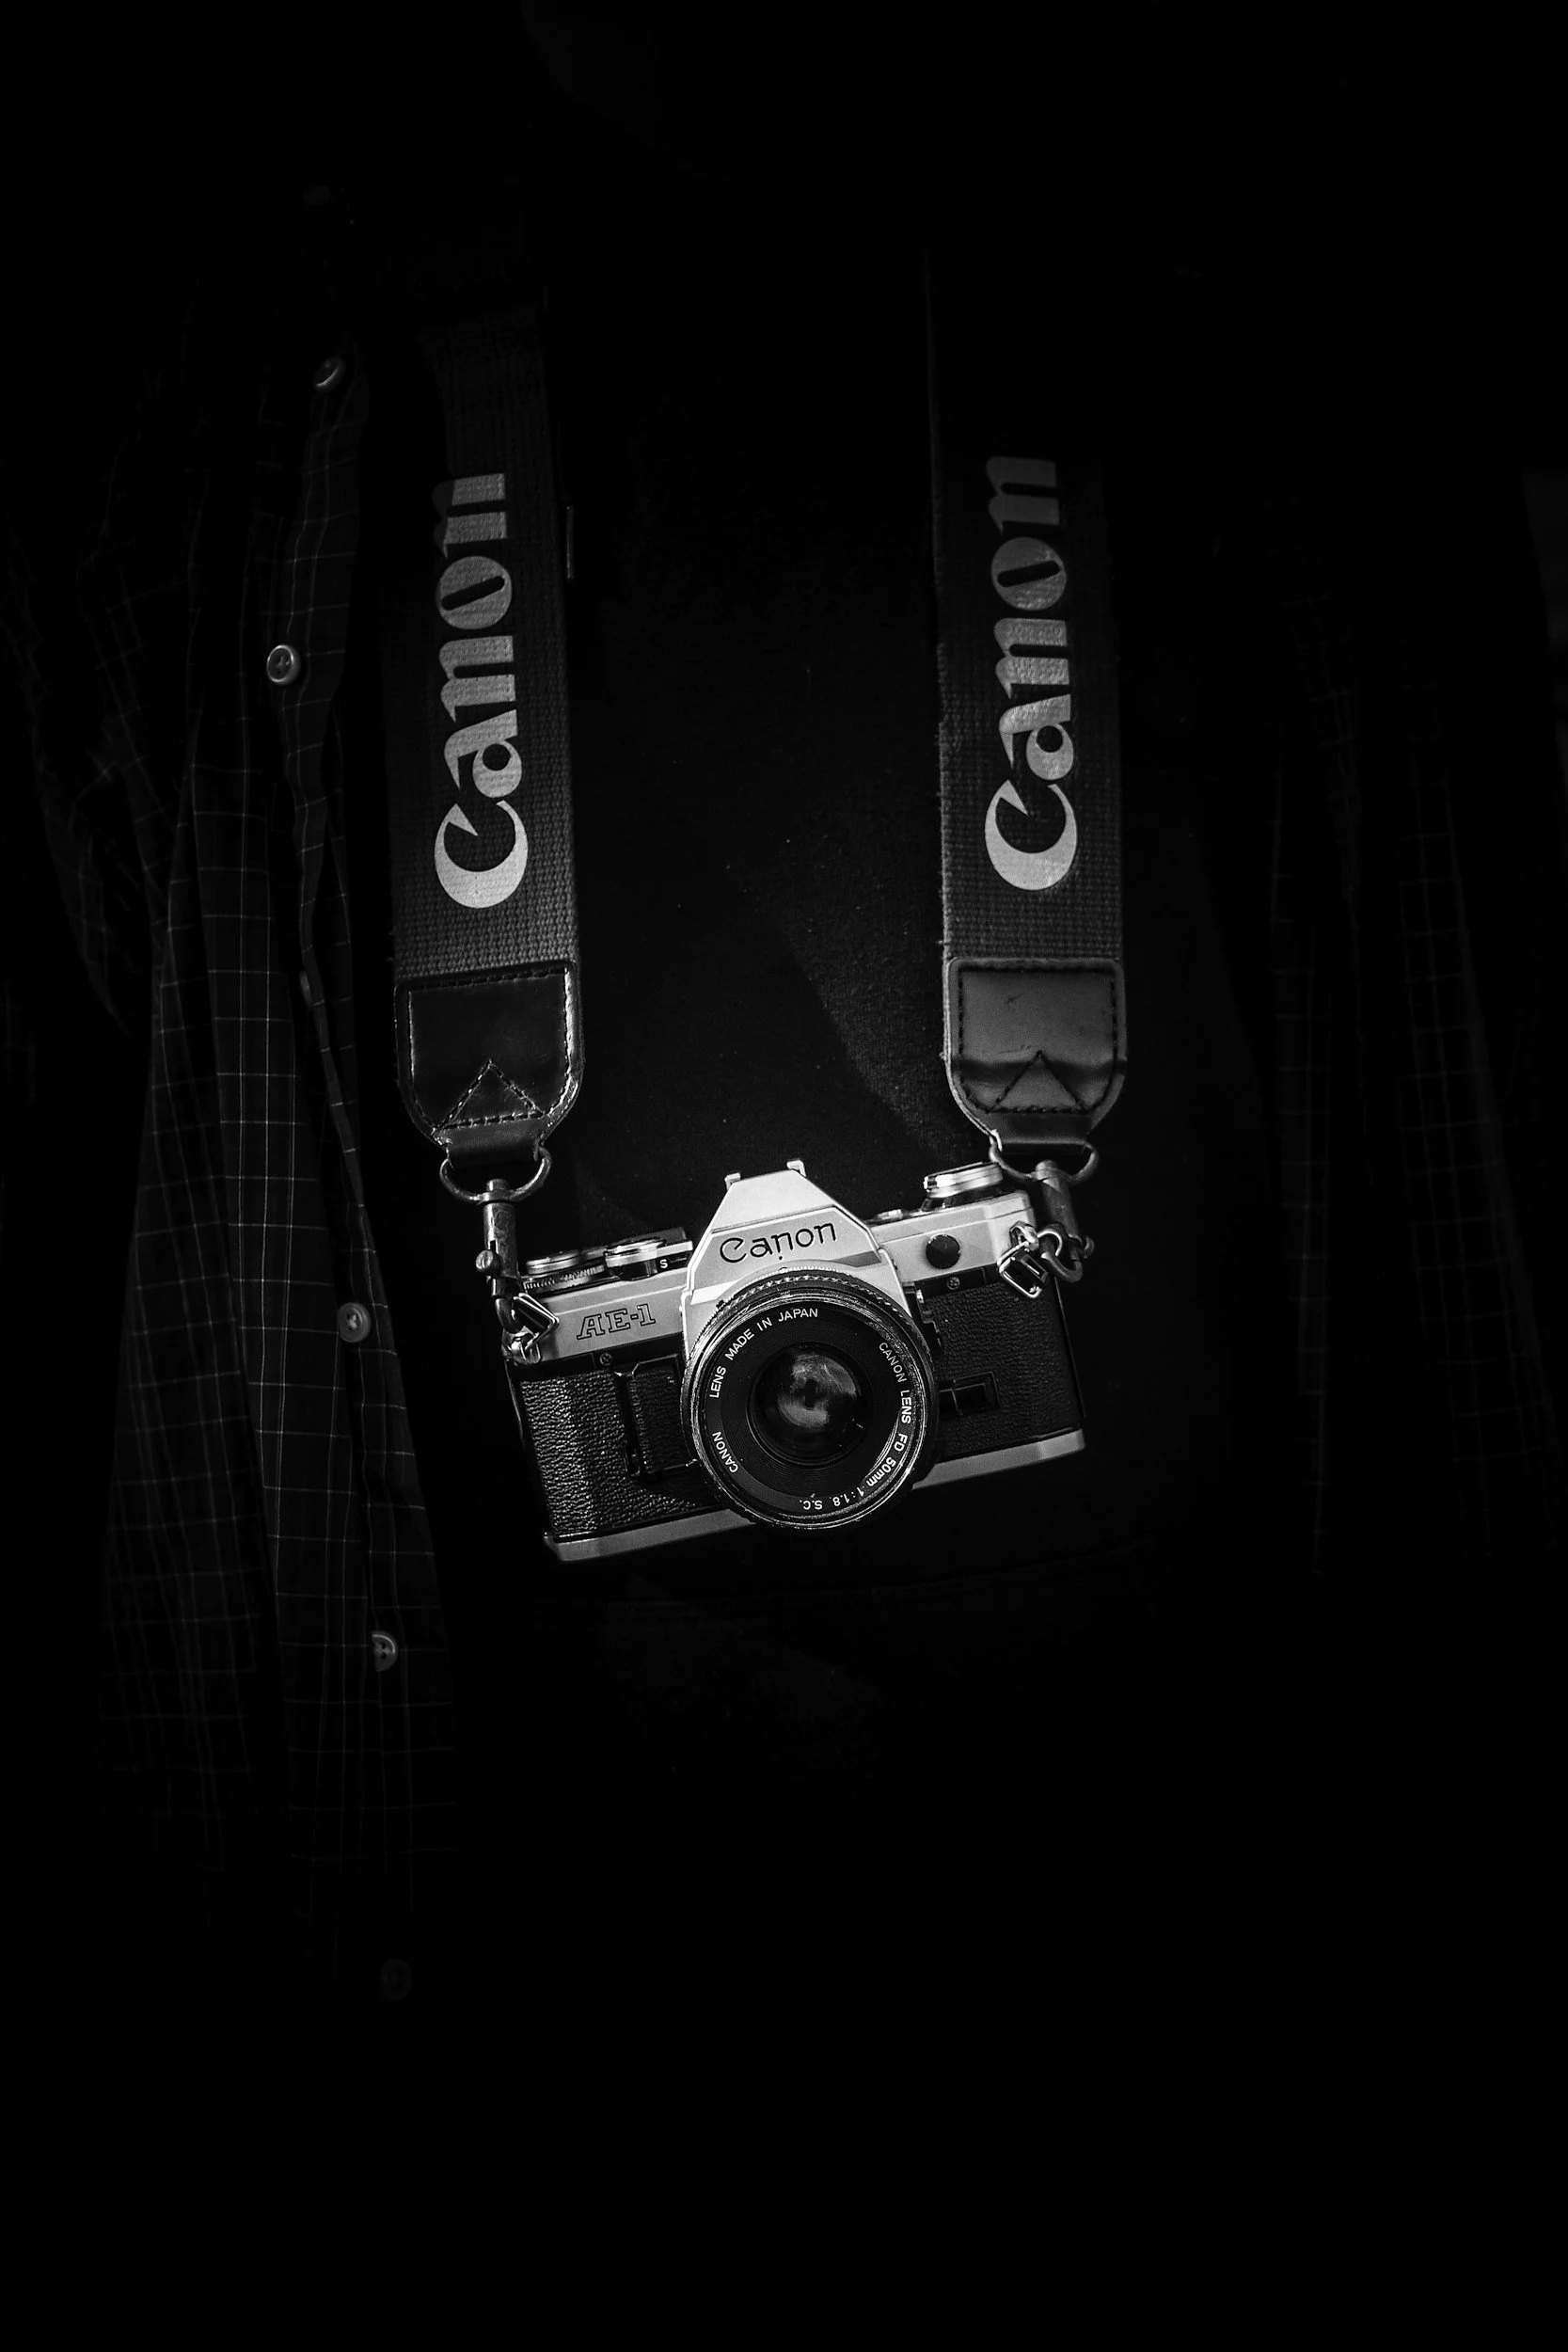
Camera Strap
This is very much a personal preference thing. Some people like to use the one the camera is supplied with, some prefer to swap this out. I have stuck with the one that came with my camera and it’s been fine, but some people don’t want to walk around drawing attention to their camera brand (presumably they’re Nikon shooters) and prefer something made of leather or some other material.
Camera Clip
This is something that I didn’t know I could live without until I got it. I have one from Peak Design and I love it. There’s two parts, a plate which screws into the bottom of your camera and a second one which attaches to one of the shoulder straps of your bag.
I find this really useful when I am out walking and need both of my hands, or just don’t want to carry my camera in my hands! I’ve used it out in the hills and in the city and have’t ever had a problem with it.

Shower Caps!
Bear with me on this one, I saw the tip somewhere on YouTube and can’t remember who it was who shared it.
These clear, disposable shower caps are cheap, super lightweight and can be reused.
But why? They’re great for pulling over your camera when it’s wet or windy day near to a large body of water and help to keep the water out of your camera. Some cameras are weather proof and some are weather sealed, but I like this extra layer of protection!
I brought a pack of these years ago and always keep a few in each of my camera bags. I’ve used them and have given them to friends out on shoots and still have hundreds of them left.
Filters/Step Up and Step Down Rings.
There is a huge range of filters on the market, all doing slightly different things.
They come in all sorts of different styles from a bunch of different manufacturers. I like the ones from K&F concept, as they are of decent quality and at a price point which suits me and what I can afford.
You can get Neutral Density (ND) and Variable Neutral Density (VND) filters. These aim to limit the amount of light which is hititng your sensor and can help to increase exposure times or manipulate your shutter speed if you’re shooting video. I prefer a VND as in means I can fit one thing to the front of the lens and not have to worry about keep taking things on and off the front of the camera.
Circular Polariser Filters - these are great when you’re shooting near to water and want to minimise any glare you’re getting. They are also great when you want to see through the water as well (but good luck trying to see through the water in the Thames - they remove the glare, not the silt/filth!).
Mist filters - add a “dream like” quality to your photos and soften a lot the light. These look especially cool in low light and give the light a softer appearance.
Natural Light Filters - Help to filter out light pollution in photos that you are taking at night. Useful if you’re out in the countryside and want to minimise the glow from a town on the horizon!
Remember, when you are buying filters that you need to buy ones which fit the internal thread on your lens. You will find this printed on your lens, usually next to a symbol that looks a little bit like a no entry sign.
One work around for this that can help keep cost and weight down, is to buy the biggest filter you can afford and then pair it with some step-up/step-down rings. These will enable you to use larger filters than your lens can accommodate but just be aware that these can impact the way your camera works by limiting the amount of available light that can enter you lens and at very wide focal lengths, you will be able to see these rings in your image (the Canon EF 10-18 can see it’s own lens hood when it is 10mm!) and these rings could potentially stick out much further than that does.

Spare Camera Battery(ies)
Buy at least one spare battery, make sure that it’s charged and always have it in your bag. There is nothing worse than turning up to a shoot with your camera, finding out that the battery is flat and you don’t have a spare! Find the correct one for your camera and stock up. I always buy proprietary batteries rather than 3rd party ones and they have served me well.
Cable Release/Remote Shutter Release
Probably one of, if not the cheapest thing on this list but there a few different types. The cheapest is one which is wired and plugs into your camera. This will allow you to (in most cases) autofocus your lens and release the shutter, without touching it; really important if you are shooting on a tripod and are trying to limit the amount of movement you introduce into your camera (more movement = less sharpness).
I’ve got a couple of these, a wired one from Canon and a wireless one. You can read a review of the wireless one here. These cables/units aren’t compatible with every camera - just because it’s a Canon cable, doesn’t mean that it will work with all Canon cameras. The same goes for Sony, Nikon, Fuji etc. Check before you buy!

Camera Multi Tool
One of the most useful things in my bag, and it gets used a LOT is my Small Rig 9 in 1 folding multi tool. Nuts and bolts come loose, things need to be tightened, some things get too tight and need to be loosened.
This tool solves most of those problems, is small, lightweight and has a range of sizes of flat head and hex bolt attachments and lives in whichever camera bag I am using.
The last thing you want is to be out in the field and have a tripod that isn’t sturdy - something like this gets you right of that fix!
Things you DON’T need to buy…
I’m not saying that you shouldn’t go and buy these things, but they aren’t things you don’t need in you arsenal when you’re first starting out. Essentially (in my opinion), you would be better spending your money on other things, like those that I have mentioned above, or you could save the money and go and buy some nice new glass!

Lensballs
These are glass or acrylic spheres, which weigh about a pound each. These used to be much more prevalent than they are now, and currently, aren’t really in vogue. I’ve got three. All bought for me, one I asked for and two I didn’t! They’re gimmicky, and for the most part won’t add anything extra to your images. A lens ball can set you back anything up to £50!

Drones
You probably want one of these, but do you need it? I have one and it’s great fun. It also cost me a lot of money and the ‘the return on investment’, hasn’t been great. I haven’t flown it as much I would have liked to or as much as I should have done. If you want to make video content then this is probably more of a worthwhile investment than if you want to use it to just take aerial photos.
Tiny Lights
I was obsessed with buying these and have a a couple of Lume Cube products which are great, but I never used them very much, even when I was shooting much more urban photography and thought I had a use case for them. I didn’t and I think used it once.
If you’re thinking about buying something like this, think about what you’re going to use it for and how useful it is. If you want to do some sort of light painting then a light wand might be much more useful and has some studio uses as well.

Flexible Tripods/GorillaPods
This was one of the first things I went out and bought after seeing people using them to vlog with on YouTube. I still have it and never use it. I couldn’t fully trust it after the first time it wobbled over and I moved like The Flash to catch it. Ever since then I haven’t used it for anything and cringe at the thought of some of the positions I used to put my camera in whilst it was attached to this!

Camera “Assistants”
I won’t name a specific brand here, but I had one of these when I was very new to photography and thought this would be an easy way to get better. It wasn’t. It didn’t make my images any better and it didn’t teach me anything about using my camera. I took it out once and then never used it again.
It does everything for you that you can learn to do with your camera and prevents you from learning how your camera works, and in my experience, the images I got just weren’t that good. Maybe part of that was me and the way I was using it, but looking back at it, I feel like I was marketed to in a big way and I thought it was quick way to get better, when in fact, it was the complete opposite!
So there you have it, some things I would recommend you consider buying and adding to your bag and some things to avoid (even if you only avoid some of it for now).
Remember, this is a pursuit which takes to progress in unless you’re blessed with a strong amount of natural ability, but please, learn to use your camera and don’t try and take the short cuts!