
My Photography Blog
Welcome to the Chris Kendrick Photography Blog, where I share the stories, challenges and inspirations behind shooting Lake District landscapes and working as a Cumbria-based photographer. Alongside behind-the-scenes reflections from the fells and lakes, you'll also find honest photography gear reviews, covering the cameras, lenses and accessories that genuinely perform in real Lake District conditions. Whether you’re passionate about landscape photography, exploring Cumbria’s scenery, building your kit, or simply curious about the craft, there’s something here for you.
Some posts include affiliate links; thank you if you choose to support the blog through a qualifying purchase. If there’s a topic or piece of gear you’d like me to cover, let me know. Enjoy exploring!
Enjoy!

The Bookshelf #13 - Still - A Mindful Practice for Photographers - Paul Sanders
Still by Paul Sanders is a thoughtful exploration of photography as a mindful and restorative practice. Combining personal reflection, practical guidance and beautifully understated imagery, it encourages photographers to slow down, reconnect with their creativity and find meaning in the quieter moments around them.

A Realistic Lake District Landscape Photography Calendar
Social media makes the Lake District look perfect all year round. The reality is more complicated. This realistic photography calendar breaks down what each season actually offers, what usually doesn’t work, and how I approach photographing the Lakes throughout the year.
Photography Gear Mistakes: What I Bought and What I’d Buy Instead
Photography gear can get expensive quickly, especially when you’re first starting out. In this post, I share some of the beginner photography purchases I regret, from cheap tripods to filters and camera bags, and explain what I’d buy instead to save money, protect your kit and make better images.
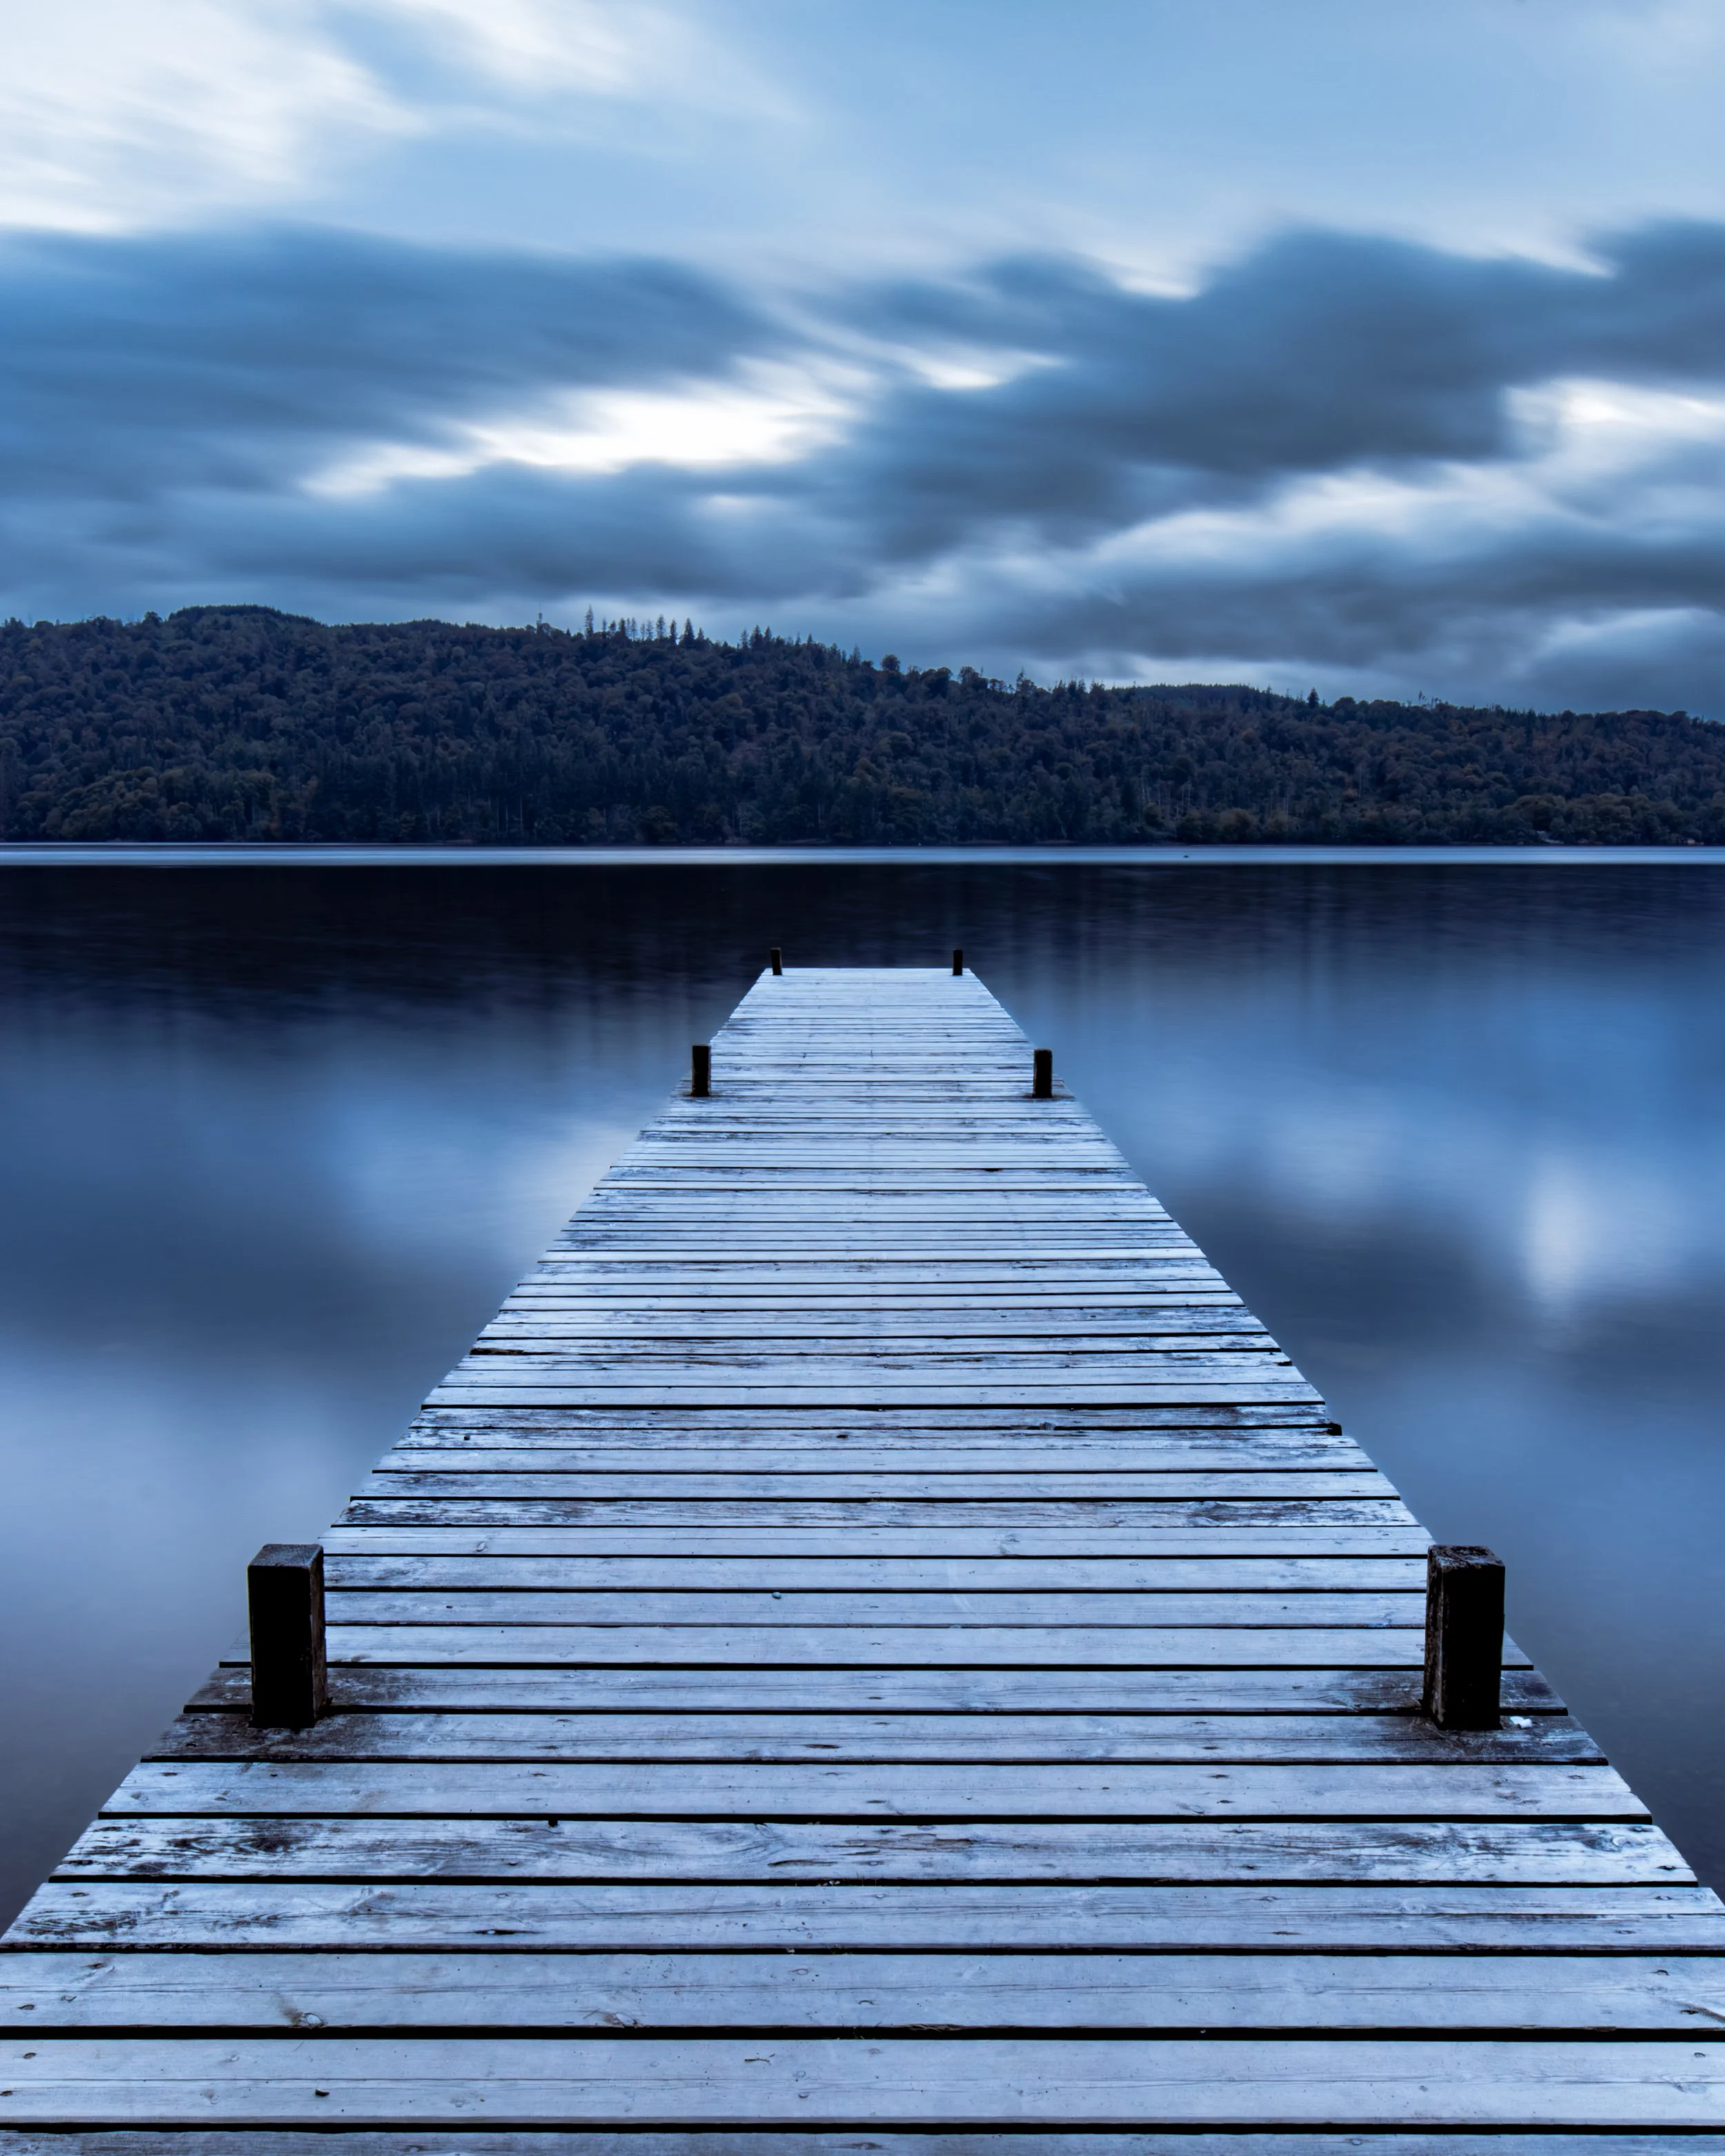
Long Exposure Landscape Photography
Long exposure landscape photography is a powerful technique for transforming movement into mood. By slowing down time, photographers can turn crashing waves into soft mist, clouds into sweeping brushstrokes, and busy scenes into calm, minimalist compositions. In this guide, you’ll learn how long exposure photography works, the settings and filters you need, and how to plan and shoot compelling long exposure images in real-world landscape conditions.

The Bookshelf #12 - Ansel Adams’ Yosemite
Ansel Adams’ Yosemite photographs remain some of the most influential landscape images ever made. This short piece explores how Yosemite shaped his work, and what photographers today can still learn from his approach to light, patience and place.

Should You Try Different Types of Photography?
I haven’t always been a Lake District landscape photographer. From city streets and long exposures in London to misty mornings in the fells, this post explores how experimenting across genres shaped my photography and continues to influence my commercial and studio work today.
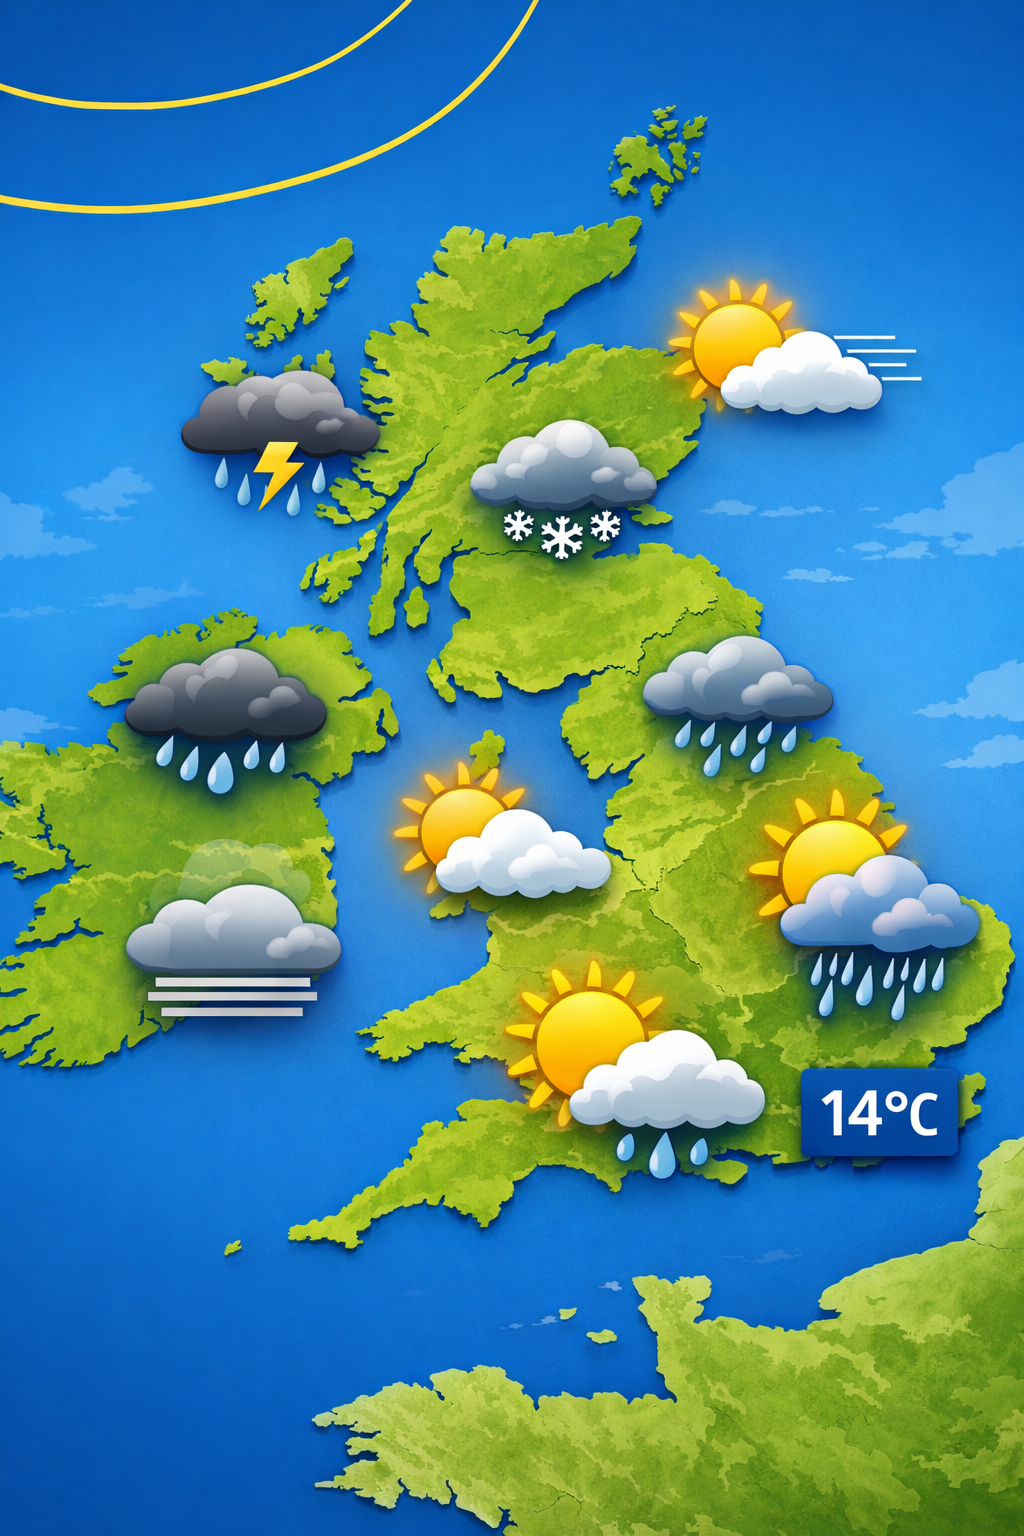
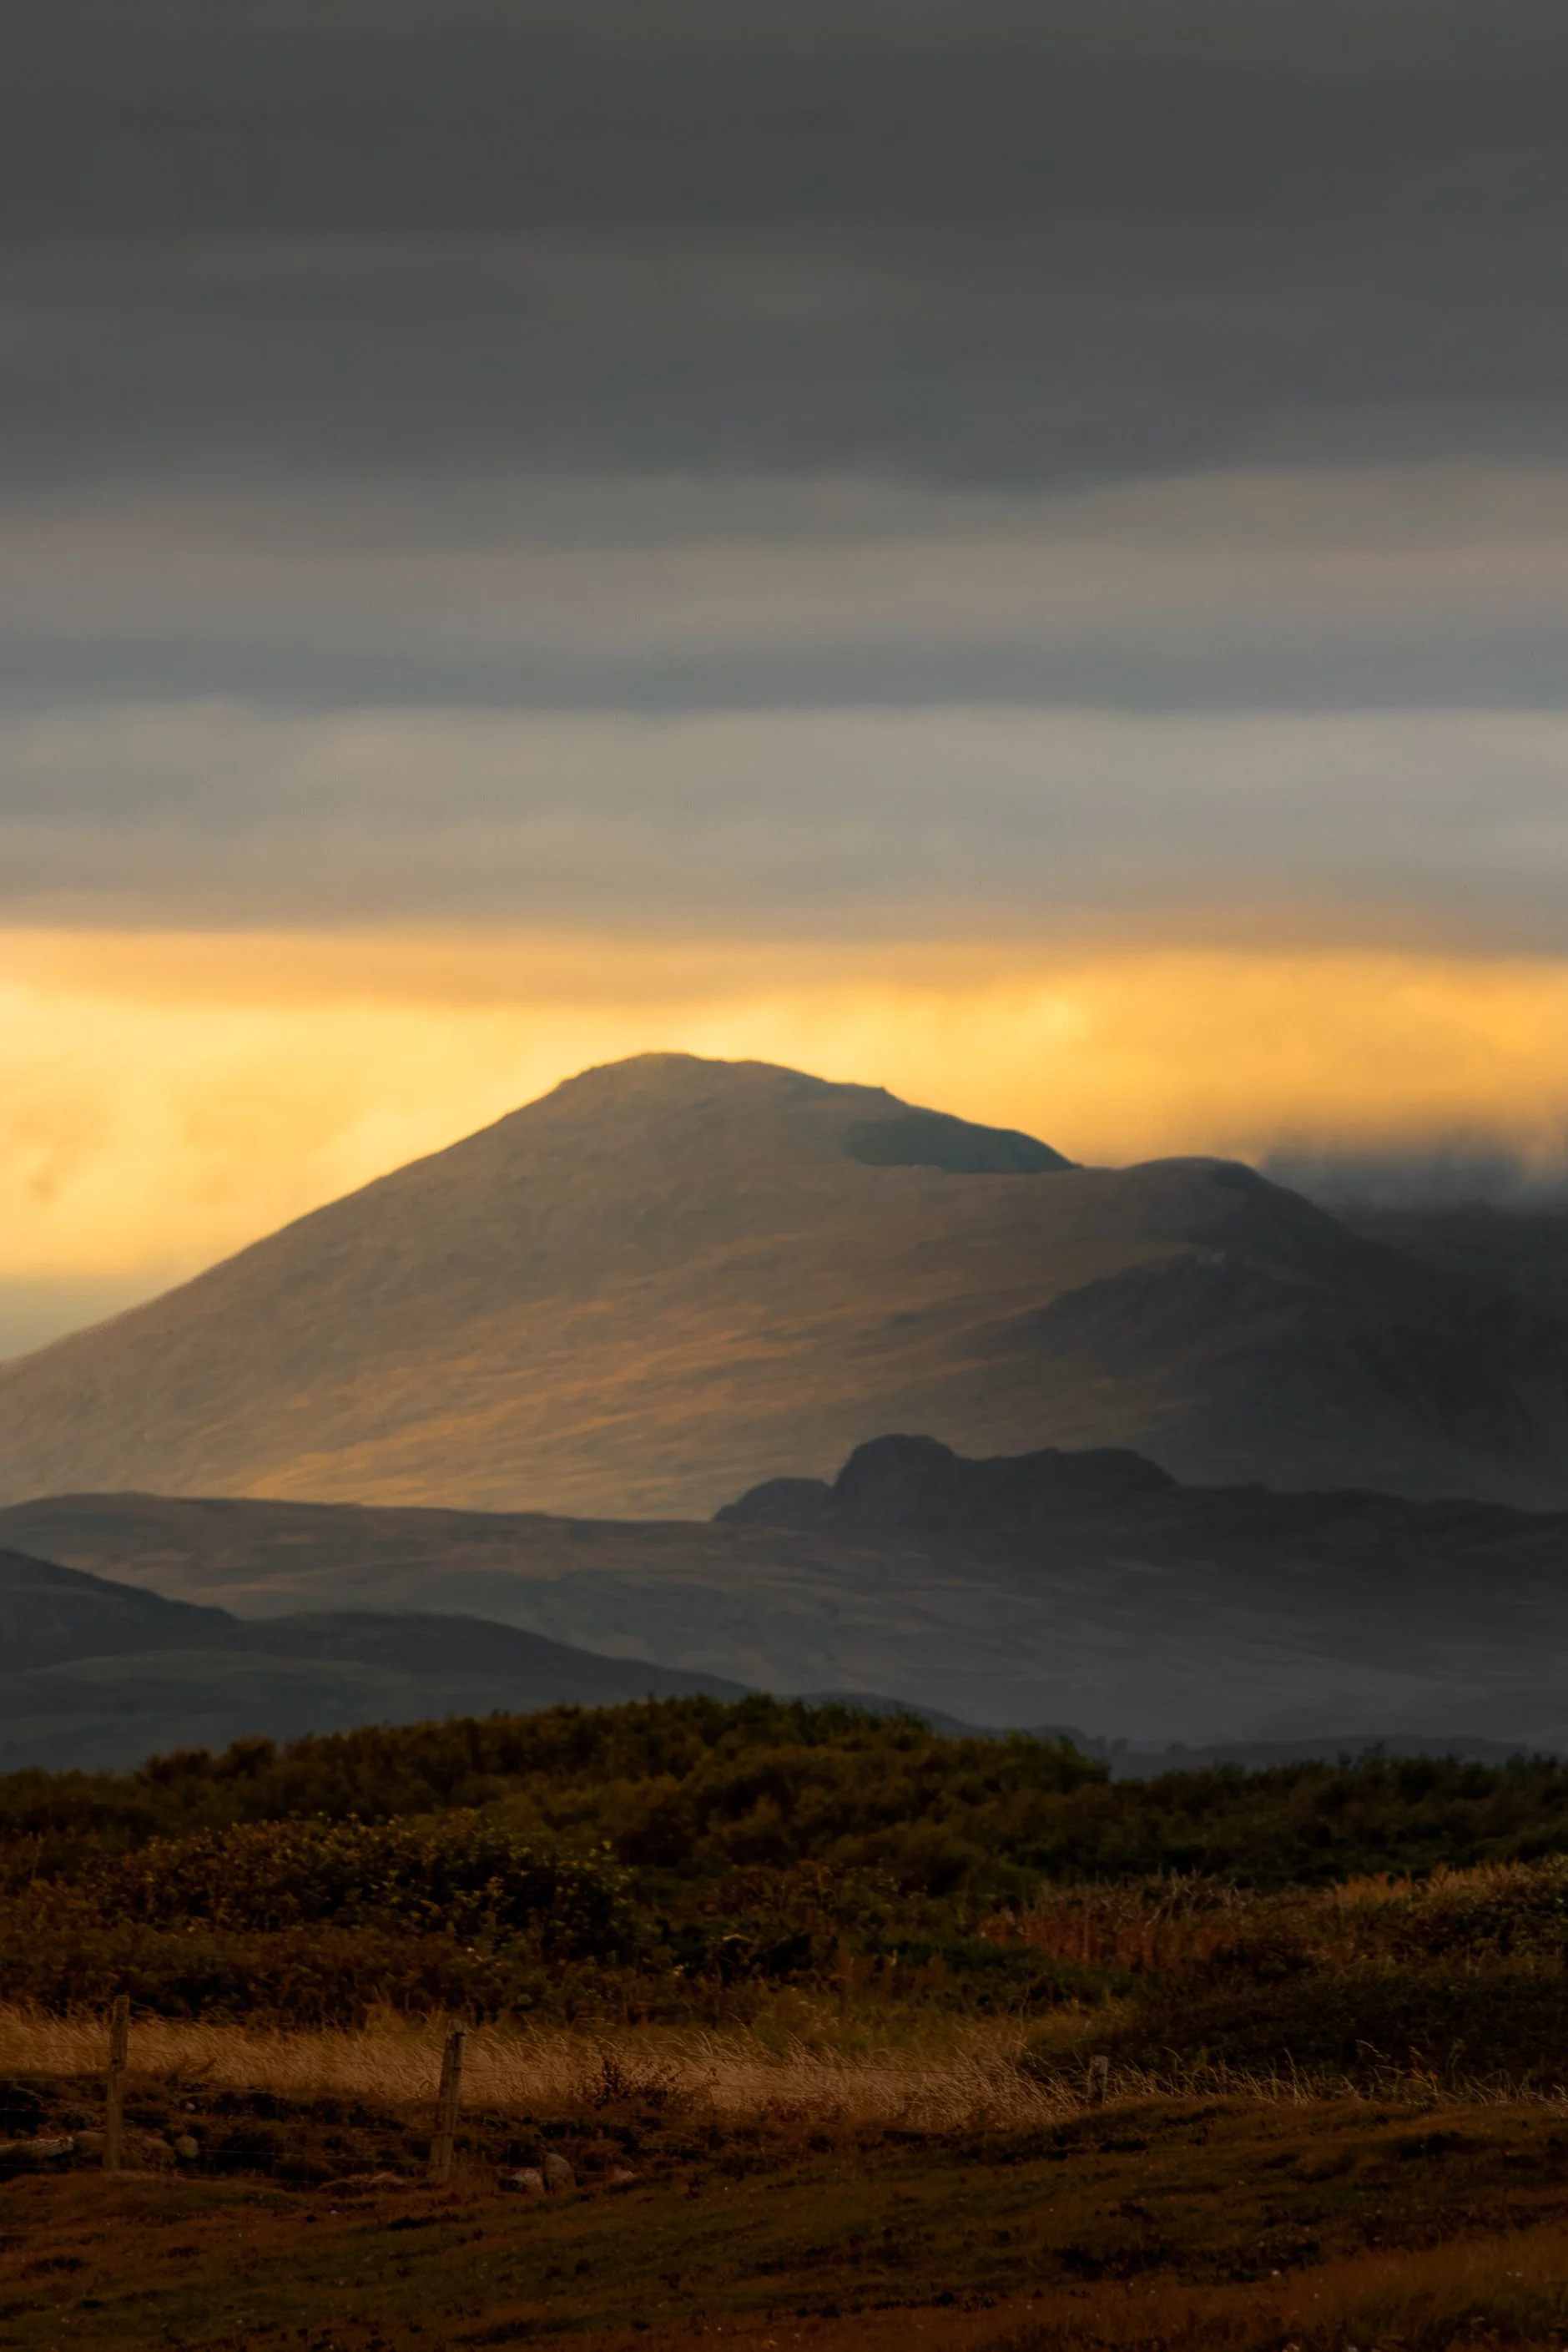
Reading the Lake District Weather Like a Landscape Photographer, not a tourist.
Most people read Lake District forecasts to decide whether it’s worth going out. Photographers need to read them differently. This post explains how I interpret cloud, rain, wind, temperature, and dew point to find atmosphere, mood, and changing light — even on days most people write off.

Prime Day Deals for Photographers 2026
Discover the best Amazon Prime Day deals for photographers, including camera accessories, lenses, tripods, bags, memory cards, lighting and editing tools. This curated guide highlights useful photography gear worth checking before the sale ends, helping you find practical kit without getting lost in endless offers.
Golden Hour vs Blue Hour. Which is Better?
Golden hour and blue hour offer very different qualities of light, each shaping mood, colour, and composition in unique ways. This article explores the key differences between golden hour and blue hour, when each works best, and how understanding both can help you make more intentional photography decisions.

The Bookshelf #11 - Sebastião Salgado - Genesis
Sebastião Salgado’s Genesis is a breathtaking celebration of the natural world, combining dramatic black-and-white photography with a powerful environmental message. In this short review, I explore why the book remains such an important source of inspiration for landscape, documentary and fine art photographers.
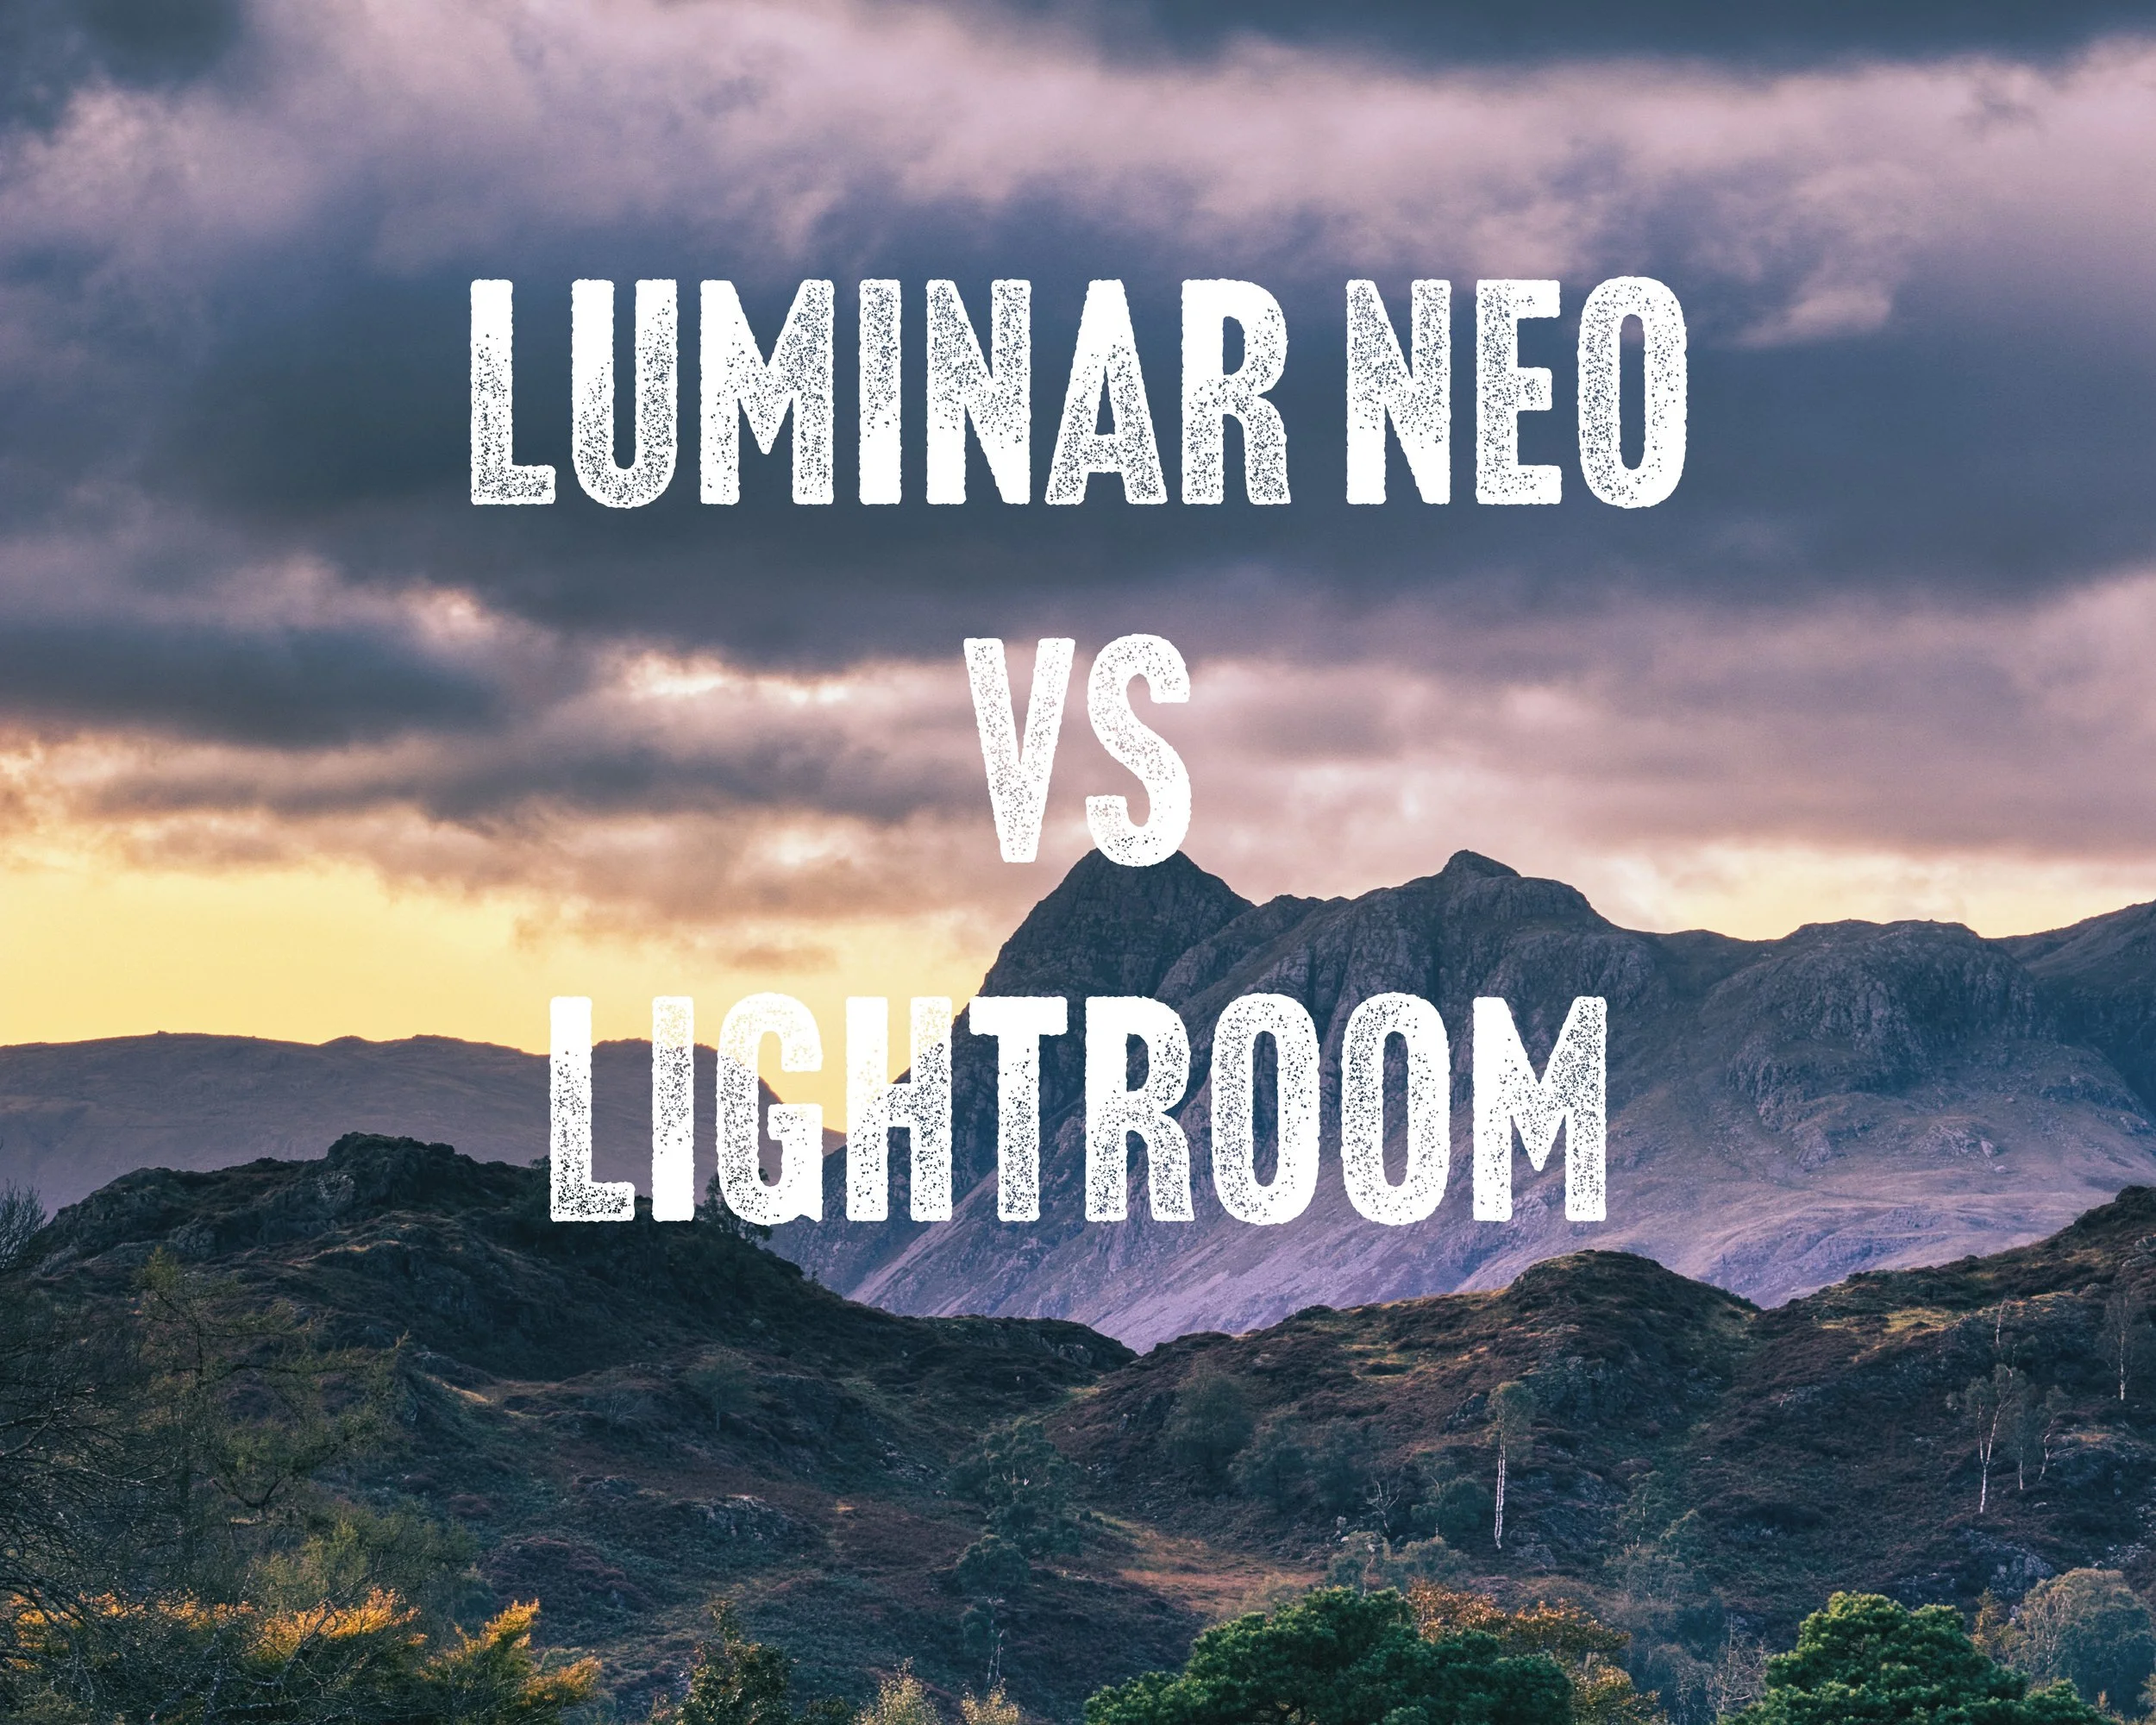
Using Luminar Neo to Edit Landscape Photography
A real-world review of Luminar Neo from the perspective of a landscape photographer used to editing with Adobe Lightroom and Photoshop. I look at the price, catalogue, AI tools, presets, landscape editing features and whether Luminar Neo is a serious alternative for photographers who want powerful editing software without another subscription.

Using Custom Modes on Your Camera.
Custom modes are one of the most useful and overlooked features on modern digital cameras. They allow you to save complete shooting setups and recall them instantly, helping you work faster, avoid common setting mistakes, and stay consistent across different types of photography. Whether you shoot landscapes, products, or everyday scenes, custom modes can quietly transform your workflow.
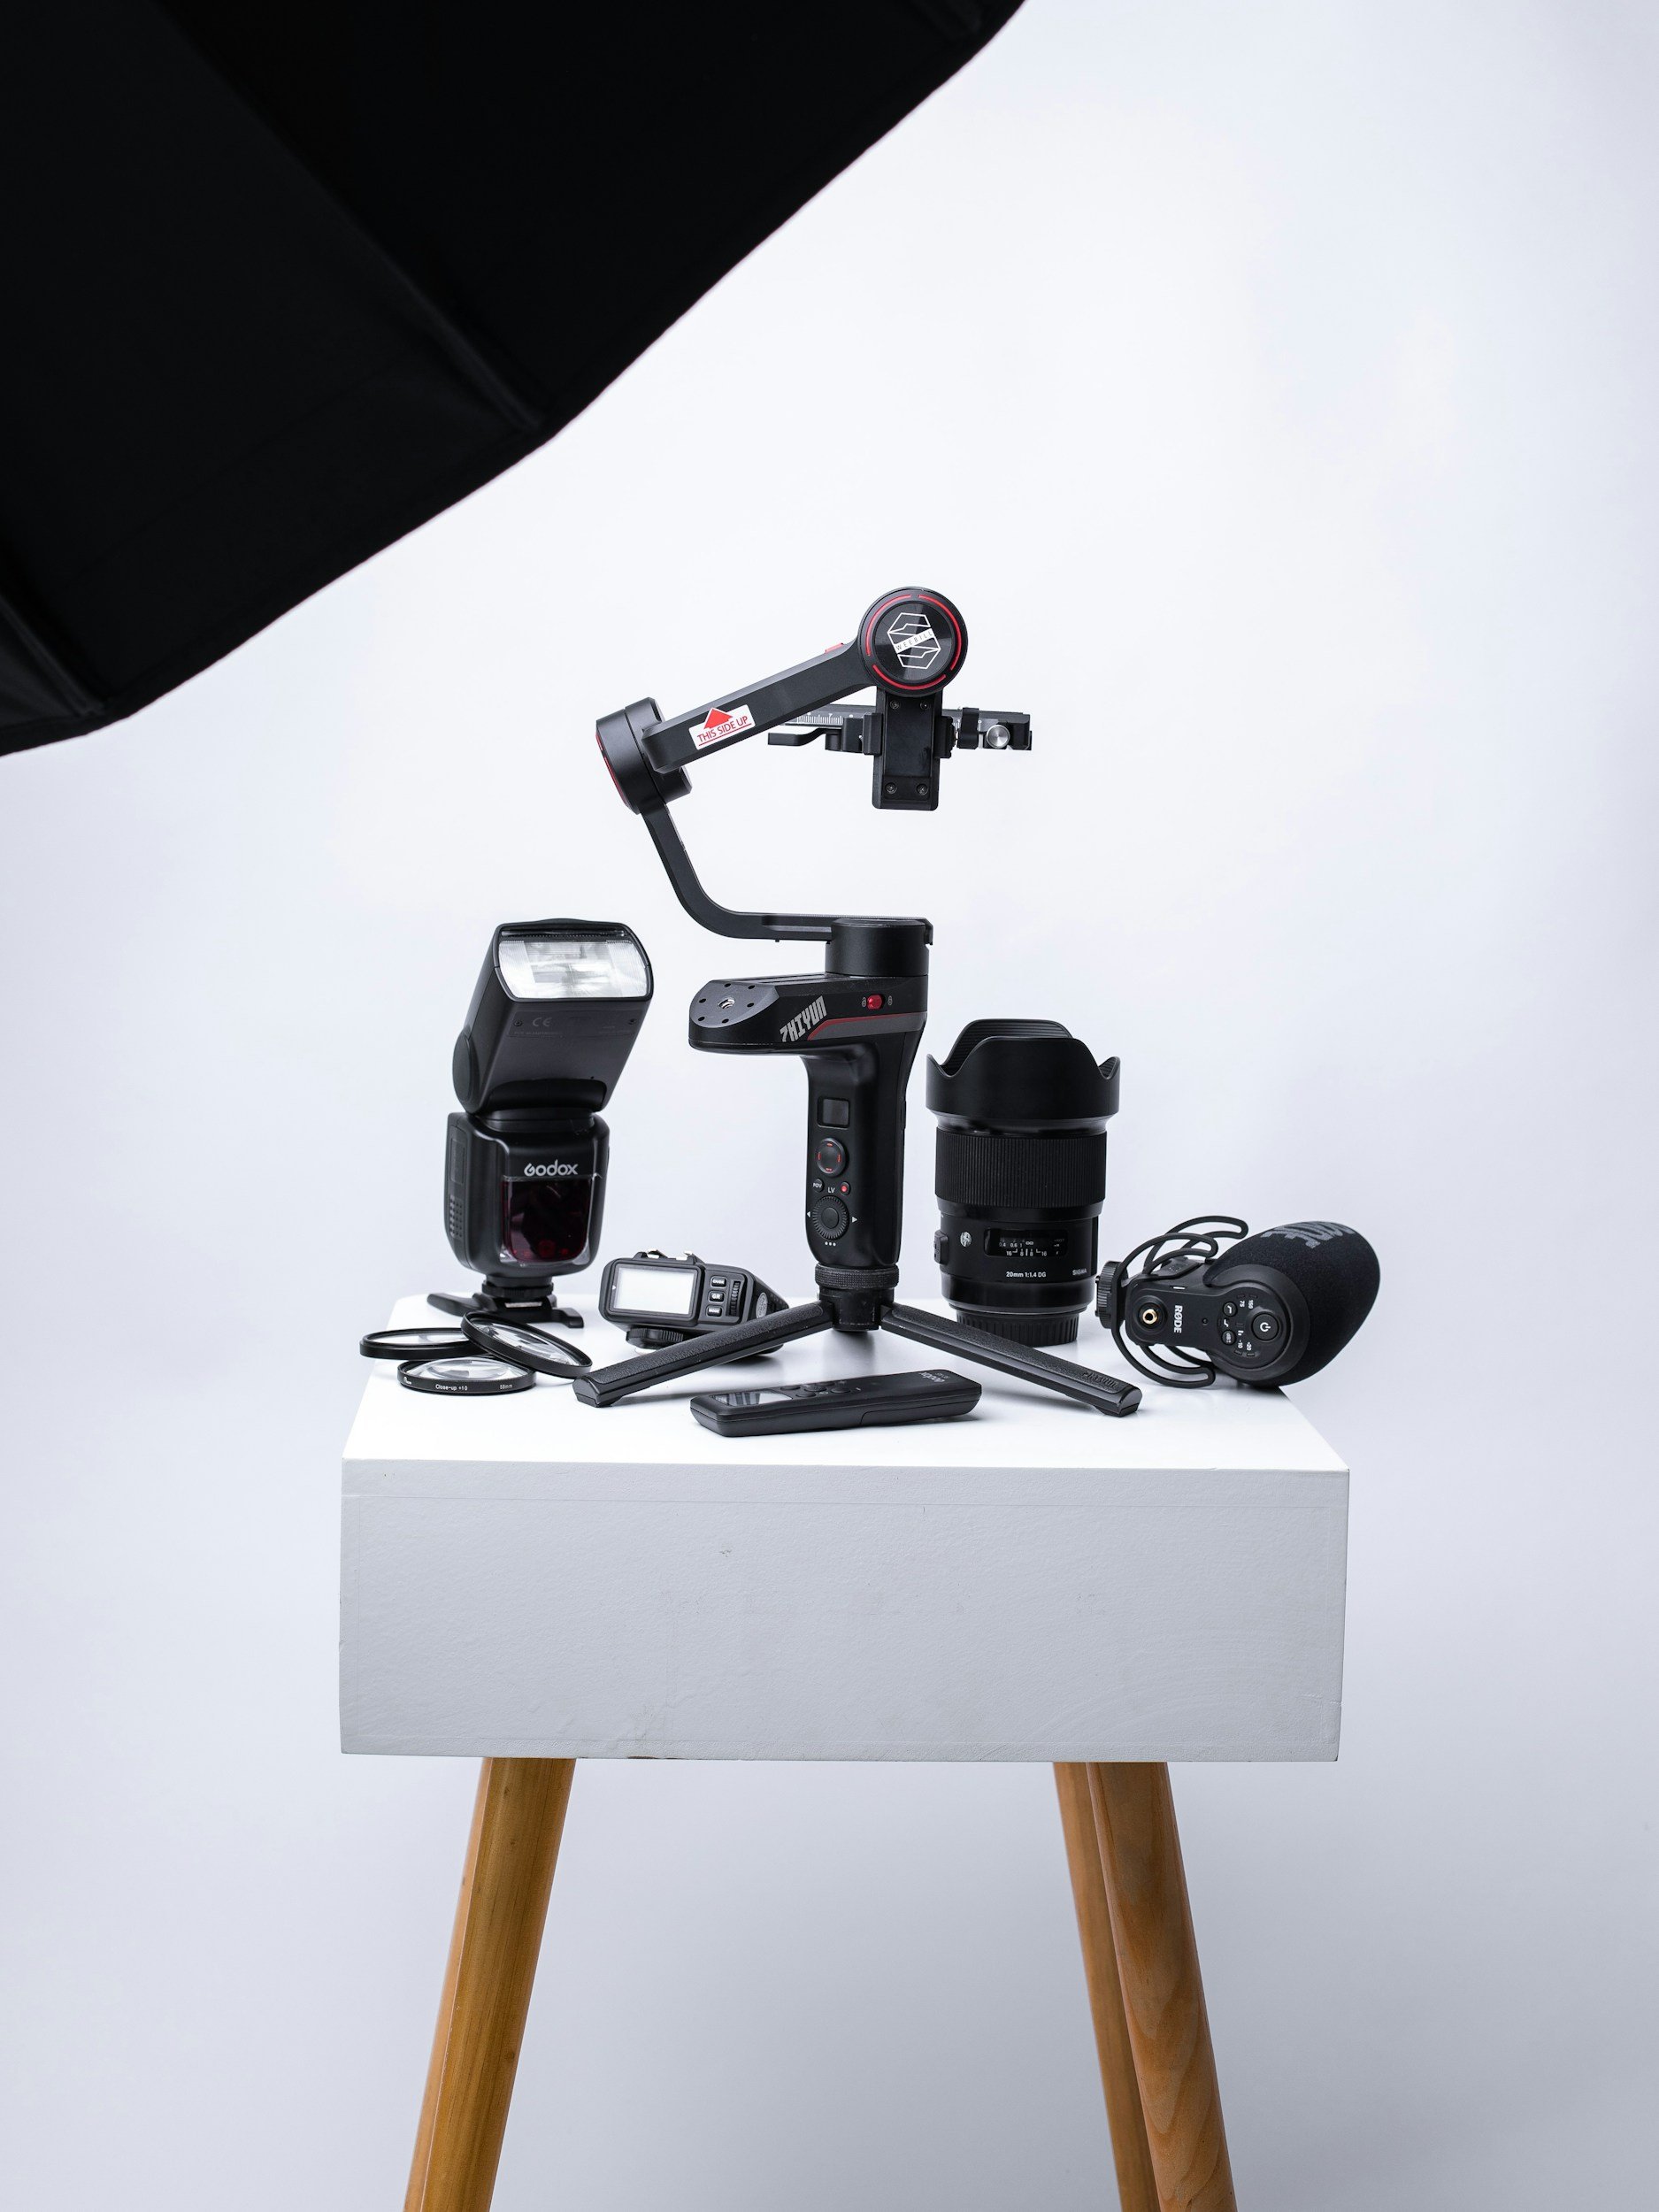
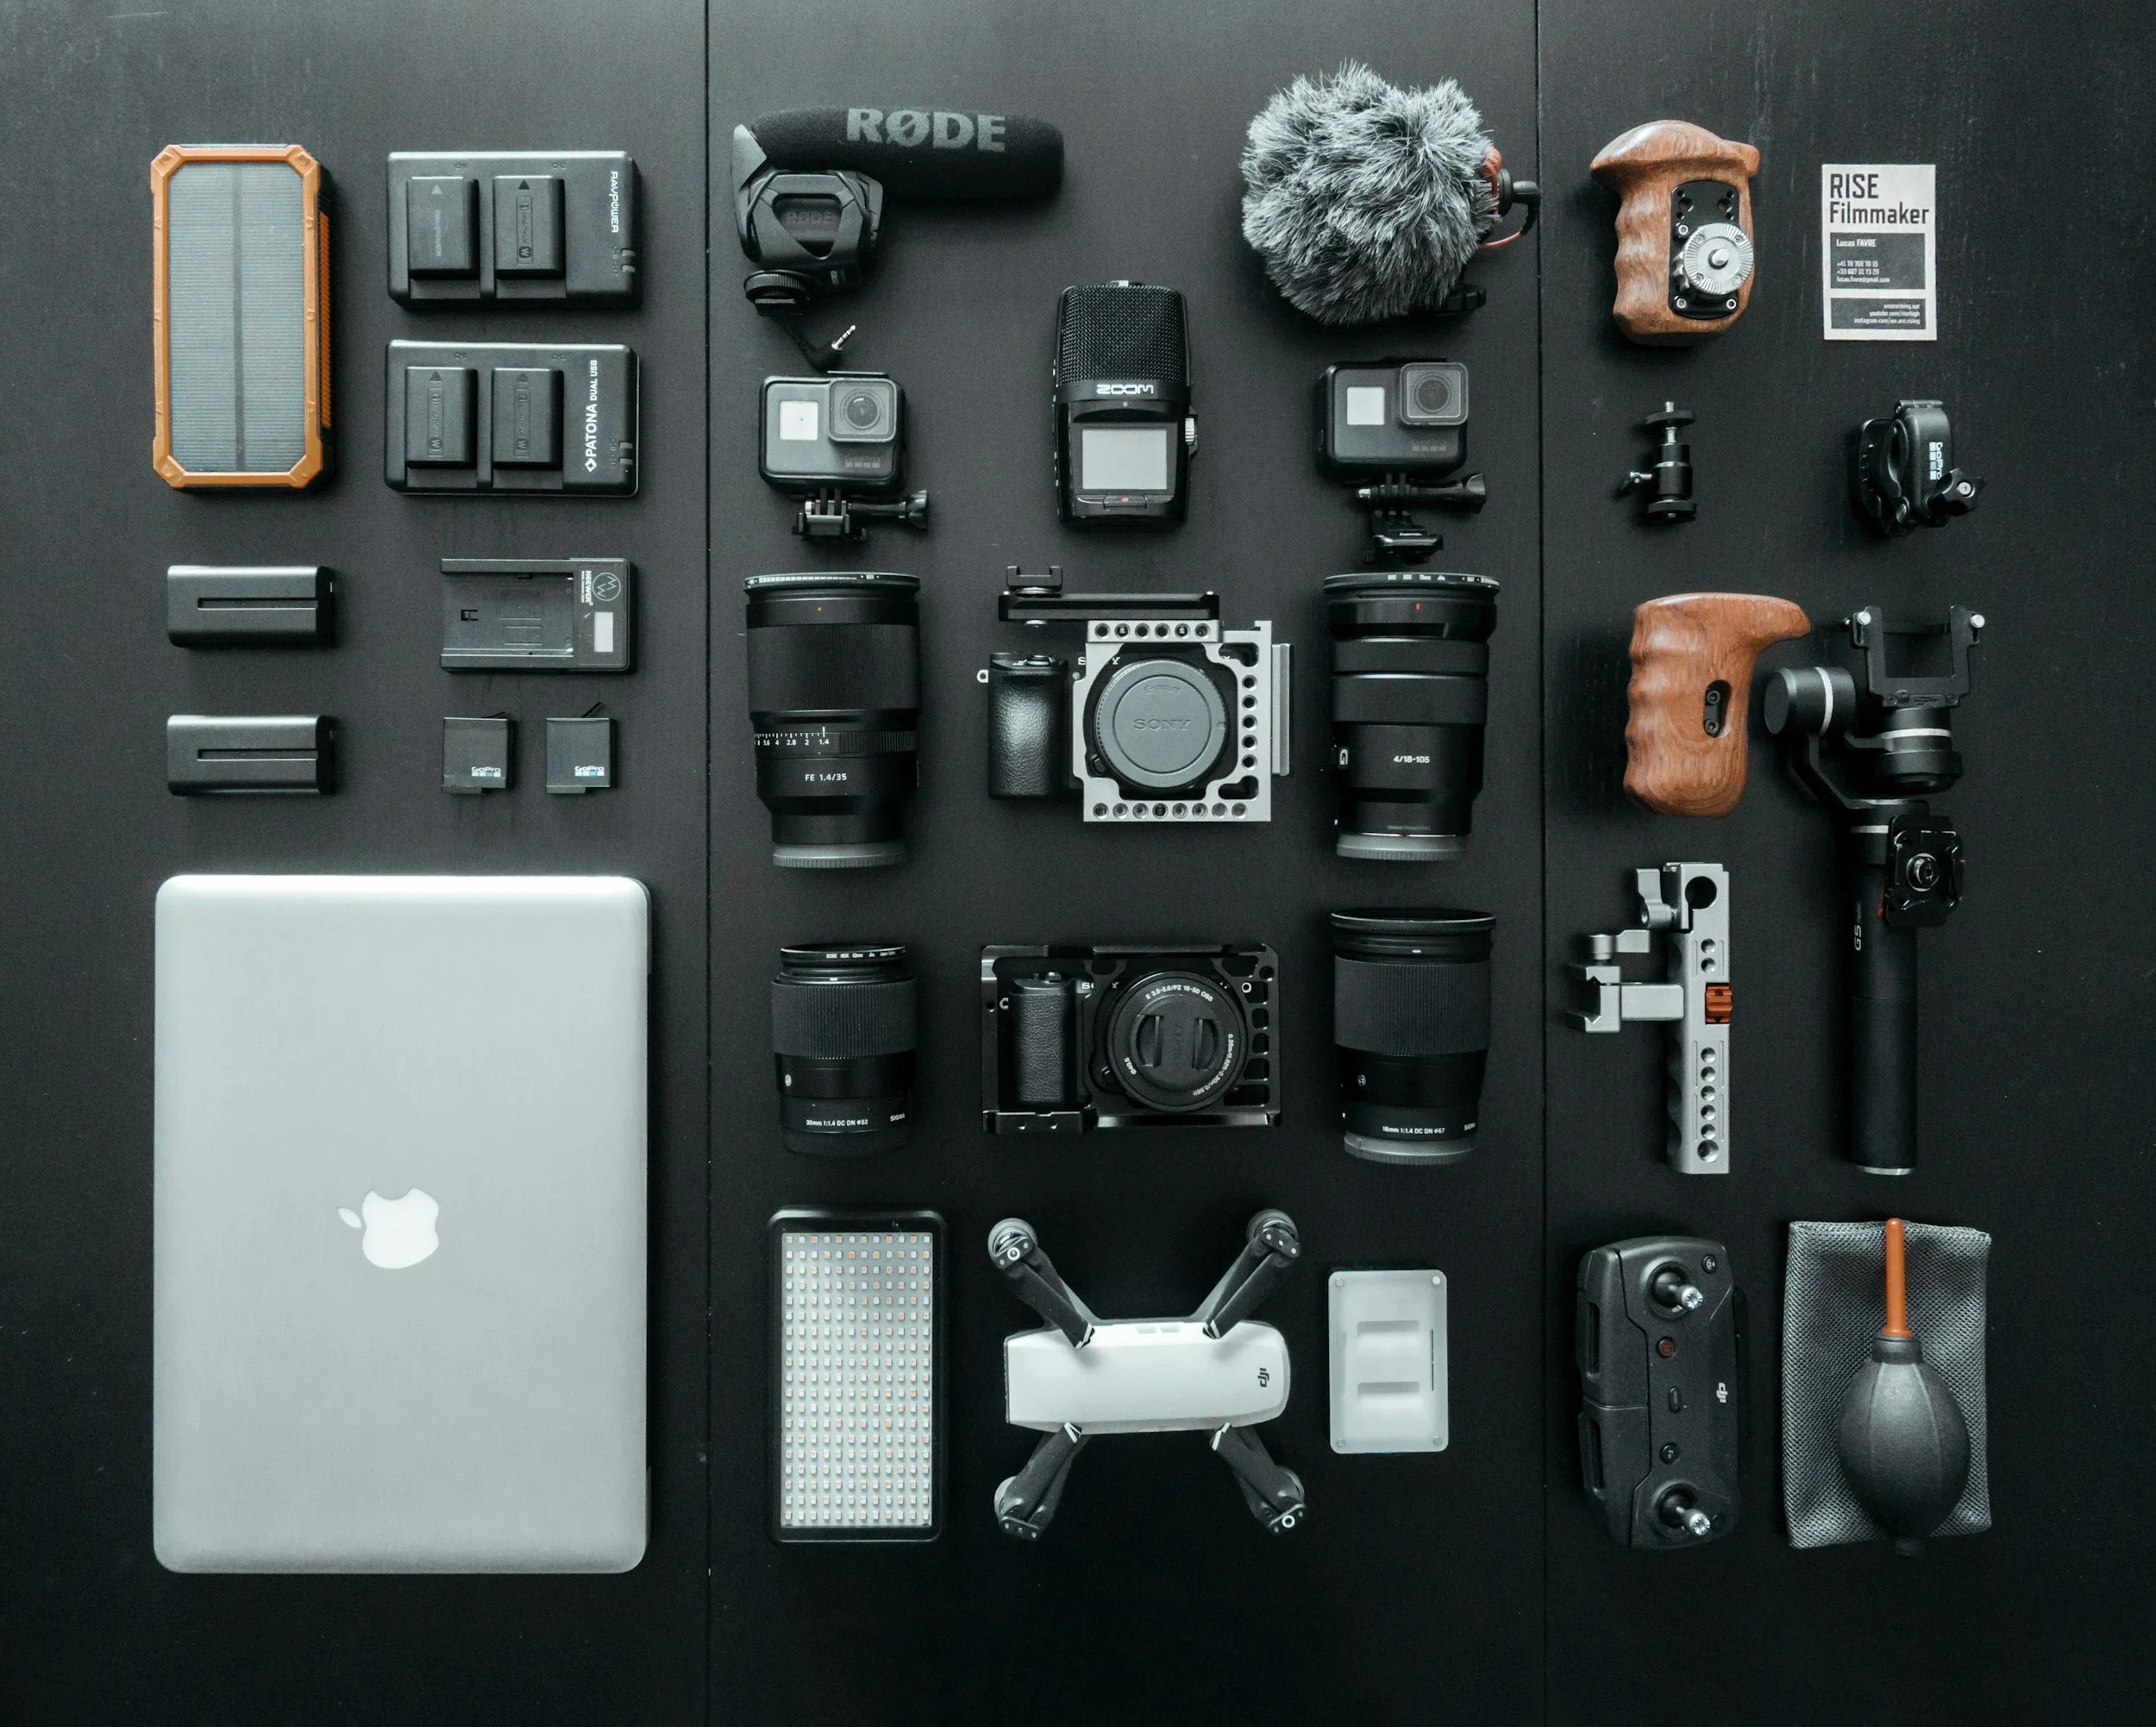
Camera and Photography Accessories that are Actually Worth It.
The world of photography accessories is full of clever marketing, bold promises and expensive kit that often ends up gathering dust. From “must-have” gadgets to trendy add-ons, it can be hard to know what actually improves your photography and what simply lightens your wallet.
In this article, I break down the accessories that are genuinely worth investing in – the tools that make shooting easier, more reliable and more enjoyable, whether you’re photographing landscapes, products, or everyday scenes. No hype, no unnecessary upgrades – just practical gear that earns its place in your camera bag.

The Bookshelf #10 - Fred Herzog Modern Colour
In this Bookshelf Series review, I explore Modern Color by Fred Herzog, a landmark photography book celebrating one of the great pioneers of colour street photography. Shot largely on Kodachrome, Herzog’s images capture the signs, streets, shop fronts and everyday life of mid-century Vancouver with remarkable warmth and visual energy. This review looks at why the book remains essential for photographers interested in colour, composition, urban documentary work and the history of street photography.
Do I Need New Gear for Landscape Photography?
Do you really need new gear to take better landscape photos? With constant marketing, YouTube reviews, and social media pressure, it’s easy to believe that upgrading your camera is the fastest way to improve. In this article, I break down when new gear genuinely helps, when it makes very little difference, and how to decide if an upgrade is actually worth your money. An honest, practical look at photography equipment, diminishing returns, and making smarter choices as a landscape photographer.
The Bookshelf - #9 - Magnum Streetwise
Magnum Streetwise is more than just a photography book. It’s a deep exploration of how street photography has evolved, featuring iconic work from Magnum photographers past and present. In this review, I break down what the book teaches about capturing real moments, developing your eye, and understanding the streets as a storytelling space.

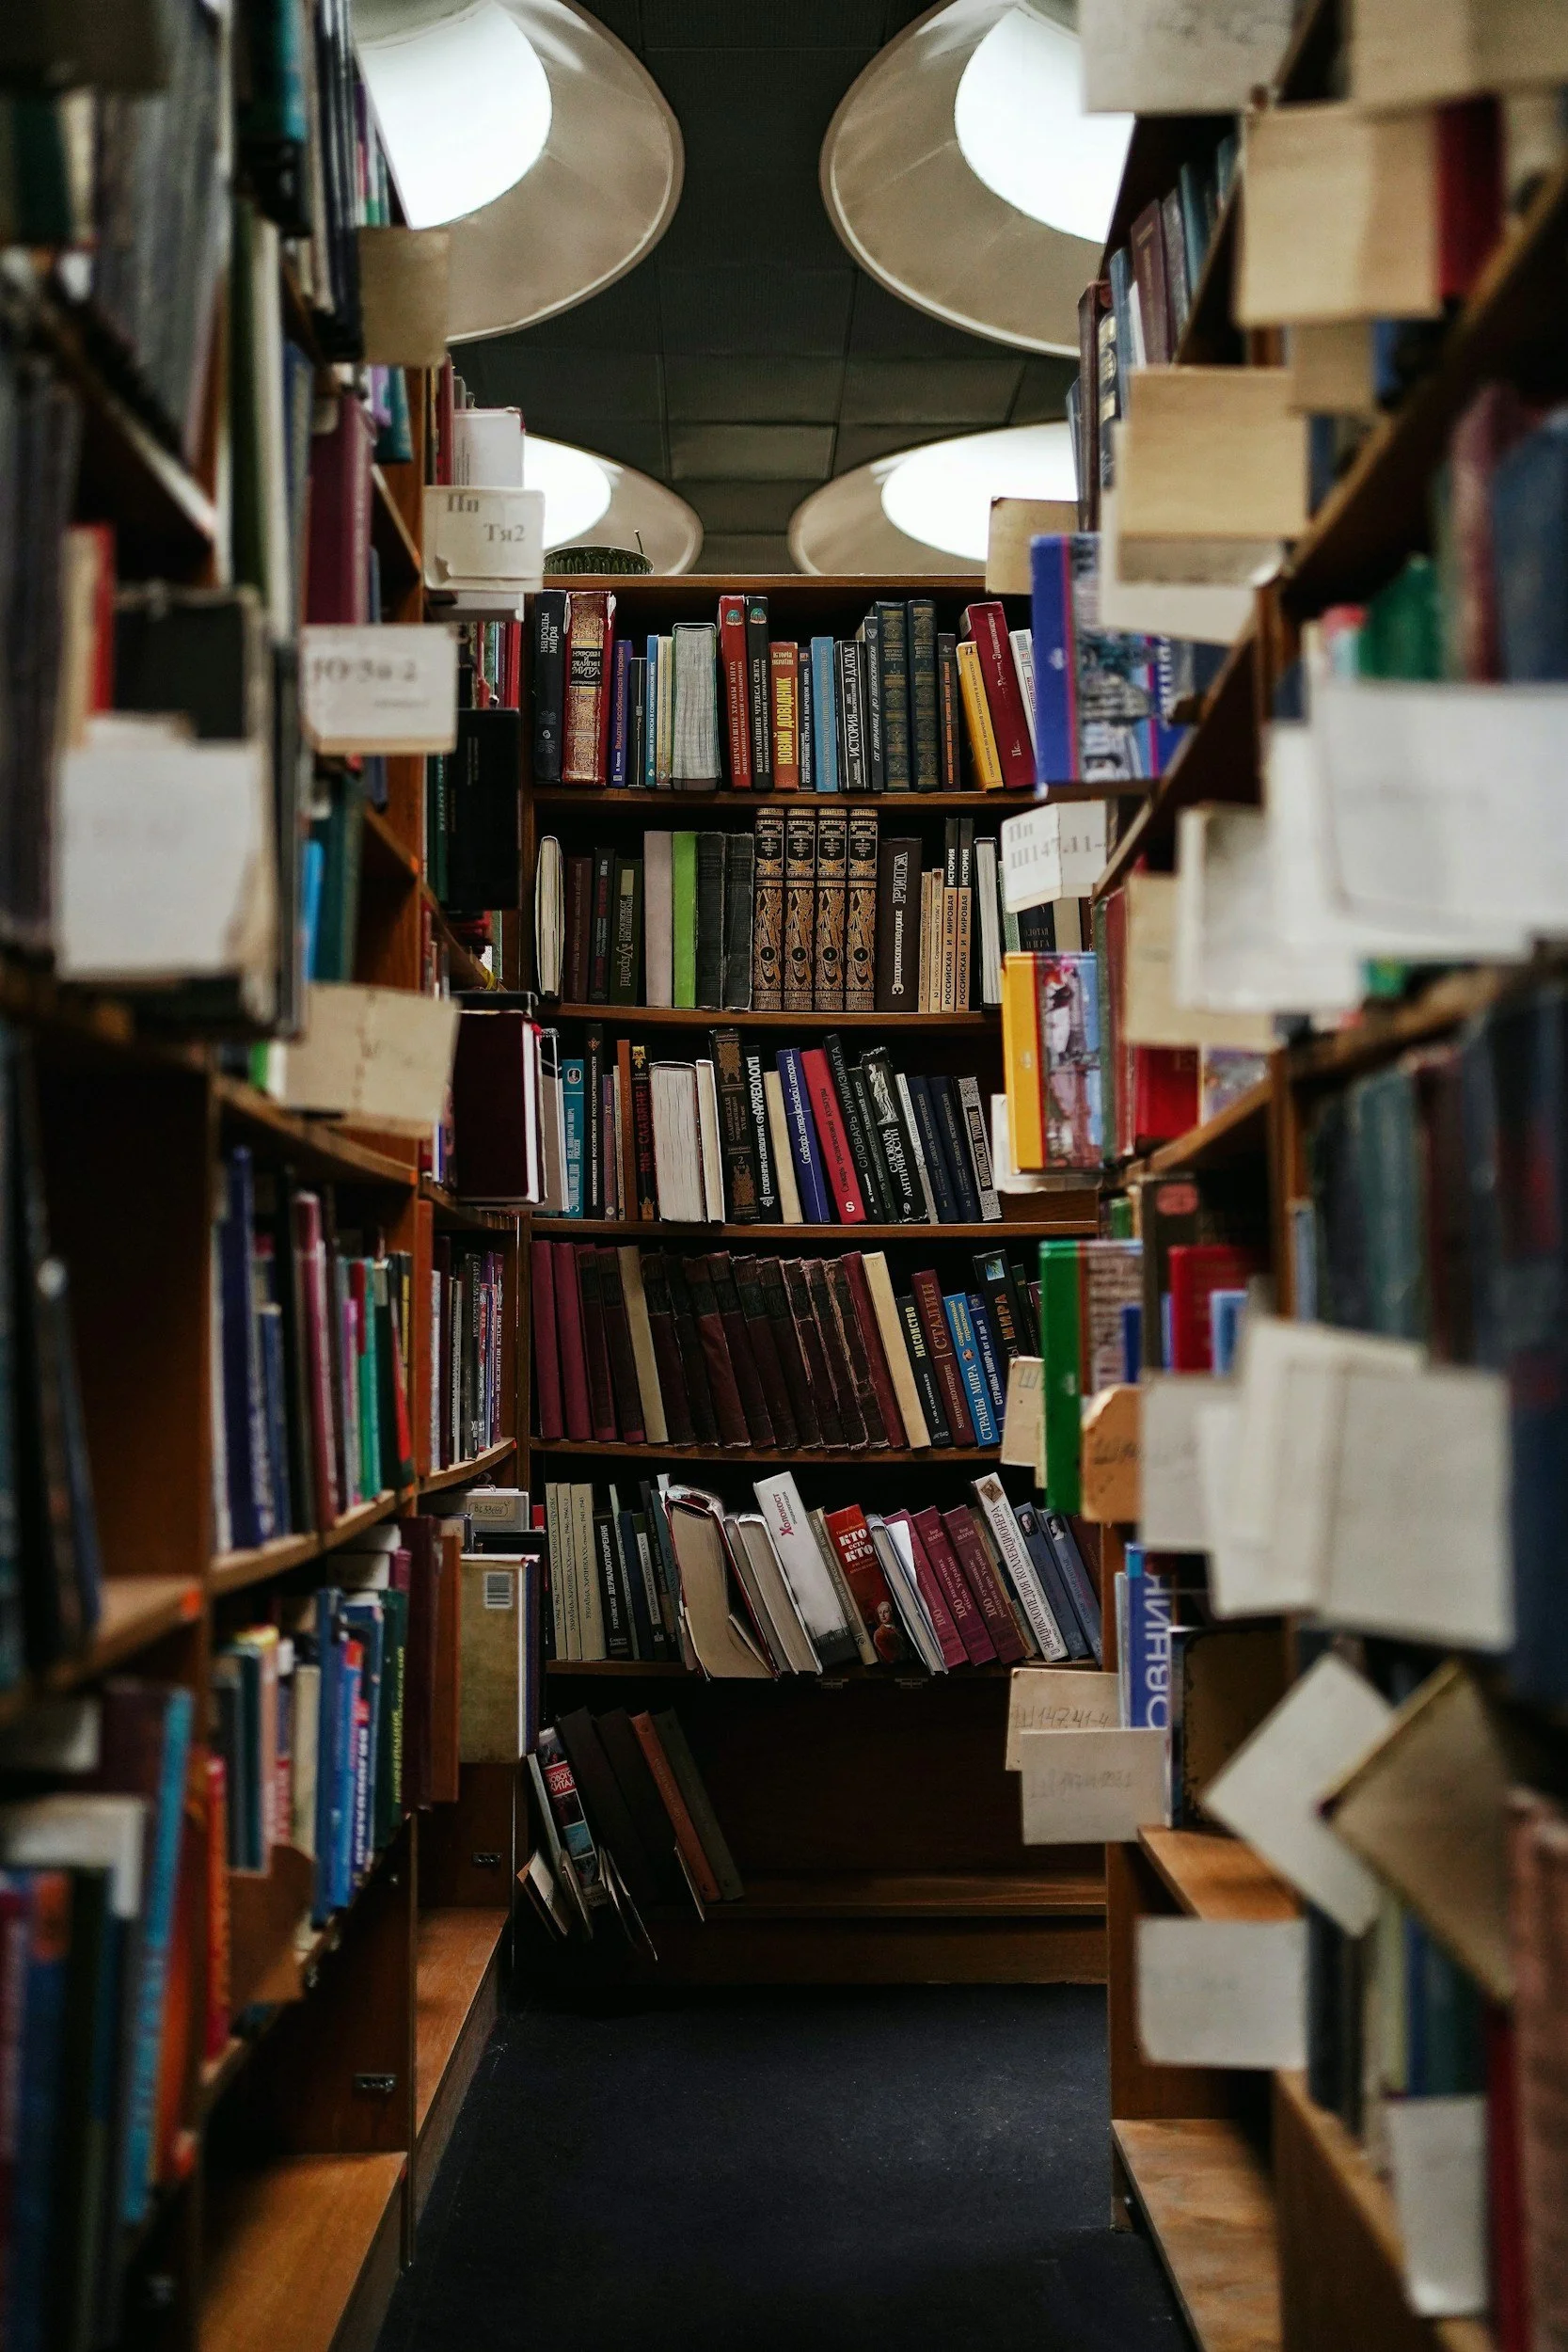
10 More Photo Books YOU Should Own
Looking for more photography books to inspire your creativity? This curated list explores 10 more essential photo books every photographer should own, covering landscapes, portraits, documentary work, street photography and powerful visual storytelling.

The Bookshelf - #8 - The Family of Man
The Family of Man is one of the most influential photography exhibitions ever created. Curated by Edward Steichen in 1955, it brought together over 500 images from photographers around the world to tell a powerful story about shared human experience. From birth and childhood to love, work, and loss, the exhibition uses carefully sequenced images to highlight universal themes that connect people across cultures.
In this short guide, we break down the meaning behind The Family of Man, explore its innovative exhibition design, and examine why it remains a key reference point for photographers today. Whether you’re studying photography or looking to deepen your understanding of visual storytelling, this is an essential piece of photographic history.
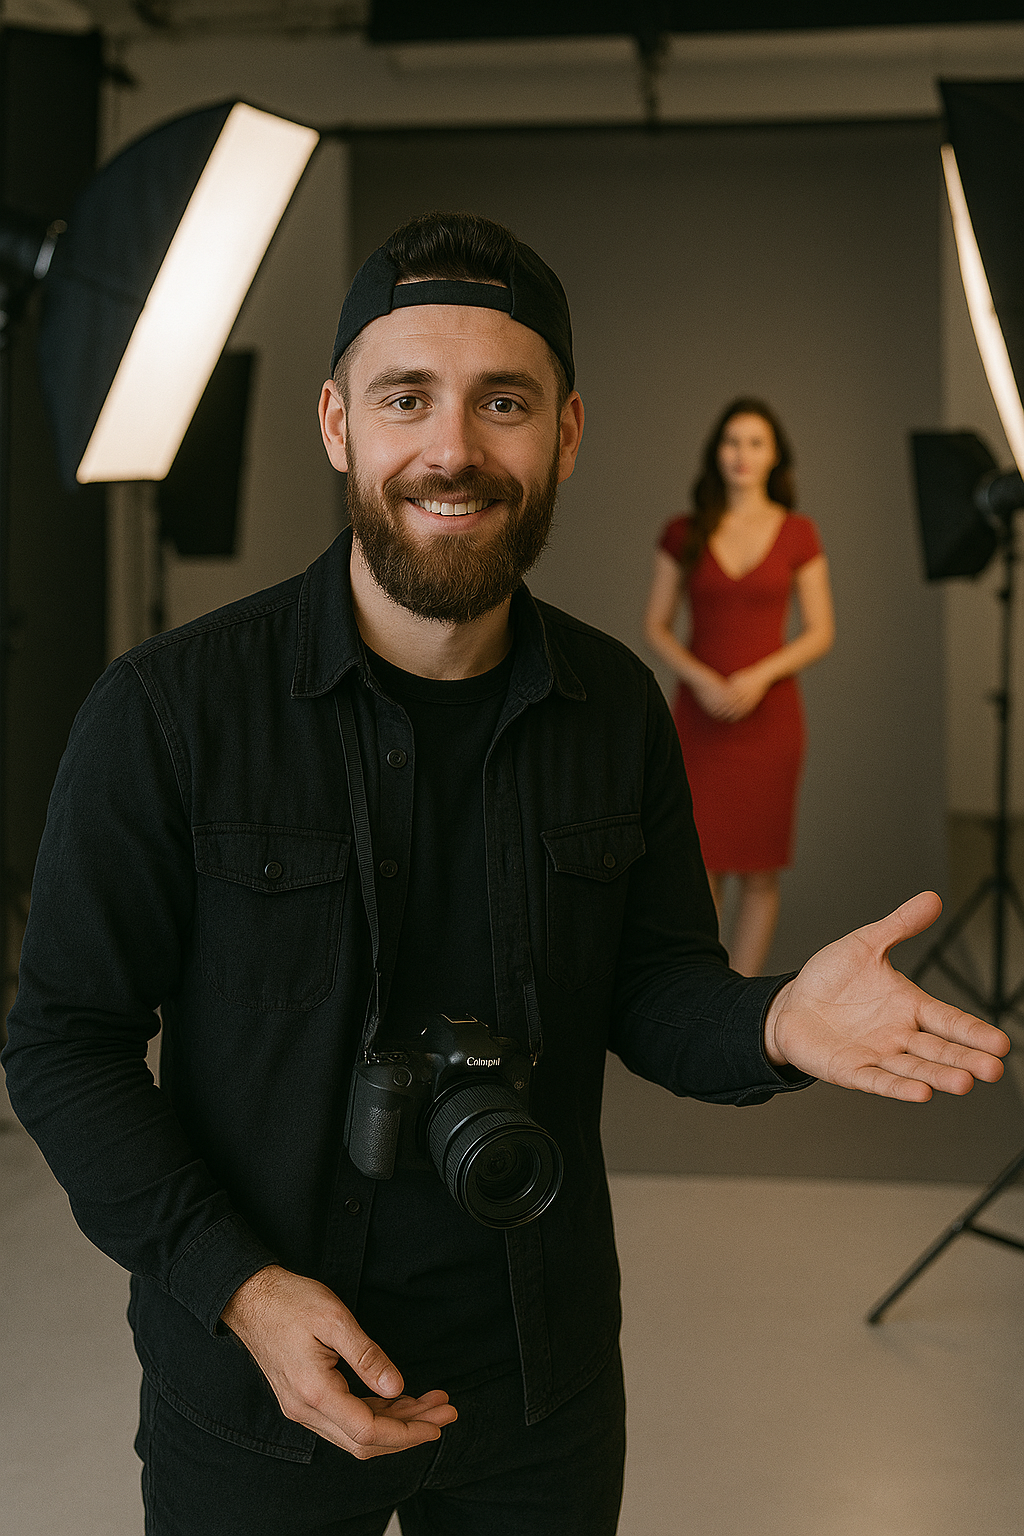
My Studio Setup
Creating a well-designed photo studio setup can transform the quality of your work and the efficiency of your workflow. In this guide, I share how I’ve built my own studio, covering essential equipment, lighting choices, layout considerations, and practical tips for creating a professional environment in both small and larger spaces. Whether you’re setting up a home studio or refining a commercial workspace, this article breaks down what really matters for consistent, high-quality results.
The Bookshelf - #7 - Todd Hido - On Landscape, Interiors and the Nude
In this edition of the Bookshelf Series, I take a look at Todd Hido: Landscapes, Interiors, and the Nude — a photography book that blends cinematic lighting, quiet storytelling, and a strong sense of atmosphere. Hido’s work captures suburban loneliness and mood in a way that feels both intimate and distant. If you’re interested in light, composition, and narrative-driven photography, this is a book worth exploring.