
What Does it Mean? A beginner’s guide to photography jargon and technical info.
ISO? Focal Length? F stop? These are all really common terms in photography and there’s loads of others as well; take a look below at my beginners guide to photographic jargon to understand what they mean and what impact they have on you photography.
I am starting to write this at the beginning of December 2025 and will keep adding to it as I think of other bits and pieces to add into. I have also created a free downloadable PDF guide to these term that you keep on your phone or print to keep handy as you start to navigate the amazing world of photography.
Aperture
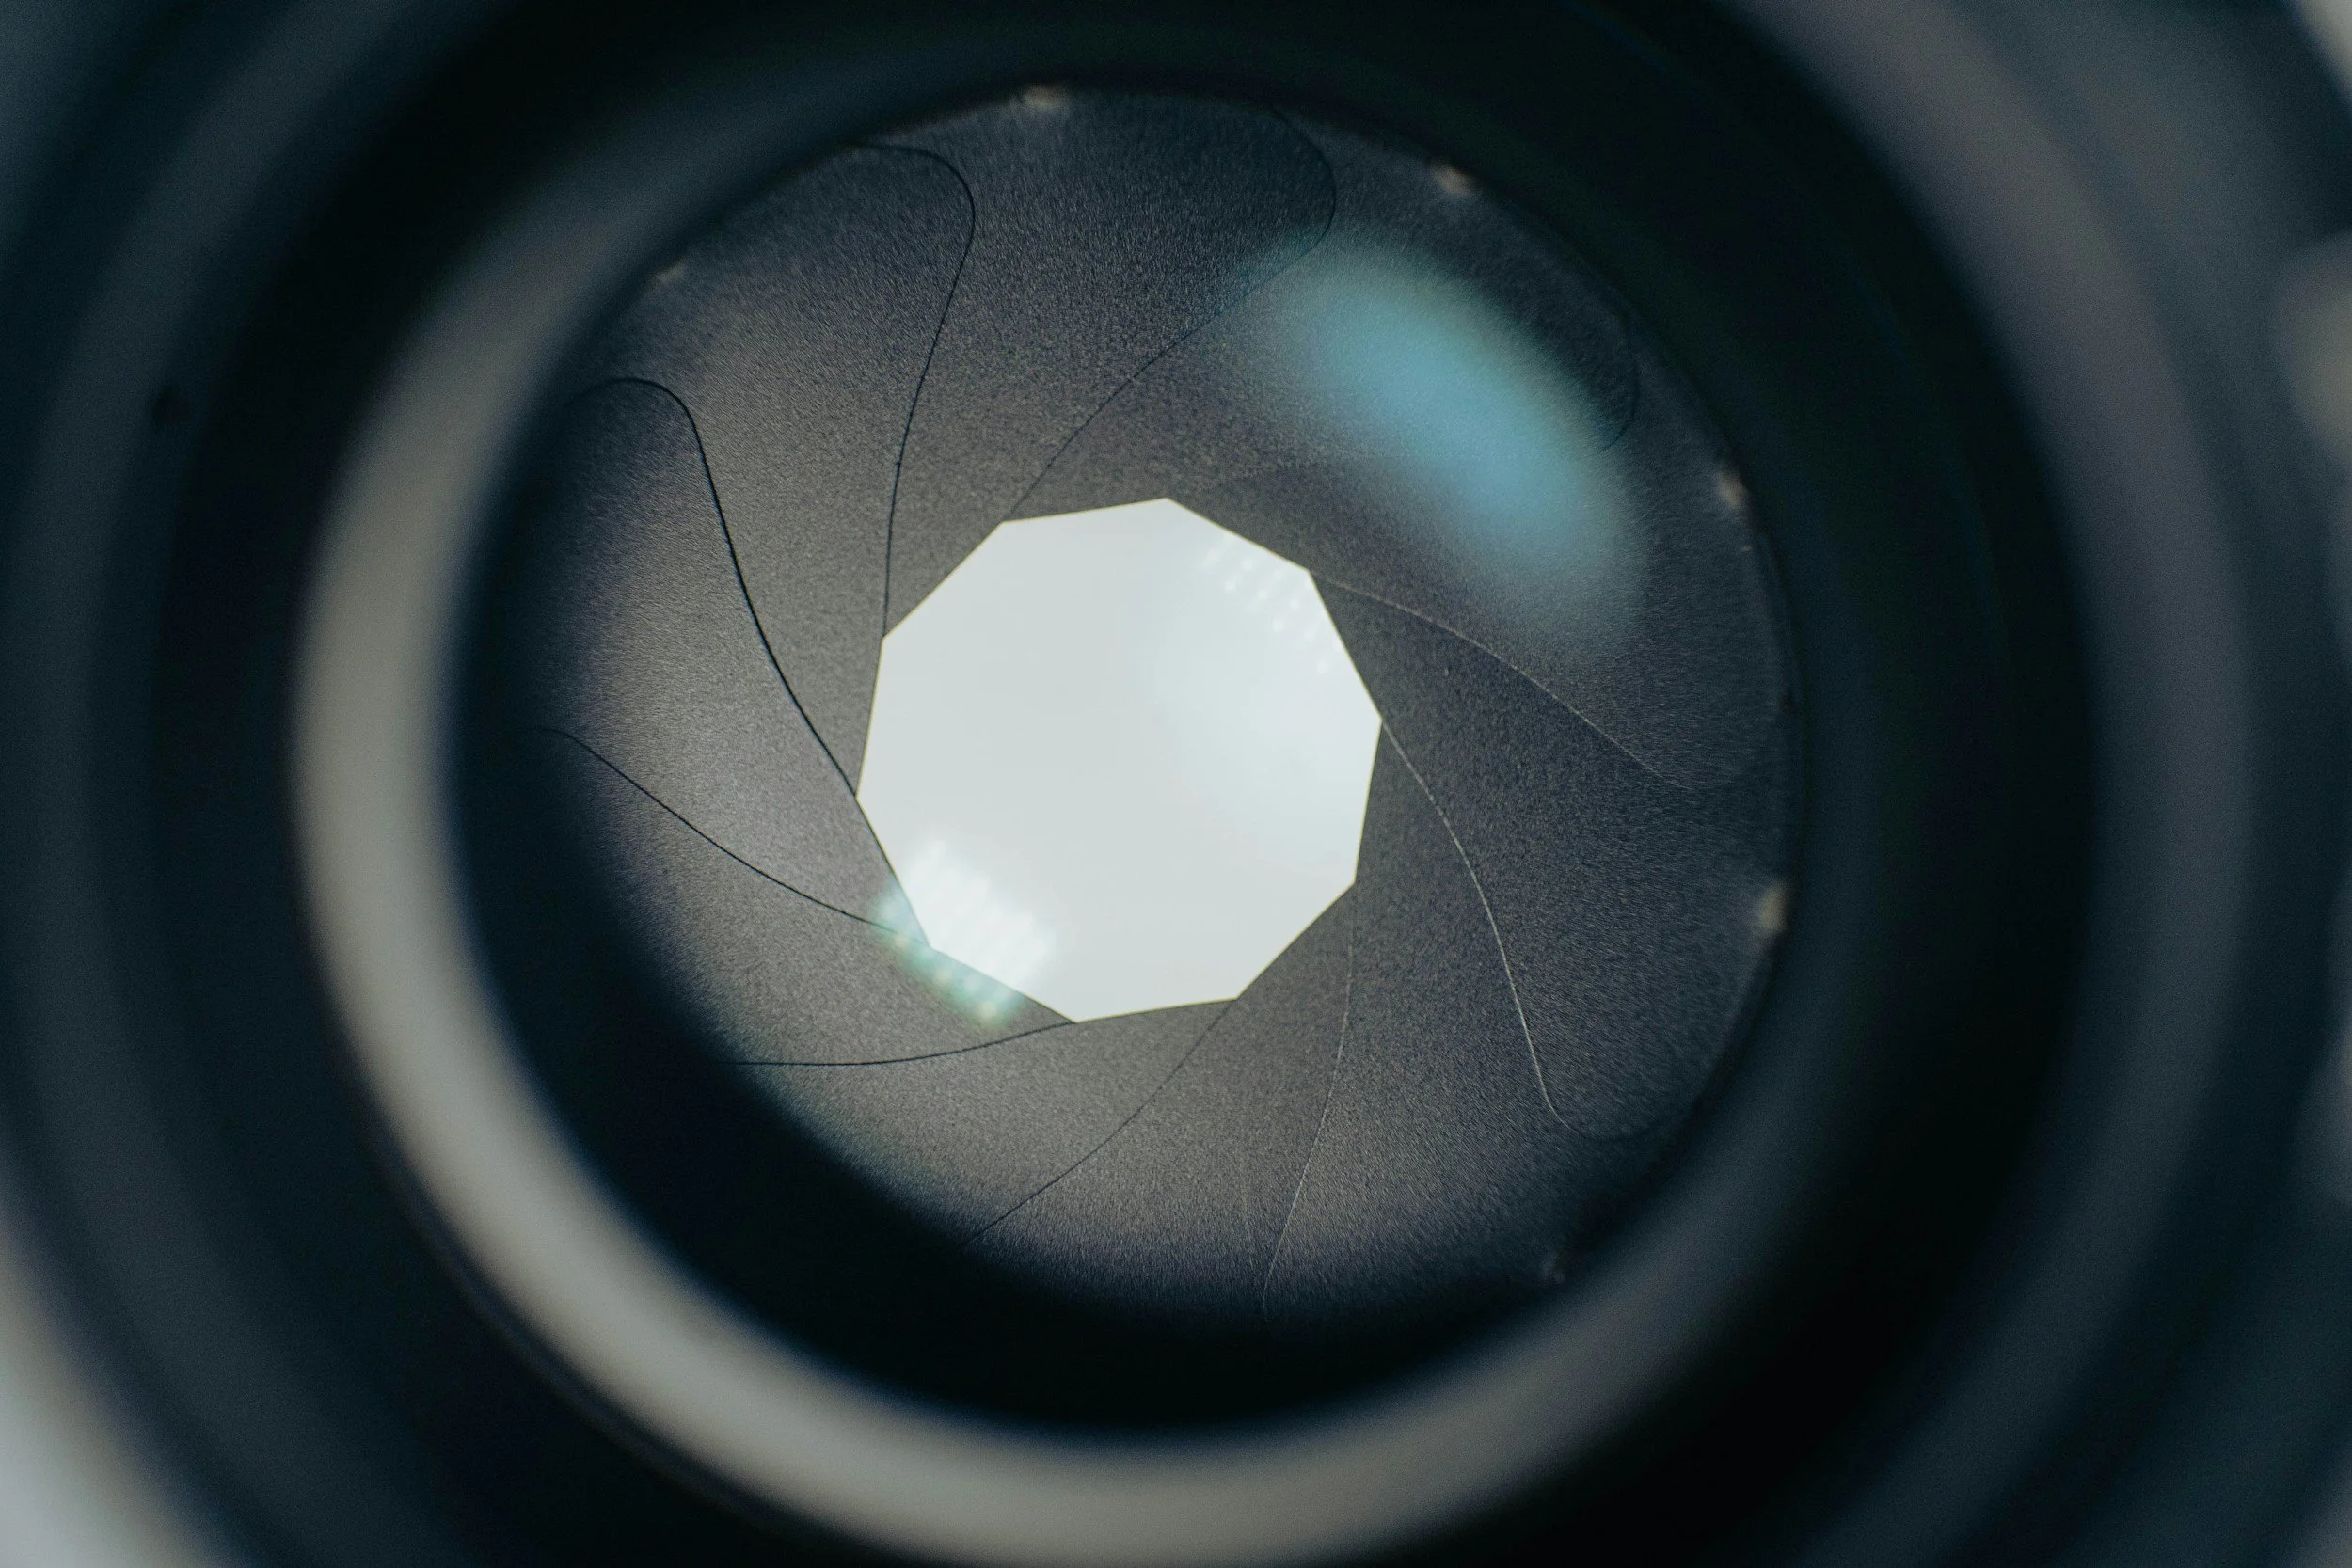
This is the ‘hole’ inside your lens that lets light in. It is controlled by some mechanics inside the lens which control the aperture leaves which open and close to change the amount of light that you let in. It is measured in f-stops, which involve some math that I won’t go into here as it’s not essential to understanding it’s opertation
The ‘f’ stands for focal length and the number that follows is a fraction representing the ratio of the lens's focal length to the aperture's diameter so it will look something like this f/2.8 or f/4.5. It will affect the depth of field of your photo, so how much of it is in focus.stand out
Lower apertures (smaller numbers) have a shallower depth of field so less of your image in focus and higher apertures haves a deeper depth of field, so more of your image will be in focus.
Most lenses are at the their sharpest at around f/8. See also Bokeh.
Aperture Priority/Value
Found on your mode dial. You set your aperture and your camera sets the shutter speed. See your camera’s manual, it varies slightly from brand to brand.
Autofocus (AF)
Autofocus is the system in your camera that automatically adjusts the lens to make your subject sharp. Instead of manually twisting the focus ring, the camera uses sensors to detect contrast, phase differences, or subject movement and then drives the lens to the correct focus point. Modern cameras offer multiple autofocus modes—such as single AF, continuous AF, and subject-tracking and allow you to choose which part of the frame the camera should prioritise. See your camera’s manual for more information about the AF modes your particular model offers, how they work and how and when to use each one.
Blue Hour
The period before sunrise in the morning and the period after sunset in the evening.
Bokeh
Pronoucned bo-kah. Each syllable is equally weighted. It refers to the desirable out of focus elements in the background of an image. Those little balls of light you seen in a night-time portrait? Bokeh. The sharp subject in a portrait against the ‘blurry’ background? The blurry background is the bokeh.
Bulb Mode
Usually indicated by the letter ‘B’ on your camera’s mode dial. Most cameras have a native maximum exposure time of 30 seconds. Bulb mode allows you to exceed this. It’s best used with a trigger or a remote shutter release cable. If you are calculating your exposure time and see that it needs to be, say 52 seconds, your camera can’t do this in manual mode and you will need bulb mode. Turn the wheel or select it from your camera’s menu, press the shutter and wait 52 seconds, then release the shutter. Triggers and release cables (get the right one for your brand of camera, they’re not all cross compatible) are useful for this as they will allow you to hold the shutter release or lock it into place for the desired amount of time without having to touch the camera and inevitably introducing movement into the image.
Chimping
Chimping is the habit photographers have of checking the back of the camera right after taking a shot. We’ve all done it — you take a photo, glance down at the screen, and hope it looks as good as it did in your head. The term comes from the joking idea that photographers crowd around their cameras going “oooh!” like excited chimps.
While there’s nothing wrong with chimping, it can become a problem if you do it too often. Staring at the screen means you’re not watching what’s happening in front of you, and you might miss some great moments.
The LCD can also be misleading, making an image look brighter or sharper than it really is.
That said, chimping has its place. A quick check of the histogram or focus can save you from mistakes. The trick is simply to use it sparingly — review when you need to, but stay engaged with the scene.
Dioptric Adjustment/Diopter
Important for those of you who wear glasses. You can adjust the diopter in your camera so that you can see a sharp image through your viewfinder without wearing your glasses. You can adjust for near or farsightedness. If you wear glasses and find it uncomfortable to look through the viewfinder whilst wearing your glasses then you should refer to your camera’s manual for information on how to make this adjustment.
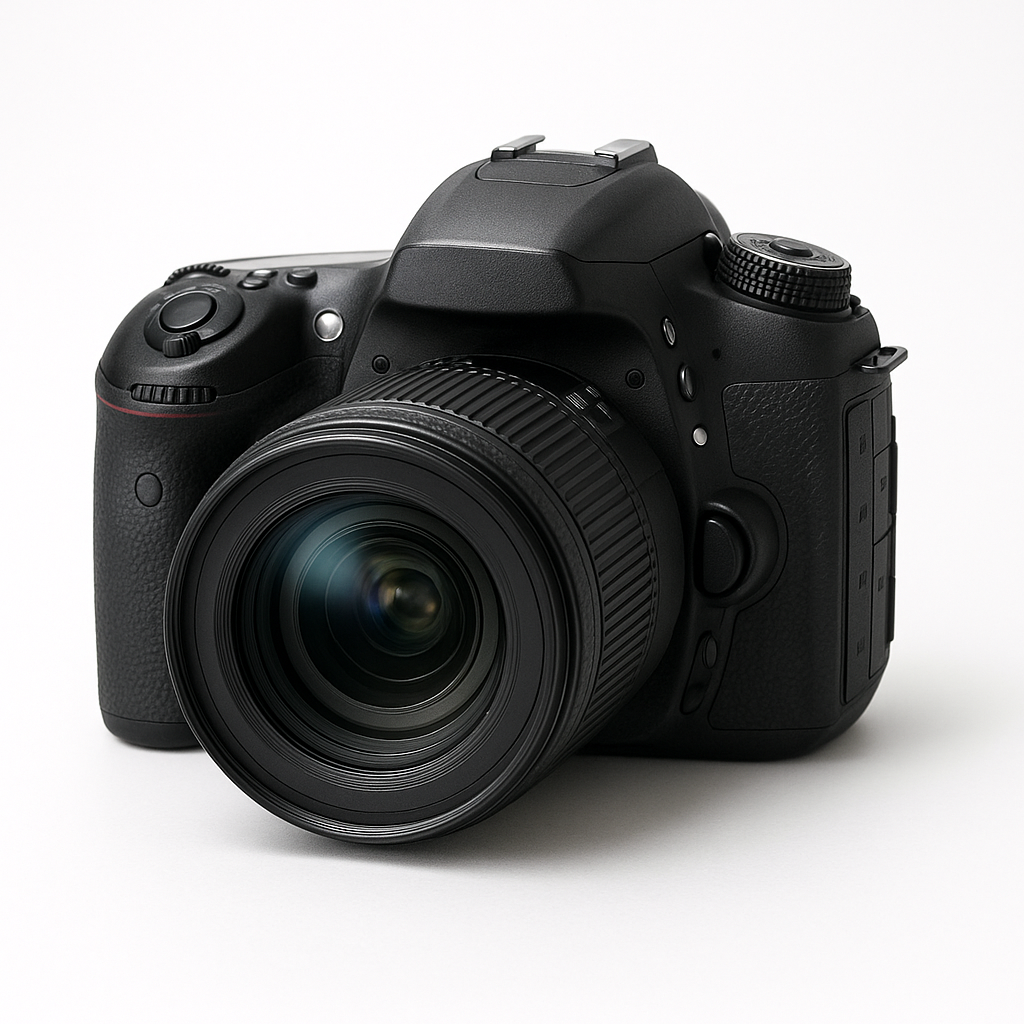
DSLR
Digital Single Lens Reflex - a camera which uses a mirror to reflect the image into the viewfinder. These tend to be bigger and heavier than mirrorless cameras. DSLR’s have an optical viewfinder.
Dynamic Range
Dynamic range refers to the range of light a camera can capture in a single image — from the darkest shadows to the brightest highlights. A camera with a high dynamic range can record more detail in both very dark and very bright areas without losing information. A low dynamic range means shadows may look too dark (crushed) and highlights may appear too bright (blown out). Dynamic range is especially important in landscape photography, where scenes often contain both bright skies and dark foregrounds. If you’re struggling with the dynamic range of your camera, then consider using exposure blending to capture all of the details!
Exposure
The overall brightness or darkness of your photo as determined by the exposure triangle made up by your ISO, shutter speed and aperture.
Exposure Stacking/Bracketing
Another more advanced technique which can allow you to capture images with high dynamic range (an image with very bright parts or very dark parts), a sunrise or sunset will often have high dynamic range. Auto exposure bracketing (AEB) is a feature on most cameras which allows you to shoot several images at different exposures so that you expose for the highlights the mid-tones and the shadows and ensure that you preserve the details in all of the different parts of the image. You can combine these easily in Lightroom to produce one perfectly exposed image. You’ll usually need to shoot these types of images on a tripod so that you can combine them easily. If the camera moves too much then it will be difficult for the software to merge them effectively. Check your manual for how to do this on your camera.
Exposure Triangle
This is the trifecta that makes up the basis of all photography. It is made up ISO, shutter speed and aperture. It’s a big subject and one that you need to master to succeed at photography; check my beginners guide to the exposure triangle blog to get a jump start on learning all about it. If you’re new to photography and only click one link in this blog, make sure it’s the one to the exposure triangle blog.
Expose to the Left (ETTL)
Expose to the Left, or ETTL, is the opposite of ETTR. It means intentionally making your photo slightly darker than normal so that the histogram leans toward the left side without clipping the shadows. Photographers sometimes use ETTL when protecting bright areas is more important to them than capturing extra shadow detail. Essentially, you are making your histogram biased to the left.
Digital sensors are more sensitive to overexposure than underexposure. Once highlights are blown out, they cannot be recovered — the detail is permanently lost. By exposing a little darker, you reduce the risk of losing detail in bright skies, reflections, water, snow, or backlit scenes.
ETTL is most useful in high-contrast lighting, sunsets, stage lighting, or any situation where highlights are at risk of clipping. After shooting, you can brighten the image slightly in editing, bringing back midtones without sacrificing the protected highlight detail.
Like ETTR, ETTL works best when shooting in RAW, where you have more flexibility for exposure adjustments.
For clarity, there is also a system of metering light called ETTL, which stands for evaluative thought the lens, and this is more appropriate for the use of flash. I’m not explaining this in this blog as it isn’t relevant to landscape photpgraphy.
Expose to the Right (ETTR)
Expose to the Right, often called ETTR, is a technique where you intentionally make your photo slightly brighter than normal so that the histogram ‘leans’ toward the right side without actually clipping the highlights. The goal is to capture as much detail and information as possible, especially in the shadows. This is the opposite of ETTL and you are biassing your histogram to the right hand side.
Digital sensors record more data in the brighter tones than in the darker ones. By exposing a little brighter, you reduce noise and improve overall image quality. Later, in editing, you simply darken the image back down to the correct exposure — but now with cleaner shadows and more detail.
ETTR works best in RAW and is commonly used in landscape photography or high-contrast scenes where shadow detail matters. It’s not recommended if your highlights are at risk of blowing out or if you’re shooting fast-action scenes where precision is harder to maintain.
Focus Stacking/Bracketing
This is a more advanced technique where you take a number of images where the focus in the image moves, usually one exposure for the foreground, one for the mid ground and then one on infinity. You can then combine these in post production to create an image which is tack sharp from front to back; this can help to ‘get round’ some of the limitations of your kit.
Focal Length
This measured in millimetres and you will find either one number (such 85mm or 50mm) or two numbers separated by a dash, such as 24-70mm or 18-55mm. The smaller the number, the wider the field of view in your image. But what do the numbers actually mean? Your lens is made of up of a number of elements, which are pieces of optical glass that focus the light from you lens onto your sensor. The numbers in your focal length indicate how far from your camera’s focal plane (or the sensor), the rear element of the lens is. In a prime lens, this is fixed, in a zoom lens, this distance will vary from the lowest number to the highest number.
F/Stop
This is the unit that we use to measure how wide our aperture is. The F stands for focal. Lower f/stops, such f/2.8 have a smaller aperture, whereas a number such as f/22 is much smaller aperture. As you move between each stop, the amount of light being let into your camera will reduce by half.
Golden Hour
The period after sunrise in the morning and before sunset in the evening. It’s renowned for flooding the scene with amazing, soft, warmly coloured light which makes photos look
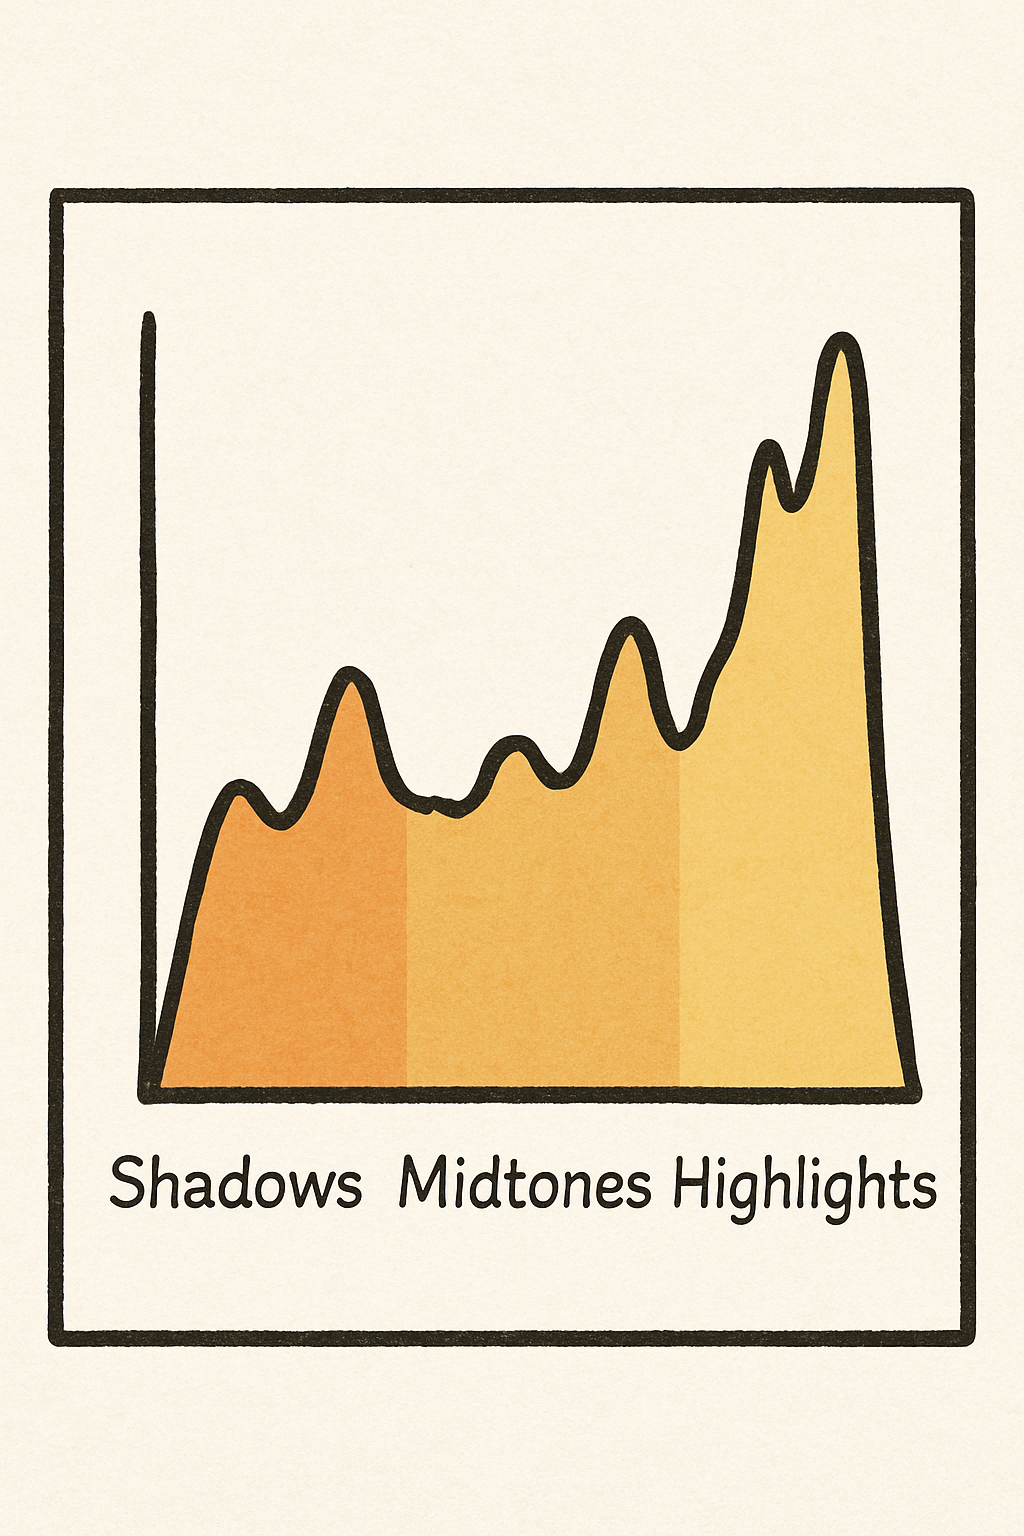
Histogram
This one is definitely going to have you chimping!
A histogram is a simple graph that shows you how bright or dark your photo is. Instead of looking at the picture itself, the histogram looks at the tones in the image and shows how they are spread out from dark to light.
The left side of the histogram represents the shadows (the darkest parts of your photo).
The middle represents the midtones (most of the detail you normally see).
The right side represents the highlights (bright areas such as the sky or reflections).
By checking the histogram, you can quickly see whether your image is too dark, too bright, or well exposed. If the graph is pushed up against the left edge, your shadows may be too dark and losing detail. If it’s hitting the right edge, your highlights may be blown out. A balanced histogram usually means a well-exposed image, although the “perfect shape” will always depend on the scene.
IBIS
In Body Image Stabiliation. Not all cameras have this, more expensive, newer ones often do. Basically a small set of motors in the camera body which help to stabilise your image without the need for a tripod. If you’ve got money to burn then opt for the Hasselblad X2D2 with awesome IBIS allowing your to shoot handheld up to around 3 seconds. If you don’t, get a tripod.
Image Stabilisation (IS)
Similar to IBIS but in your lens and not as pricey. Don’t get me wrong, it’s going to bump up the price but not so much that it becomes out of reach for most photographers. If you’re using a tripod, don’t forget to turn off your IS or your it might make your photos blurry as it’s ‘fighting’ the tripod.
ISO
This is more complicated than then way I am about to explain it, but in simple terms, ISO controls how sensitive your camera’s sensor is to light. The lower the number, the the less sensitive it is. Most cameras have a base ISO of 100 though ISO 64 is becoming much more common. It will affect your image quality, your camera will determine how your image “handles” higher ISO. High ISO can introduce “noise” or “grain” into your image, you’ll need to work with your camera and get to know it to figure out where your ‘cut off’ point is. For example, I know on my camera I am going to start having serious issues above ISO6400 so I try to stay below this where possible, but given the times of day I shoot it’s not normally an issue and in the studio it is never an issue as I have full control over the light.
JPEG
A compressed file format that’s smaller but loses some detail. They don’t store as much data as a RAW file so you get far less flexibility in post production. If you want to do a lot of editing, shoot either RAW or RAW+JPEG. See your camera’s manual for more details.
Manual Mode
A mode on your camera, usually indicated by the letter M on the mode dial. This gives you full control over all of your camera’s settings. See your camera’s manual, it varies from brand to brand.
Metering
Metering is the process your camera uses to measure the brightness of a scene so it can determine the correct exposure. The camera analyses the light entering through the lens and decides how bright or dark the final image should be based on your chosen metering mode. Different metering modes—such as matrix/evaluative, centre-weighted, and spot metering—tell the camera which part of the frame to prioritise when calculating exposure.
Mirrorless Camera
A camera which doesn’t have a mirror inside it like a DSLR camera does. Instead of an optical viewfinder, they have an electronic viewfinder (EVF). The EVF is a small screen inside the viewfinder showing a live image of what the camera is looking at rather than showing the actual image through system of mirror and prisms like in a DSLR. They tend to be smaller and lighter than a DSLR camera; they’re also more expensive.
Motion Blur
Blur in your image which is caused by a subject moving during your shot, sometimes this is desirable and can help to tell the story of a photo (street photographers and sports photographers (to some extent) really benefit from this) and sometimes it isn’t what we want, especially as landscape photographers when sharpness is often the key. Sometimes, we want to get some motion blur in things like clouds or water as this helps to give a sense of time passing during your photo.
Minium Focussing Distance
The minimum distance that your lens can be from your subject and in relation to the camera’s sensor and still be able to focus. This varies from lens to lens and will usually be indicated by the word “macro” followed by the distance which is printed somewhere on the barrel of you lens. If it doesn't have the word macro, look for the little glyph of a flower with the number printed after it. Macro lenses tend to have a closer minimum focus distance than a ‘standard’ lens.

N.D (Neutral Density)
Usually applies to ND Filters. ND Filters are pieces of engineered glass which you can screw onto the front of your lens and it limits the amount of light allowed into your lens, a bit like a pair of sunglasses for a camera. They are called neutral density filters as they are supposed affect all of colours of light equally meaning that the colour of your scene is preserved in your shot with giving any colour cast; most of them don’t do this and you end up with a slight colour cast on your image which needs to be corrected in post production.
True ND filters do exist (they don’t give a colour cast and they do affect all colours equally), but expect to pay a premium for these.
Polarising Filter
This type of filter is really useful if you’re shooting near water or around a lot of glass. It can help to minimise the reflections and glare that you get from water and glass. Really useful if you want to see through water or minimise the reflections in the glass if you do a lot of automotive photography.
Prime Lens
This is a lens which only shoots at one focal length. Common prime lens focal lengths are 50mm, 85mm, 35mm and 24mm. The advantage of prime lenses is that they better image quality, that is to say that they are sharper but they don’t offer the flexibility that you get with a zoom lens.
RAW File
An uncompressed image format which is great for editing. Don’t be disheartened when your images don’t look like they did on the back of the camera when you look at them on the computer - these were made to be edited! The preview on the back of your camera is a JPEG so you can get an idea of what your image looks like. Raw’s are quite large and you’ll need plenty of storage!
Shutter Priority/Time Value
Another camera mode, you set the shutter speed, the camera selects your aperture. See your camera’s manual, it varies from brand to brand.
Shutter Speed
The shutter controls how long your sensor is exposed to light for. If you want to freeze motion, such as at a sports game, you will need a fast shutter speed - the faster the subject, the faster the required shutter speed. Slower shutter speeds help to create motion or motion blur in your images and can be great at night for capturing light trails. Shutter speed combines with ISO and aperture to form the exposure triangle.
Stopped Down/Stopping Down/Stop Down
Reducing the aperture size of your camera. For example ‘I need to stop down’, ‘I shot this image stopped down all the way to f/22’, or ‘It’s really bright day, I am going to be stopping down a lot’.
Telephoto Lens
Telephoto lenses are generally lenses which have a focal length of 70mm and upwards. Anything between 35mm and 70mm is considered to be a ‘normal' or ‘standard’ focal length.
Thread Size
This refers to the filter which is on the front of your lens, which allows you to attach filters of the screw-in type. You can get some which attach via brackets or magnets, but these tend to be more expensive. Some lenses which have large front elements don’t have threads on the front, but do have a location at the back of the lens where you can use a drop in filter which sits between the lens and your sensor.
Wide Angle Lens
A wide angle lens is generally accepted to be any lens with a focal length of less than 35mm (on a full frame camera).
Wide Open
When a photographer says they are shooting wide open, they are saying that they are using their lens at its widest aperture setting.
Zoom Lens
The opposite of a prime lens. Your focal length will be written as two numbers with a dash, such as 24-70mm. This means that the lens can “zoom” into a longer focal length to pick out bits of a scene.
Image credits - aperture blades/camera lens - @mjtang on unsplash.
If you’d like to support the blog and help me keep producing Lake District photography content, honest gear reviews and regular website updates, you can do so via my Buy Me a Coffee page. Keeping everything running smoothly takes time, and your support makes a real difference. Thank you.