5 Landscape Photography Techniques You Should Know to Improve Your Images.
Just a quick one this week. I wanted to share five techniques that I use on most shoots which help me to be a better photographer. Some of these are things that I have spoken about before, but I wanted to put all these in one place to create a more cohesive resource with everything in one place. If I have spoken about something before then I will include a link to the more in-depth blog about that topic so that if you want to dive a bit deeper then you can do that at your leisure!
This blog contains Amazon affiliate links, if you make a qualifying purchase after you have clicked one of these links then I may receive a small kickback; these really help me to keep running this blog and I really appreciate every click!
Focus Stacking
Focus stacking is a valuable technique in landscape photography for achieving front-to-back sharpness when a single exposure can’t hold everything in focus. By taking several images at different focus distances—usually starting from the foreground and working towards the horizon—and blending them in post-production, you create a final image where every element appears crisp and detailed.
This approach is especially useful when working with wide-angle lenses at close range, where even small foreground subjects can fall outside the depth of field. Focus stacking ensures the entire scene remains sharp without resorting to diffraction-inducing apertures. Although it takes a little more time in the field and requires software to merge the frames, the resulting clarity makes it a powerful technique for producing high-resolution, publication-ready landscape images with exceptional depth.
Exposure Stacking
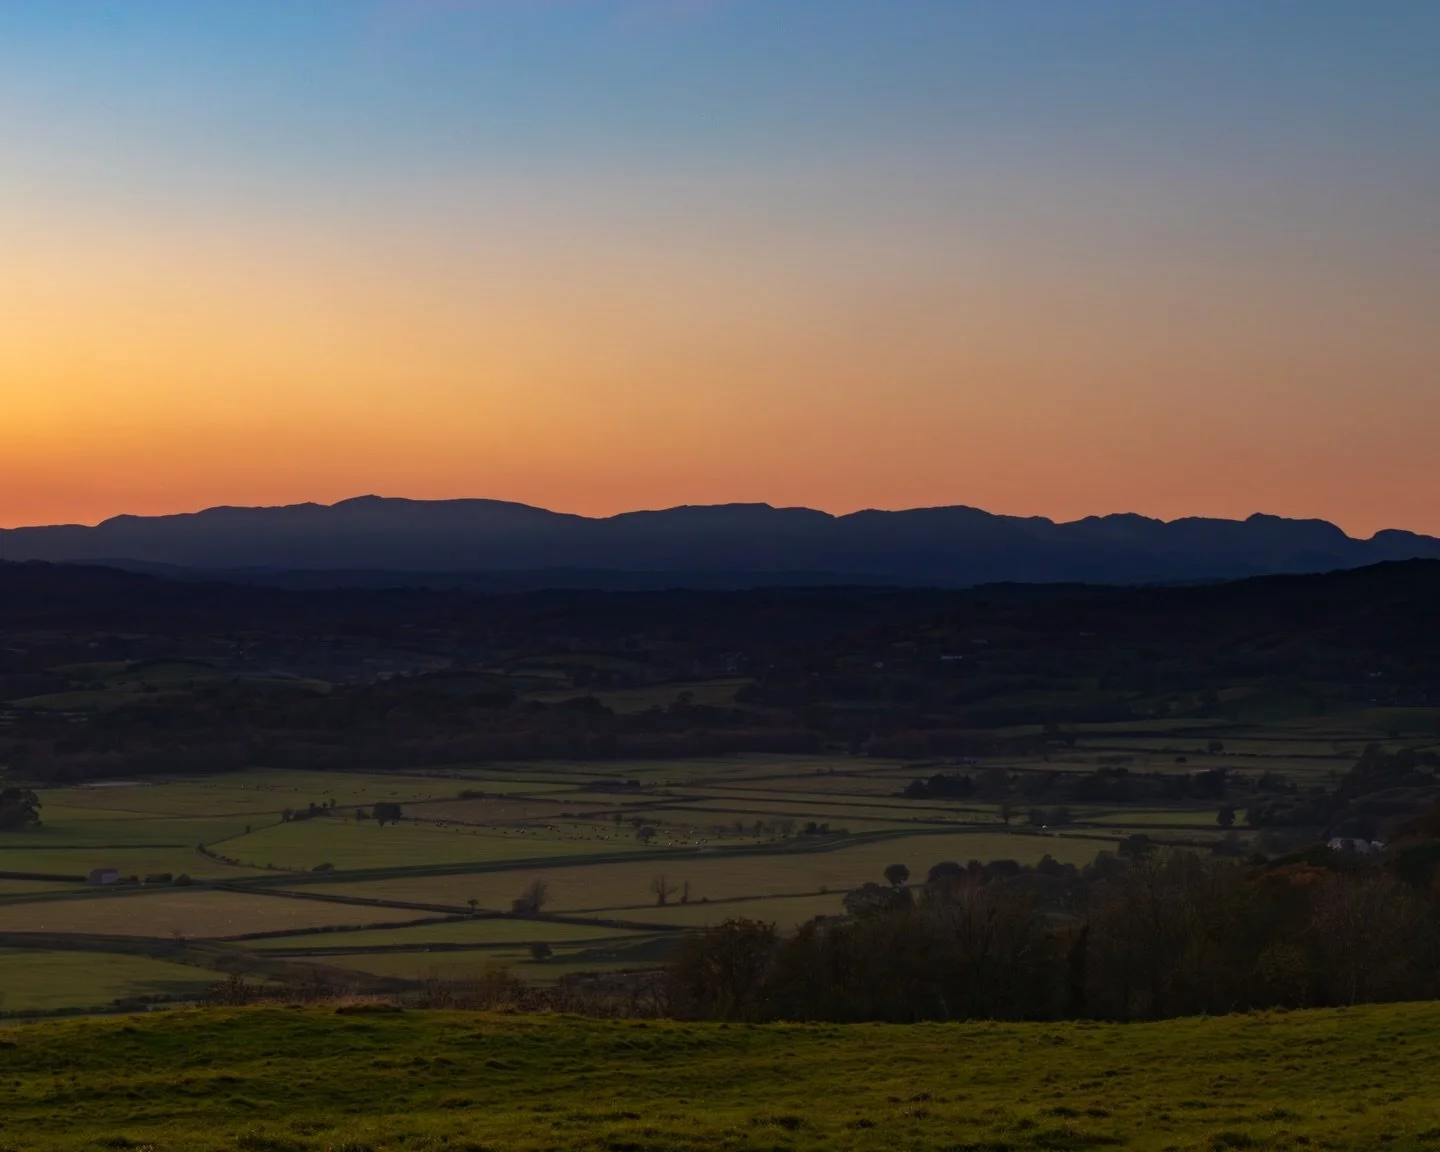
Exposure stacking is a versatile technique in landscape photography used to manage extreme dynamic range by blending multiple exposures of the same scene. Instead of relying on a single frame to capture both bright highlights and deep shadows, exposure stacking involves taking several images at different exposure levels and merging them in post-processing to retain detail across the entire tonal range.
This creates a final image that looks natural while preserving information in both the sky and the foreground, avoiding blown highlights or noisy shadows. It’s especially effective at sunrise or sunset when contrast is highest. Although it requires a tripod and careful alignment, exposure stacking offers far greater flexibility than a single exposure and produces cleaner, more balanced landscape images with rich detail throughout.


Shutter Release Delay
Probably the easiest one on the whole list, but also one of the most important if you want to make sure that your images are sharp and free from any camera movement. It’s really as simple as setting the self timer on your camera before you release the shutter. This is something you would normally do if your camera is on a tripod.
But why is this so important? What we want to do by doing this is to reduce the amount of movement we introduce into the camera. No matter how steady handed or ‘gentle’ you are with your shutter press, the camera is always going to offer up some resistance meaning you’ll need to use some pressure to press the shutter. This is going to cause your camera to move and result in an image that has motion in it, and often in landscape photography, this is something that we are really keen to avoid.
Why does it work? Having the two second timer gives the camera time to settle once you’ve pressed the button, so by the time the shutter releases, the camera is still and you aren’t getting the motion blur in you final image. This is especially important at longer focal lengths as any movement you may is going to be amplified at the business end of the lens, but it’s a good habit to get into at any focal length to ensure that you’re giving yourself the best chance of getting that super sharp image.
You could use the ten second timer function as well, but I have tried this and haven’t noticed that it makes any huge difference not the quality of the image that I’m getting.
You could go one stage further and use a trigger or a shutter release cable alongside your two second timer and this will help to guarantee that you’re giving yourself the best chance at keeping the camera still. These aren’t super expensive pieces of kit and they are always useful to have in your bag. They are usually camera specific so do your research before you buy one, but I like this Aodelan Intervalometer which you can pick up on Amazon, and I have written a review of it which you can read here.
Expose to The Right (ETTR)
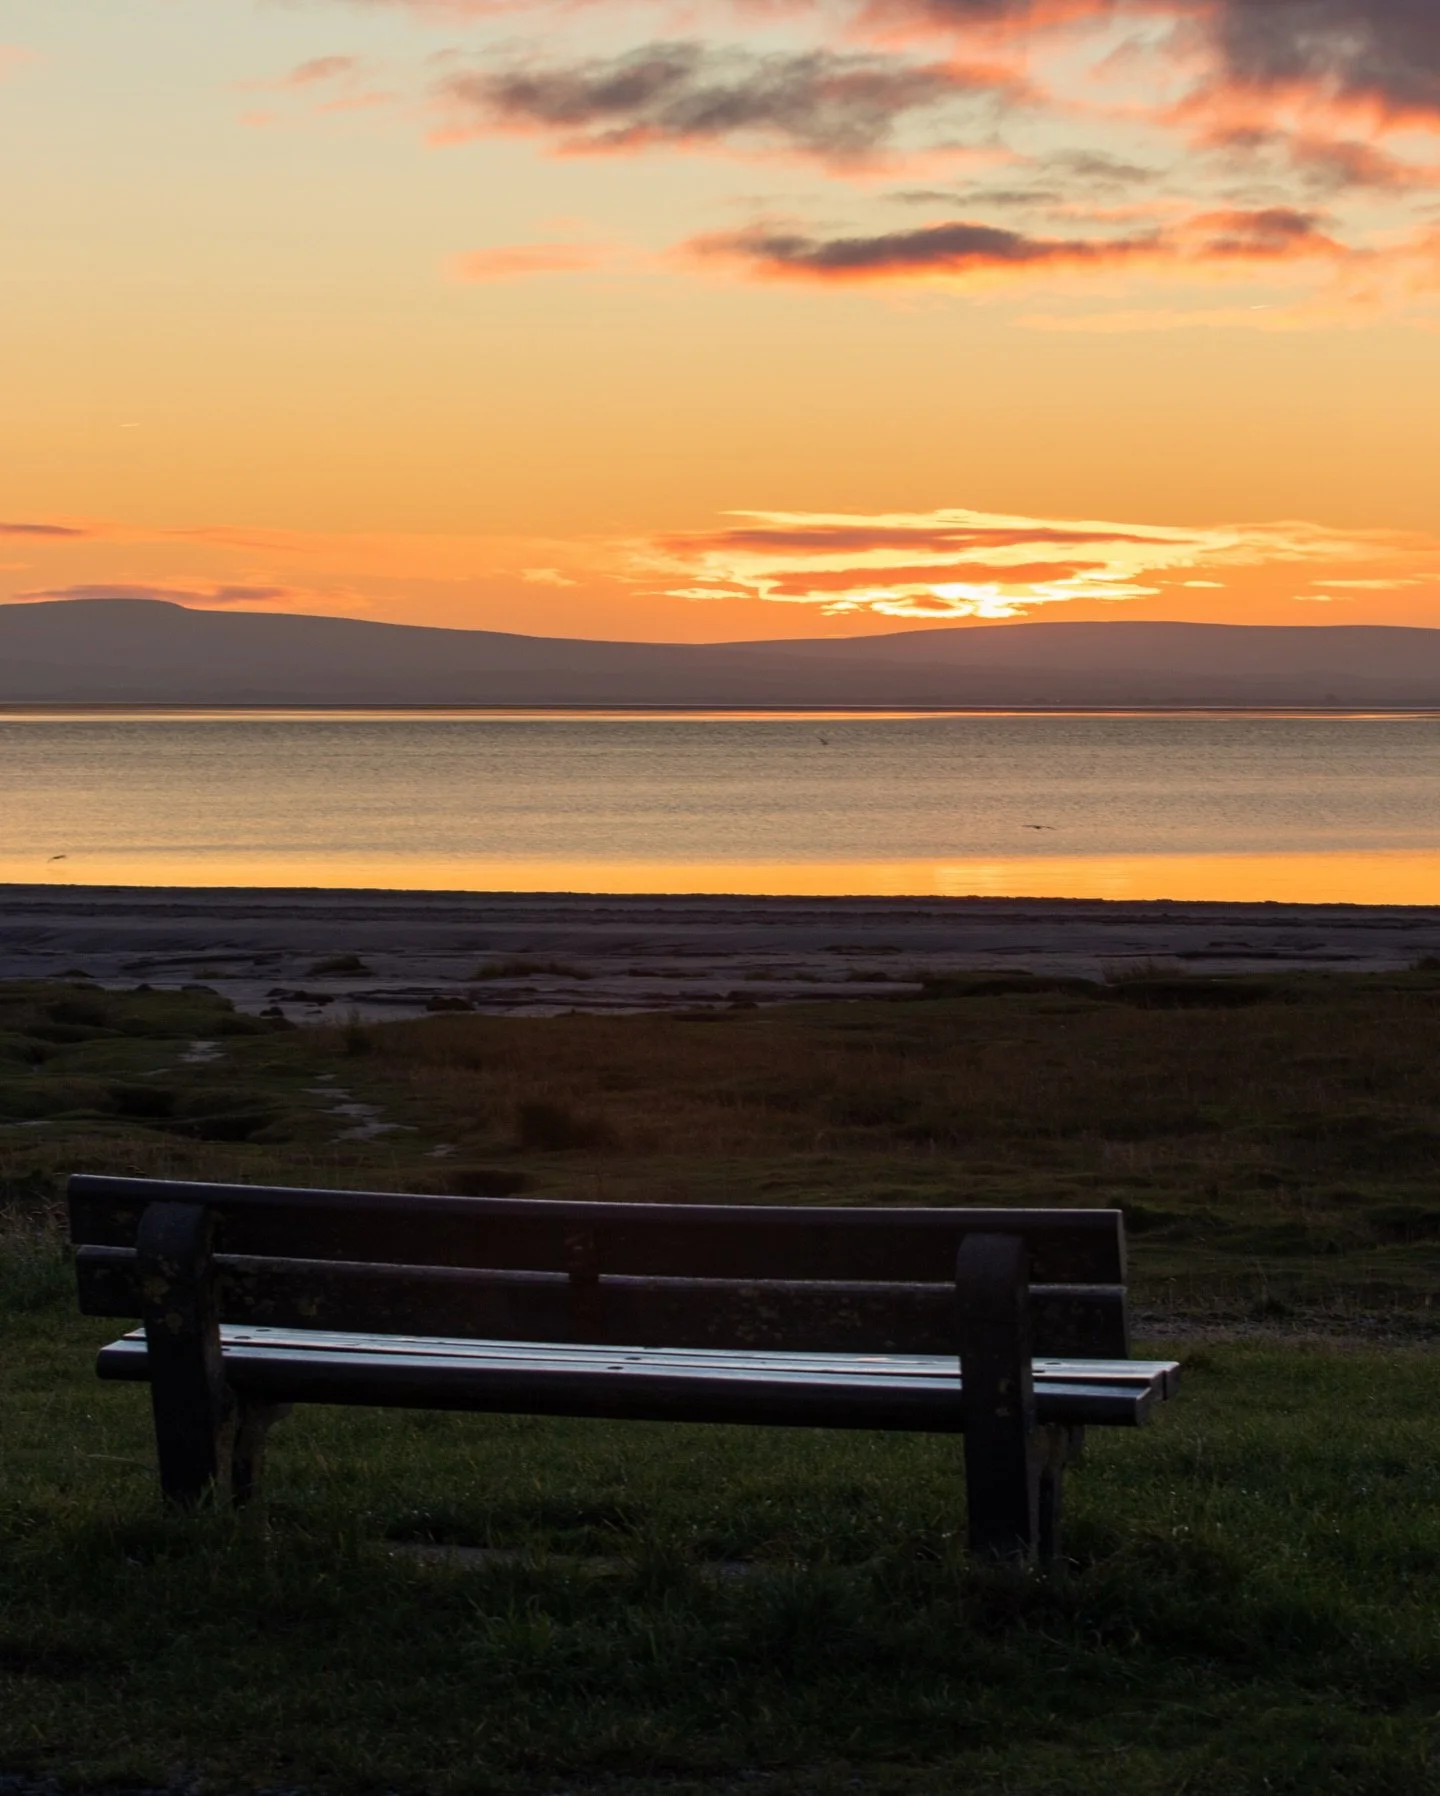
One of the most effective ways to improve image quality in landscape photography is to use ETTR—Expose to the Right. This technique involves setting your exposure so the histogram sits as far to the right as possible without clipping important highlights. Because digital sensors record the most tonal information in the brighter areas of an image, capturing more light gives you cleaner data, smoother tonal transitions and more accurate colours.
The result is a file with far less noise in the shadows, which means you can darken the image during editing while retaining detail and texture throughout the scene. ETTR is particularly helpful when working with high-contrast landscapes, dramatic skies or deep foreground shadows, where maximising dynamic range becomes essential. Although it requires care to avoid blown highlights, especially with reflective surfaces or intense sunlight, ETTR offers landscape photographers a simple but powerful way to achieve sharper, cleaner and more flexible RAW files for post-processing.
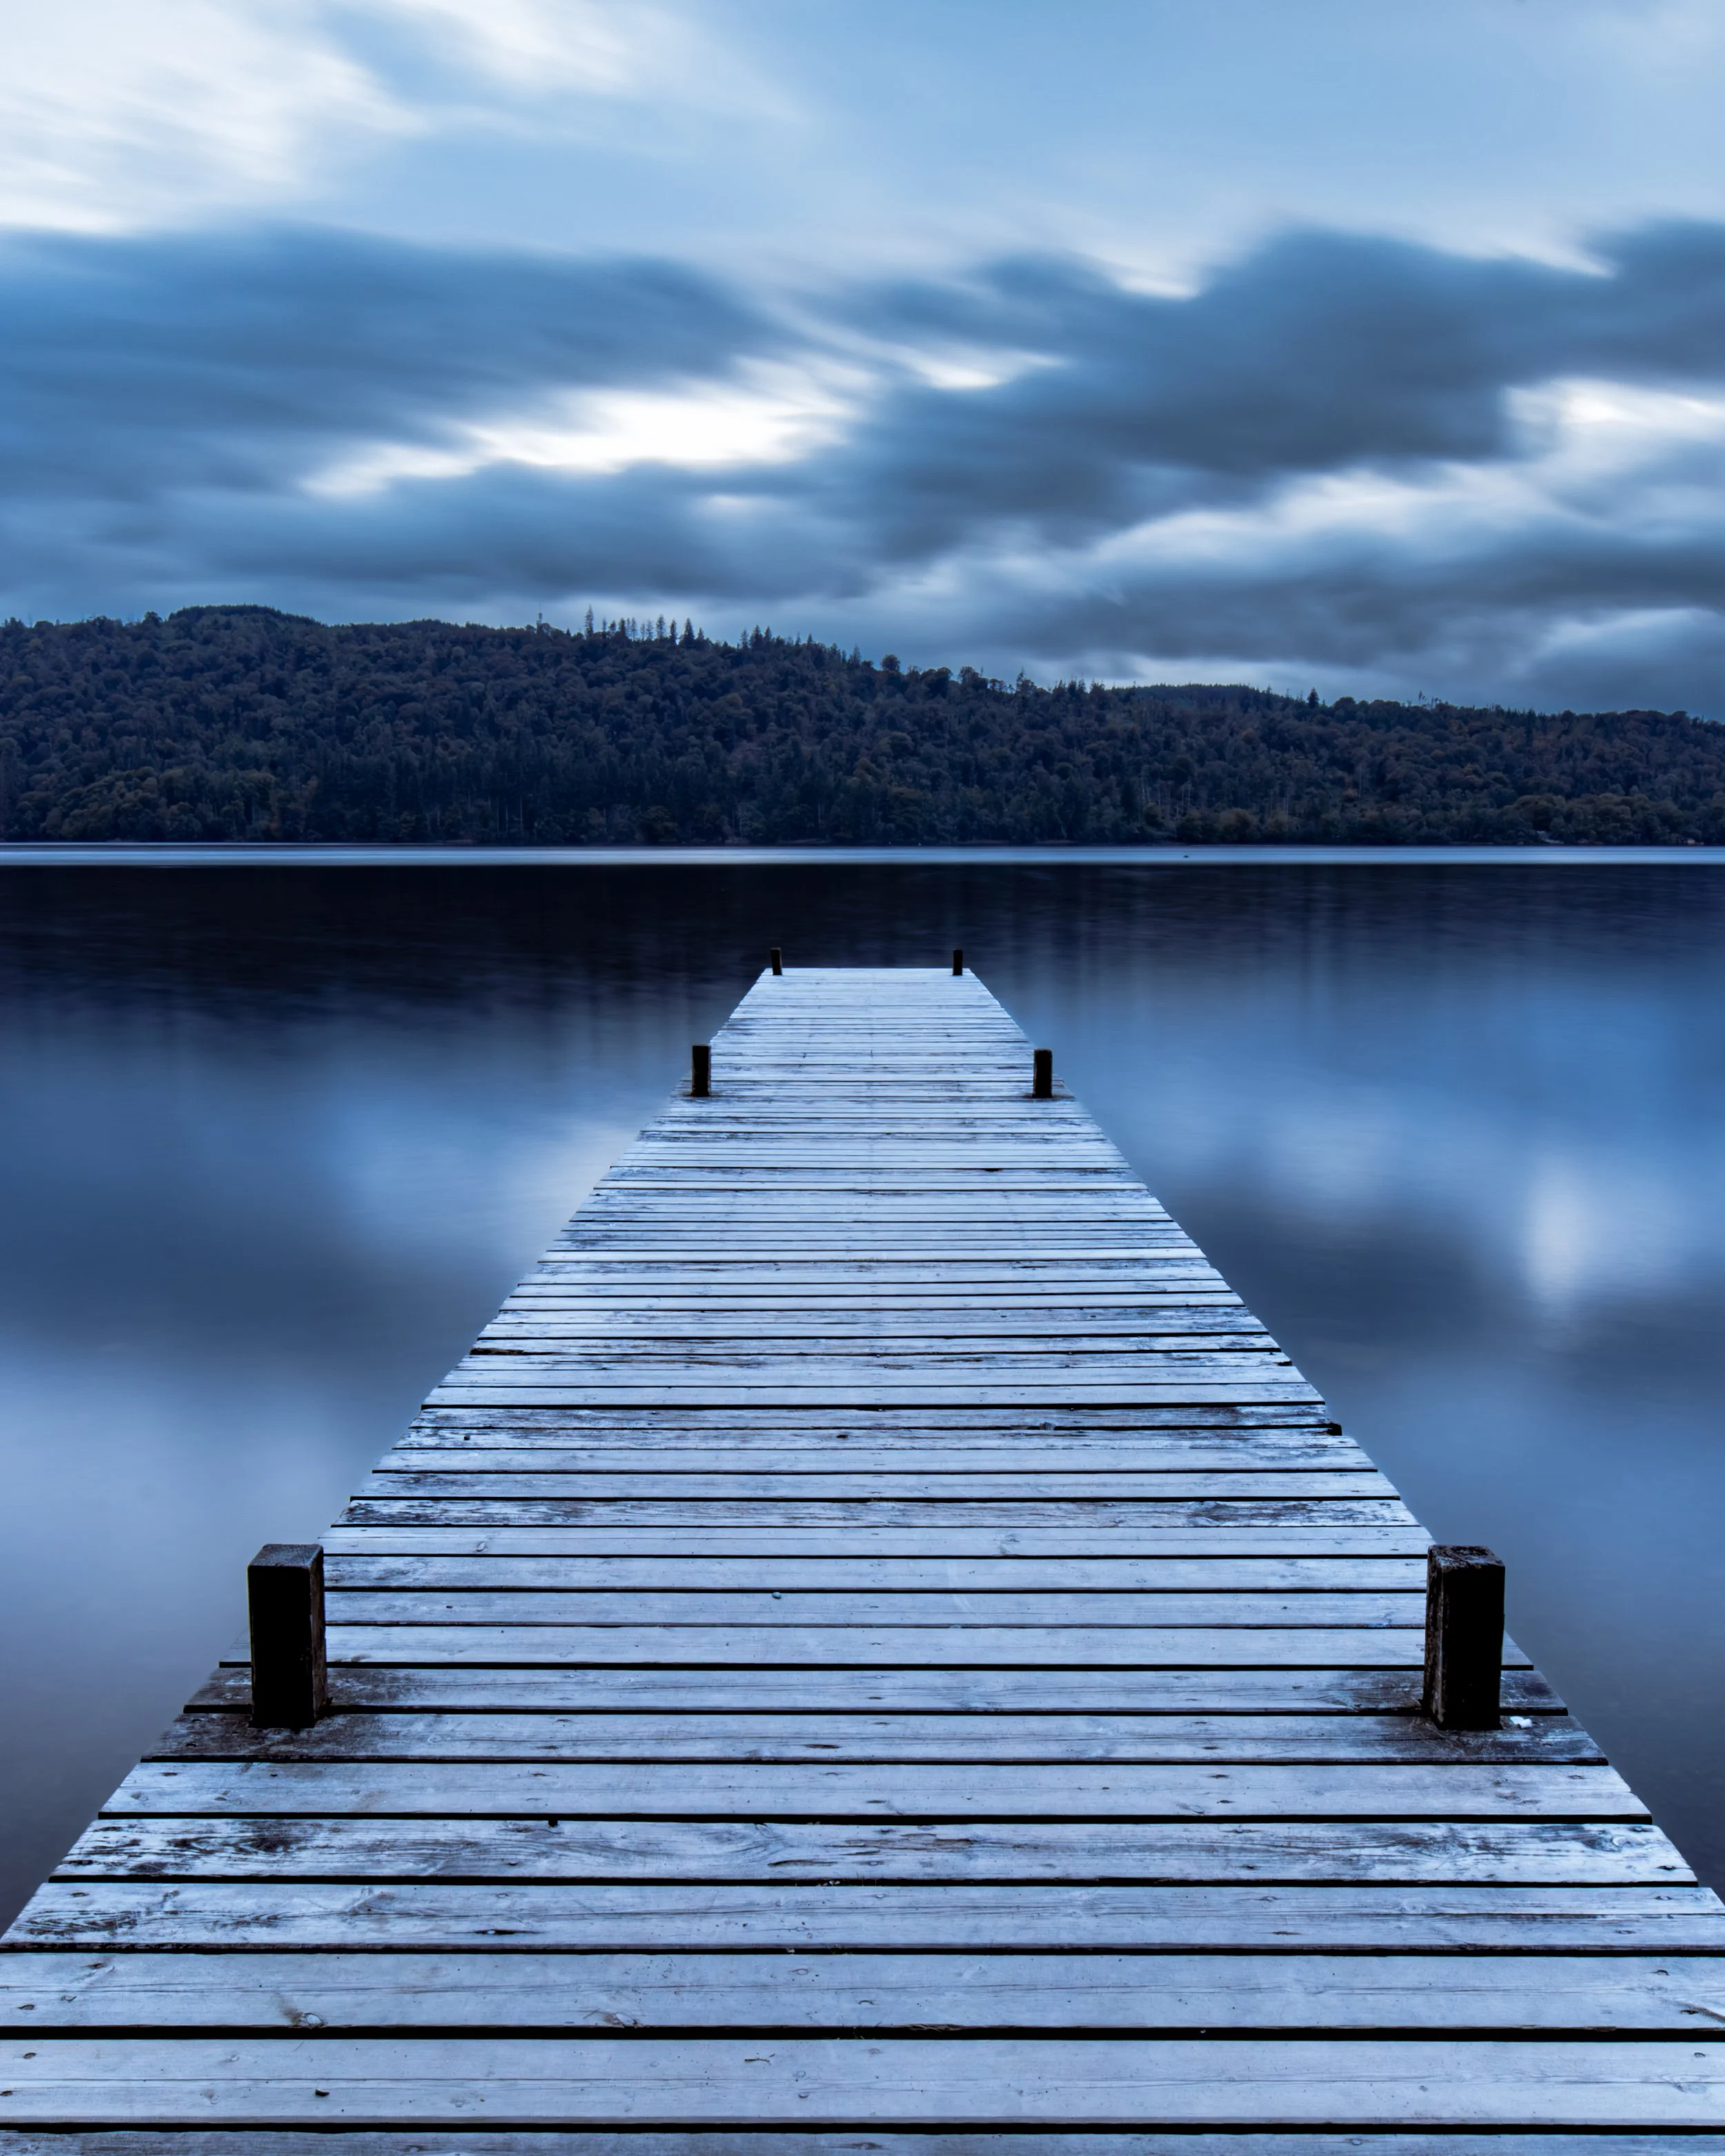
Using ND Filters to Increase Exposure Times
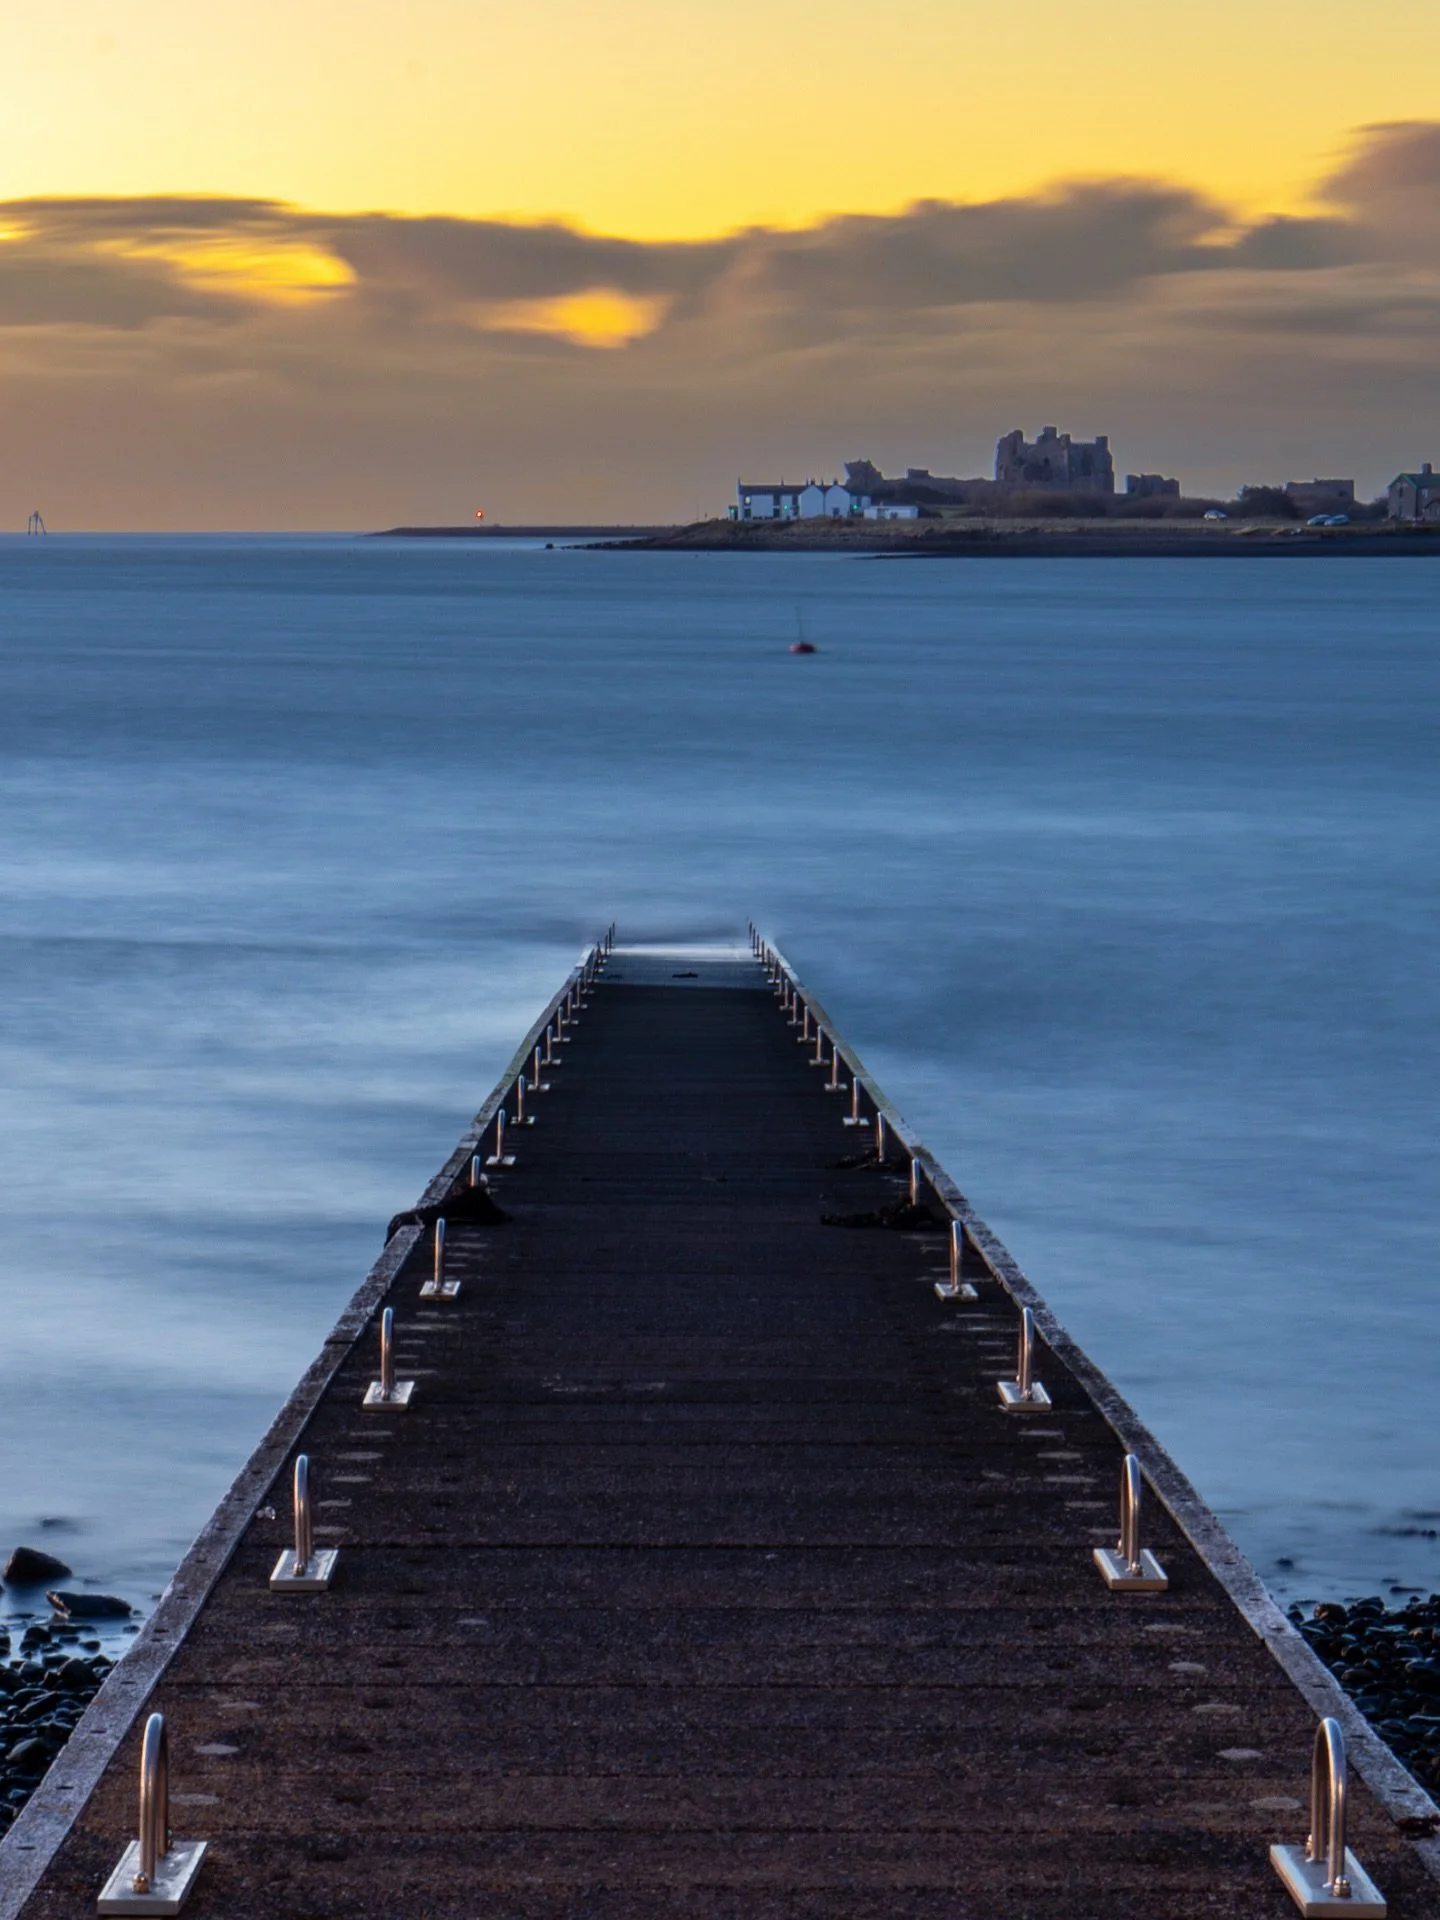
ND filters are a great bit of kit to have in your bag. They can give you a lot of flexibility, especially with your exposure times and can help you to get really creative to create a sense of movement and drama in your landscape photographs.
ND filters are easiest described as being like a pair of sunglasses for your lens, they reduce the amount of light that is coming into camera which makes your exposure darker. This means that you will need to use a longer exposure time to get your image properly exposed and can get some movement in the sky, smooth out water in your scene or capture the movement in the waves if you’re shooting at the coast.
You can get fixed ND filters and variable ones. I prefer the variable ones as I can get more variance in one piece of kit and this means that there is less for me to carry. At the moment, I am using the ones from K&F concept as they do a good job and they’re at sensible price point. You will need to by the right size for you lens (another reason why the variable ones are great!), and it always handy to have a filter pouch to keep them in. The pouch I have linked here is a hardshell one which holds ten filters. It’s quite bulky but it keeps them safe when I’m out in the field.
Thanks for reading - this has been a quick one today, but I hope you have found it useful. If you want more stuff like this as well all of the updates, please head to the contact page and sign up to my newsletter.
If you’d like to support the blog and help me keep producing Lake District photography content, honest gear reviews and regular website updates, you can do so via my Buy Me a Coffee page. Keeping everything running smoothly takes time, and your support makes a real difference. Thank you.