
Planning a Landscape Photography Shoot
You’ve got your camera and you have learned how to use it. It’s all in a nice bag and your tripod is attached and ready to go. But how do you go about planning a landscape photography shoot? What should you take? Where should you go and when should you go there? How long should you stay? In this blog, I’ll go through some simple hints and tips that I hope you will find useful and will set you up for success.
Why Planning Matters in Landscape Photography
Yes, you can just grab your camera, head out the door, and hope for the best. Sometimes you’ll even get lucky. But more often than not, you’ll come home with flat skies, harsh shadows, or shots that just don’t do the place justice.
For me, planning is about giving myself the best chance possible. If I know when the light’s going to be good, where the sun is rising, or whether there’s a chance of mist rolling through, then I can actually focus on taking photos instead of panicking that I’m in the wrong place at the wrong time.
It doesn’t need to be complicated a quick look at the weather, maps, and light conditions is usually enough. The point is that when the basics are sorted, you’ve got more headspace to be creative. You’re not rushing around, you’re not guessing. You’re ready when the good stuff happens.
Researching the Best Locations for Your Shoot
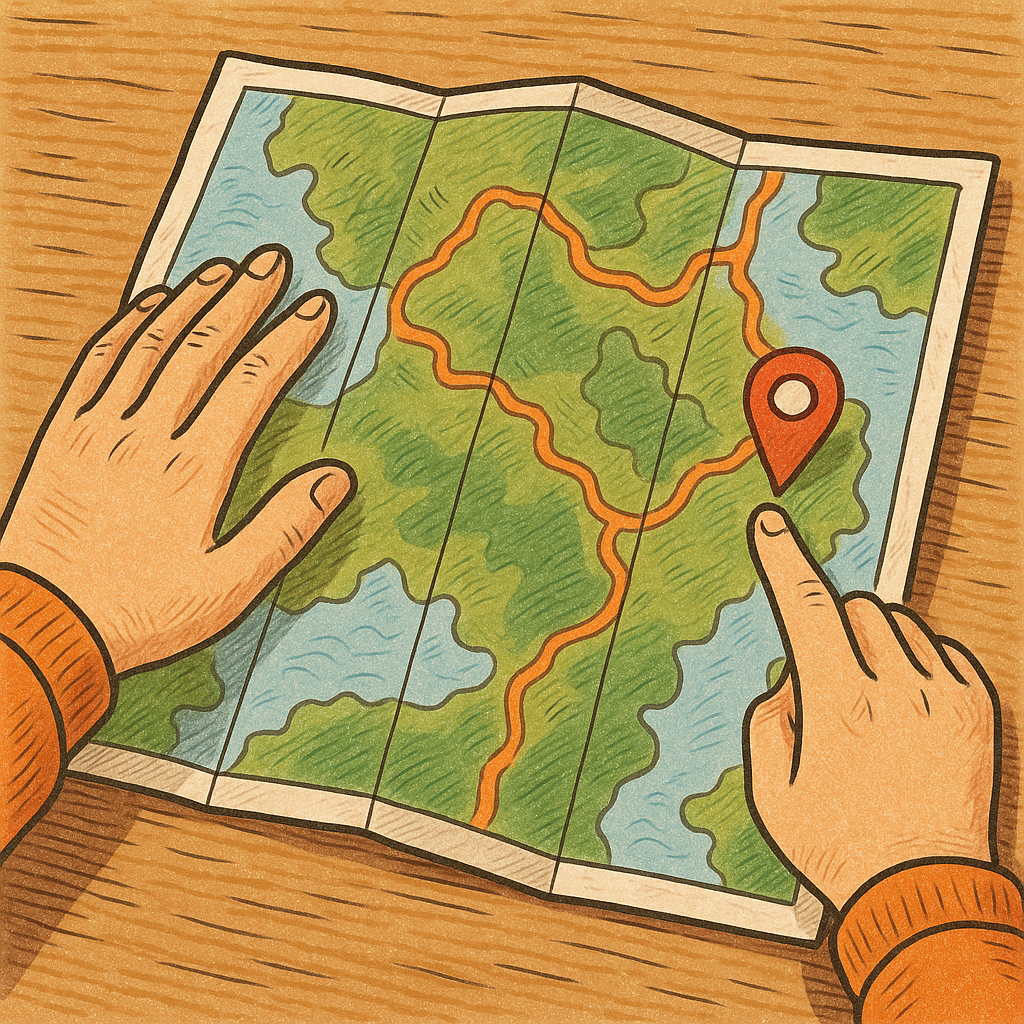
Consider where you want to go, and when you want to arrive. Think about the travel time and what time you need to leave and build in some contingency time.
Research where you want to go and think about the shots that you want to try and get why you get there. Looks at photo books and check online to see what kind of shots you want to have in mind.
It’s a bit of a double edged sword doing this, if you research “landscape photography in The Lake District” or “shooting sunrise at Derwent Water”, you’re going to see hundreds, if not thousands of images and these are likely to give you a preconceived idea of what you want to get and this can stifle your creativity.
It’s great to get the “classic” shots, but everyone has them and you want to try and be a bit different.
Consider your ability level when it comes to walking. If you’ve never hiked before, then deciding that you want to do your first shoot atop Helvellyn in the winter might not be the greatest idea, don’t put yourself in danger. The mountain will still be there long after you’re gone, so make sure you’re around to enjoy it!
Remember, if you’re going to a “drive up and shoot” location, such as Surpise View at Keswick, it’s likely to busy, so be arrive in plenty of time to make sure you get the spot that you want.
Use apps like Google Earth and Google Maps to scout locations that you can’t get to easily if you live far away. I spend a lot of time on these apps and it’s always time well spent.
If you’re going for a sunrise/sunset then use an app like PhotoPills or The Photographer’s Ephemeris to check where the Sunni going to rise/set so that you can position yourself accordingly. Getting to a location and finding out that the sun is in a position which is of zero use to you!
Before You Leave, Check Everything…
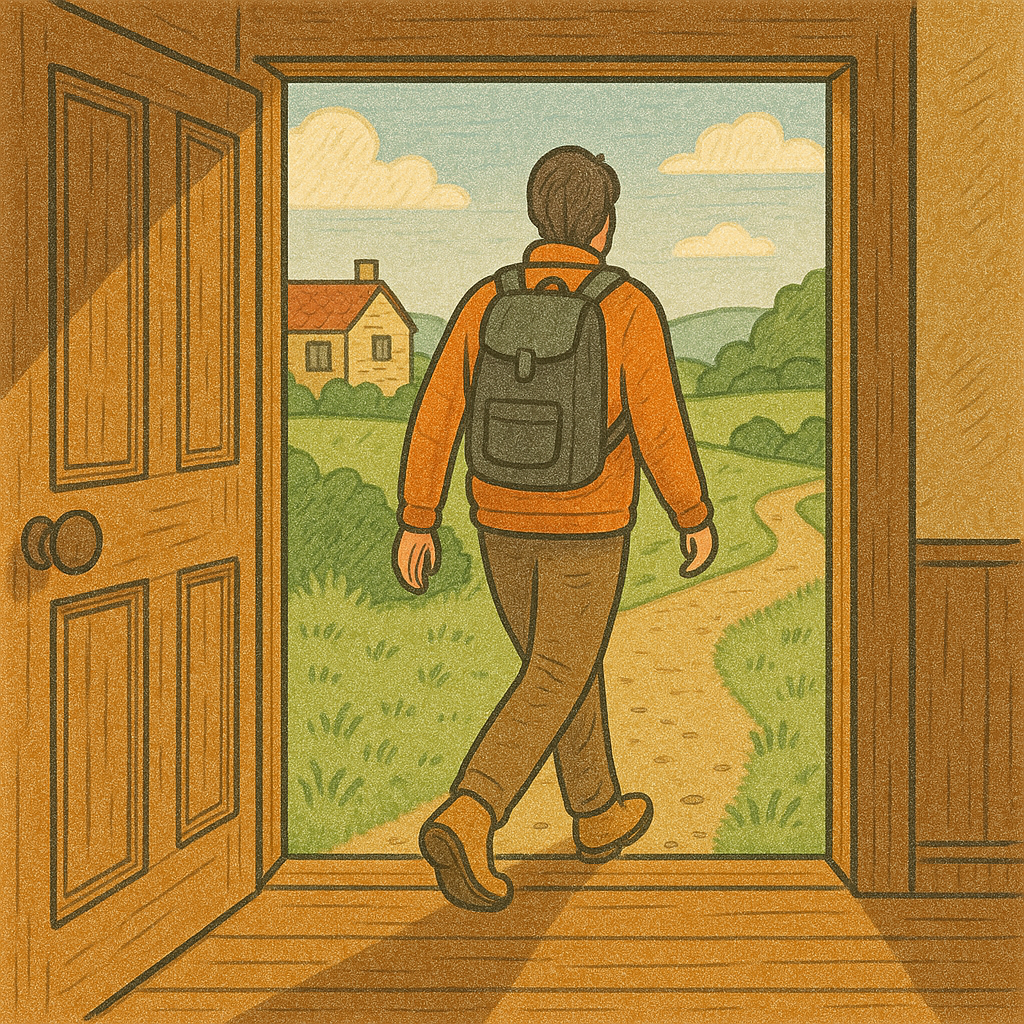
This is really important, you don’t want to get on location and find out you have forgotten something. We’ve all arrived on a shoot and realised we don’t have a memory card in the camera, and you only do it once, because it absolutely sucks!
So what should you be checking? Make sure your battery in your camera is charged and that if you have spare it is also charged. You should also make sure that you have a battery in your camera, and that your camera is turned off! Make sure that you spare battery is in your bag.
Do the same with your memory card and ensure that it’s correctly formatted and/or has enough space on it to last you the whole day/whole shoot.
The way I stop myself from forgetting these two essential items is by using the rule “never close an empty door”.By this, I mean when you get home from a shoot and need to charge your battery and get the images off your card, don’t close the battery door or the
memory card slot until you replaced both of these things. If these door are closed, everything should be inside them and ready to go!
Check that your bag is packed with everything you need easily accessible. Make sure you’ve got lenses and they have the caps on both ends, this will stop any debris from getting inside them when you’re on location.
Charge all of your other batteries (head torch, battery pack etc), you don’t want these to be running flat or dead when you arrive as it can cause you all sort of issues and even stop your shoot before it has even started.
If you’re planning on being out for a long time then make sure you’ve got enough food/snacks to last the duration of your planned trip.
Finally, if you’re heading out in the early hours, get the stuff ready for a brew before you go. Oh, and don’t forget to set an alarm (or 5!).
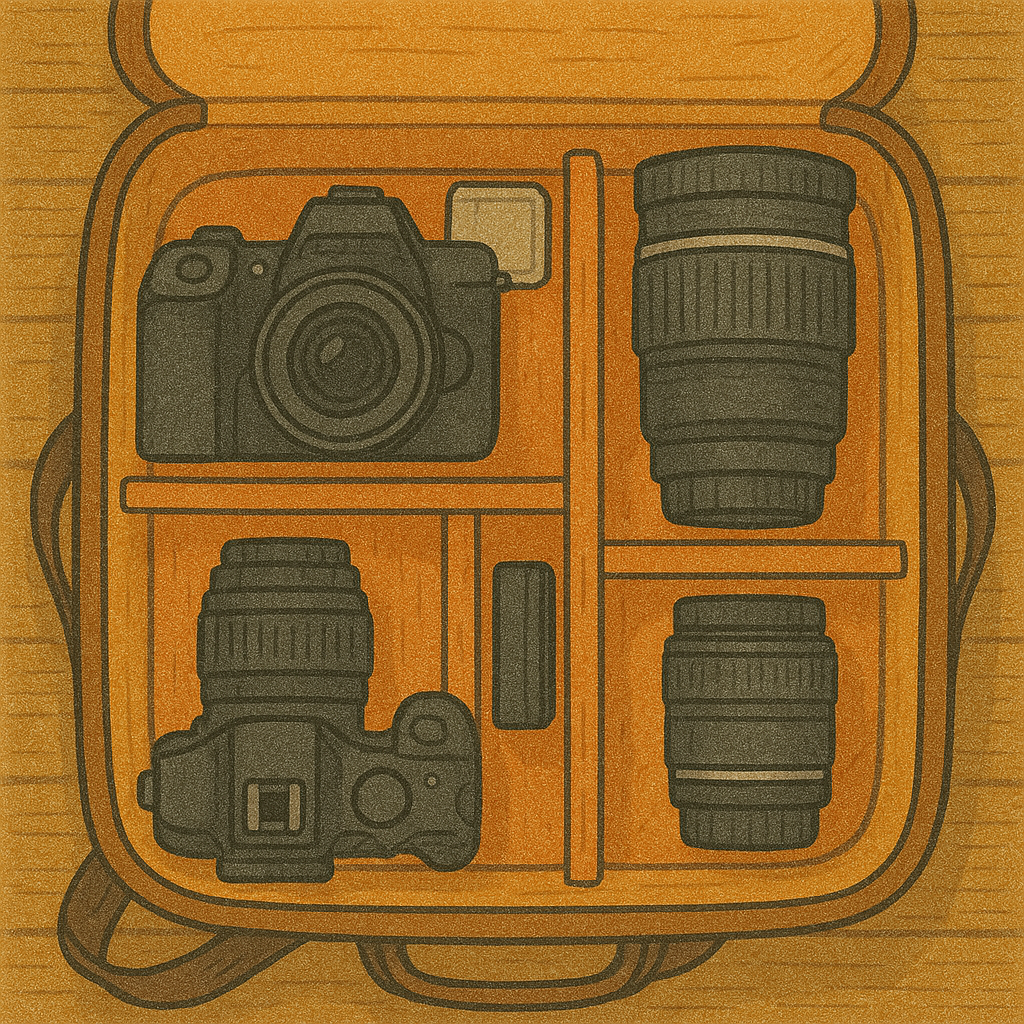
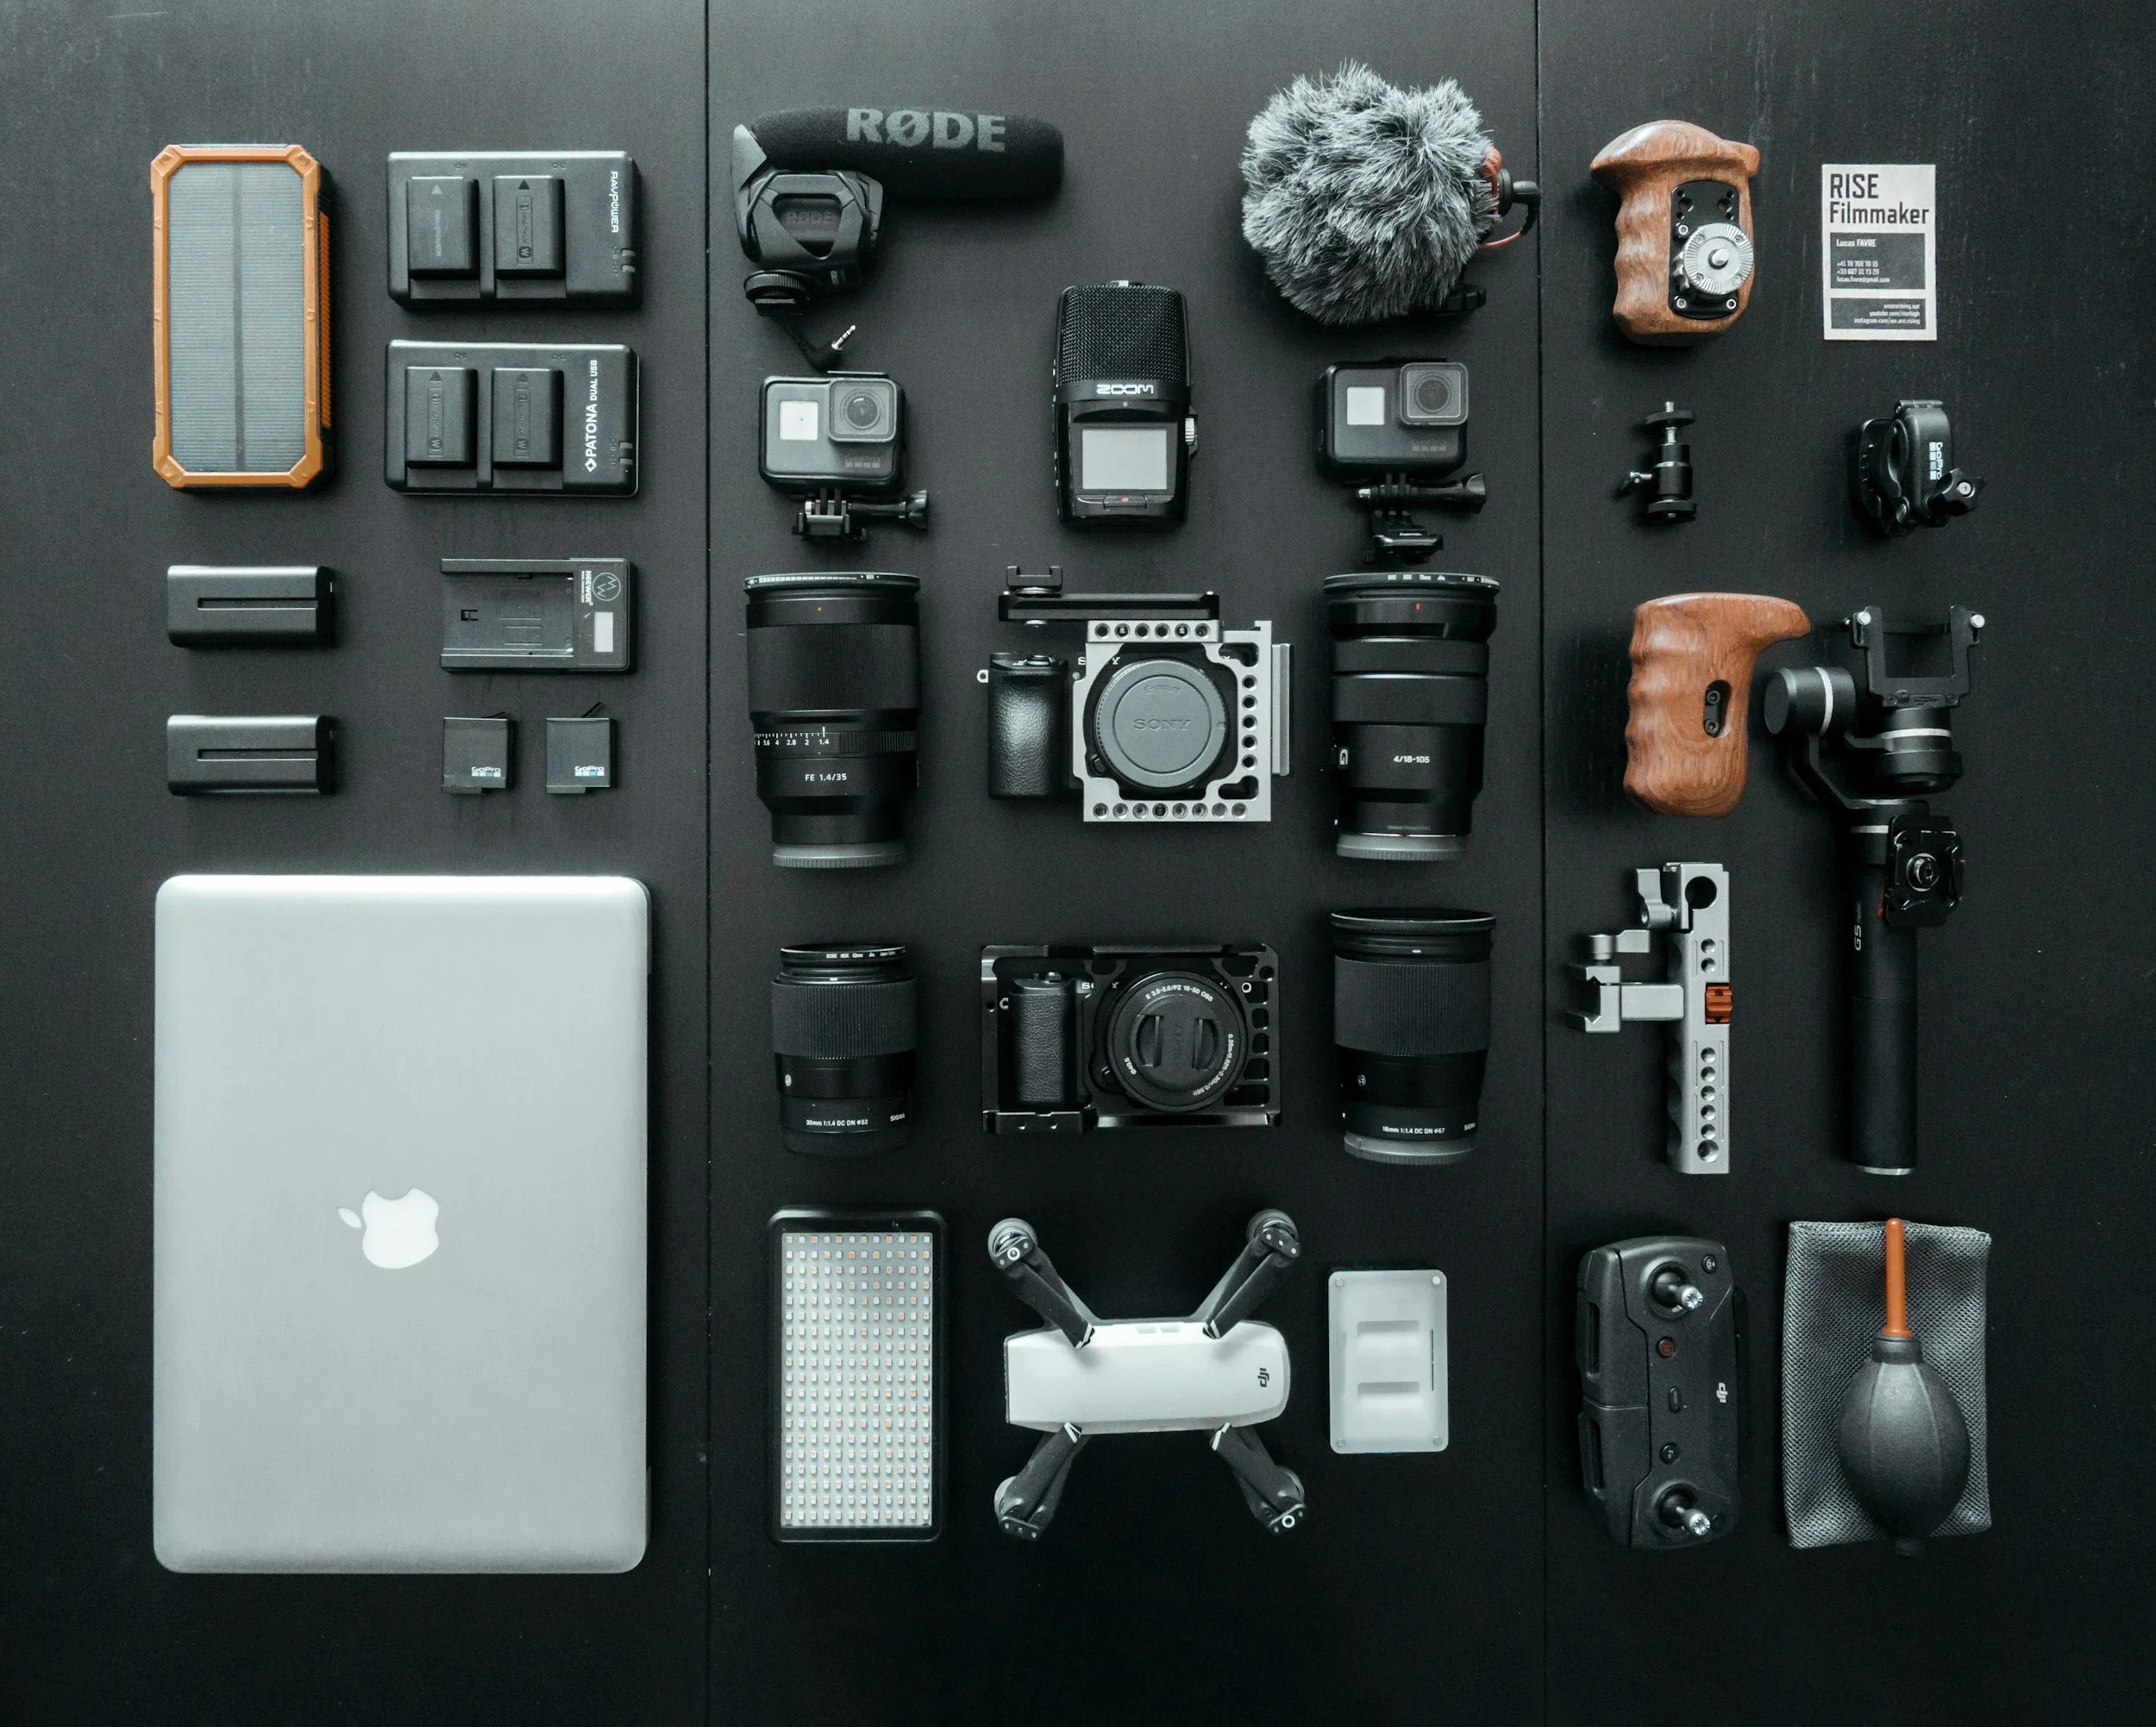
Kit/Photo Gear

Carry what you are definitely going to need. If you have them then a wide angle lens and a zoom would be a good start, especically if you’re planning a long walk and don’t want to haul a ton of gear around with you. Your tripod is always going to be must, so make sure it is securely attached to your bag.
Again, make sure you have your fully charged batteries and memory card with you! I’ve said this twice now so it must be important.
I always make sure I have a lens cloth with me, as well something to cover my camera with if the weather turns bad.
You should make sure that you’re appropriately dressed - if you’re out in the cold then layer up and if it’s wet (or wet and cold) then make sure you have your waterproofs. If you get soaked, you’re going to be cold and uncomfortable very quickly, and this is going to mean that you do not have a good time, guaranteed, even if the conditions are ideal for what you want to achieve.
The usual caveats around safety apply here: make sure you’ve got your headtorch, map(s) (paper, not on your phone) if you’re planning a route you haven’t done before.
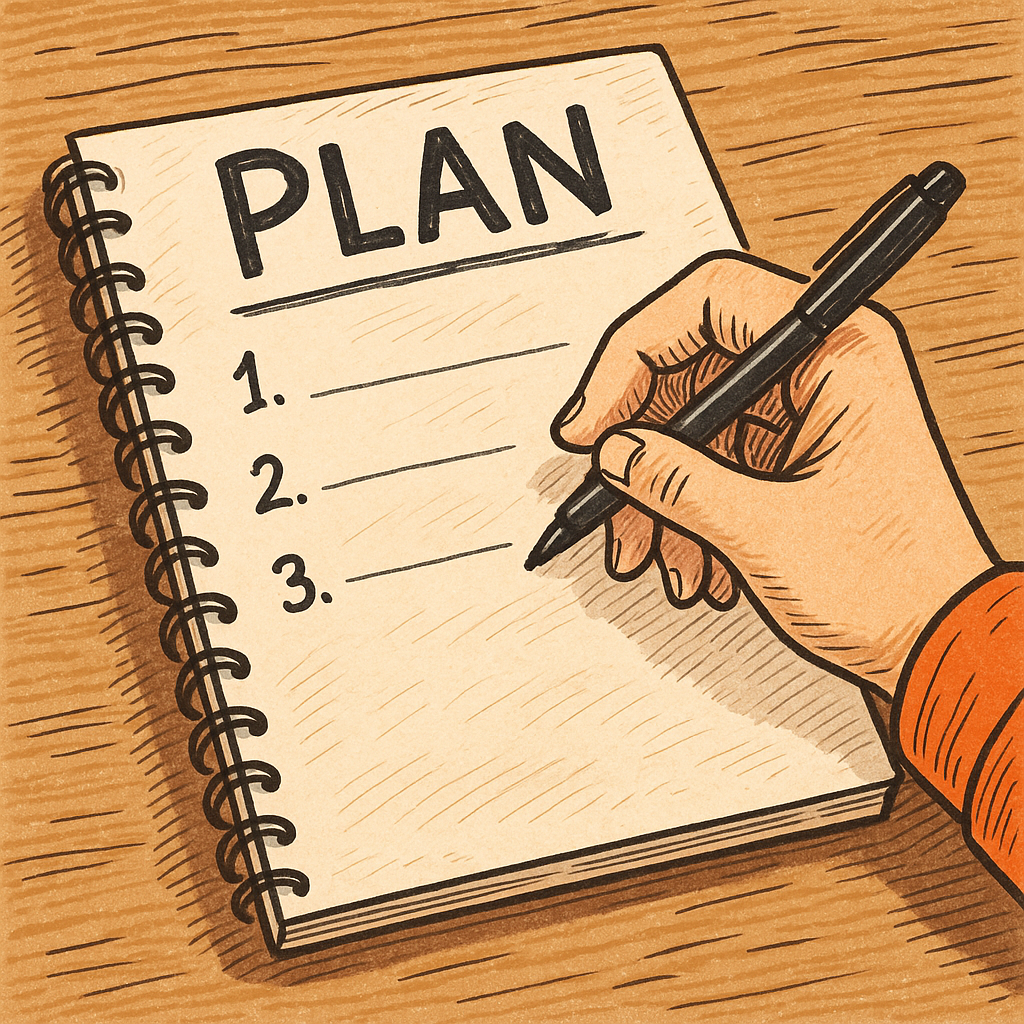
Creating a Flexible Shot List
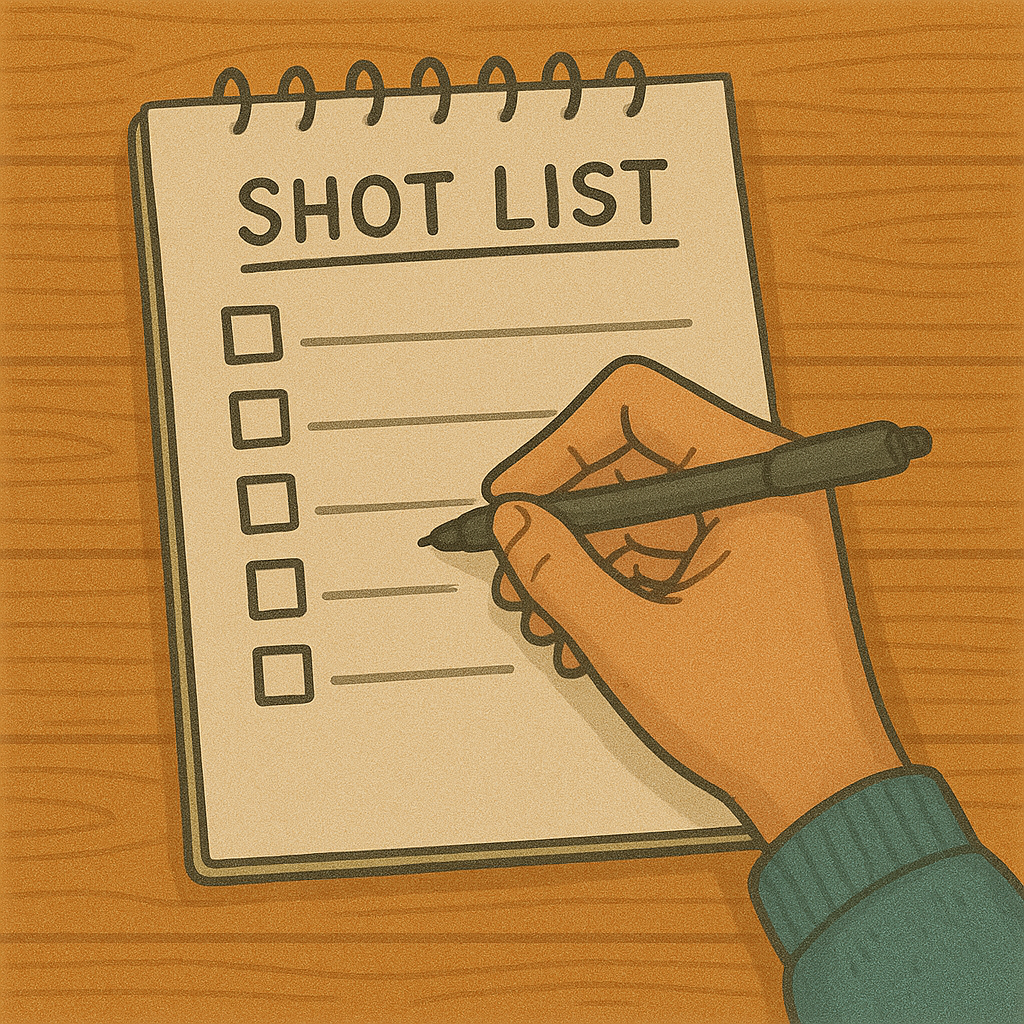
I’m a big fan of making a shot list before I go out. Nothing fancy — usually just a few scribbles in my notebook about the kind of images I want to try. Things like: wide vista, reflections, foreground textures, maybe a telephoto shot if the light hits a ridge.
The important bit though is not treating it like a shopping list. Nature doesn’t always do what you expect, and that’s half the fun. I’ve lost count of the number of times I’ve gone out planning a big sweeping landscape, only for the best shot of the day to be a detail in the rocks or a patch of dappled light through the trees.
So yes, have a plan — but don’t be afraid to ditch it. Think of your shot list as a guide to get you started, not something you have to tick off. Some of my favourite photos came from chasing something unexpected instead of stubbornly sticking to the plan.
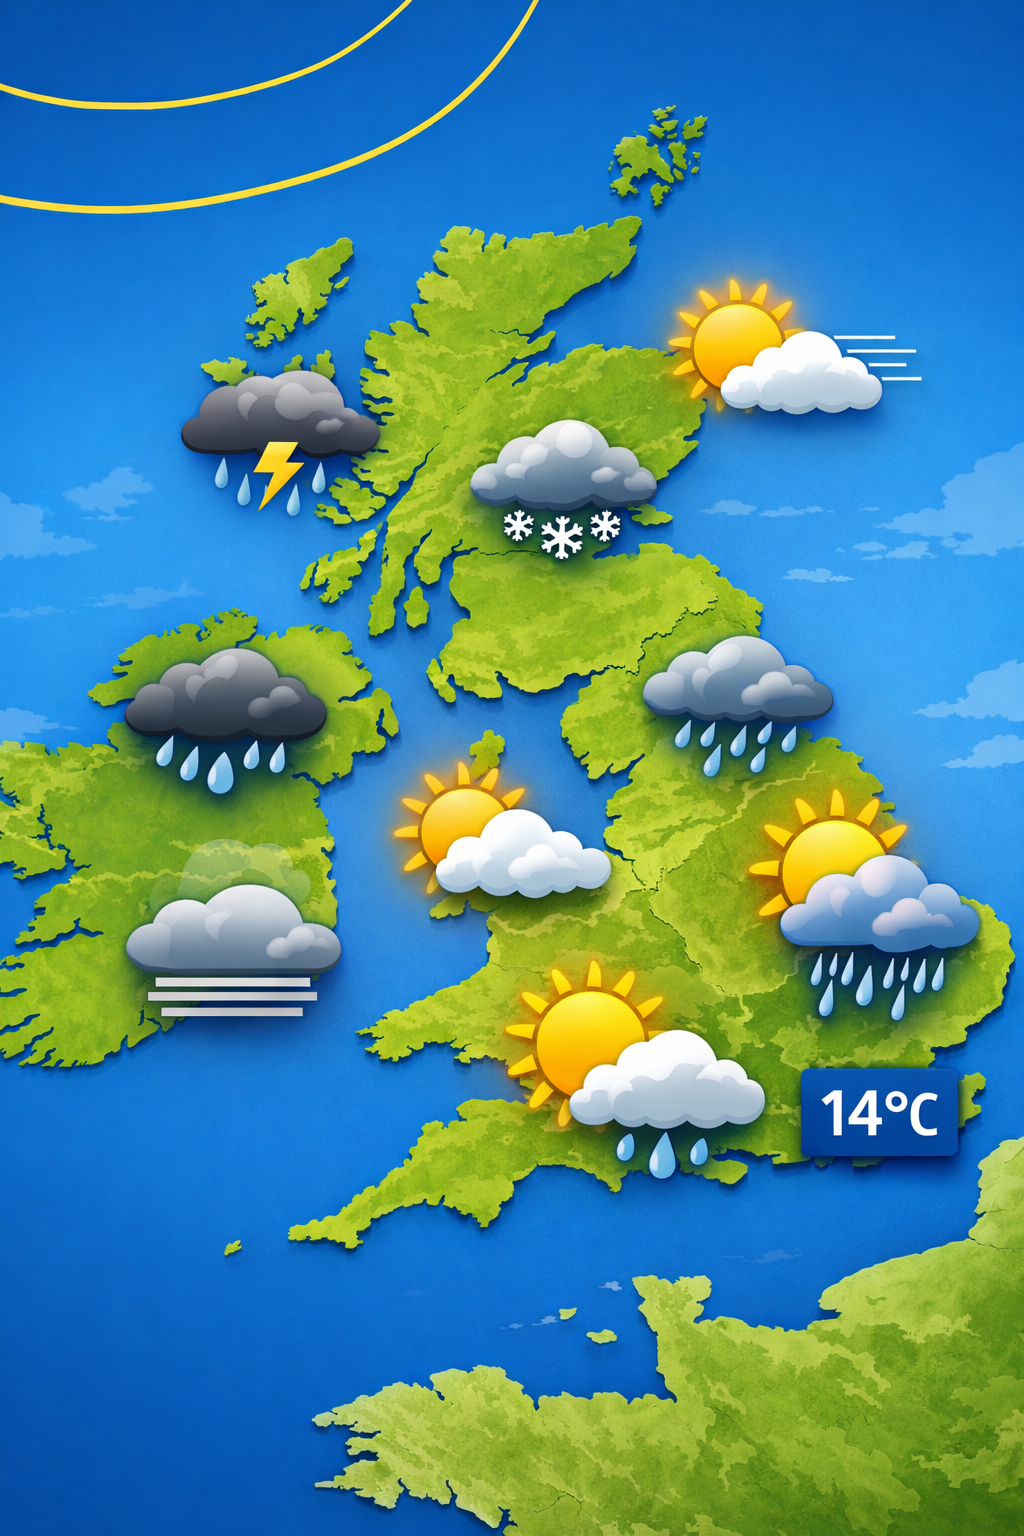
Weather
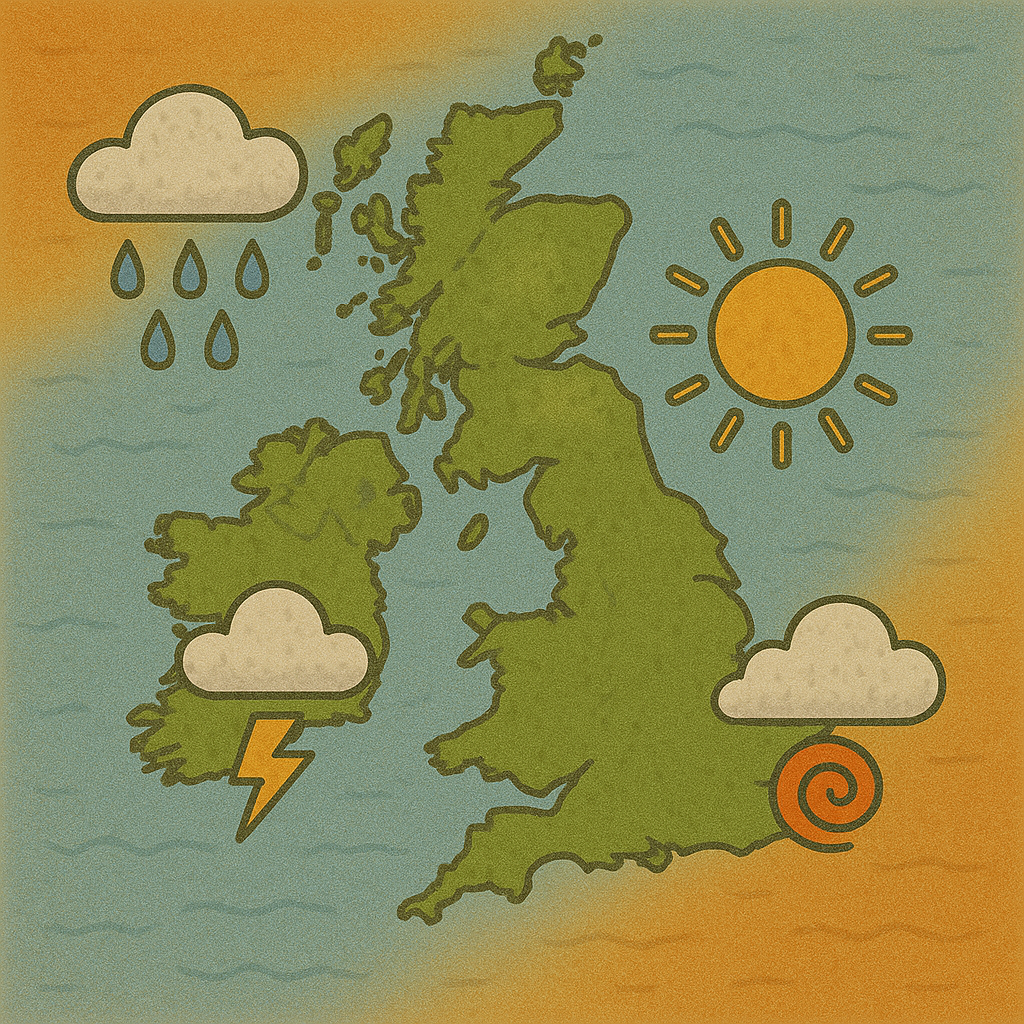
This is one of the most important things to check, especially if you’re heading in to the hills. Knowing the times for sunrise/sunset/golden hour/blue hour are key to your trip being successful if you’re chasing the light; use an app like PhotoPills to check the exact times the sun will rise/set and where in the sky it is going to be and use this information to decide where you are going to be.
Knowing what the weather is going to be doing is also going to inform your choice of clothing, which in turn is going to influence how much of a good time you are going to have!
If you’re heading into the hills then always be sure to check the mountain weather report for your locale, I’ve written a blog about the best apps for photographers and have included some weather apps on this. Take a look!
When to go and how long to stay

Timing can make or break a landscape photo. The same location can look completely different depending on the time of day, the season, or even the hour you arrive. The best time for landscape photography is often during golden hour or blue hour.
The light is soft, shadows stretch beautifully, and colours have more depth. But don’t completely rule out midday. Harsh light might not be flattering for portraits, but it can be perfect for highlighting bold contrasts, dramatic skies, or textured rock faces.
As for how long to stay, my advice is always: longer than you think. The first few shots you take are usually the obvious ones, but the real magic tends to appear when you slow down, explore different perspectives, and wait to see how the light changes.
Sometimes I’ll plan a quick visit and end up staying hours, simply because each shift in light brings something new to capture.
If you want to improve your landscape photography planning, build in time to just sit with the location. Arrive early, linger after the “main event,” and let the scene reveal itself to you. You’ll not only come away with stronger photos but also with a better sense of connection to the place you’re photographing.
So there you have it. Planning a landscape photography shoot is all about giving yourself the best chance to be in the right place at the right time, while still leaving room for a bit of creativity and spontaneity. The more thought you put into research, timing, and preparation, the more freedom you’ll have when you are actually behind the camera. Every location has its own character, and with the right planning you can capture it at its very best.
If you’d like to support the blog and help me keep producing Lake District photography content, honest gear reviews and regular website updates, you can do so via my Buy Me a Coffee page. Keeping everything running smoothly takes time, and your support makes a real difference. Thank you.
Check out some of my latest blogs below…


Cover Image: @lunarts on unsplash.com