Do You Need Filters for Landscape Photography?
Do you actually need filters for landscape photography—or are they just another expensive accessory you’ve been told to buy?
It’s a question that comes up a lot, and after a recent conversation with some colleagues, I realised there’s a lot of confusion around it.
The short answer? Yes… but not straight away.
In this post, I’m going to break down when filters actually matter, when they don’t, and which ones are worth investing in once you’re ready.
TL;DR:
You don’t need filters when you’re starting out—focus on mastering exposure first. Once you’re confident, a variable ND filter and a circular polariser are the most useful additions. Filters are best used when your camera can’t achieve the effect on its own, not as a shortcut for poor technique.
What are filters?
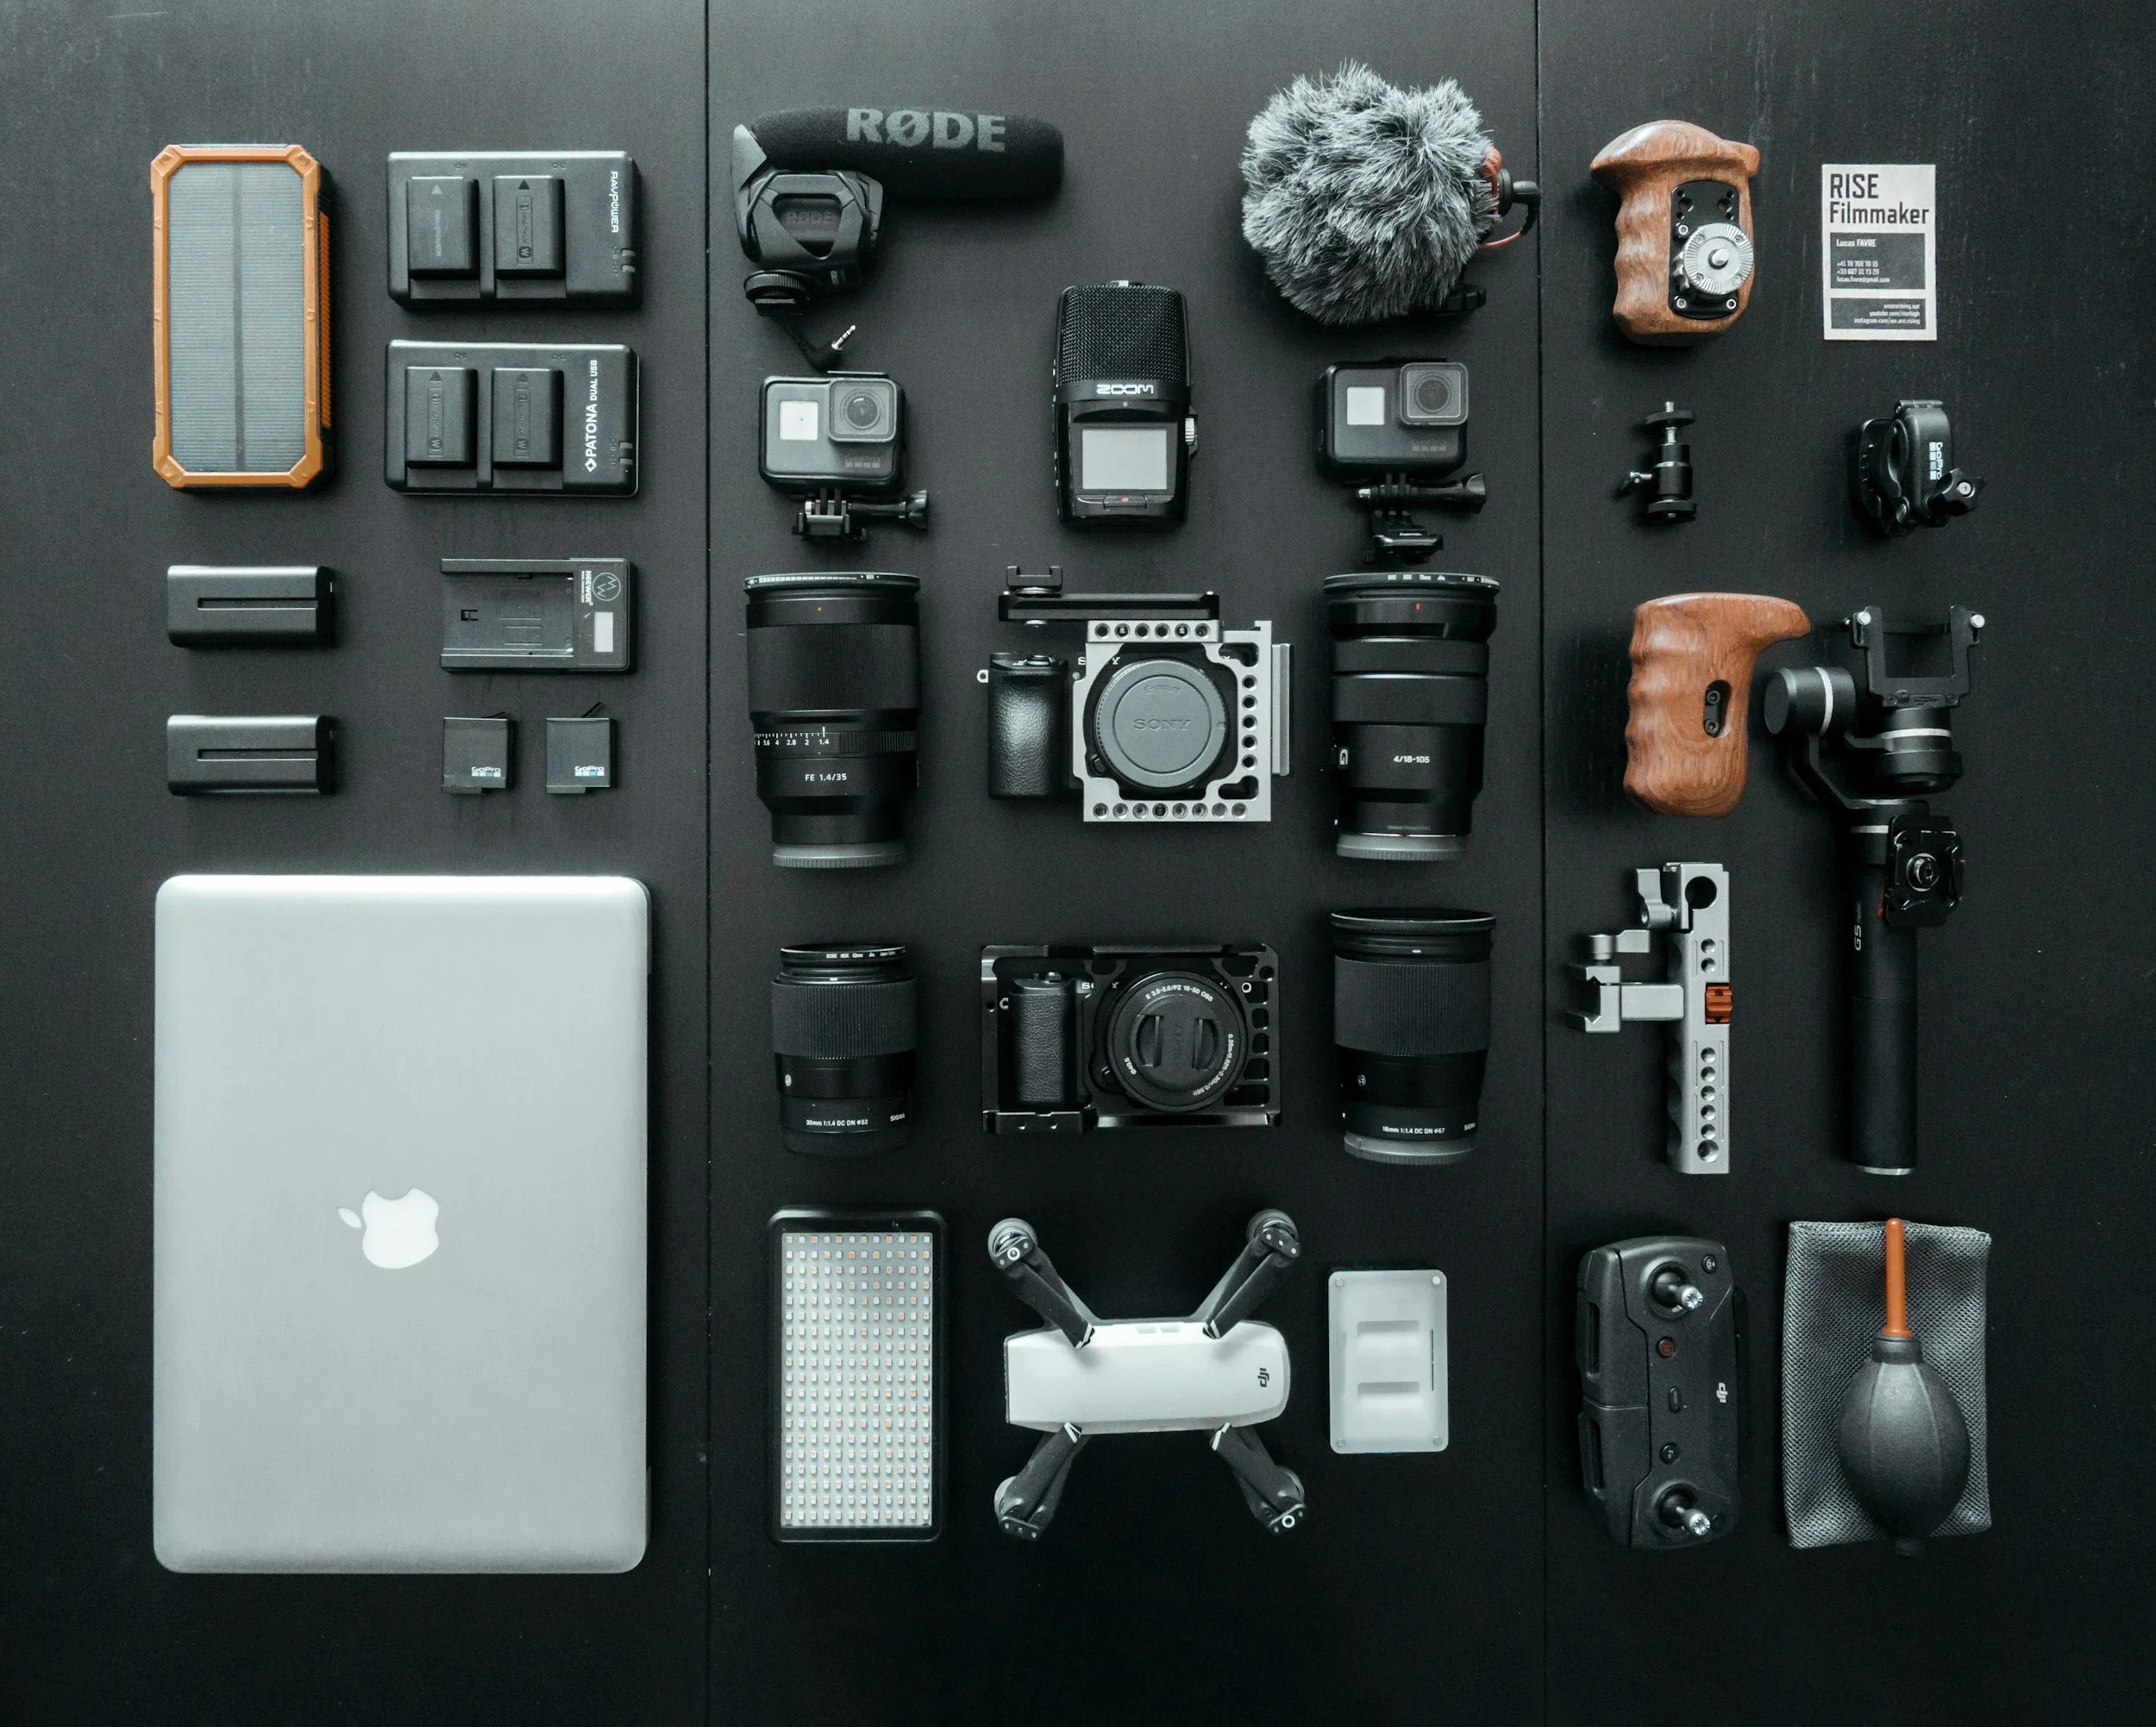
Filters are essentially small pieces of glass that you place in front of your lens, either by screwing them into the internal thread on your lens, via magnets or by using a filter holder which attaches to your setup so you can drop them in front of the lens. Some cameras and lenses have built in filters, but we’re talking some big money purchases and if you’re spending this money, I am going to assume that you know enough to not have to read this blog and so I won’t be mentioning them other than to let you know that they exist.
Then there’s the plethora of filters that exist, they all do different things and have a different impact on your images. I’ve put a table together to help you understand what they’re called, what they do and how they do it:
| Filter Name | What It Does | How It Does It (Lay Terms) |
|---|---|---|
| UV / Protection Filter | Protects the front of your lens from dust, scratches, and knocks. | A clear layer of glass that sits in front of your lens and takes the damage instead. |
| Circular Polarising Filter (CPL) | Reduces glare and reflections, and boosts colour contrast. | Filters out certain reflected light, reducing shine on water, glass, and foliage. |
| Neutral Density Filter (ND) | Reduces light so you can use slower shutter speeds or wider apertures. | Works like sunglasses for your camera, darkening the whole scene evenly. |
| Variable ND Filter | Lets you adjust how much light is reduced. | You rotate the filter to control brightness, like a dimmer switch. |
| Graduated ND Filter (GND) | Balances bright skies with darker foregrounds. | Half the filter is dark and half is clear, so only part of the image is affected. |
| Reverse Graduated ND Filter | Controls very bright horizons at sunrise or sunset. | Darkest in the middle where the sun sits, fading lighter towards the top. |
| Colour Filter | Changes colour tones or contrast. | Lets certain colours pass through more than others, altering the image look. |
| Infrared Filter (IR) | Creates surreal infrared-style images. | Blocks visible light and lets through invisible infrared light. |
| Diffusion / Mist Filter | Softens images and adds glow to highlights. | Spreads light slightly as it passes through, reducing sharpness and contrast. |
| Star Filter | Creates starburst effects from light sources. | Etched lines split bright light into visible rays. |
As you can see, I wasn’t lying when I said there was a lot to choose from, especially when you’re a beginner. The choice can be overwhelming. Hopefully this helps to demystify a little for you.
Why don’t I need filters when I first start out?
I say this because when you’re first starting out and learning photography, it’s best to learn the basics and really nail the exposure triangle so that you can guarantee you’re properly exposing most of your photos. To use an old adage, we need to learn to walk before we can run! Adding filters into the mix too early can complicate things so spend some time learning the exposure triangle before you start with filters. It shouldn’t be a huge amount of time (a couple of weeks if you’re shooting regularly) before you’re ready to start adding filters into the mix.
So what when I can expose properly?
I think that a good place to start is with a variable ND filter, that screws to the front of your lens. To find the right size look for the marking on the side of your lens that tells you the internal thread size, or consult the manual for your particular lens. I don’t recommend the use of graduated ND filters - I’ll explain later.
A variable ND (usually called a VND) will give you some flexibility in how much you change the amount of light entering your lens and it means you only have one extra thing carry around rather than 3 or 4 filters per lens (If I am taking 3 lenses, I only have to take 3 filters and not a whole bag full!).
NDs work in stops of light, so you can get anything from a 1 stop to 10 stop and beyond.The darker the filter, the longer your exposure time or larger your aperture will need to be. Do some research to see which one will be the best for you and what sits within budget.
Variable NDs do have some drawbacks, one of which is that they can cause artefacts in your images if you don’t rotate them far enough and you’ll also want to make sure you don’t over tighten them or they can be a pain in the rear end to remove.
Once you’ve got to grips with your ND, you pretty much have everything else nailed as nothing else is going to affect your exposure as much as one of these.
Most people are going to be using NDs to extend exposure times when there is too much light to get the shutter speed and aperture they need to get the image that they want. They’re great when you want to do something like smooth out the water in a standing body of water (or a river with much longer exposure times) or show some motion in waves and waterfalls.
When should I use a filter?
This is really down to the atmospheric conditions (light, wind, river flow state etc_ where you are and what effect you are trying to achieve, it’s a bit like the question “what are the best settings for landscape photography”, in that there’s no one single answer.
Get some filters, learn what they do and how to use them and then go out and experiment with them. You’ll find that, as with exposing without a filter, you will need to get your settings dialled in, check them and then hone them. On a day where the weather and light are changeable you could find yourself needing a filter and then 2 minutes, you haven’t moved but the clouds have and now you don’t need it and can still get the same result.
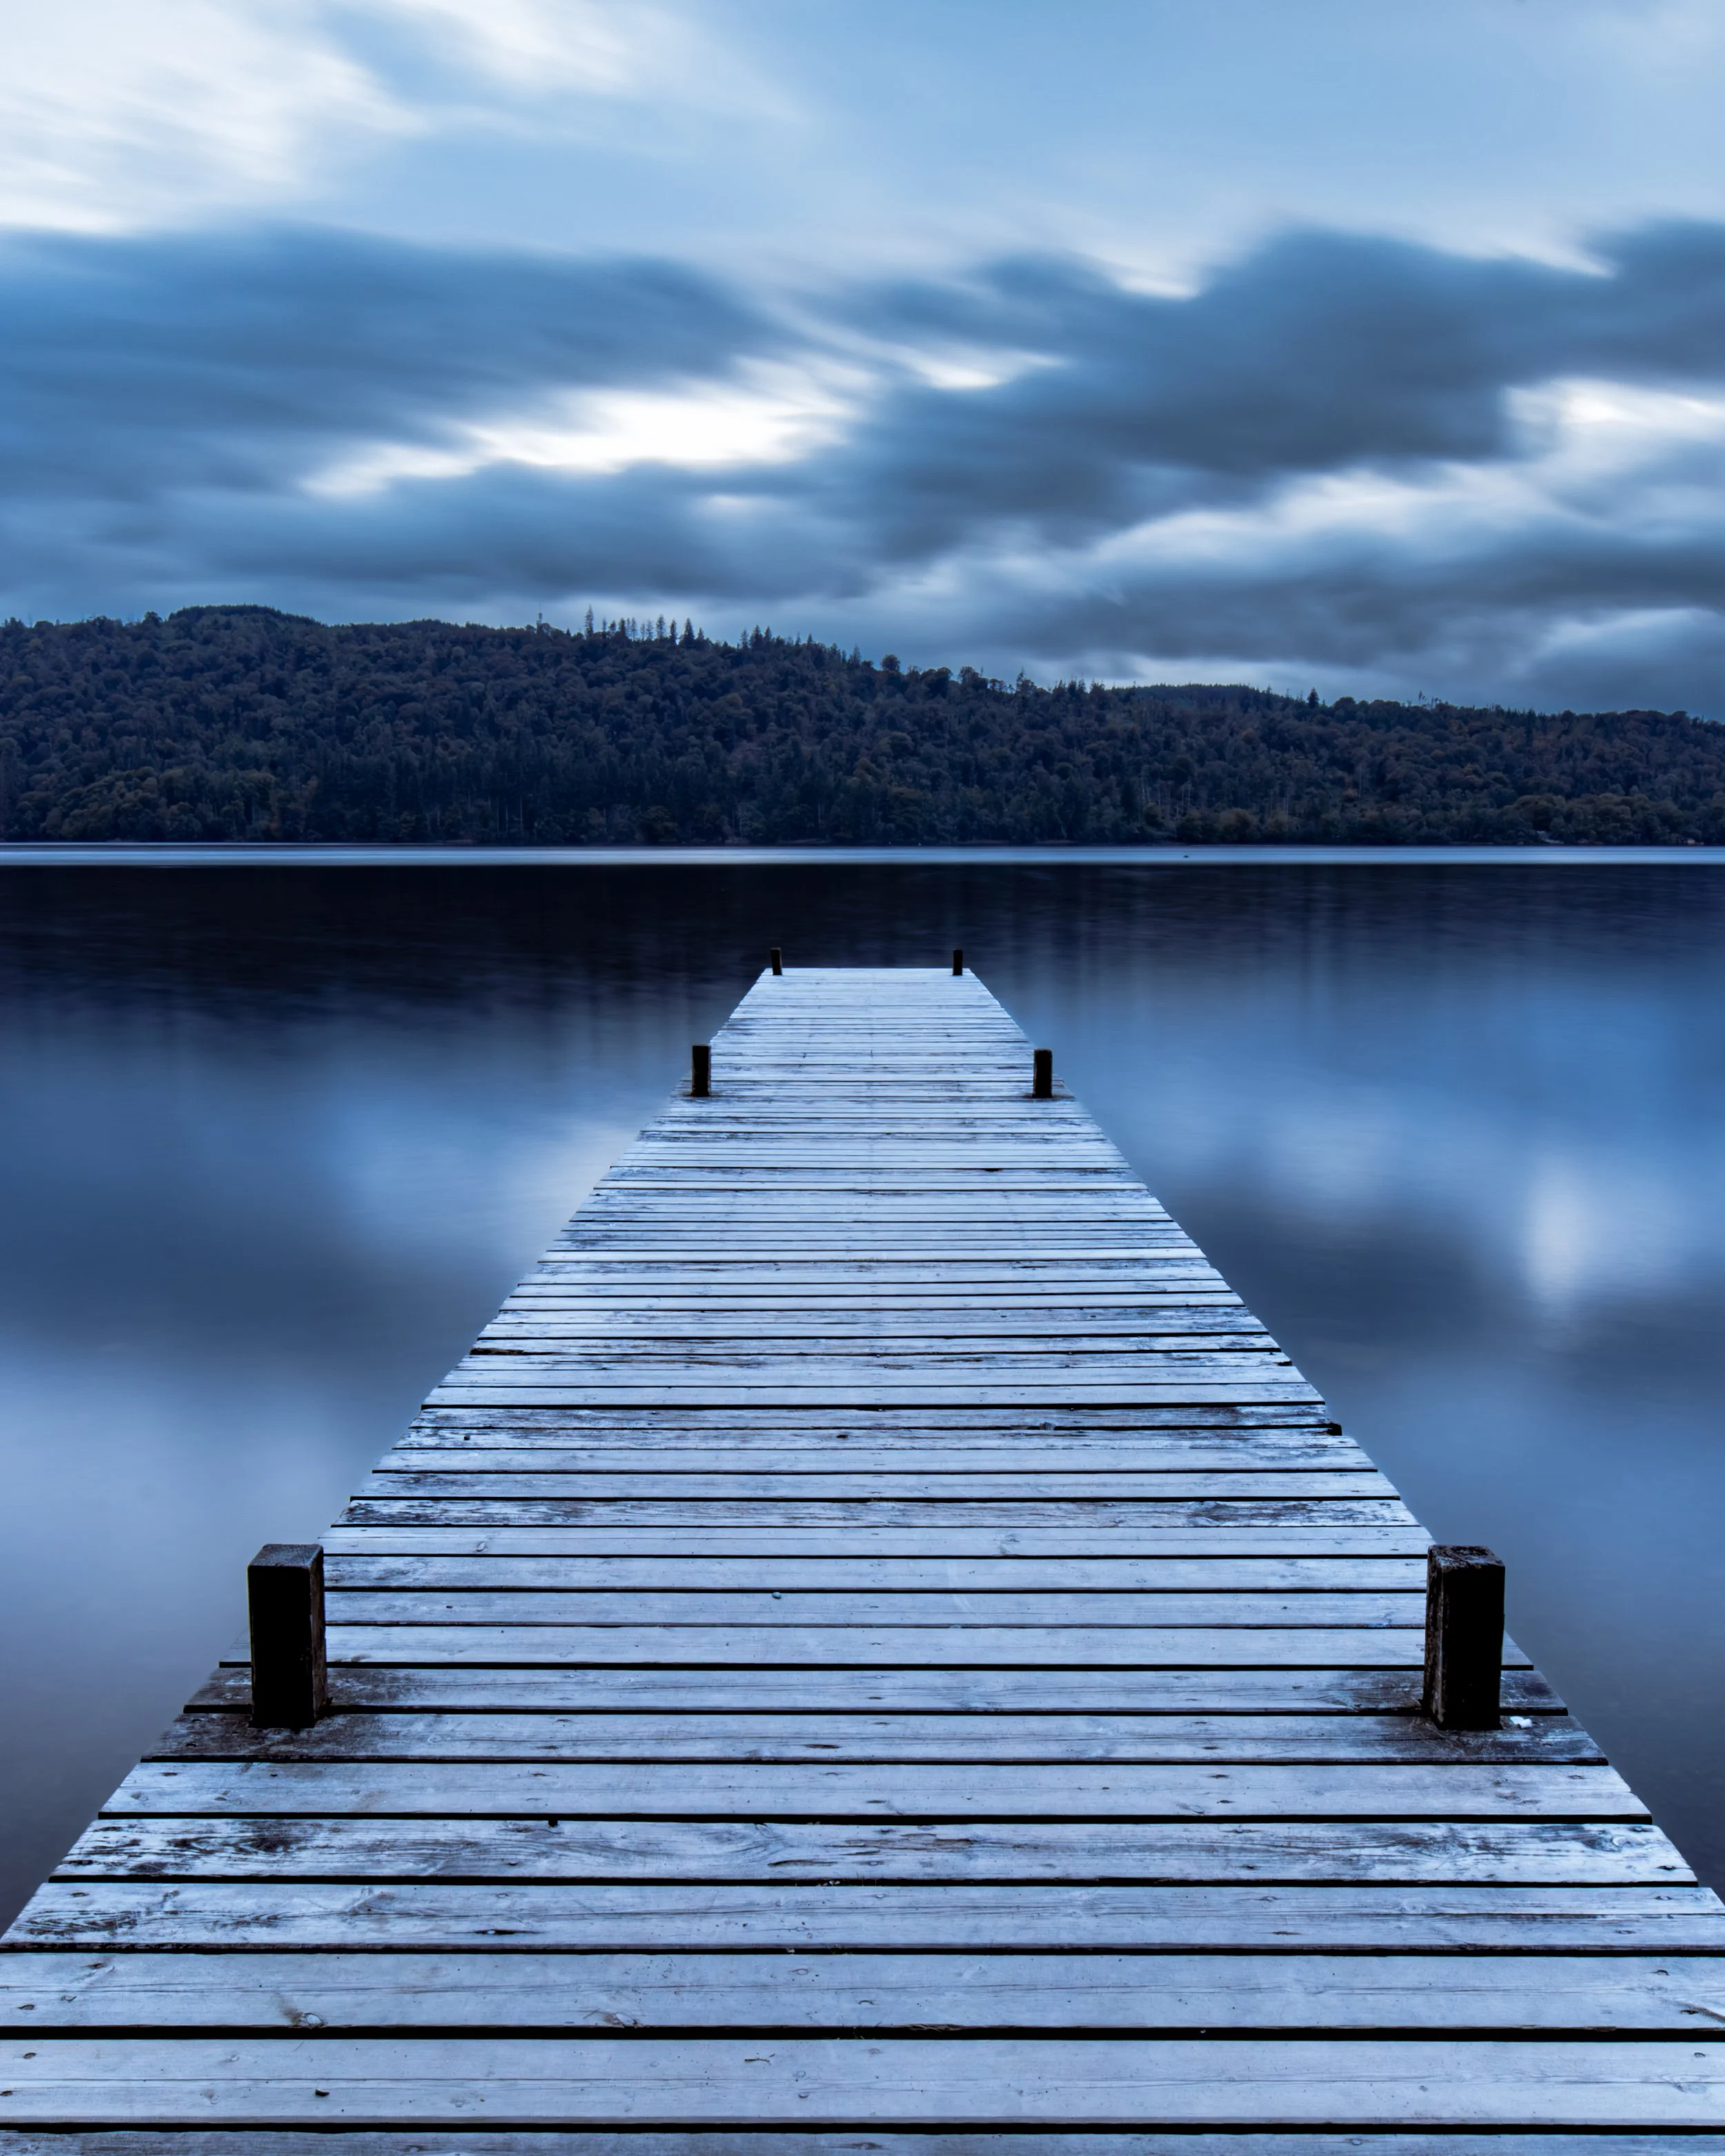
Using a 10stop VND in this image allowed me to get a 30 second exposure which made the water completely smooth and captured some of the movement in the clouds.
What sorts of filters will suit my style?
The answer to this is going to depend on what type of photography you do or are going to do and what you want to achieve.
If you’re shooting landscapes then you’re going to want a set of NDs or a variable ND and a circular polariser. I love my polariser, it lets me see through water! It does this by doing complicated physics and removing the glare and reflections from the surface - low angle shots with interesting detail under the water can look amazing with one of these! You may also want to consider a mist filter, but this is a much more creative decision and will give a certain look to your images - they’ll look slightly softer.
If you want to save yourself some money then you could invest in some step-up/step-down rings and just buy one large filter. This allows you to select the correct thread size for your lens and the correct thread size for your filter, just be aware that this does come with some limitations - for example, I have a 10-18mm lens and when it’s at 10mm, it can see its own lens hood, so it’s definitely going see the step up/down rings. However, when you’re just starting out, this can be a good way to explore shooting with different lenses and just having one filter.
You can also buy filters which are mix of circular polarisation (CPL) and VND. These are more expensive (you’re getting two filters in one) and obviously, they are slight bigger/heavier. I have one for 85mm lens and like having everything all in one place.
I have explained this below in more detail, but don’t bother with graduated NDs.
I know that the rest of this section is a bit of a deviation from landscape photography, but I think it’s useful to know why these filters exist!
Street shooters you might want to consider a variable ND and a polariser too! The polariser is going to be useful if you’re shooting from inside to outside through glass and will mean that you’re able to try and mitigate some of the reflections. if you’re after some motion blur but want to preserve your aperture when there is too much light then you might want to think about VND too. I used to use a VND for some of my light trails work when I wanted longer exposures but there was just too much ambient light, especially at night when there were tons of street lights and/or neon signs to allow me to get what I wanted.
You might also like some of the more creative filters like mist filters or star filters. Star filters can look great at night, but don’t overuse them. They turn every point of light into a little star like shape. For me, these need to be used sparingly and you need to pick the shot carefully. Mist filters, sometimes called pro-mist filters, give your photos a dreamy, cinematic look. These are another one that I used to use a lot at night in the city, but when I am out and about shooting landscape photography in the Lake District, I tend to reach for this in the day when I want things to look a little softer.
Most modern cameras have a UV filter built into them so using one for its actual intended purpose is a bit of a moot point these days. I also don’t see the point in sticking a cheap piece of glass between your highly engineered piece(s) of optical glass and your subject.
Some photographers will keep one attached to protect the front element of their lens from dust and scratches, but if you keep your lens hood on and make sure your lens is clean and well looked after, you shouldn’t run into any problems here; you just need to be careful!
Which Filters Should I buy?
As with so many things to do with photography, this is going to very much be dependent on your budget. There are lots of companies out there who are making these, and they are all competing for your money. Ultimately, you get what you pay for, but buying cheap when you’re first starting isn’t (I don’t think) in this case going to do you any harm.
If you search on Google, you will find a ton of companies trying to sell you things. These range from brands like Lee, NiSi and Kase (pricey but very good) to Kent Faith (also known as K&F concept) who are at a great place in terms of price, build and image quality (these are the filters I used and I love them) and then there are the hundreds of places who want to sell you something cheaper.


Urth is also another decent brand to consider, especially if you’re into ethical shopping as they plant trees in deforested communities with every purchase, you even get to register your trees. When I first started out, they were called something else and didn’t have as much market presence, but I visited them at the photo and video show at the NEC this year and was really impressed.
Most filters, be they VND or CPL will create a colour cast on your images, which is often very easily corrected in post. They are called Neutral Density as they’re not supposed to do this… You can buy true VND filters which are very well balanced and don’t create the colour cast, but beware, they are very expensive and if you’re just starting your journey into filters then they’re really not necessary.
You should also buy something to keep your filters safe. They aren’t cheap, but they are fragile so having something sturdy to keep them in is always a worthwhile investment. I use the one that I have linked below, which is from a manufacturer called JJC. I don’t know much about them, but what I do know is that this case is tough and has taken a bit of a battering. My filters on the other hand, have not.
What about graduated filters?
I don’t have any of these and don’t want any! I used to think that I needed them, and maybe I did, but knowing what I know now, I wouldn’t bother.
Graduated ND filters are plates that you slide into a clip/filter holder that attaches to the front of your camera. They have a clear half and a dark half that had a neutral density coating. Some have a hard stop and some are graduated but both do the same job. You placed the dark part of the filter over what you wanted to darken and the rest of your image would have a different exposure value as it wasn’t affected.
They are most commonly used to darken skies, but if you don’t line them up perfectly with the horizon then you are either ruining images or creating yourself a problem in post. I don’t see them being used much at all any more and this is because of what we can do with the linear mask tool in Adobe Lightroom. The finished product is just as good and it’s much easier to do it post than to fix it in post because you have messed it up.
By all means, get one (they’re usually quite expensive) and find out for yourself, but no one has ever looked at any of my images and said to me “I’ll bet you wish you used grad. for that”.
So, do you need filters for landscape photography?
Yes, but they’re not where you should start.
Mastering exposure and understanding light will take you much further than any piece of gear ever will. Once you’ve got that foundation in place, filters become incredibly powerful tools that allow you to expand your creative options.
A variable ND filter will open the door to long exposures, while a polariser can completely transform how your scenes look by cutting reflections and enhancing contrast.
Beyond that, everything else is a creative choice.
Build your kit slowly, learn what each filter actually does, and only add something when you know exactly why you need it. That way, you’re not just collecting gear—you’re building a toolkit that genuinely improves your photography.
Filters FAQs
| Question | Answer |
|---|---|
| Do I need filters for landscape photography as a beginner? | No, not straight away. Focus on mastering exposure first—aperture, shutter speed, and ISO. Filters become useful once you can confidently control light. |
| What is the most useful filter for landscape photography? | A neutral density (ND) filter and a circular polariser (CPL). ND filters help with long exposures, while polarisers reduce reflections and enhance contrast. |
| Are expensive camera filters worth it? | Yes, in most cases. Higher-quality filters reduce colour casts, preserve sharpness, and avoid unwanted artefacts in your images. |
| Can you replicate filters in editing instead? | Some effects can be recreated in post, like exposure balancing. However, motion blur and reflection control (polariser effects) cannot be fully replicated. |
| Do professional photographers still use filters? | Yes. ND filters and polarisers are still widely used because they achieve effects that editing alone cannot replicate. |
| What filters should I buy first? | Start with a variable ND filter and a circular polariser. These cover most landscape photography situations. |
| Are graduated ND filters still useful? | They can be, but many photographers now prefer post-processing tools like gradients, which offer more flexibility and precision. |