Using Shutter Speed Technically and Creatively
In this blog I am going to explore another area of the exposure triangle, namely shutter speed. I have already made a post all about the exposure triangle and how it works and there’s also one about why you shouldn’t stress about getting bokeh in your images. There’s even one about how to exposure bracket, but as of yet there, is nothing about shutter speed. That changes now.
I’ve made a quick exposure time calculator for astrophotography - there’s a link at the bottom of the page; bookmark it so you can find it easily again!
TL;DR
Shutter speed controls how motion appears in your images.
Fast shutter speeds freeze action and give sharp, technically accurate results.
Slow shutter speeds introduce motion blur for creative effects like light trails and smooth water.
There are no perfect settings. Use faster speeds for clarity, slower speeds for atmosphere.

Technical VS creative Creative Shutter Speed
When I talk about technical shutter speed, I am talking about the shutter speed that is needed to secure sharp, well exposed images that don’t have any motion blur. Think about for example taking documentary style landscape shots which are a true reflection of what you saw on the day, or commercial product shots where you are trying to show an image at its absolute best or even corporate headshots where if you deliver images which have motion blur in them or are too dark then you’re probably not getting booked again.
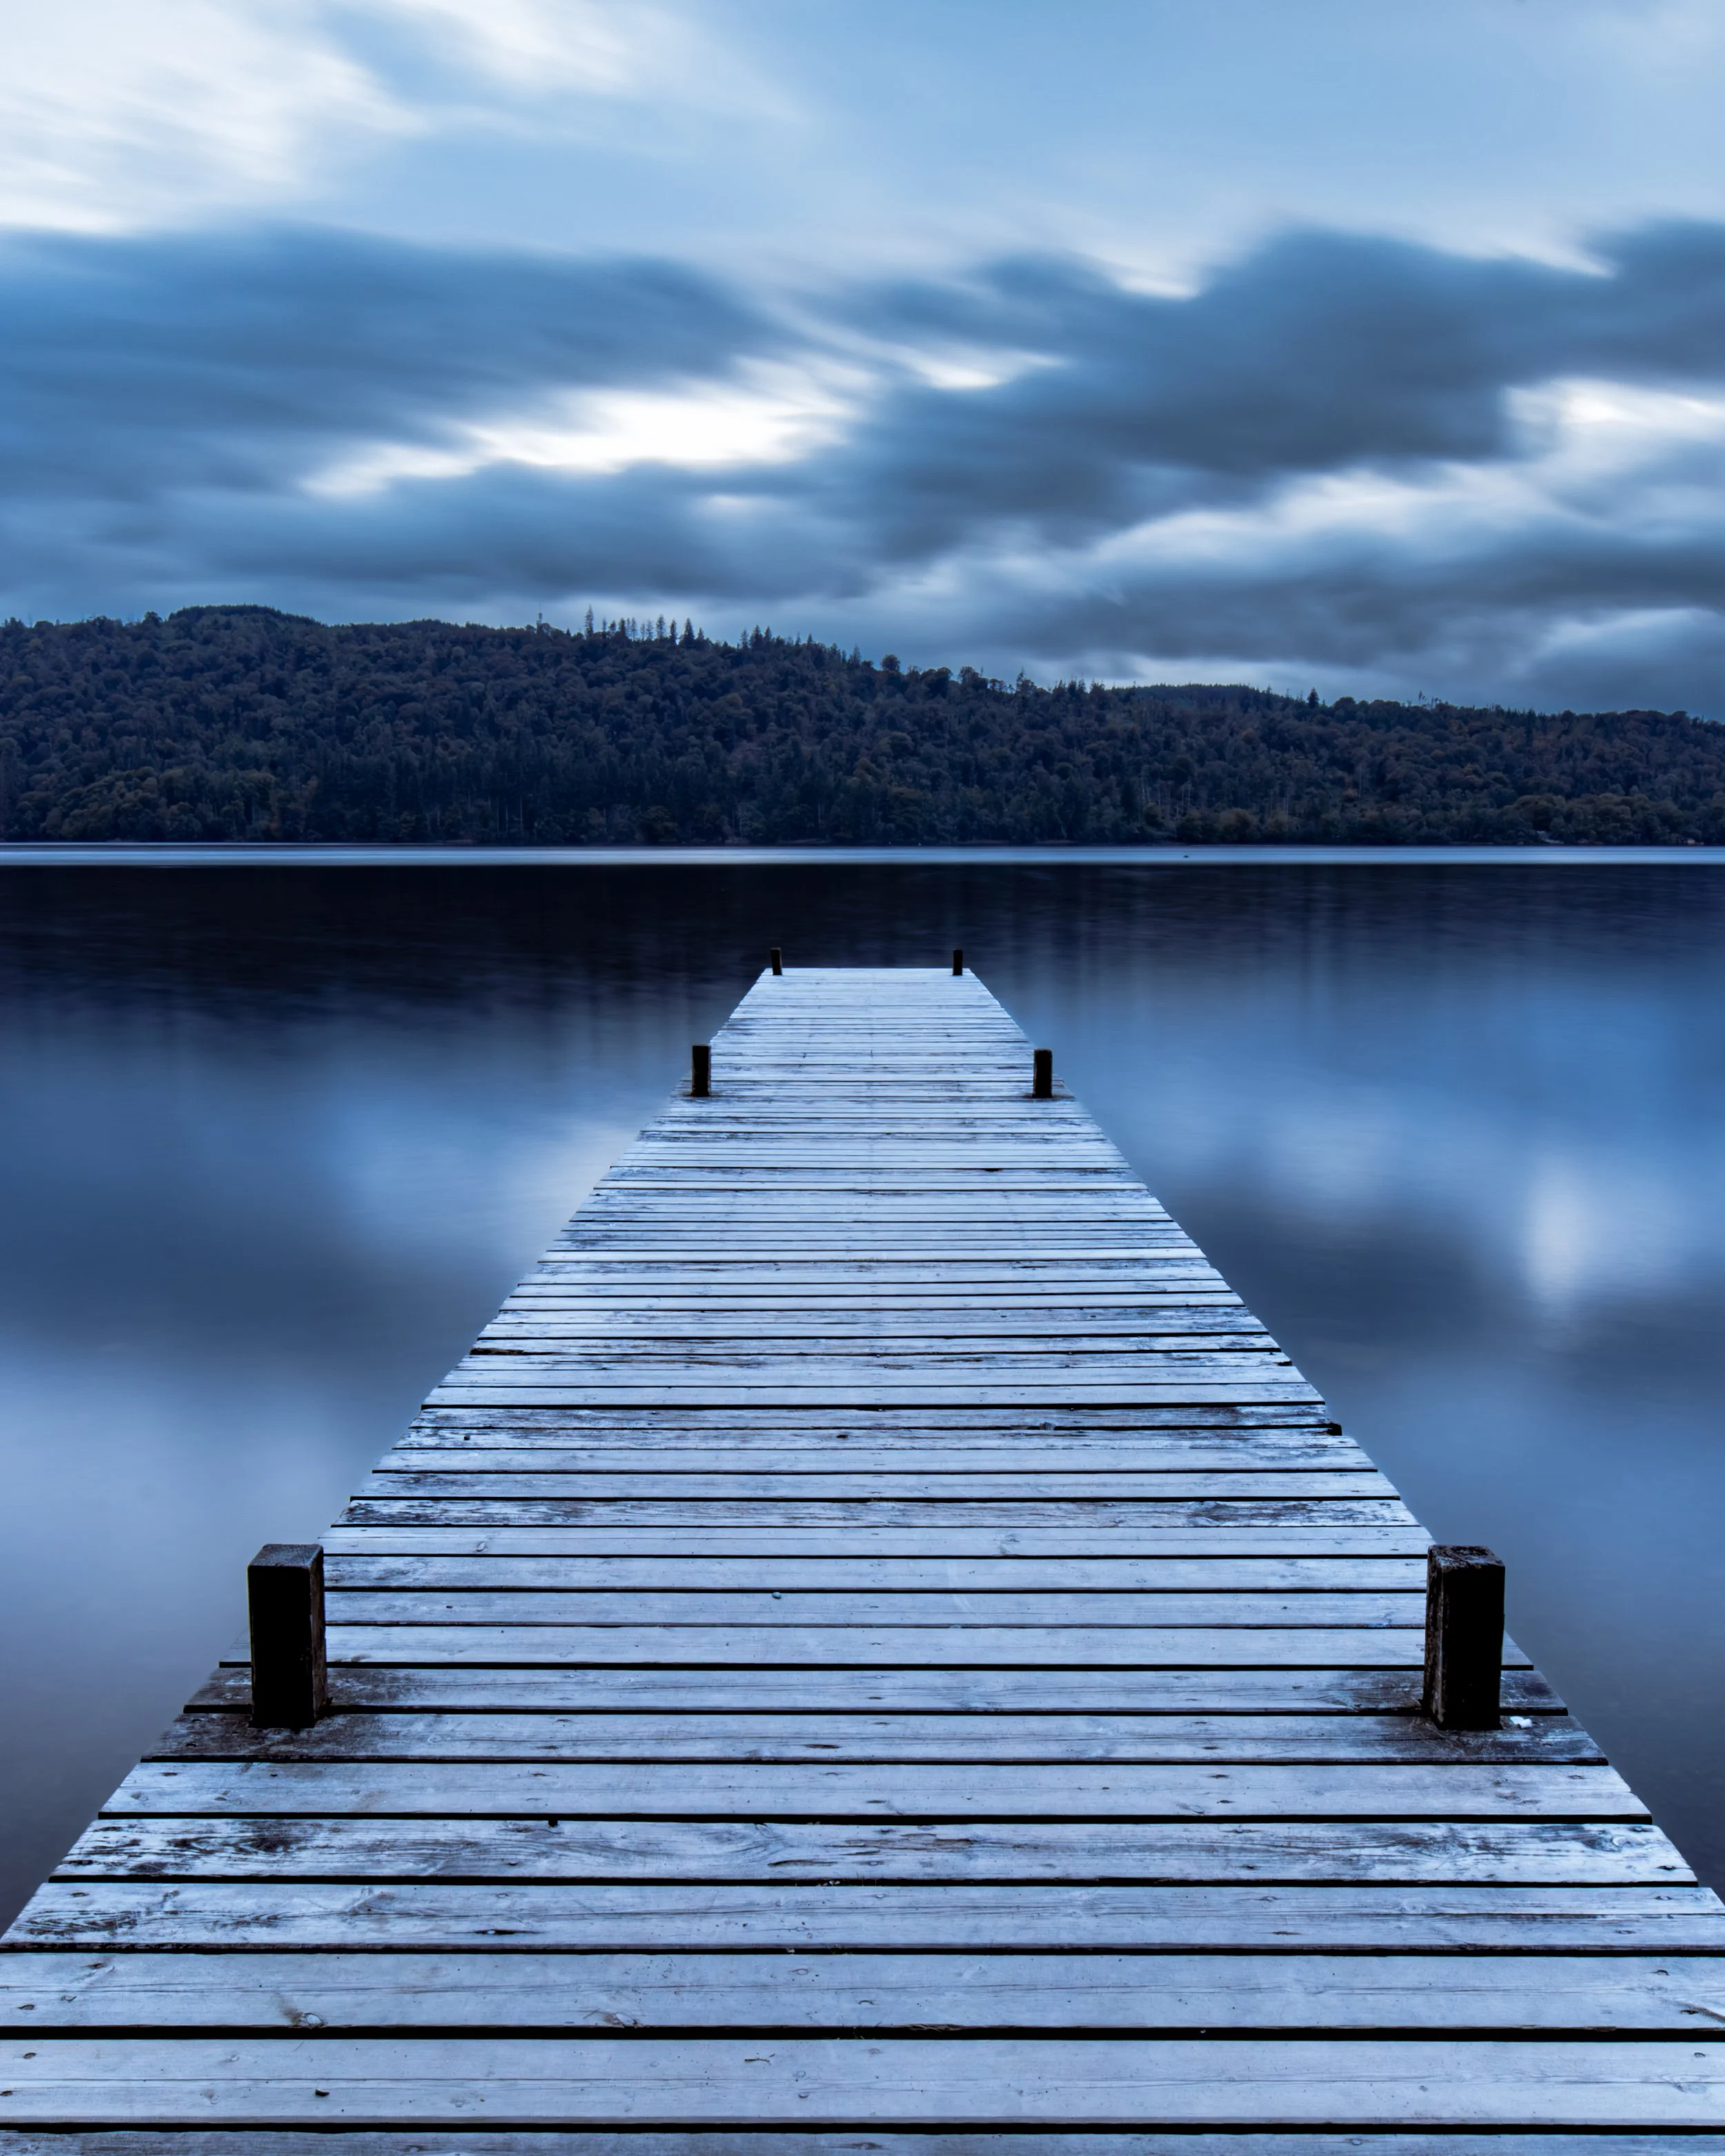
These are the types of shots where the images need to be as close to technical perfection as possible. You can combine it with focus stacking, like in the image above to produce sharp, properly exposed images.
On the other hand, we can use shutter speed creatively, and that might be intentional camera movement, capturing light trails, wire wool photography or even creative portraits, where we want to see some of the movement of the subject in our images. This is a slightly different scenario. I would like to explore both of these in this blog, and hopefully give you some ideas to take away to go an experiment with.
What is Shutter Speed?
Shutter speed is one of the three elements of the exposure triangle, alongside aperture and ISO.
It controls how long your camera’s sensor is exposed to light. The longer the shutter is open, the more light hits the sensor and the brighter your image becomes. The shorter the shutter speed, the darker the image.
Balance it with aperture and ISO, and you’ll achieve a properly exposed shot.
Freezing Motion vs Creating Motion Blur
As a general rule, fast shutter speeds freeze motion, and slower shutter speeds create motion blur. Remember though, this is all relative; shooting at 1/100 of a second might freeze some things in sharp focus, but try shooting a formula one car going at full speed, at this shutter speed and you will see that you need something much faster.
When it comes to slower shutter speeds, it isn’t cut and dried. If for example, you’re aiming for light trails, then 30 seconds will get you some great streaks, but they won’t have any trace of the vehicle, if you want to shoot the classic “blurry bus” then you’ll need a shorter long exposure, usually something around 3 seconds. Intentional camera movement will require various different, longer shutter speeds and you’re going to have to experiment.
There are no best settings (as with all other types of photography), but there are some approximations that will get you in the ball park of where you want to be. And you’ll also need to take into account weather and lighting conditions wherever you are on the world.
There’s a lot of experimentation involved, often with every single shot you take.
Technical Shutter Speed
This is the shutter speed that you need to capture an image which is technically correct, that is to say that it is properly exposed with the right aperture, the right ISO and the correct shutter speed. Sports photography is a good example to use for this - you want to capture the players in focus and they need to be sharp. No one is going to buy photos that are full of motion blur and where you can’t see what the players are doing, let alone who they are.
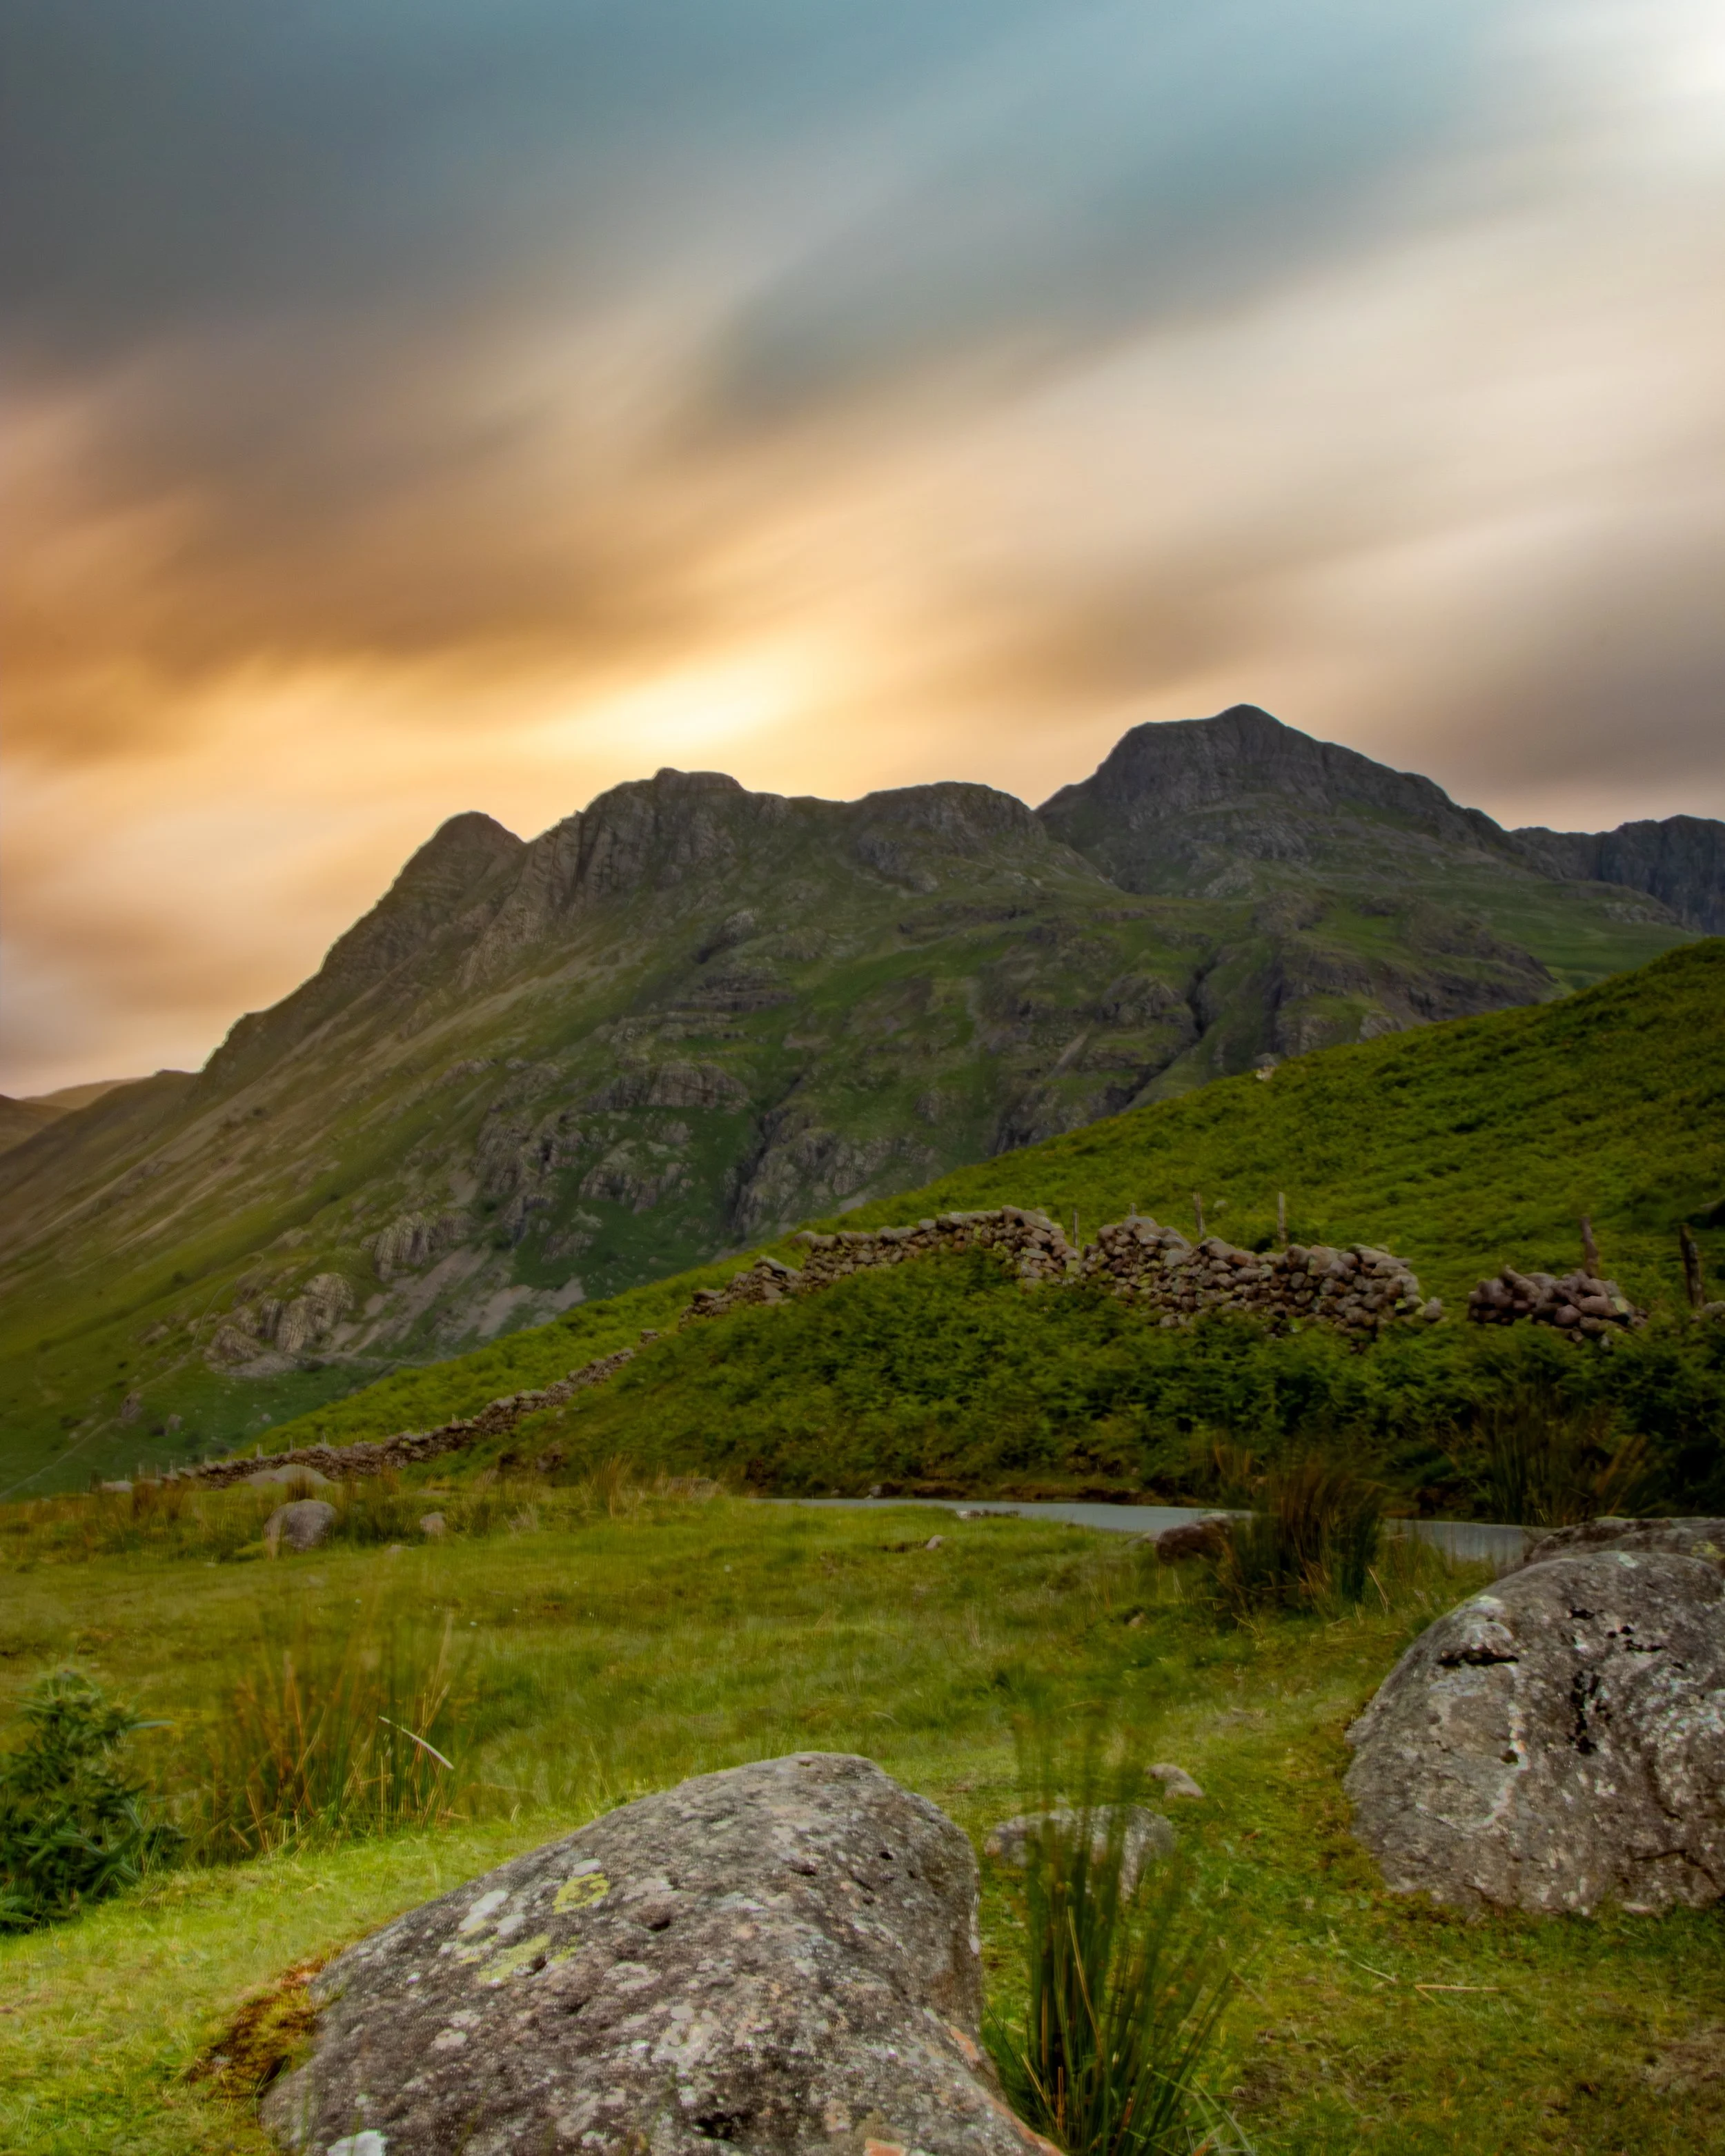
Another example, could be in landscape photography where you want to capture the scene as it exists in front of you - you want to freeze the clouds, you want to freeze the trees and you want to freeze the motion in water. In this case, you are going to want a faster shutter speed to make sure that everything is look crisp.
It can be handy in some situations to put your camera in shutter priority mode (Canon user, that’s the TV mode on your mode dial, it stands for Time Value), as this gives you full control over the shutter speed and the camera will select the ISO and aperture values for you. You can set the max ISO you want to use in your camera’s settings, but you will need to consult the manual for you specific model of camera for details about how to do this. This gives you less to think about and you can then focus on the things you need to do, such as getting the right shutter speed to capture the image that you want.


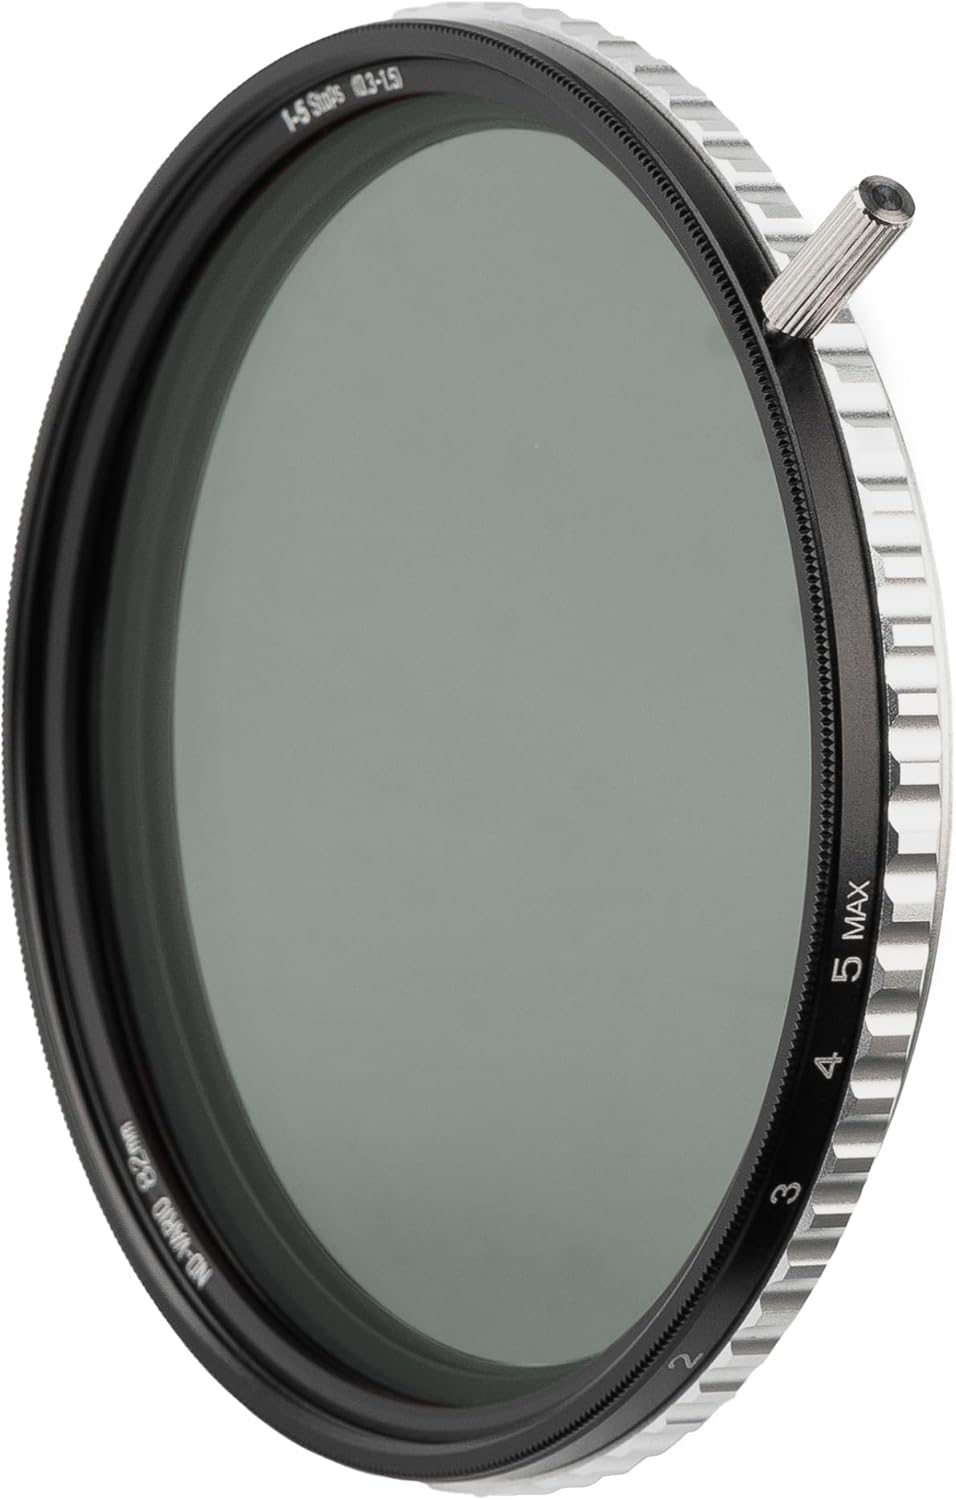
The above filters are ones which I recommend, I personally use K&F concept as they are at the best price point for me. If you're just starting out with filters then buying one to fit your largest lens and pairing them with the steup and down rings can be a money saver If you choose to purchase through these links, I may earn a small commission at no extra cost to you — it helps support the site and keeps content like this free.
Creative Shutter Speed
This is what I call it when you are using your shutter speed to directly and intentionally affect the image that you are producing. This where it gets fun!
There are tons of applications for this type of photography and these range from light trails, to bus trails, smoothing out water and capturing motion in moving water to wire wool photography of capturing the movement in the clouds.
Light trails and bus trails were two of my staples when I lived in London and I got really good at dialling in the settings.
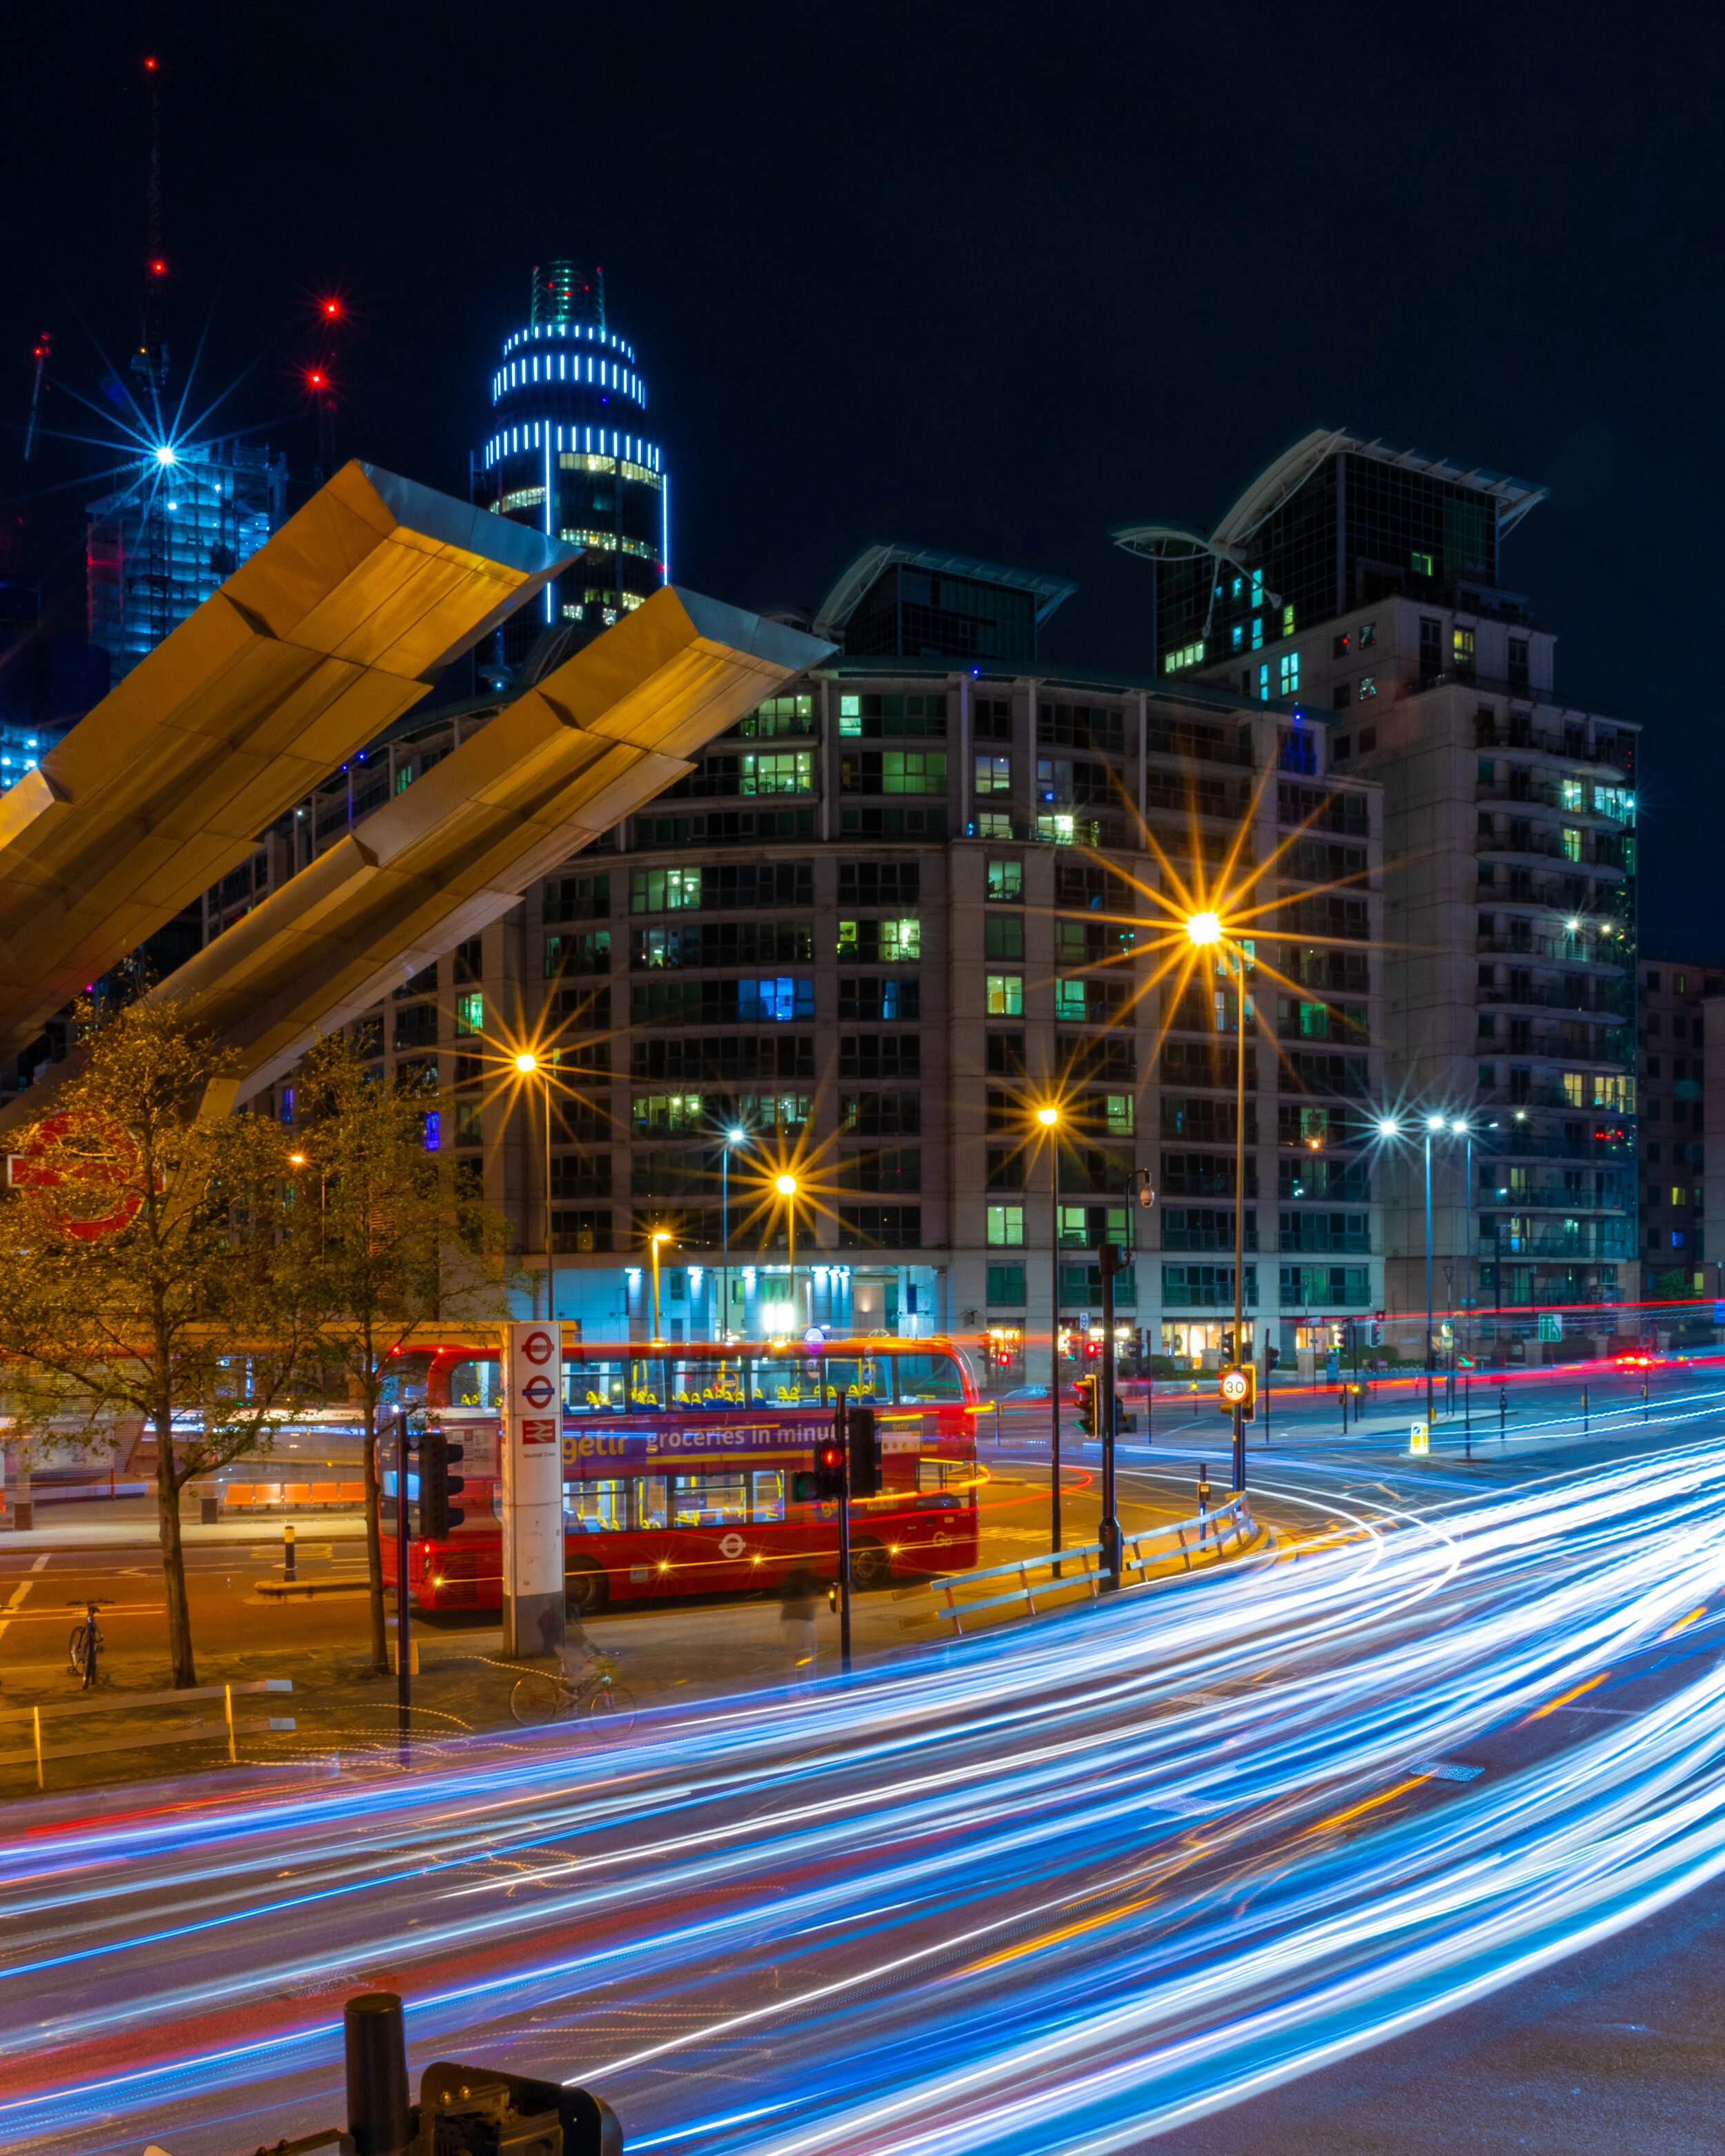
Lets start with light trails…
You going to need to find a good location - this is key. Symmetry works well, as do roads that snake through the landscape as both of these create interest in your images. London was great for this, places like Holborn Underpass work really well for this. Another good location is motorway bridges (stay safe and don’t drop anything) as you’ve got traffic both sides of your image.
You’ll find that exposure times of around 10seconds plus work for this kind of shot and will give you lovely long light trails, but if you’re shooting a really long stretch of road then you will want a longer shutter speed otherwise the trails just stop abruptly and that doesn’t produce attractive images.
Bus Trails (also works with other kinds of vehicles)
I call them bus trails as when I lived in London, the busses had lights with a really cool colour temperature and they looked great in photos against the red of the busses.
Composition as ever is key, I used to find the shooting just prior to the vehicle entering the frame works well, and you’ll want an exposure time of around 3 seconds (but this is going to depend on the speed of the vehicle). This will leave you with some fab looking motion blur that you can have ton of fun with in post!
Smoothing Out Water…
Sometimes when we arrive at a landscape photography location, we find that the body of water we wanted to shoot is moving more than we wanted it to be because of the breeze - a long shutter speed will help you to smooth this out, but it does have a very specific effect and you’ll have to decide whether you want or if you want to come back another day.
One situation I have always works well for this technique is when you’re shooting the sea, especially if the conditions are moody and you’re after a minimalist look to your images - high key black and white edit anyone?
The longer your exposure time, the smoother the outcome - experiment, find out what works!
Don’t fall into the trap of thinking that this technique is going to allow you to preserve reflections that are being disrupted by motion in the water - it won’t! If the water is moving then so is the reflection - long exposures can help you to work with nature, but they won’t allow you to beat it!
Capturing Movement in Moving Water
When I am thinking about writing this, I have waterfalls at the forefront of my mind. Slow shutters can work really well with waterfall shots, but you have to be careful, it’s really easy to overcook these and you end up with water that looks like milk! Less is more here. If you want the full “milky” effect than fire out exposures at 30 seconds and you’re there in a (very long) heartbeat).
You’re going to have to be patient to get the shot you want, much like with anything that is moving, the optimum shutter speed is going to be determined by its speed. If you’re visiting a waterfall location there is going to be much more water falling than after a dry spell so you need to factor this into both your planning and your execution when you are out in the field.
Capturing Movement in Clouds.
This is great way to show the passage of time in an image. Using a long exposure on your landscape photography to shoe movement in clouds creates (for me at least), a much different feeling and effect in your photos to that which you get when you use long exposure to smooth out water.
Different exposure times will give you different results and the wind direction has an impact too. I like shots where the wind is blowing the clouds away from me (as though the wind is blowing from over my shoulder) as this creates a real depth to your image!
Intentional Camera Movement
This is exactly what it sounds like. For the initiated, this is a technique which uses longer shutter speeds, but often nothing much more than a second. You press the shutter, intentionally move the camera to create motion blur, rinse and repeat.
There are two parts to the word intentional in this context.
There is the intention to move the camera i.e. you mean to do it - it isn’t accidental and you have to be intentional when you make the movement, that is to say that you need to do it with purpose.
If you’re looking for dreamlike and/or abstract then trying some ICM could be for you!
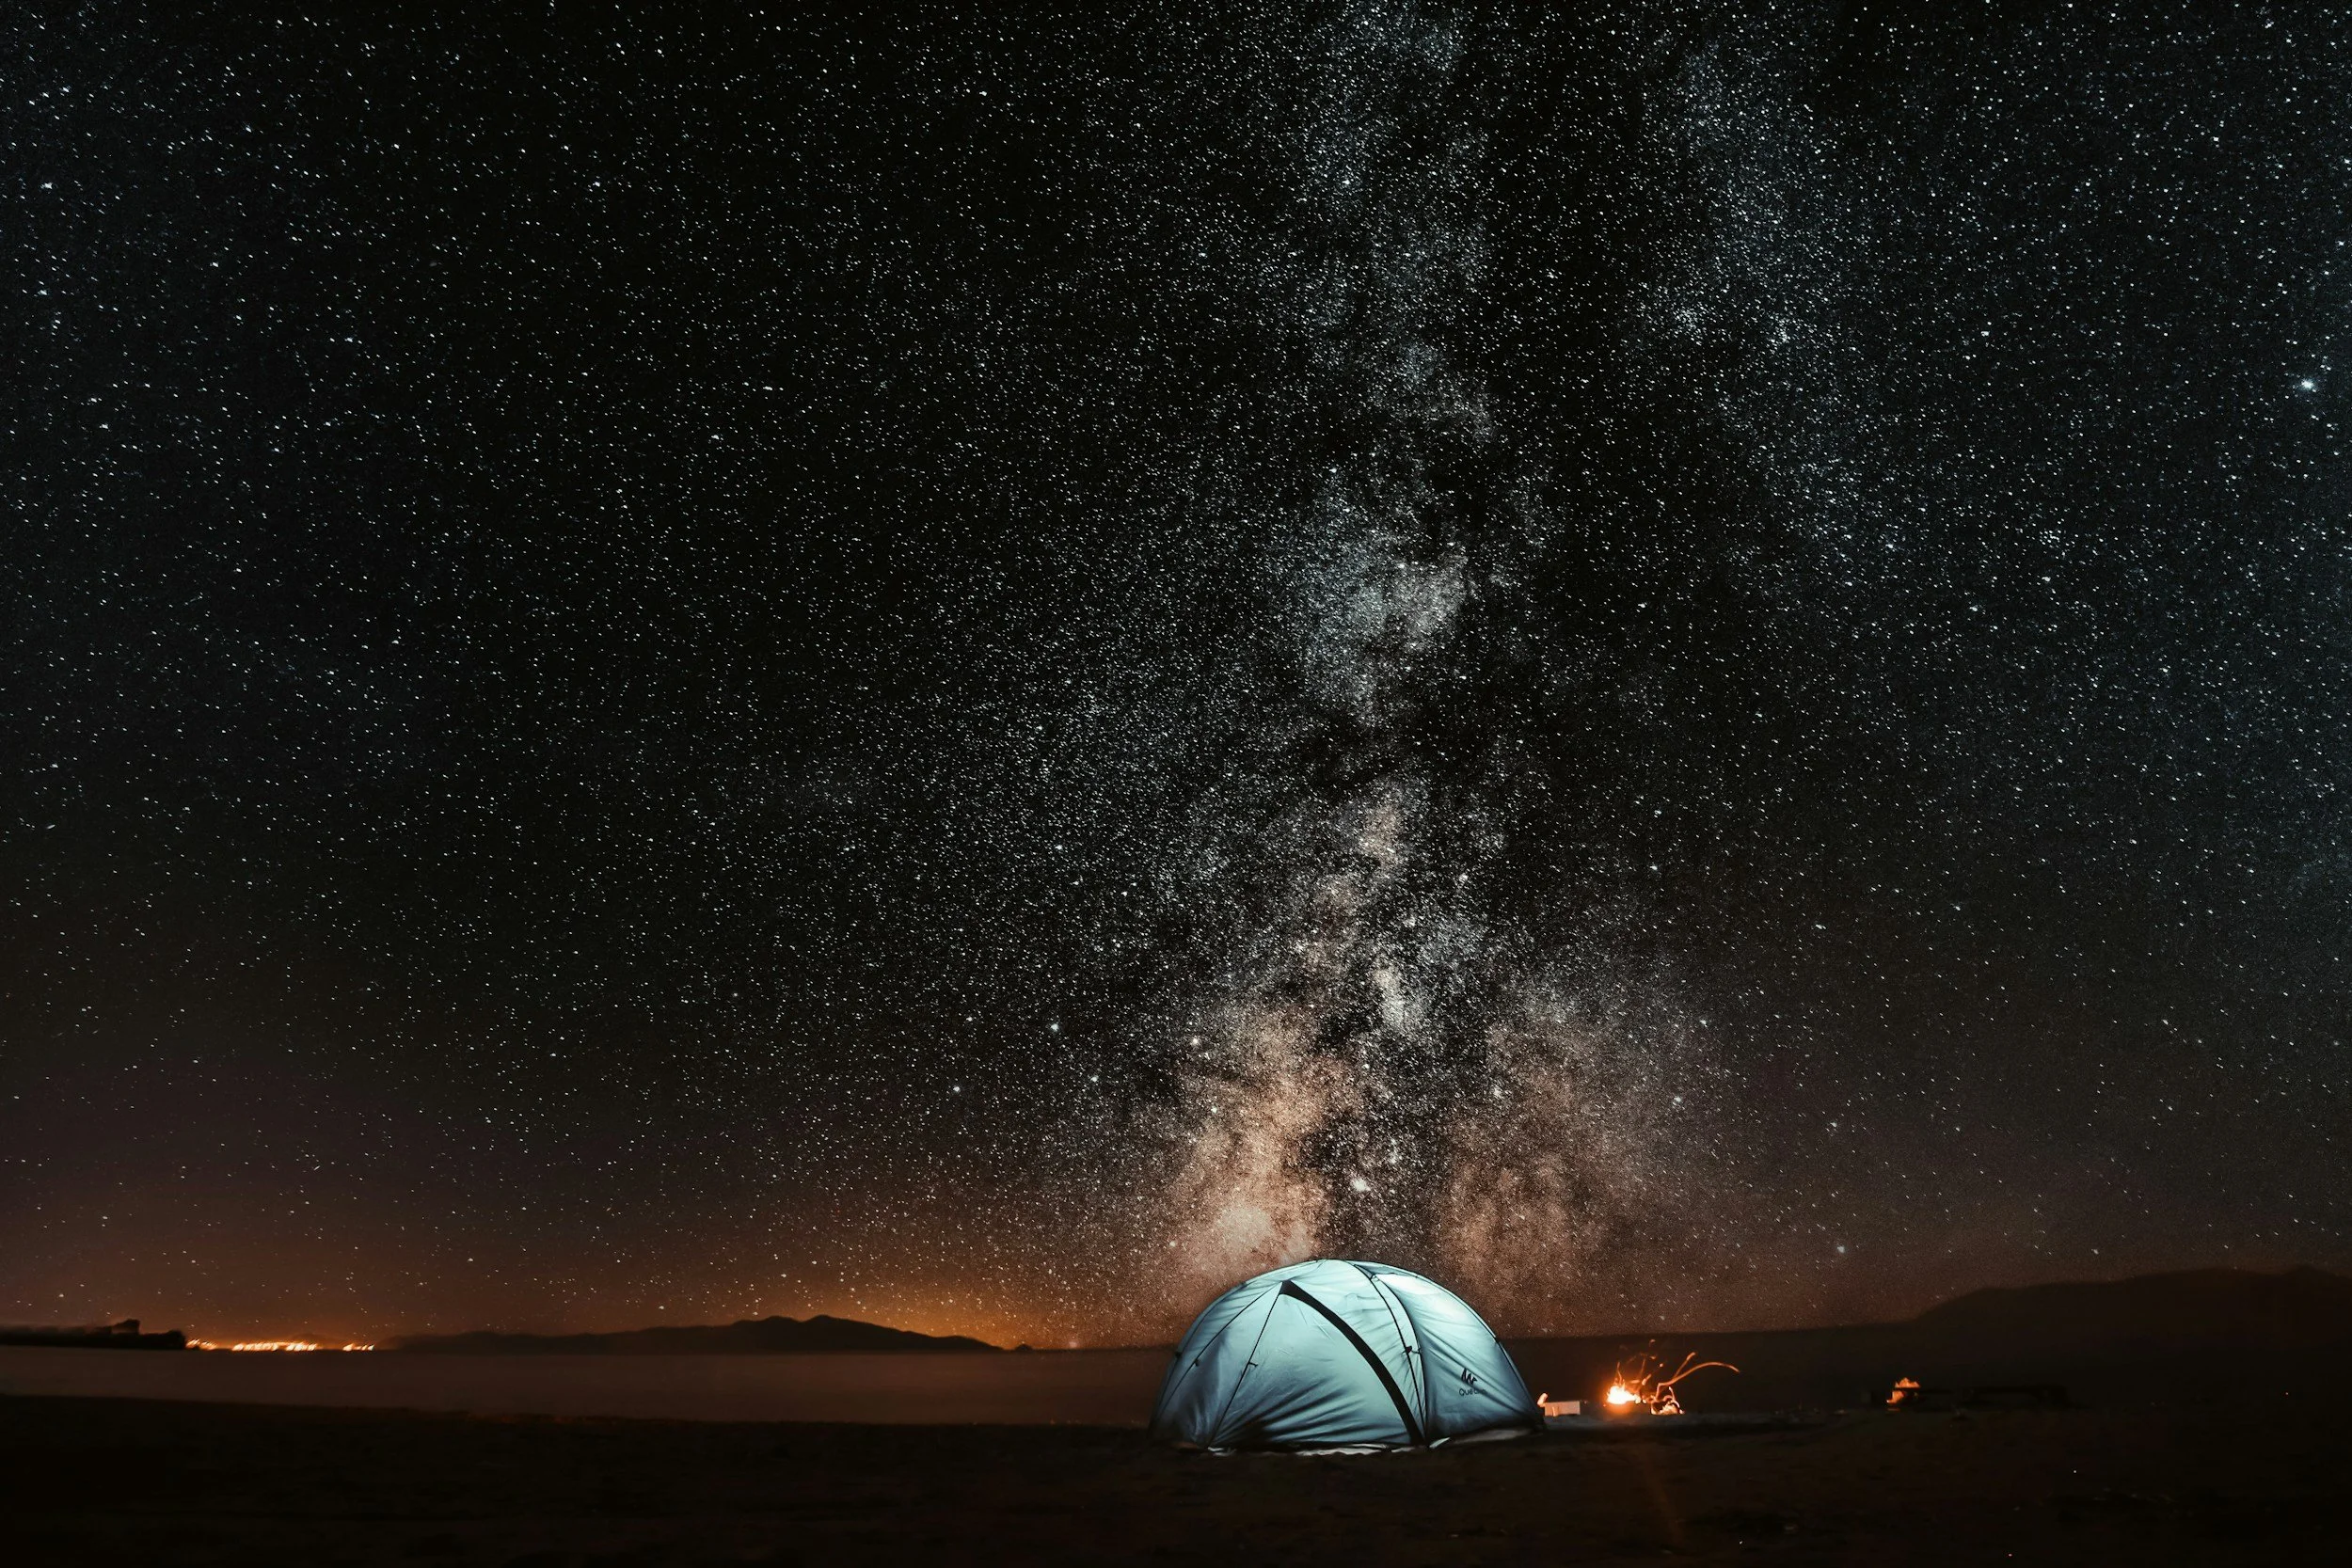
Astro Photography
Whatever it is, the way you tell your story online can make all the difference.
I am no astrophotographer. Don’t get me wrong, it’s not because I don’t like doing it, it’s just that I don’t practice it enough, nor do I have the specialised equipment that you need to get some of the really dramatic and awe-inspiring shots that can be created. However, there is a great rule of thumb called “The 500 rule”.
This is a calculation that you can do quite quickly and it will work out the maximum shutter speed you can use to capture sharp stars without any star trails (these are created by the Earth’s rotation) so that you have clean shots of whatever it is you are trying to capture.
The 500 rule for astrophotography explained:
The rule is this… 500 ÷ Focal length = max shutter speed in seconds. You then need to adjust for crop sensors/micro four thirds cameras so the equation becomes 500 ÷ (Focal length x crop factor) = max shutter speed in seconds.
To help you with this, I have created this free astrophotography shutter speed calculator which allows you to plug in your settings and it will spit out the correct settings, enjoy!
Night Photography Shutter Calculator
In Conclusion
Shutter speed is one of the most powerful creative tools in photography. Whether you’re aiming for sharp, technically perfect images or experimenting with motion and atmosphere, understanding how to control it will completely change the way you shoot.
The best way to learn is simple: get out there and experiment.
Thanks for reading, I hope you found this useful/insightful! If you’d like to be the first hear about new blogs and reviews and to keep up to date with what I am doing and see my latest work, please consider signing up to the mailing list via the contact page.
If you’d like to support the blog and help me keep producing Lake District photography content, honest gear reviews and regular website updates, you can do so via my Buy Me a Coffee page. Keeping everything running smoothly takes time, and your support makes a real difference. Thank you.
Image Credits - Milky Way Shot Pars Sahin @byadoniaa on Unsplash.com
Check out Some of My Previous Blog Posts Below: