My Studio Setup
My studio. It’s a place where I spend a lot of time, it’s nothing fancy, just a room in my house where all my stuff lives, where I spend (probably) too much time, it’s where I create, where I edit and if I’m honest, it’s a bit of a happy place for me. It also has the potential to be a massive money pit. Let’s take a bit of a look around…
This blog contains Amazon affiliate links. If you click one of these links and make a qualifying purchase, I may receive a small kickback. This is really helpful and helps me to keep this blog going, so thank you if you do choose to buy something!
Grab a brew… this is a long one!
I now have an Amazon store front and most of the things I have listed in this blog are linked on there, just click the black button below to check it out!
VIEW MY AMAZON STOREFRONT ›My Computer
I have 2. Sorry Windows people, but I am FULLY invested in the Apple ecosystem… My main desktop machine is a ‘first gen’ Apple M1 Mac, 16GB ram and has 1TB internal memory. I got it when Apple first released the M1 Macs and it’s as quick now as it was then. It handles all of the usual photo/video editing apps and runs them at the same time. It rarely misses a beat and I really like it. Attached to this I have a huge BENQ monitor. The second monitor is particularly helpful when I am editing video. The screen on the Mac itself and the monitor are both calibrated and matched. I am using the Datacolour Spyder Pro for calibration, it works for me and I love how easy it is to use.

My second computer is an M4 MacBook Pro, 16”, 16GB RAM, 512GB beast. I love this thing, it’s quick, the 16” screen is incredible and it provides the real estate I need to edit without having to muck about resizing stuff all of the time. It multi tasks really well and rendering videos is done in no time, but admittedly, a lot of what I am doing with regard to video is only short form content so I can’t speak to render times for much larger files.
Printer
I love my printer. I don’t love how much the ink costs, but that’s par for the course when it comes to professional grade printing. I’m using the Canon PROGRAF 1000, which has recently been usurped by the upgraded PROGRAF 1100. This produces all of the prints that are on sale on this website. It handles paper sizes up to A2 and deals with thicker papers really well. I haven’t ever had an issue with print quality on this and it’s one the best things I have brought for the studio.
If you’re thinking about getting into printing your own images at home then you need to check that the replacement inks are within your budget. A full set of replacement inks for this machine will run you about £500. Is it expensive? Yes. Is it worth it? Absolutely. You get what you pay for, and the ink and and substrate that you choose make up the entirety of the print that you produce, so it’s vital that you get it right. Using official Canon inks is a must for me. There aren cheaper non-proprietary inks out there, but when I have paid so much for the printer in the first place, I’m not about to put second rate inks inside it.
When it comes to paper, I like Fotospeed, especially the rag stocks that they have. I prefer a matt paper to a glossy one. I find that glossy prints look a bit odd when you stick them behind a piece of glass!
Lighting
This can be an absolute minefield. It’s a bit like the project managers adage… You can have good, fast or cheap. But you can only pick two of these.
Good photo lighting which is consistent in terms of power output and colour is expensive. Prohibitively so for most photographers, even a lot of pros will rent it for big shoots as a full set up will run you into 10’s of thousands of pounds.
Seeing as I have no use case and a lack of the required funds for ProFoto/Broncolor/Elinchrom lighting, I have had to opt for something else.
I started out with a set of Neewer constant output lights with soft boxes. The whole lot, softboxes, light stands and bags for it all cost me less than £100. I got what I paid for. Cheap tat. The lightbulbs were terrible energy saver type things, the softboxes were cheap and tatty and the stands were flimsy. If you’re just starting out and are thinking about buying some lighting, avoid these, save your money and get something better. I was also gifted a set of flashes from the same company, by a relative. These were an improvement but the massive drawback with these was that the softbox mounts were specific to this setup and they won’t accept anything else (not even a Bowens mount) which limited me to just the softboxes that were supplied. The lack of flexibility was an issue.
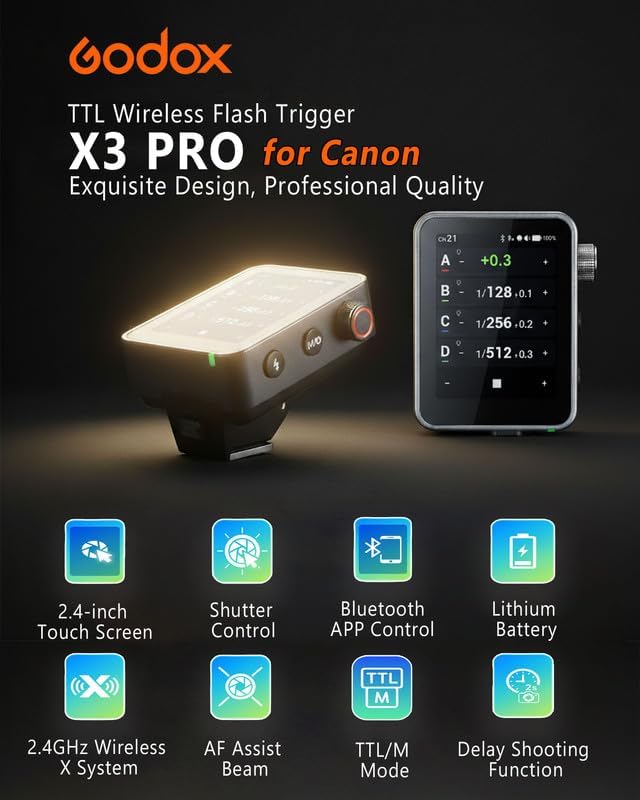
I have finally settled on Godox and I really like them. I’ve got 2 Godox SK 400II flashes and one SL100D Video light. They're well built and easy to use. They pair really easily with the XPro TTL trigger, which makes it easy to move around the space and shoot. There’s nothing complicated about these. Is the colour consistent? Not always, but I am not shooting so many studio projects that I don’t have time to do these types of colour corrections in post. This is always made a load easier of you’re shooting a grey card/colour card to help with your white balance corrections. They also have Bowens mounts (yay!), which means that you can find almost any type of softbox to fit them.

I have a variety of softboxes/light modifiers, for a variety of applications. I won’t go into too much detail, but there’s 2 Godox rectangular softboxes, a Godox octobox, a Godox Parabolic and a Godox collapsible lantern. I also have some shoot through umbrellas and some PixaPro 40” reflective umbrellas. These all come with diffusion sheets which velcro in, and some of them come with grids, but check before you buy as some of them have the grids as an optional extra. They also all come with reflectors and I’ve purchased some grids which fit inside these.
Finally, I am really lucky to have a big window in the studio, but this isn’t ideal for everything I do! When I am editing, I want/need consistent light so I have massive homemade blackout curtain which I can hang really easily when I need to. I also have a homemade scrim which is just some diffusion material mounted to a wooden frame, which again can be hung and removed really easily, sometimes I just need to soften the natural light a bit when I am using it. I can also use this scrim in front of lights to add some extra diffusion when I need it.


I’ve got a few other accessories as well, mainly just handled light like this SmallRig RGB light. I only got this recently after I saw of the results on social media. It’s really well made and has a 1/4” socket that you can use to stick it on a tripod of you want to. It also comes with a small stack of gobos that you can use to create interesting patterns of light and shadow shapes if you need to fake a window shadow or want something a bit different for a more creative portrait. You can check out my review of this light here.
I’ve also got some snoots for shaping light and making it more directional. These aren’t anything fancy, there are certainly more complicated options out there, but these ones really work for me.
Like I said at the start of this, lighting can be/is a bit of a minefield, so if you’re just starting out, do your research, buy something that is powerful enough and is easy to use - if you can’t use it or can’t figure out how to use it quickly, you won’t use it at all and then you’ve wasted a load of money!
Backdrops
I’ve got two sorts of backdrops in the studio. The pain in the backside fabric ones that you spend an age steaming to get all of the creases out of and a paper backdrop roll system.
My cloth backdrops are just hung from and (when needed), stretched onto a backdrop frame. I’ve got a variety of backdrops from black, white and chromakey to gradients, bookcases, Christmas scenes… you name it, it’s in there. I don’t use these anywhere as much as I used to you, as they were largely for portrait work and family shoots. Black, white and chroma key are always going to be useful.
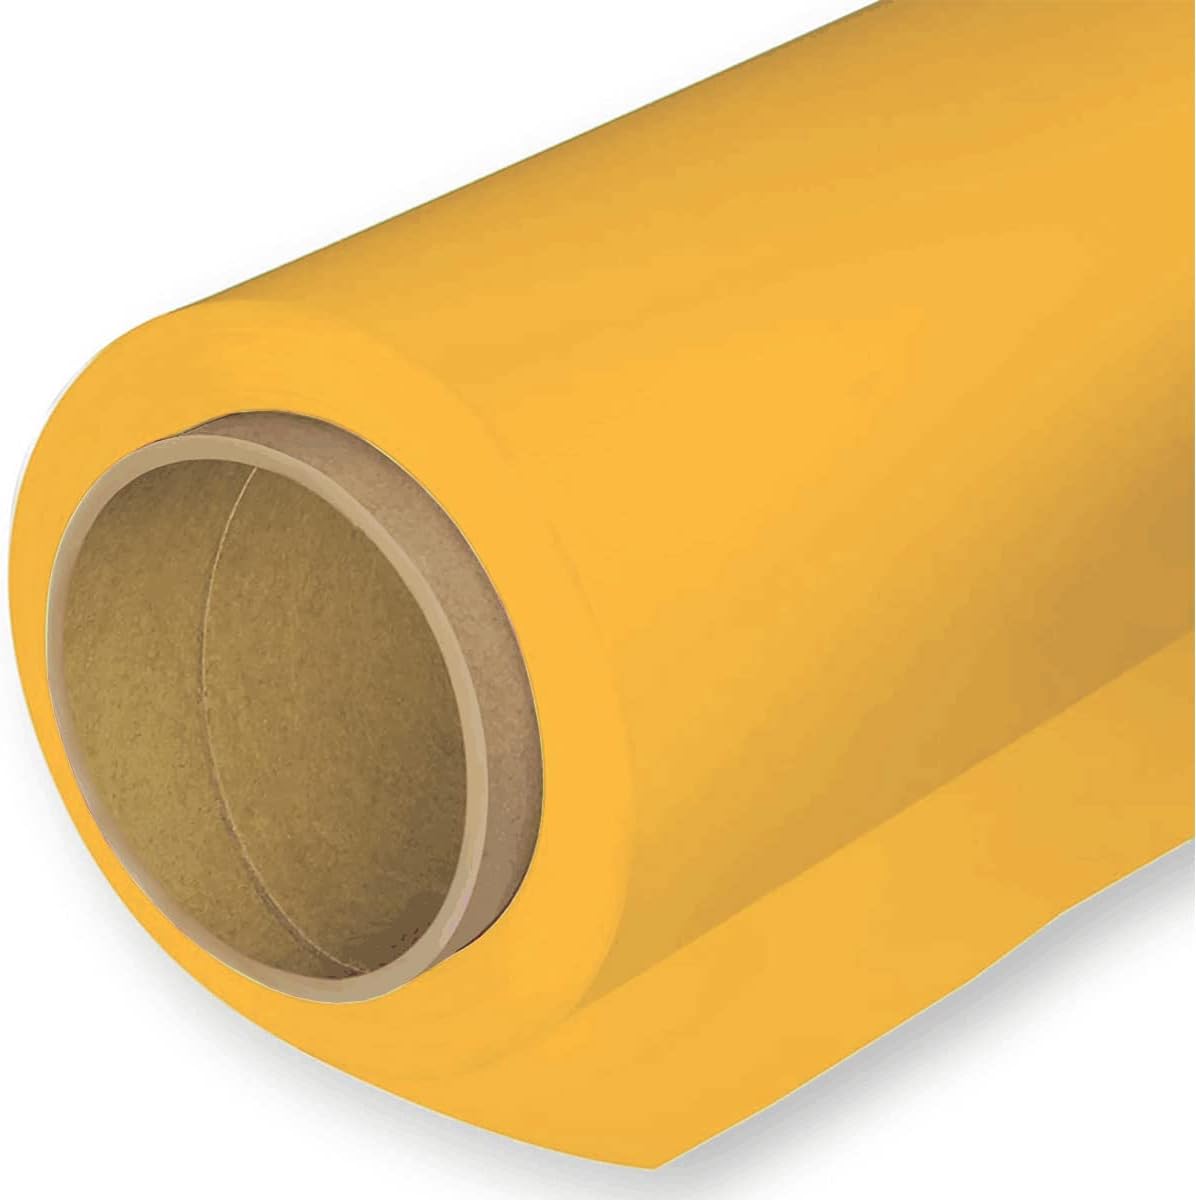
I love my paper backdrops. I have a roller system mounted to the wall and use these Phototronic metal crossbars to support the paper rolls I have hanging from them, You need these tubes because the rolls are quite heavy and come on a cardboard tube which starts to sage after a while, the metal tube just slides insides the cardboard one to give you the strength you need. Colorama paper rolls are awesome, but are quite pricey, especially when you’re buying the wider sizes. I have a mixture of these 2.7m and some of the 1.4m ones which I got from Amazon, and they are at a fairly acceptable price point.
You’ll need to consider the size of your space when you are deciding if this is a good system for you. I am lucky to have a fairly large space which allows me the hang the large paper sizes, you’re going to need a clear 1.6m(ish) of space to hang the smaller rolls and have enough space to work around them. Also think about where you are going to store the ones you aren’t using!
I also have some PVC backdrop rolls which are good for food photography as they wipe clean and can be reused. This isn’t the same with paper! The big drawback with these types of backgrounds is that they are reflective, even when you don’t want them to be, so they’re always going to be bouncing light back into your camera or around your scene and this isn’t ideal when you’re trying so hard to control the light and nail the exposures that you want to achieve. Oh, and did I mention that these things roll up so you can store them? Awesome right? Not when you want them to be flat and they just will not behave!
Speakers/Sound
Technically, I am a musician by trade, so music is really important to me and sound in videos is no different! A lot of what I have is a hangover from when I used to DJ/produce music. I sold a lot of that kit to finance my photography, but I kept a few bits back that I thought might come in useful.
Top of that list is my pair of KRK Rocket 5 speakers. These are great. They’re clearly and the sound they produce is fairly flat, so when you’re editing you’re not ending up with a ton of bias towards one end of the sound spectrum or the other. These are speakers that are designed to sound honest, not full and rich!
Whilst the speakers are great, they’re not always practical, especially when I am editing late at night - I have neighbours! To facilitate late night sound work, I use a pair of Pioneer HDJ 1000 headphones that are about 15 years and come with a wire.. no bluetooth here (which can be useful as it means there’s miles less latency!). These were very expensive when I first got them and you can’t get them any more, but a good alternative would be the Pioneer HDJ-X10, if you want something a little more budget friendly then you should take a look at a pair of Sennheiser HD25’s. These are a great pair of headphones and they’re modular, so if something breaks, you can get replacement parts fairly cheaply and it’s generally a user friendly repair.

Both of these sets of headphones are designed to have a flat response, so what you’re hearing won’t have boosted bass or mids to make them sound rich. This means that when you edit, you can be condfident that what you’re hearing will sound good across a range of different outputs. If you’re not sure, check your edits on the speakers in your car. If it sounds good there it’s going to sound good everywhere!
If I’m listening to music or watching YouTube in the background as I edit and I want the music to sound ‘good’ then I’m reaching for my AirPods Pro. I love them. But one day, I will have a pair of AirPods Max. Should have entered the Euromillions tonight, suppose I could have a spare pair then as well!
If I’m recording sound in the studio, it’s usually voice over and I have a Red5 RV8 capacitor mic. I can’t remember when or where I got this, but it’s brill. It looks and sounds great. I just keep it on a desk mount so I can pull it out when I need it and stow it when I don't. You’ll be hard pushed to find one of these new, but the Rode Podcast Mics are a great alternative.
To get the sound into the computer in a way it understands, I am using the M-Audio M-Track 2X2 interface. It’s an old bit of kit but it works and I like it. It also has really big controls which I like. If I were buying one today, I would be straight in for the Focusrite Scarlett. Those things are bombproof!
For audio editing, depending on what I am doing, I am using either Adobe Audition or Logic Pro.
Editing
This is a fun one because I am using some software that I have been using for years, and have some that I am in the process of learning. I will try and keep this brief!
Photo editing: If I’m editing my landscape work then it’s mostly done in Lightroom and then booted into Photoshop for more complicated touch ups or slap a bit of Orton glow on it. I also do all of my printing through Lightroom’s printing module. If it’s still life work then I am doing all of the editing in Photoshop.
I am also in the process of learning Capture1 Pro, especially if I am shooting tethered. There’s nothing (for me) that even comes close to the tethering function here. The editing side of this software is taking me a bit of getting used to, but I still do any retouching in Photoshop, though capture one is really catching up here.
When I am shooting tethered, I am using the Tether Tools ‘TetherPro’ cable. Check before you buy one which is compatible with the inputs and outputs on your camera.
I am also using the Logitech MX Creative console, which I love and have written a review of here. I have paired this with the MX Master 4 Mouse and the MX Keys X. Finally, I also use the Wacom Intuos Pro (Medium) Graphics tablet and have spoken bout using graphics tablets in landscape photography - I’ve spoke using graphics tablets in my blog post that you can read here.


Video Editing: So if to be nothing other than a cliché photographer on the internet, I am editing most of my stuff in PremierePro, but I am learning DaVinci resolve. It’s really different to Premiere, the nodal system is quite complicated at the moment, but that’s a me problem, not a software problem. It’s also really stable, and that’s the big plus. It’s not crashed on me once yet, and I am using some massive log files to practice with. This change is very much a work in progress at the moment and any video you see from me in the coming months will be out of Premiere, but I am hoping to be fully in DaVinci with the next 12 months. Oh, and did I mention that DaVinci is free? For what I need, the free version provides everything I need.
Sound Editing/Design: I won’t go on a load here as I spoke at some length about this above. I am doing most of this in Premiere/Audition, but if I am writing original music or recording audio or want access to some of the effects then I will jump into Logic because I already know this software inside out, so it makes sense for me as it’s quicker and I have a decent workflow in place. If I am recording Voiceover then I have a mic setup which is a Red5 RV8 large diaphragm capacitor microphone, which is clamped to my desk with a generic Microphone Boom Arm and it’s all run through an M-Audio M-Track 2x2 interface.


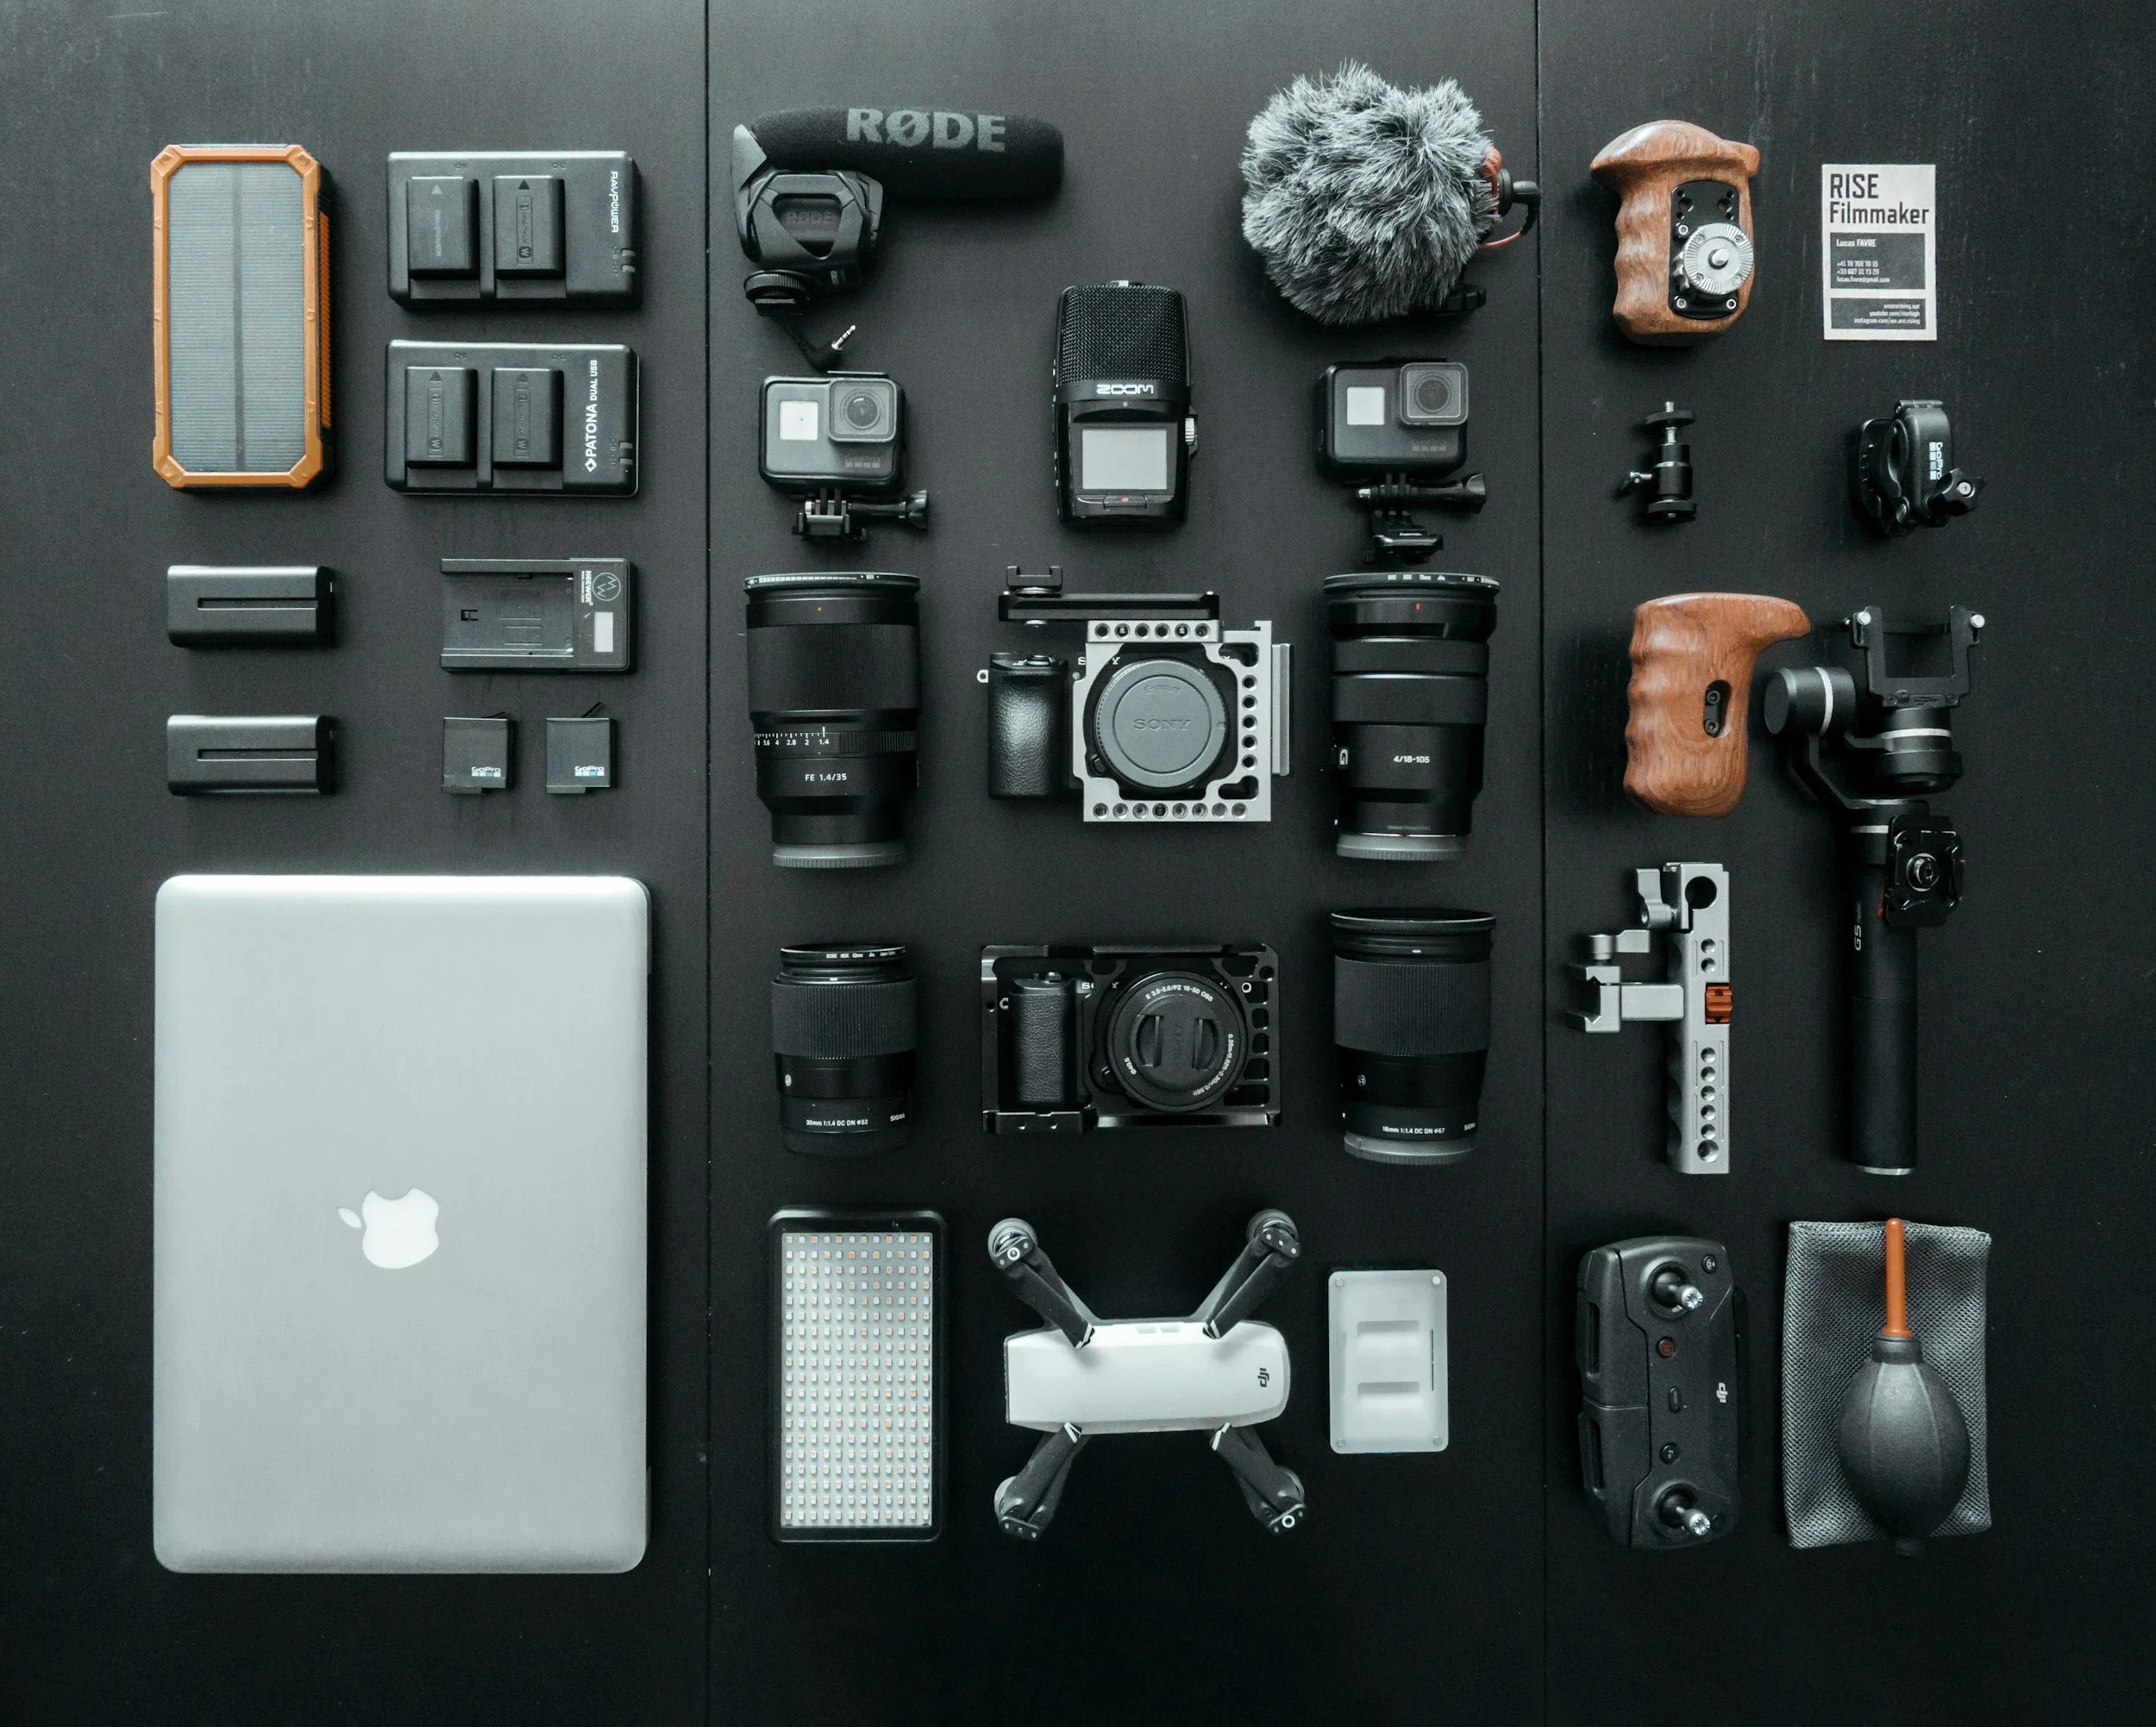
Camera
I’m not going to bleat on about my camera for ages, I have done that a number of times in previous blogs, but I am shooting a Canon 80D and have a bunch of awesome L series lenses to go with it. I also have a Sigma 105 EX DG f/2.8 macro which I use for some of the more detailed work I do.
When I upgrade, I think I will go for a two camera setup and have a Canon 5DSR for the studio so that I have got all of that lovely resolution to play with (unless I come into some money and have medium format budget!), they can be picked up for under a grand now so it’s only a matter of time! Or you know, Hasselblad, if you’re listening/reading… those X2D II’s are flipping lovely!
The other camera will be a mirrorless full frame body for shooting my landscape work. This will largely be for size, weight and improved autofocus reasons. Oh, and the RF lenses aren’t bad either, but initially it will probably be an adapter and my existing lens setup.
Lenses
These are the same lenses that I am using for a lot of my landscape photography work, but I do have a couple of lenses which are used mainly in the studio. The “generic” setup that I have is a set of Canon L Series lenses; The 16-35mm f/4L, The 24-105 f/4L and the 70-200mm f/4L. As you can imagine, the 70-200 rarely, if ever, gets an outing in the studio due to the focal length and the size of the studio.
The other two I am using are the Canon 85mm f/1.8L and the Sigma EX DG 100mm Macro. The 85mm usually just gets used for portraits, it’s a really flattering focal length to take portraits with, and this thing in SHARP. If you want to read some more, then check out my review of it here. Finally in this part of the set up is the Sigma Macro Lens. This is a recent addition to my setup, but it’s a welcome one. The long focal length can be a challenge in the space that I am using, but the short minimum focus distance is really useful for getting those close-up detail shots. I’ve written a review of this lens as well, and you can read it here.

Canon 16-35mm f/4L


Tripod(s)
I have a couple of tripods in the studio, that I also used to use for landscape photography before getting my hands on a Benro Mach 3 (I reviewed this a couple of months ago, check it out here). The two tripods I have are quite generic, but they get the job done. They are both from K&F concept, one is the K&F CONCEPT 72"/184cm Camera Tripod and the other is another one from K&F which I can’t find the exact details of. Both of them are using the ball heads that came with them, which whilst not the smoothest, both manage to hold their own when it comes to keeping the camera steady, though with heavier camera/lens combinations, they do drift a bit.
One of these is fitted with a ball head, and the other has a 4 way macro rail which allows me to be really precise with small camera movements when I am setting shots up. This might not be the best tool for the job, but it works for me.


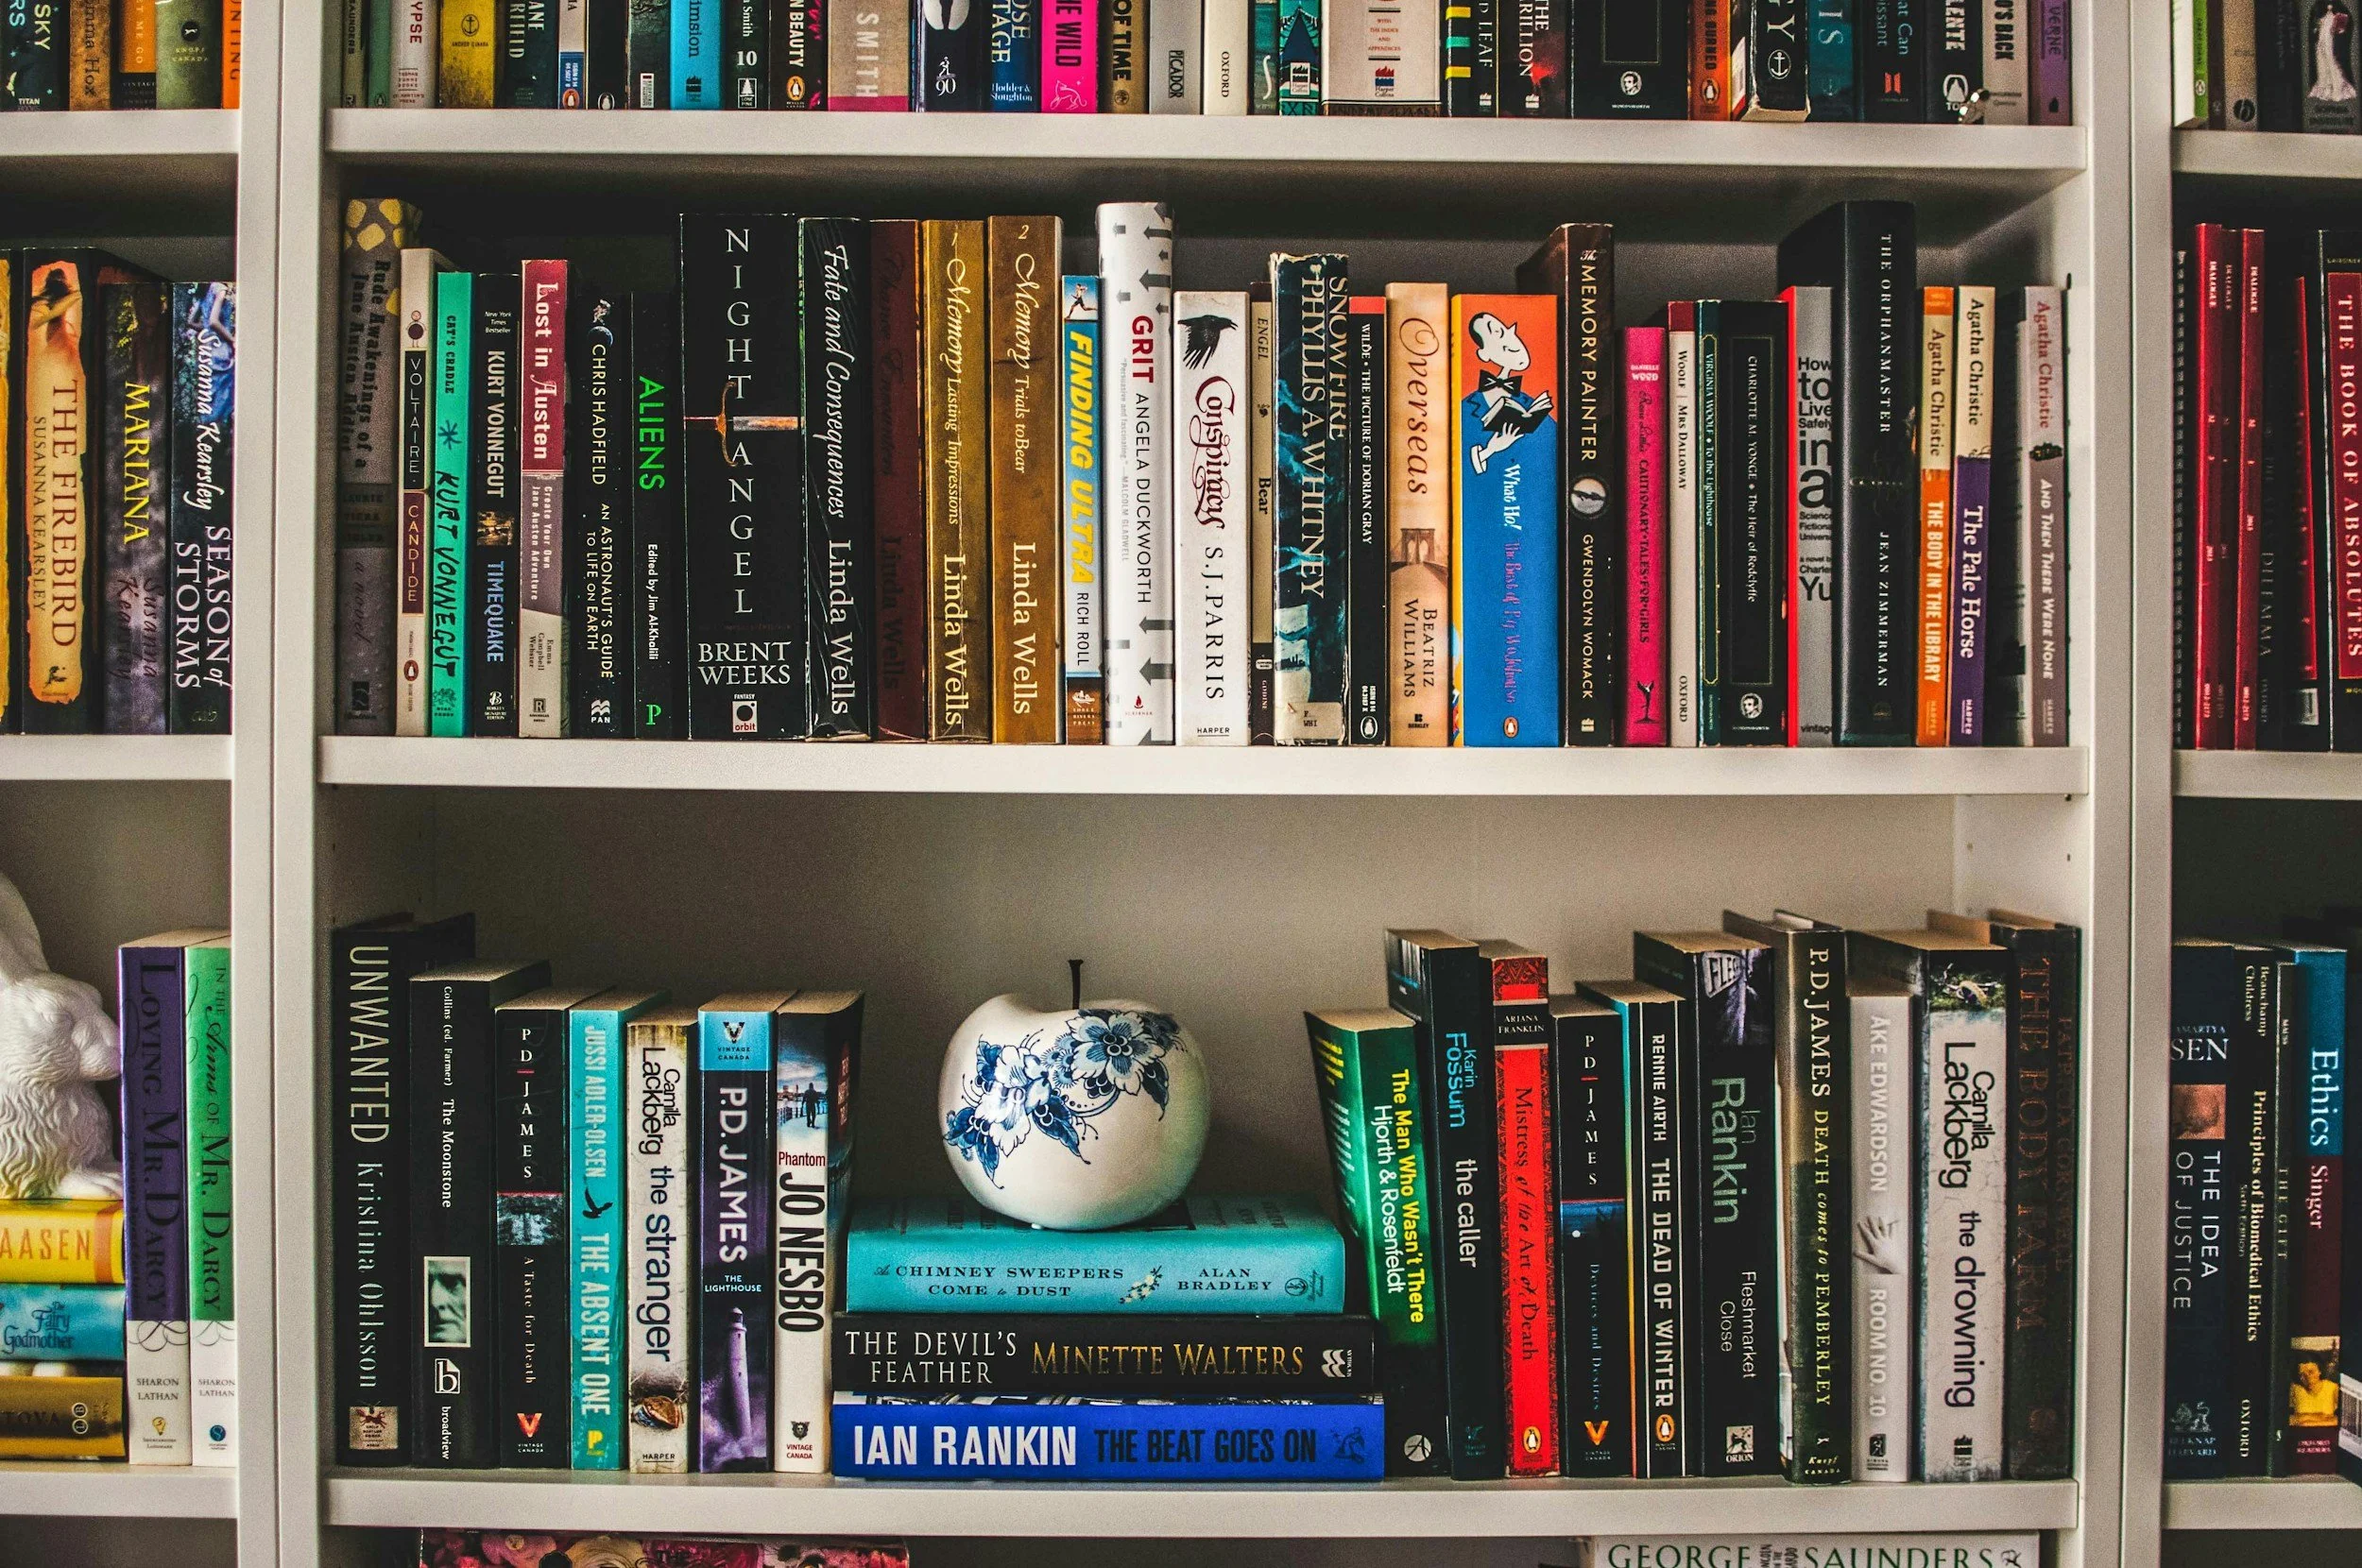
Storage and Props.
Like I said, the studio space I have isn’t massive, but it’s also the biggest space I’ve ever had to work in. That said, I do try to be savvy with the storage so that I am not tripping over stuff all the time.
I’m lucky to have a sizeable cupboard which allows me to store all of the empty boxes that some of my kit came in (sorry, yes, I’m that guy), and this space also allows me store some of my lighting on tripods without having to keep packing it down or having it in the main studio space.
In terms of storing everything else, I have two large shelving units which came from Amazon and Ikea and on these, I have bunch of plastic storage boxes which are labelled so I can find things easily. This includes all of the props I have bought/used previously - I’m not good at getting rid of these, just incase I need them again in the future.
Spare gear or gear that I’m not using lives on the shelves where it easily accesible. I don’t put any of it into “long term” storage because once it’s there, it gets forgotten about and not used!
And that just about rounds everything up. There is bound to be something that I have missed, there’s a lot of stuff in this room, but I think I have covered the main things that people are going to be interested.
Thanks for reading, and if you made it this far, thank you again - I’ll see you in the next one!
Don't forget to check out my Amazon store front - I have linked most of the items in here over there so please go and check it out!
VIEW MY AMAZON STOREFRONT ›If you’d like to support the blog and help me keep producing Lake District photography content, honest gear reviews and regular website updates, you can do so via my Buy Me a Coffee page. Keeping everything running smoothly takes time, and your support makes a real difference. Thank you.