Exposure Bracketing: Why, When and How to Do It and How to Combine and Edit Your Images.
Exposure bracketing. It’s a really useful tool for us as photographers. I think landscape photographers probably use this more than any photographers who shoot in other styles/genres as we are often taking photos of things are moving incredibly slowly or not moving at all. Sometimes the wind comes along and makes it slightly more difficult, but we’ll talk about that later. It’s a technique I use a lot when doing landscape photography in The Lake District so I thought I’d share some tips to help you to nail those exposures.
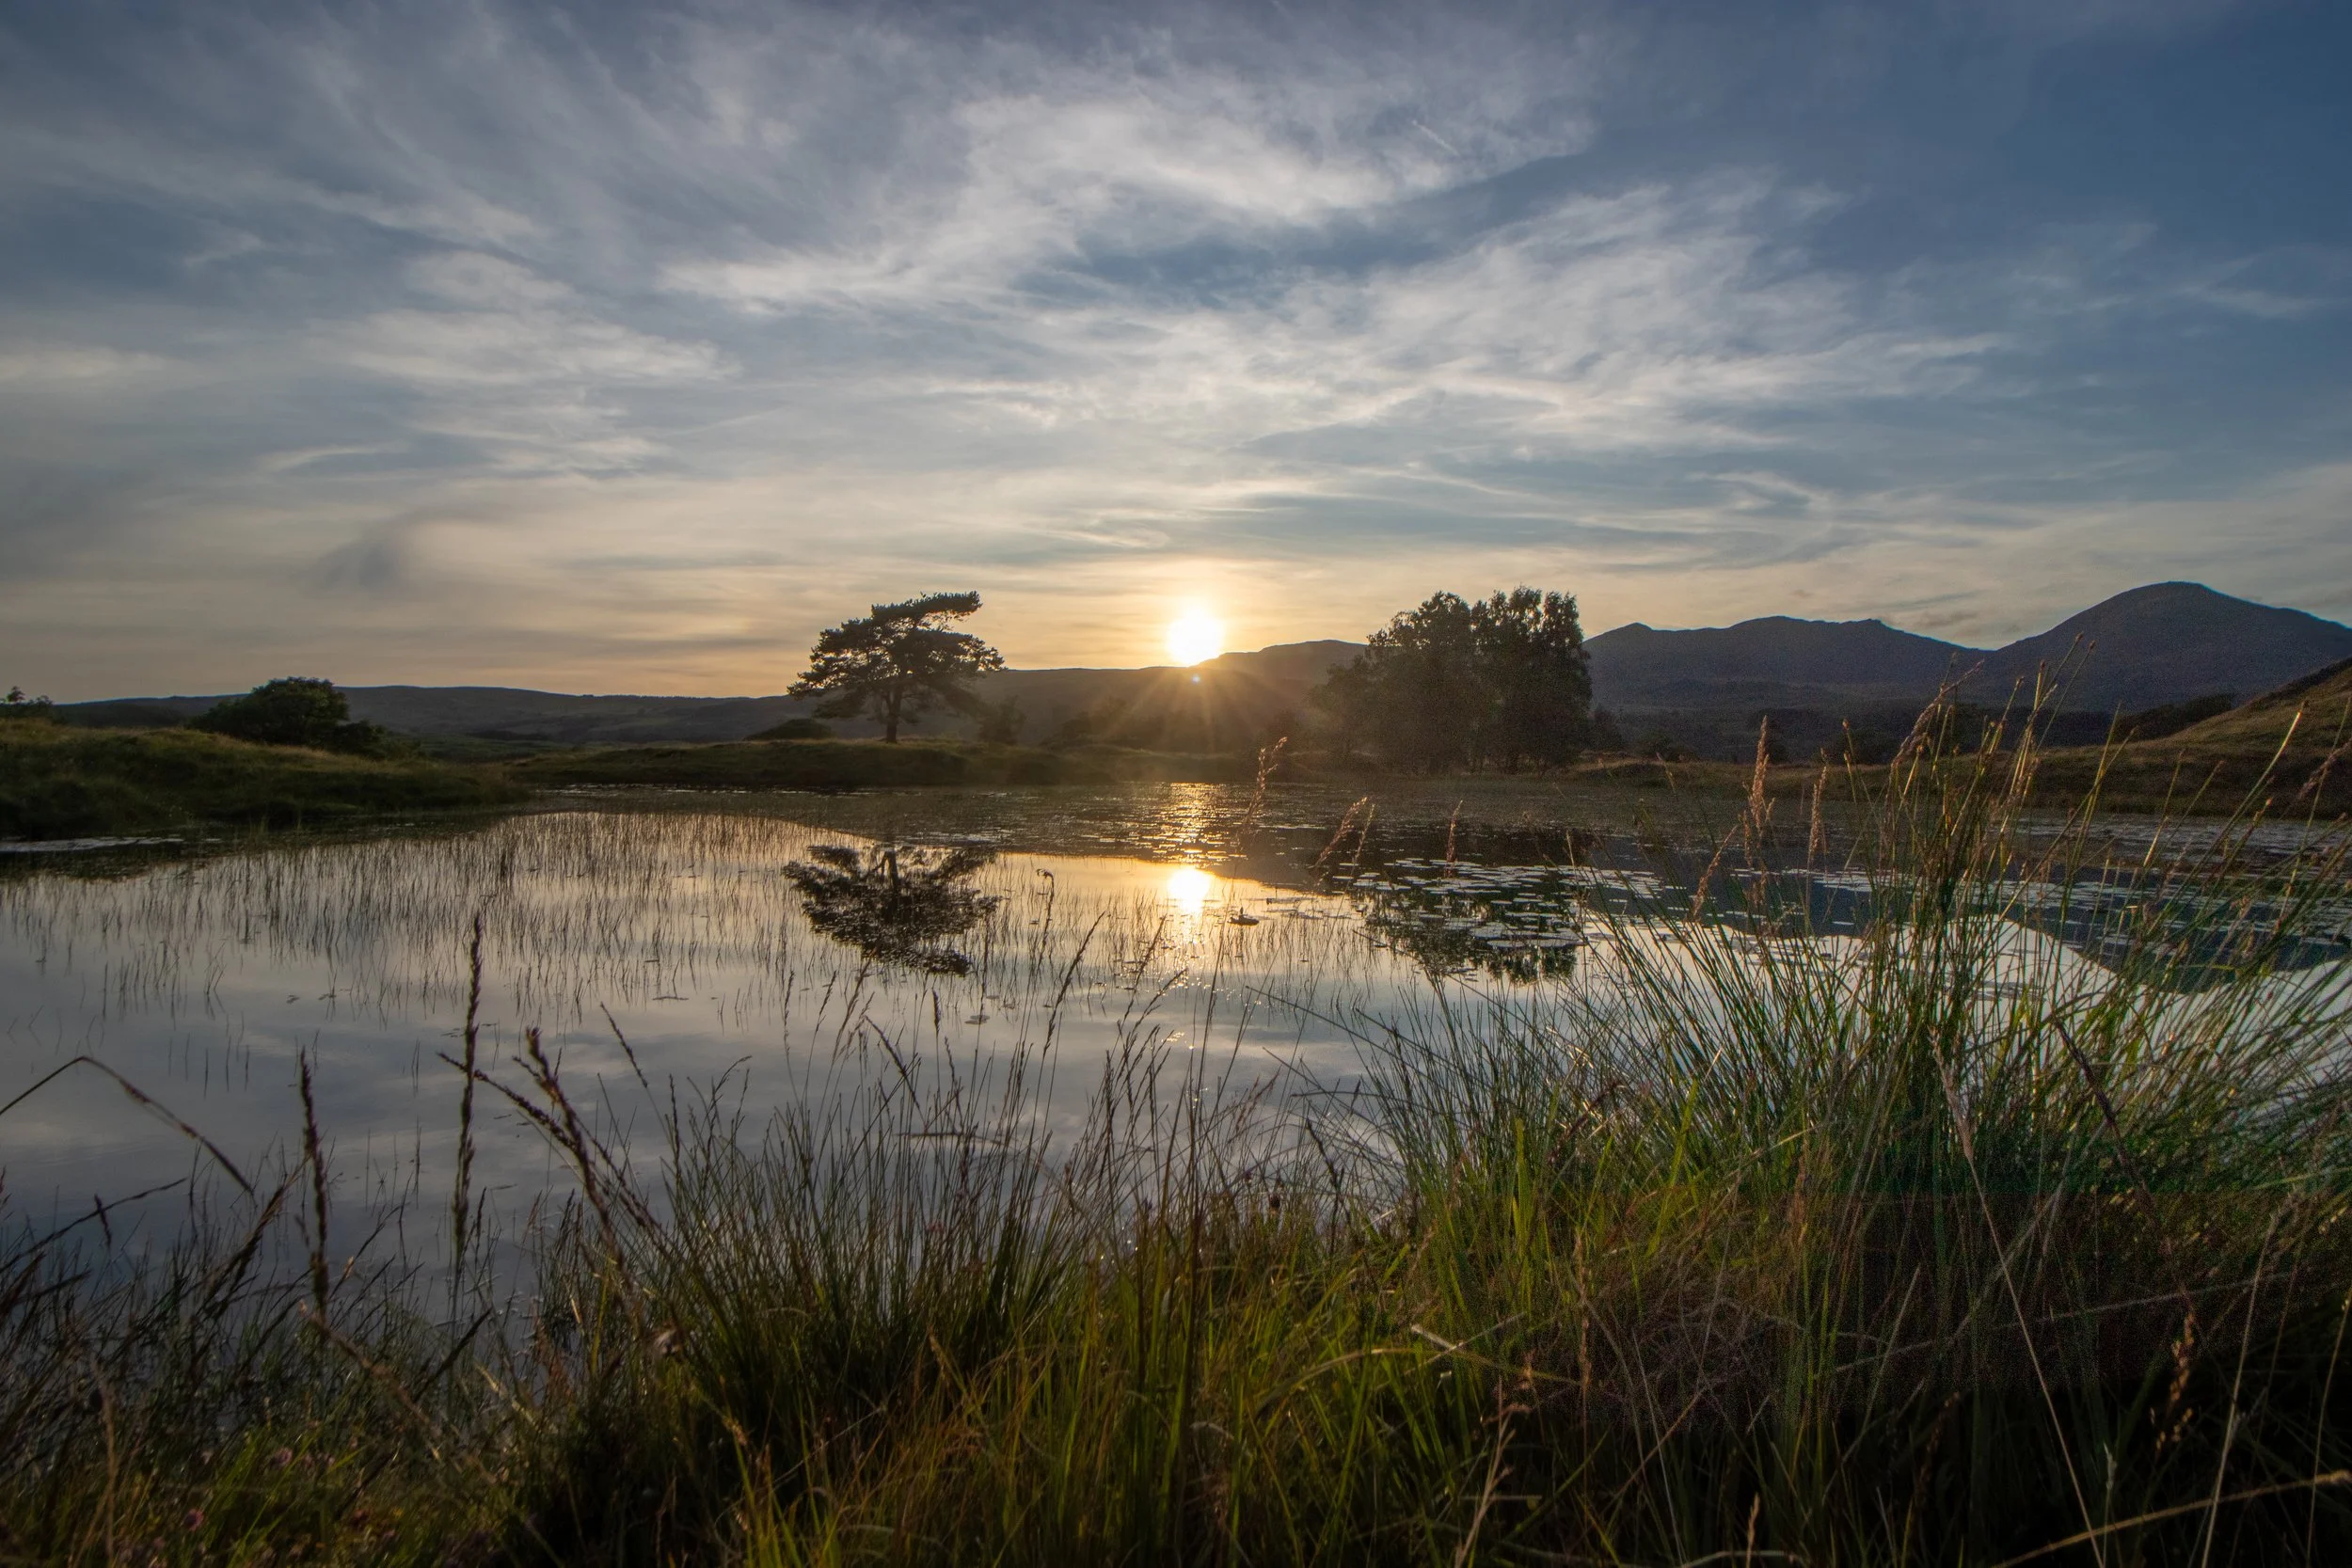
So what is exposure bracketing? In a nutshell, exposure bracketing is a way of handling the light in a scene which has high dynamic range. High dynamic range you say? Yes. This is a scene where you have very bright areas and very dark areas in the same image - a sunrise is a great example of a typical high dynamic range scebe; the sun is bright and lighting up pats of your scene, but there are also parts of the same scene which are in shadow as the sun hasn’t hit them yet.
So how do you take an image that balances the bright parts (the highlights) with the dark parts (the shadows)? You use an exposure bracket!
Exposure bracketing is is a technique which uses (usually) 3 or more exposures which can be combined in post processing (it’s really easy to do in Lightroom and can be done more creatively in Photoshop) to create one image which has all of the detail preserved in the highlights and the shadows. The best bit about the whole process, from shooting to editing it relatively easy and most cameras have an auto exposure bracketing (AEB) function built into them and will do most of the heavy lifting for you. .
Now that you’ve found your composition and you have identified that you have a scene in front of you that would be best captured using exposure bracketing, how do you do it?
First of all, you probably want to mount your camera to a tripod. Exposure brackets work best when your camera doesn’t move. If you’re shooting at a really fast shutter speed you might get away with it, but it’s always better to be safe than sorry. The reason for this is that when you are in your editing suite, you want the software to be able to able to align the different exposures for you, and making sure your camera doesn’t move or only moves a tiny amount will make this process easier and you will have greater success rates.
You now have two options, you can manually adjust the exposures or you can let the camera do it for you.
Let’s talk through the manual options first:
First of all, take an image which is ‘properly’ exposed. Make sure the light meter is indicating in the centre of the meter and take the image. That’s the first done. Nice and easy. The next two stops are just as easy, trust me.
The second stage, is to take an image which exposes for the highlights. This is likely going to mean that the image is going to be underexposed. This is often better down using the LCD on you camera. Adjust your exposure so that you can see all of the details in the brightest part of the image and when you’re happy, take the photo.
The third stage is to repeat the process at stage two, but this time, expose for the shadows - we’re going to take an image that looks over exposed. Adjust your shutter speed so that the exposure allows you to see the details in the shadows/darkest parts of the image and take the photo.
And that’s it - you have complete your first exposure bracket!
Pro-tip: When I have completed the final shot of a bracket, I will often place my hand in front of the lens and take a photo. This serves as a good little placeholder and helps you to see where one bracket ends and the next one starts. This works for panoramic shots too, you just need to shoot one set of three brackets per section of your panorama.
This technique works with more than three photos, but 3 is a good place to start. I wouldn’t recommend doing more than five shots in one exposure though, it starts to make the process more complicated.
We’ll look at the post processing aspect of this later as it’s the same for both processes.
The second technique does just the same thing, but the process is handled by the camera.
In order to do this, you will need to read your camera’s manual as it varies by brand, but I am going to talk the process that I use on a Canon camera.
Once I have selected my frame, I would place the camera on the tripod and when this is done, I can dial in a correct, balanced exposure. Then in the quick menu, I can see the AEB ‘menu’. I select this by tapping the touchscreen. Once this is selected, I can use the shutter speed dial on the front of the camera to select how many stops ‘over exposed’ I want the image to be and then how many stops ‘under exposed’ I want to go as well. As I move the shutter wheel, I can see the needle on the lightmeter splits into three; one stays at my oringally selected exposure, one moves to the left for the highlight exposure and one to the right for the shadow exposure. How many stops over/under you want to bracket is going to be down to personal preference and the dynamic range of the scene in front of you.
Once you have got everything set up as you want it, you can click the shutter and take your first exposure. Once this is complete, you will need to press the shutter again for the two remaining exposures. OR… my little pro tip for this is to set your camera to a two second self timer delay, and the camera will automatically take the three exposures for you without you having to press the shutter three times. This means that you are having to interact with your camera less and when we don’t want the camera to move, this can only be a good thing. (disclaimer; I know that this works on Canon cameras but I can’t vouch for other brands!).
You will probably find that once you have done one set of exposures, you will need to re-meter your image to get the exposure right again, even if you haven’t moved the camera. Light in landscape photgeraphy is constantly changing so no two shots are ever going to be quite the same!
Editing and combining the images:
(There’s a video at the bottom of this explanation which takes you through the process in real time so that you can follow along - I have tried to slow down a bit so that first timers have a chance at keeping up!)
I am going to talk about Lightroom in this blog, this is the easiest way for beginners to start working with HDR images and to stack your exposures, I’ll post another blog about doing this in photoshop later on in the year and will link it here whenever it’s done.
Now that you have your exposures, you need to import them into Lightroom in what ever fashion you normally do this. If you’ve not done this before, you will now realise and appreciate the fact that you have taken a photo of your hand to show the end of each bracket! As you do this more often, you will learn how to see the bracketed shots and will be used to the pattern of exposures and will be able to see where each group is.
You will need to sort through your shots as normal and make your selects and then you can think about combining the exposure brackets that you have taken. My process is to not edit the images in any way before I combine them to make my exposure stack.
The firs thing you will need to do is to select all three of your bracketed images. You can do this by holding the command key (alt on Windows) and selecting each individual image, or you can hold down shift and click the first image and then with shift held down, clicking the final image in your group.
You now need to right click one of the selected images, and click on “photo merge:” and then “HDR”, which stands for High Dynamic Range. You will also see options for HDR Panorama and Panorama (this work in the same way, but for either “standard” panoramic shots, or bracketed panoramas; if you use the method I have described above to take your image, then your HDR panorama will have nine images) which we’re going to leave alone for the rest of this blog, now I have explained what they are.
Once you have clicked on this, a dialogue box will appear. Make sure that you have clicked “Auto align layers”. The software will automatically align the images for you when you have this selected. I leave “auto settings” unchecked, as I don’t want Lightroom to tell me what it thinks I should do with my image. When you’re new to this, you could tick this box and you will have an idea of what a final image will look like if your just allow Lightroom to make basic adjustments.
Underneath this, I set the deghost level to high and turn off the deghist overlay. The final option is “group into stack” and I always leave this checked so that Lightroom groups the original images, plus the merged image, into one “pile” of images. This just helps me to stay organised!
On the left hand side of the dialogue box, you will see a preview of what your finished, combined image will look like.
Once you are happy with the settings, you can click “merge” and the software will take care of the alignment and the blending, which will take a few seconds, and then you will see your blended image appear in the film strip at the bottom of your screen and the dialogue box will have disappeared.
Note: when you have done this, you will see that Lightroom has cleared any selection filters you had set and that all of the images from your upload now appear again so you will need to reapply your filters. It can be a bit of a pain if you have a lot of this to do. It’s just one of light rooms little quirks, that I wish I could either figure out or that Adobe would just fix!
Now that you have this, assuming you left the auto-settings box unticked, you should have an image that is stored as a tiff file and that you can make all of your usual adjustments to. I like to quickly click the “Auto” button in the basic adjustments panel, so I can see what is in the image and this gives me a decent enough exposure to check things like focus and to make no sure that there is no ghosting or any artefacts in the image. Once I have done this, I can quickly reset the image and then spend some time editing it exactly how I want it to look.
Short Tutorial Video Explaining How to Blend Exposure Brackets
And that’s it! Exposure bracketing is really powerful tool to have in your arsenal, it’s not as complicated as it sounds as process and it can help you produce some great edits. Remember though, when you’re editing these types of shots, they can have a tendency to look really artificial, especially if you over edit them. Adding some Orton glow in photoshop can really help them to lose that artificial edge. I’be doing a tutorial blog on this in the future, so will pop a link here when it’s done.
Let me know when you’ve had a go at this and get in touch if you have any questions.
If you’d like to support the blog and help me keep producing Lake District photography content, honest gear reviews and regular website updates, you can do so via my Buy Me a Coffee page. Keeping everything running smoothly takes time, and your support makes a real difference. Thank you.