Golden Hour vs Blue Hour. Which is Better?
We all know that golden hour is an amazing time to take incredible landscape photos, but what about blue hour? Blue hour often gets overlooked, but can it provide the same opportunities to produce some beautiful photographs, but with a different emphasis or ‘look’. In this blog, I’m going to try and demystify blue hour and give you some ideas of what to shoot and how to shoot it.
TL;DR
Golden hour and blue hour offer different strengths. Golden hour gives warmth, contrast, and impact, while blue hour rewards patience, balance, and subtle composition. Neither is better, but understanding when and how to use each will improve your photography far more than chasing one over the other.
Golden Hour and Blue Hour Explained
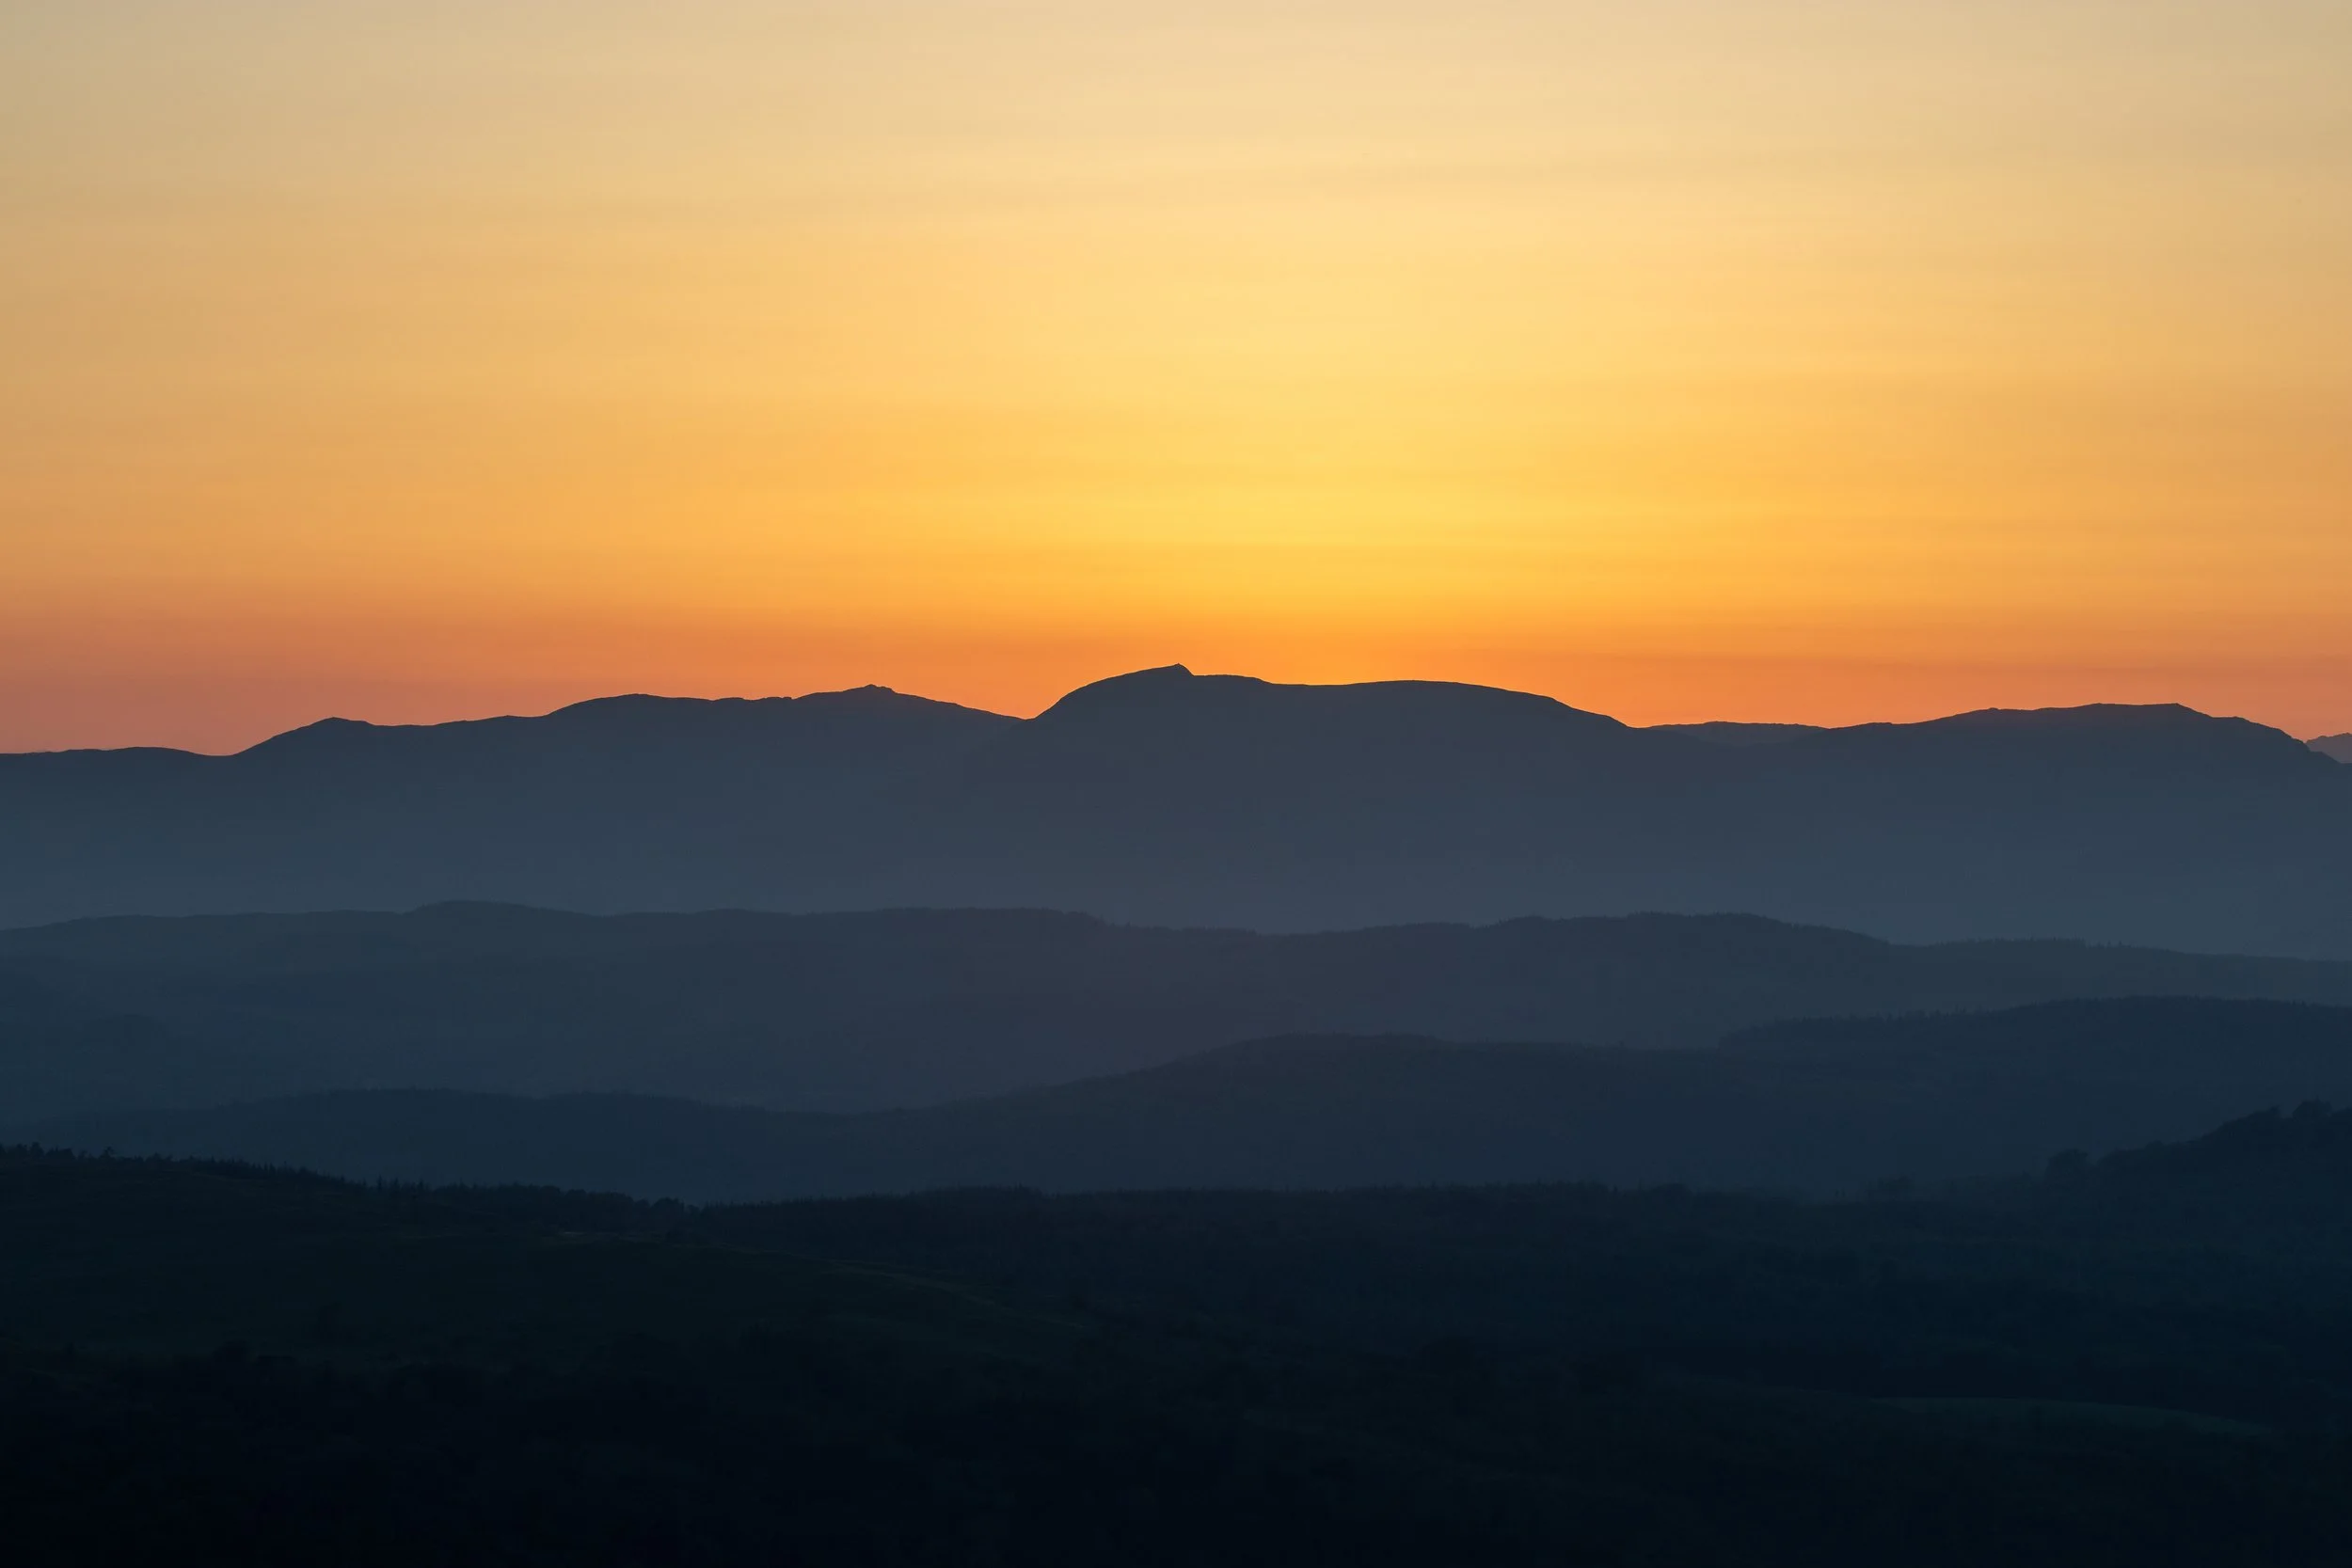
Let’s start with the basics. For the uninitiated, blue hour is the hour before sunrise in the morning, and the hour after sunset at night. Golden hour is the hour after sunrise in the morning and the hour before sunset at night. Let’s also take a moment to break down the misnomer around the word “hour” in these phrases. It’s not always an hour, sometimes it’s nowhere near an hour. The length is going to depend on where you are in the world, and the weather conditions in the locality that you’re shooting in. Sometimes you won’t get any blue light, some times you won’t get any blue light. There’s a number of apps that will help you to try and predict the sunrise/sunset conditions at a particular location, but none of them are hugely accurate - there’s probably an exact science to predicting good sunrises and sunsets, but that’s something for people far cleverer and more qualified than me to try and figure out!
That said, I have produced this table based on some quick research to help you try and identify when you might get lucky and see a golden sunrise/sunset:
Golden hour quick checklist
You’re likely to get a great sunrise or sunset if these boxes are ticked.
| ✓ | Factor | Target condition |
|---|---|---|
| ✓ | Cloud cover | 10–40% (light or broken), ideally with gaps near the horizon |
| ✓ | Horizon | Clear horizon (avoid thick low cloud sitting right on the horizon line) |
| ✓ | Air quality | Slight haze or clean post-rain air (enough atmosphere for warmth, not thick mist) |
| ✓ | Wind | Calm wind (0–8 mph) for smoother light and better reflections |
| ✓ | Pressure | High or rising pressure (often strongest colour after a front clears) |
| ✓ | Timing | Sun within ~10 minutes of the horizon (before sunset / after sunrise) |
So that’s golden hour covered, what about Blue Hour because, that’s why we’re here after all:
Blue hour quick checklist
You’re likely to get a strong blue hour if these conditions line up.
| ✓ | Factor | Target condition |
|---|---|---|
| ✓ | Cloud cover | Clear to partly cloudy (0–40%) so the sky stays clean and saturated |
| ✓ | Visibility | Good visibility (avoid thick haze or low mist that turns the sky grey) |
| ✓ | Wind | Light wind (0–10 mph) for steadier shooting and smoother water reflections |
| ✓ | Timing | Sun ~4–8° below the horizon (roughly 15–45 minutes after sunset / before sunrise) |
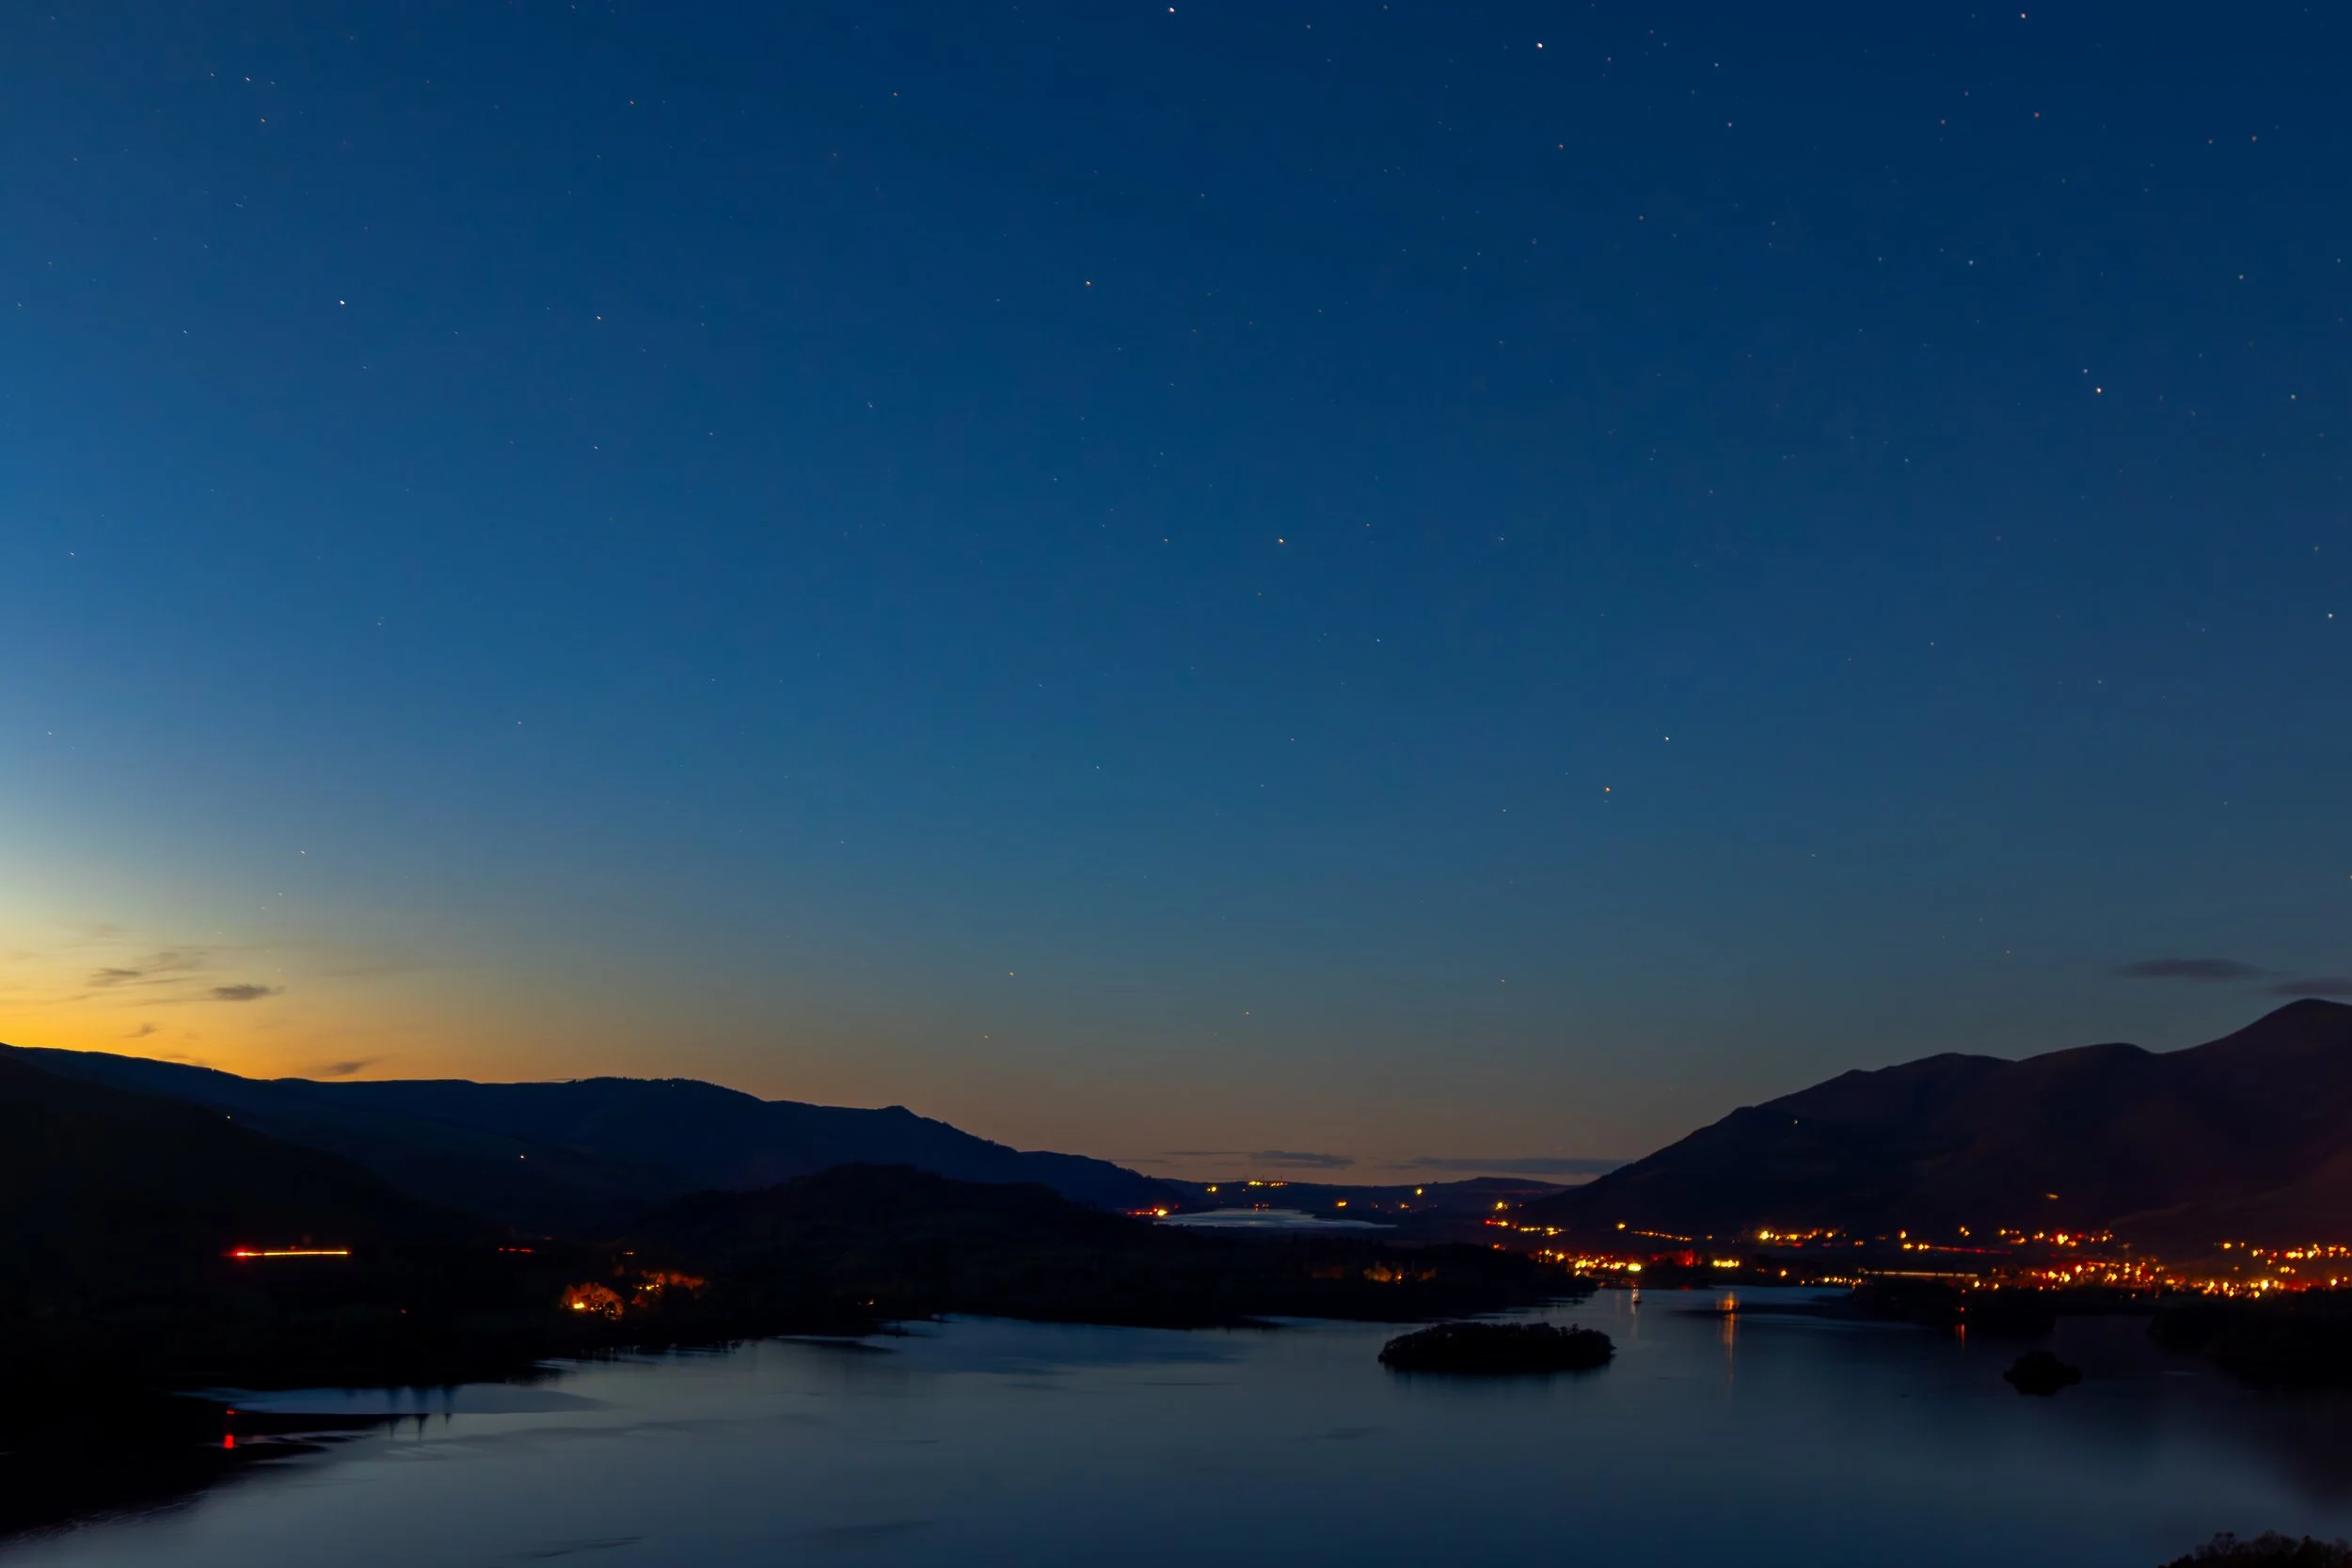
| ✓ | Foreground lights | Warm artificial lights (street lamps, windows, boats) for contrast against the blue sky |
| ✓ | Water / reflections | Still water or sheltered locations to mirror the sky colour (tarns, harbours, canals) |
Where to be for blue hour?
If you’re looking for some good sunrise locations in the The Lake District, then I have written a blog outlining some of the best places to shoot sunrise and sunset, you check the first one out here and the second one here.
For blue hour, I am going to be a little bit less specific, but give you some pointers about types of locations you could find that are local to you, that might be good spots to go and shoot blue hour.
I’ve put these into a table for you that you can use as a quick reference guide. Click the link below the table to get this as free, downloadable PDF to keep handy.
Blue Hour Location Picker
Pick a scene type, then look for these physical features when you’re out shooting.
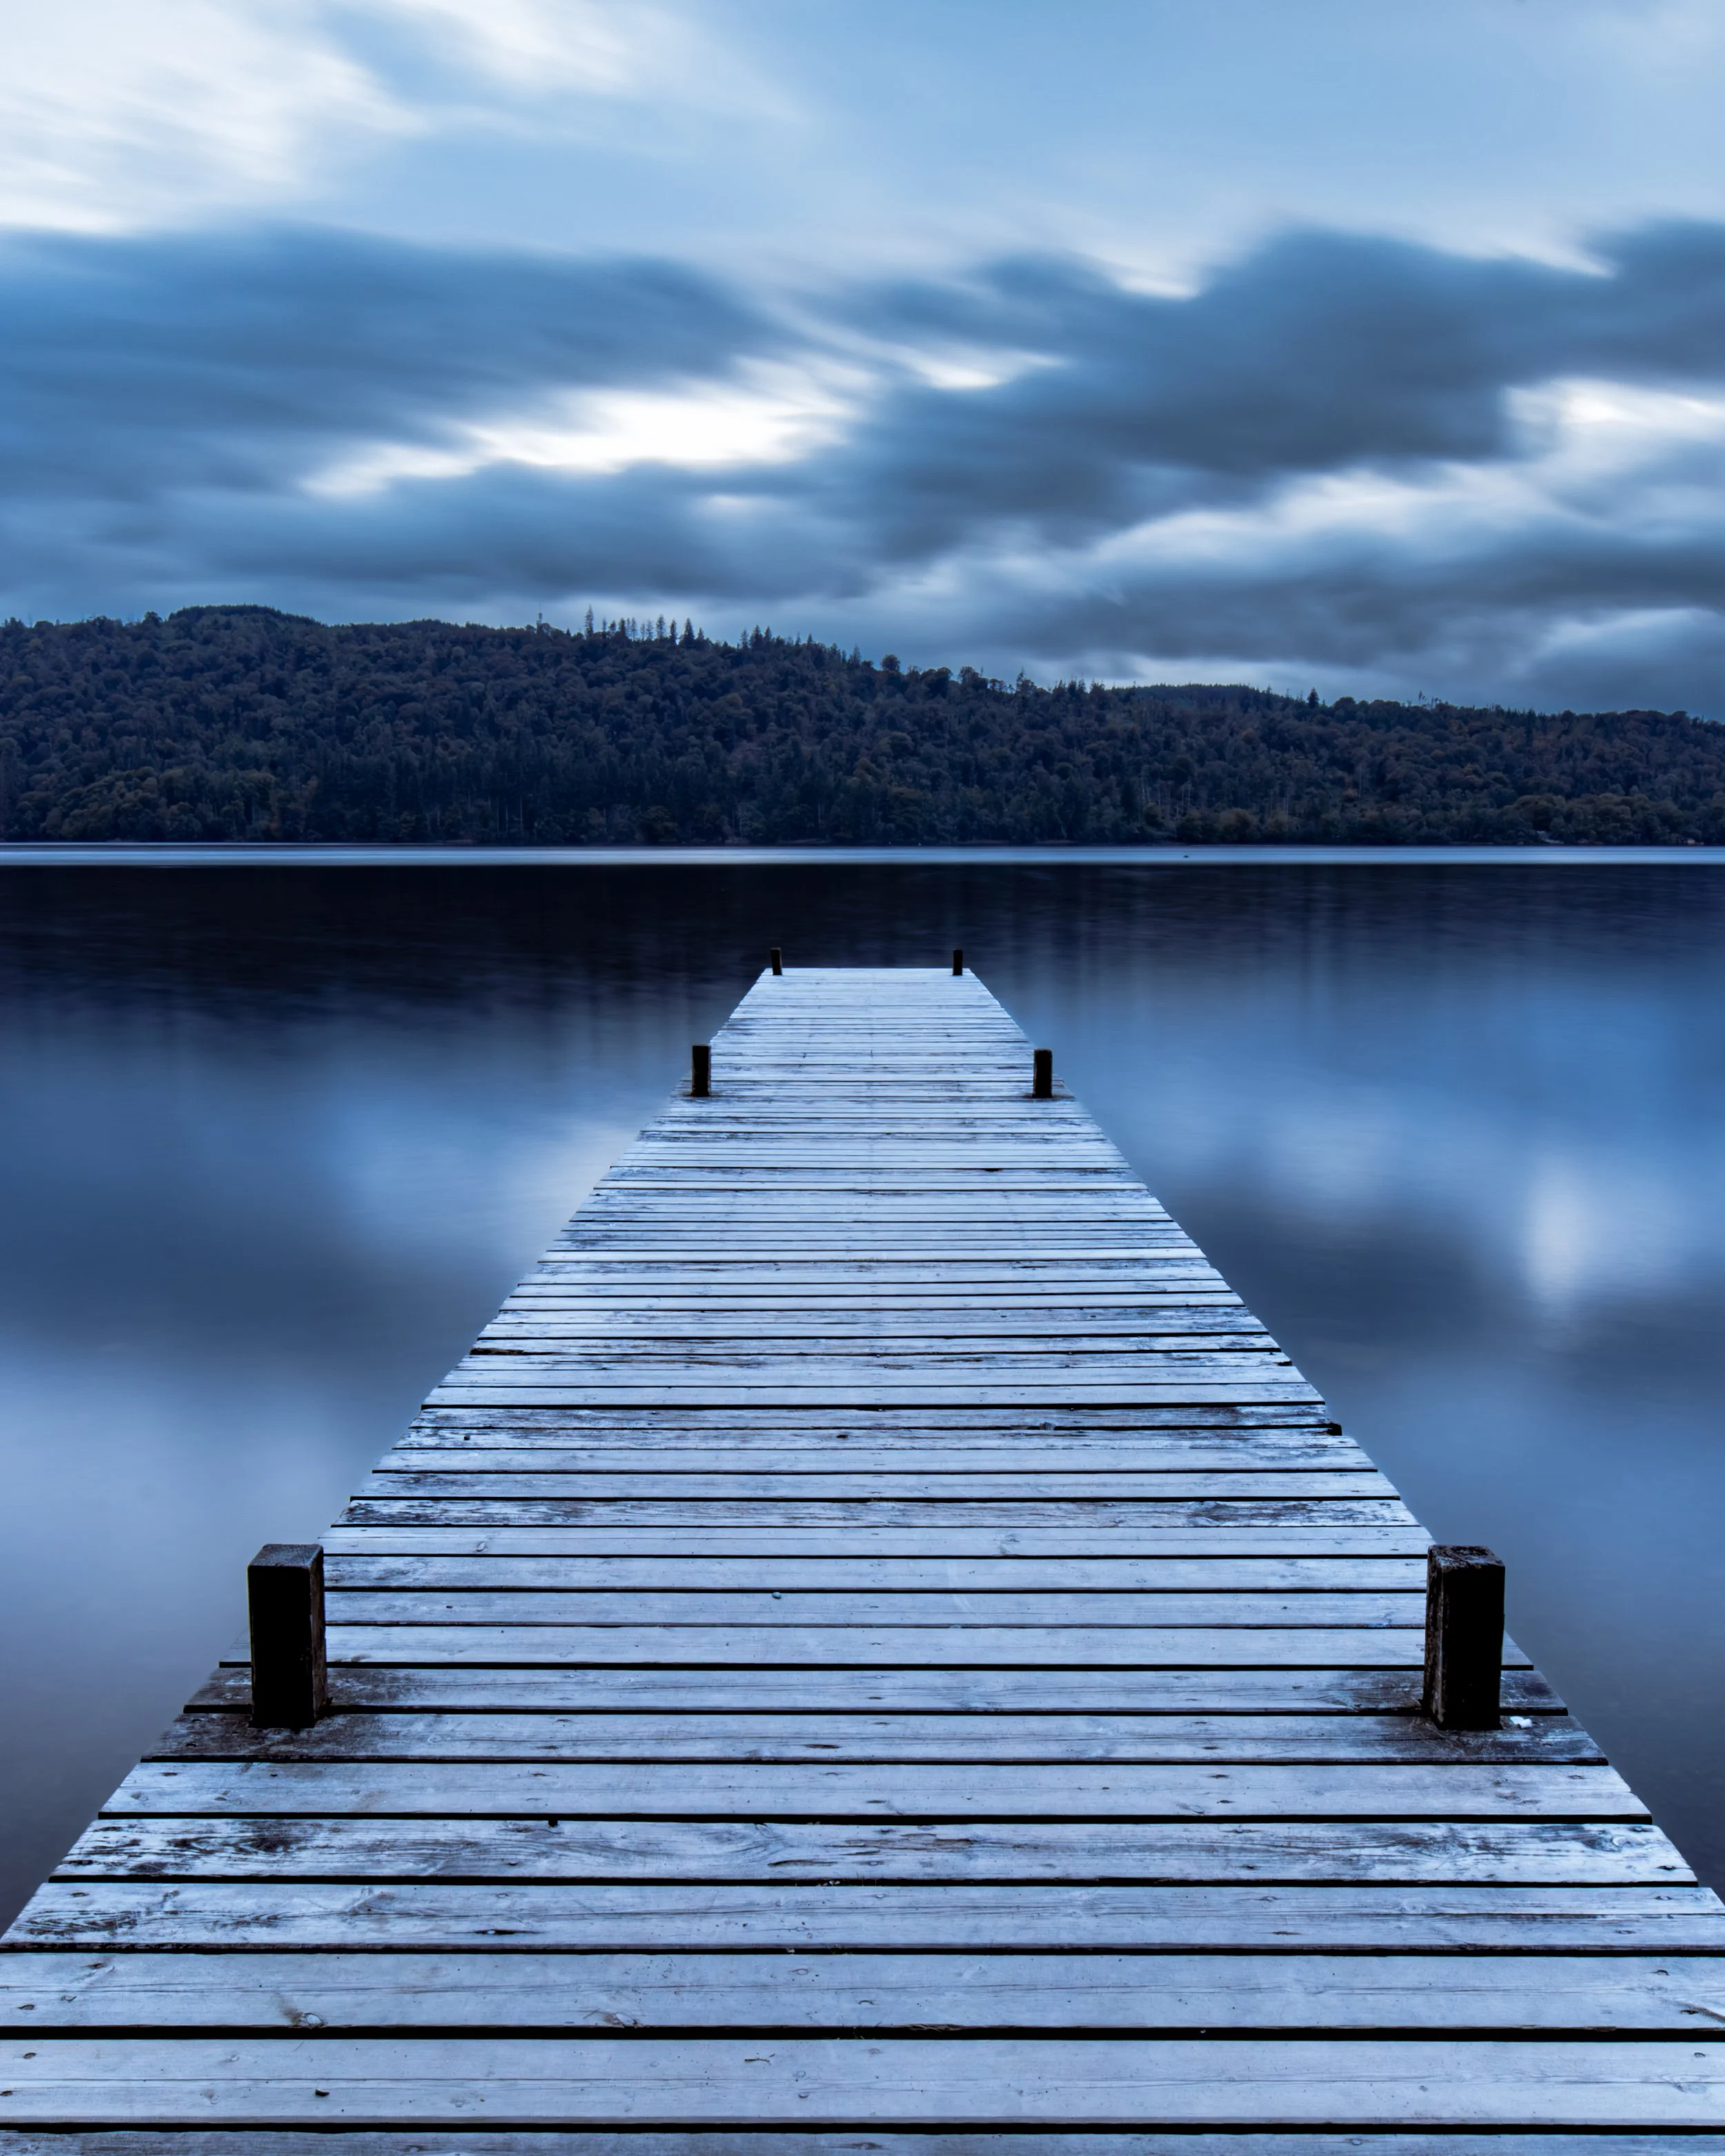
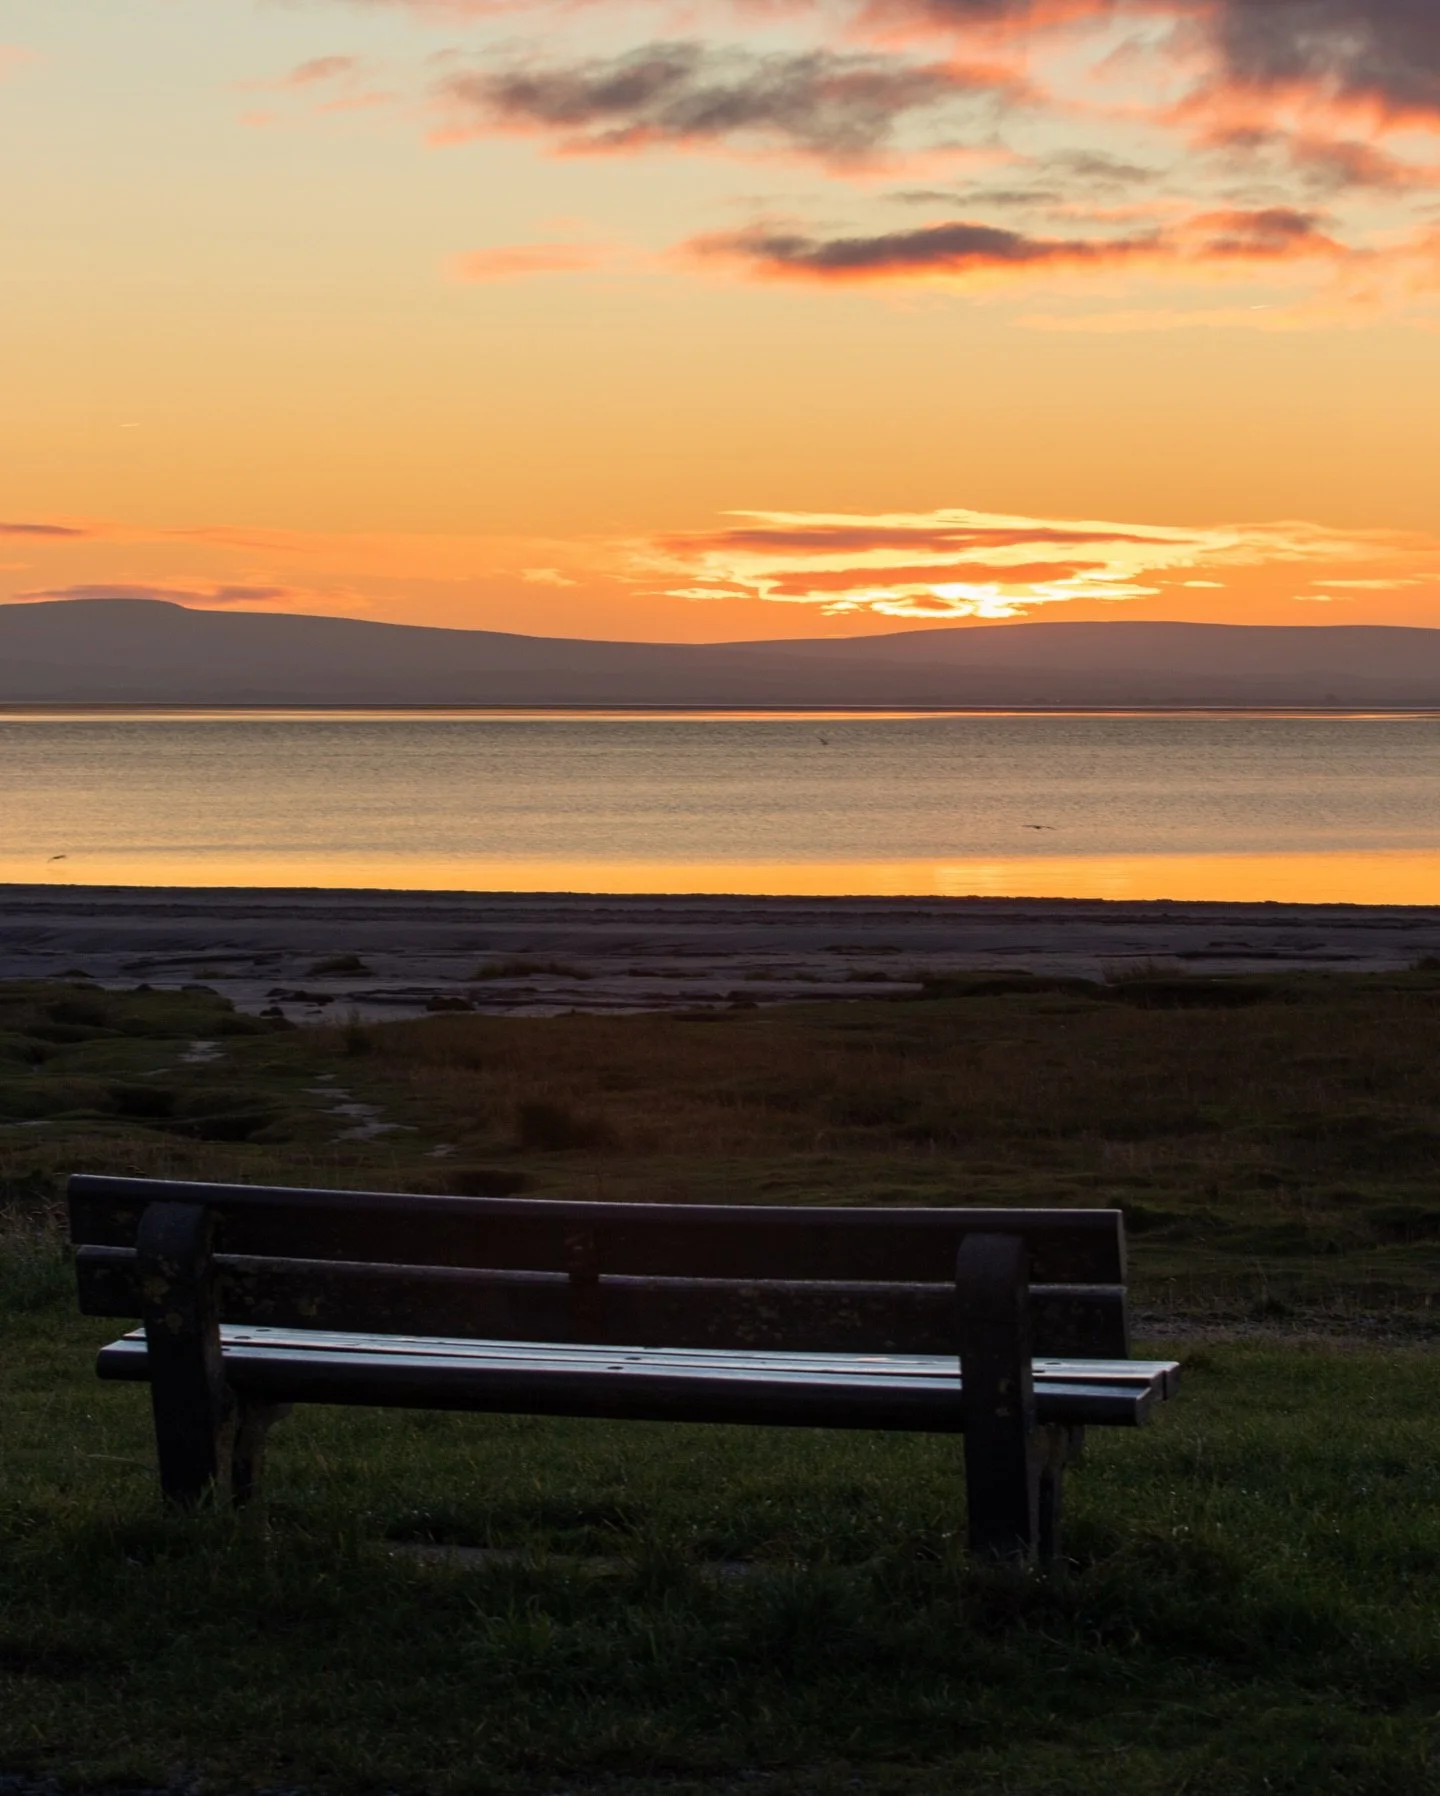
Lakes & Still Water
ReflectionsWhy it works: blue hour + long exposure = smooth water and clean sky reflections.
- Sheltered bays and inlets
- Jetties, piers, or lone trees as a subject
- Clean shoreline for a simple foreground
Harbours & Marinas
LightsWhy it works: warm artificial lights balance beautifully against a deep blue sky.
- Street lamps, shopfronts, or dock lights
- Boats for shape and repetition
- Water for light reflections and leading lines
Coast (Calm Sea)
MinimalWhy it works: long exposure turns the sea silky and keeps the mood calm.
- Rock pools, groynes, or simple foreground rocks
- Protected coves (less wind + spray)
- A clean horizon for a strong sky gradient
Townscapes & Skylines
CinematicWhy it works: the sky holds colour while windows and street lights switch on.
- Bridges, riverside paths, elevated viewpoints
- Strong leading lines (roads, railings, quays)
- Waterfronts for reflections
Silhouettes & Lone Subjects
ShapeWhy it works: blue hour simplifies colour, so shape and negative space do the work.
- Isolated trees, single buildings, windmills, cairns
- Clear horizon line (avoid clutter)
- Plenty of open sky for separation
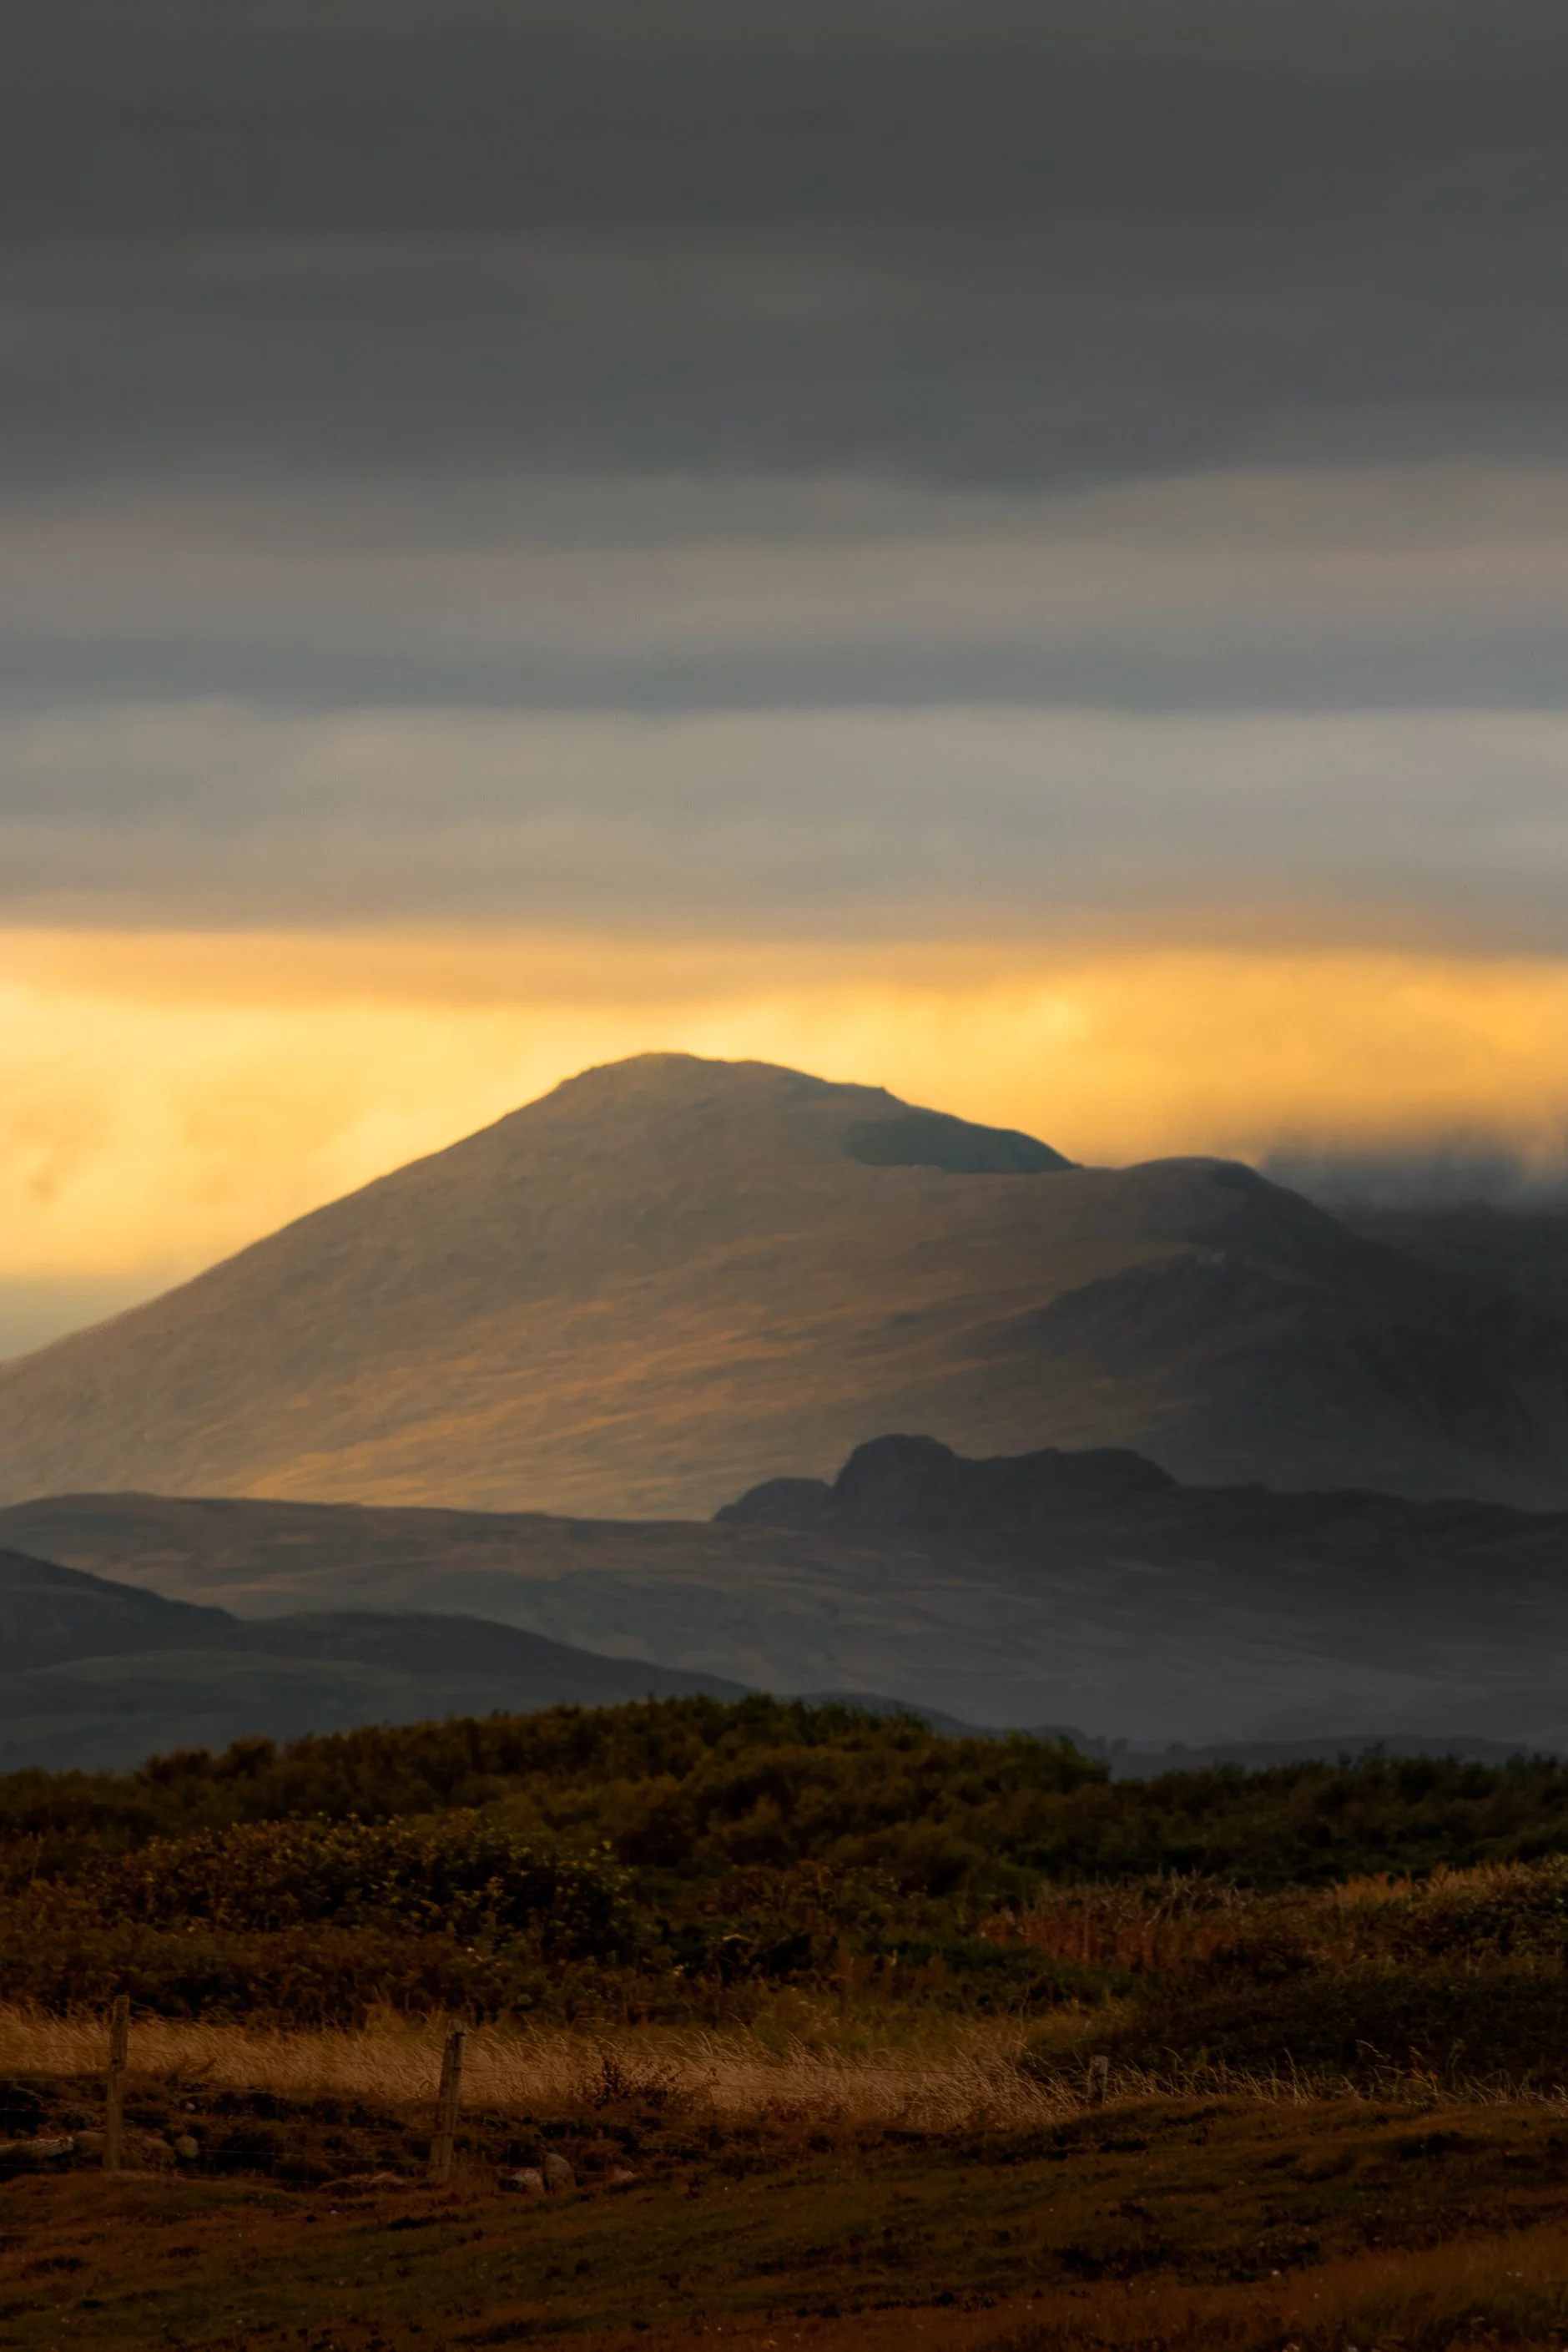
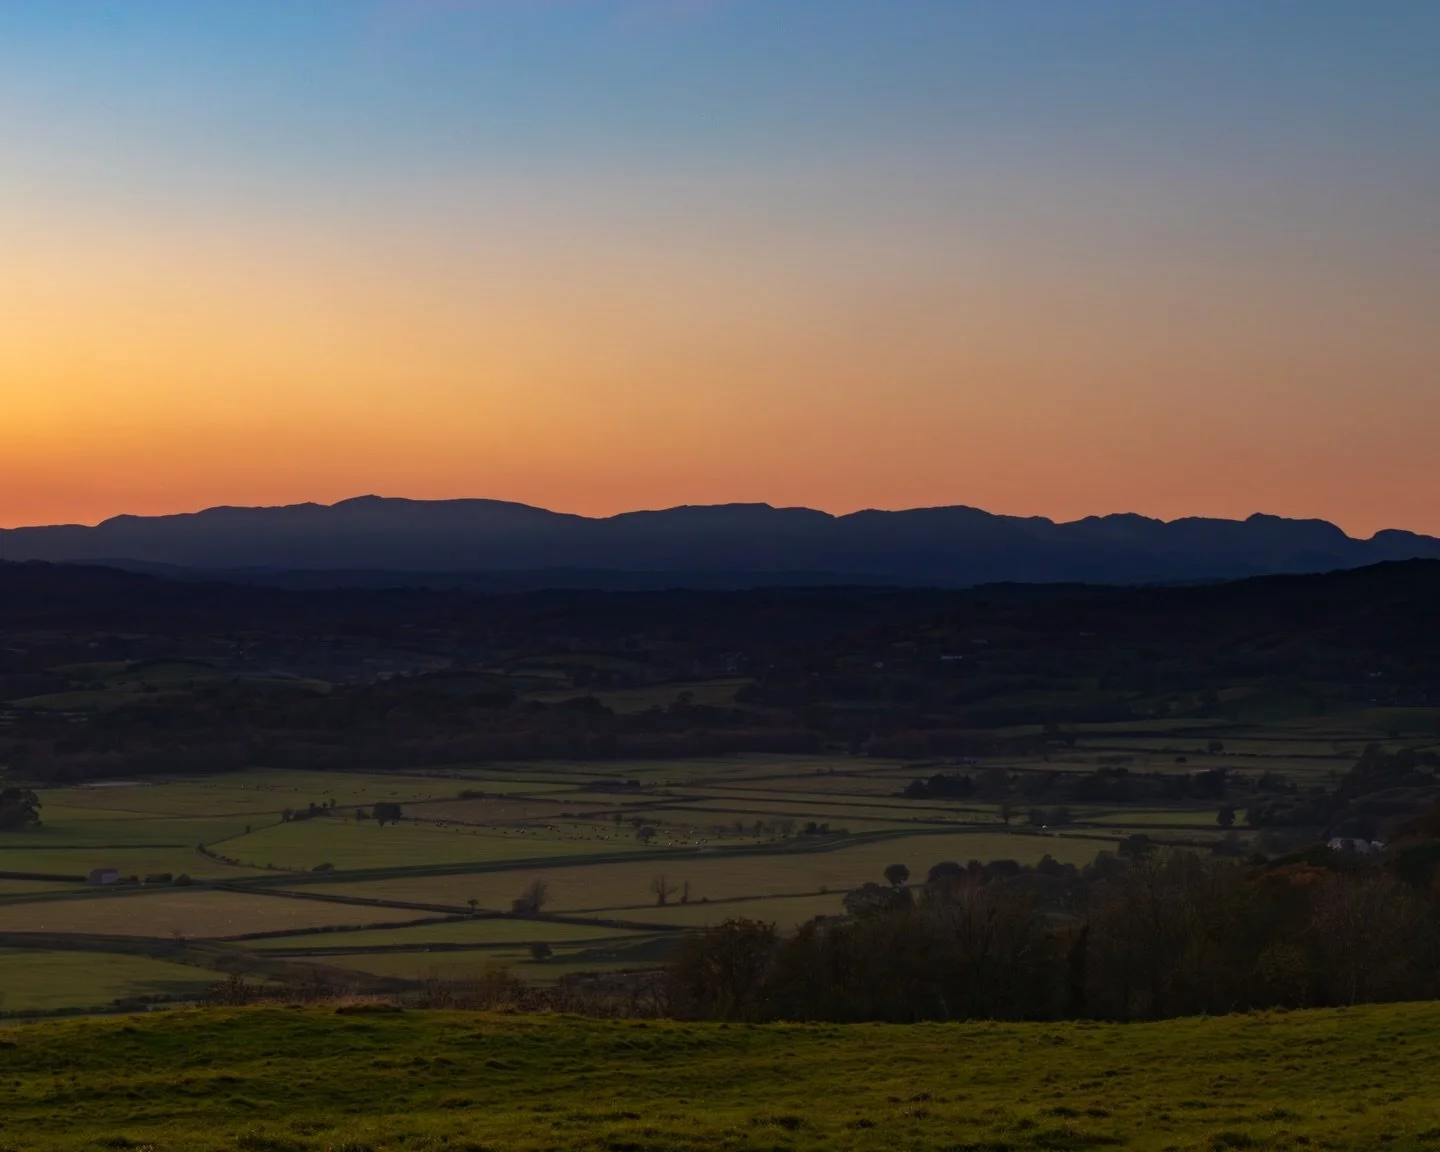
Valleys & Layered Landscapes
LayersWhy it works: low contrast creates gentle layers and a fine-art look.
- Viewpoints looking across multiple ridgelines
- Mist pockets or low cloud (bonus)
- Less wind than summits for long exposures
Rivers & Gentle Waterfalls
MotionWhy it works: controlled flow becomes silky without looking chaotic.
- S-shaped streams for leading lines
- Even lighting (avoid bright highlights)
- Stable tripod spots away from slippery edges
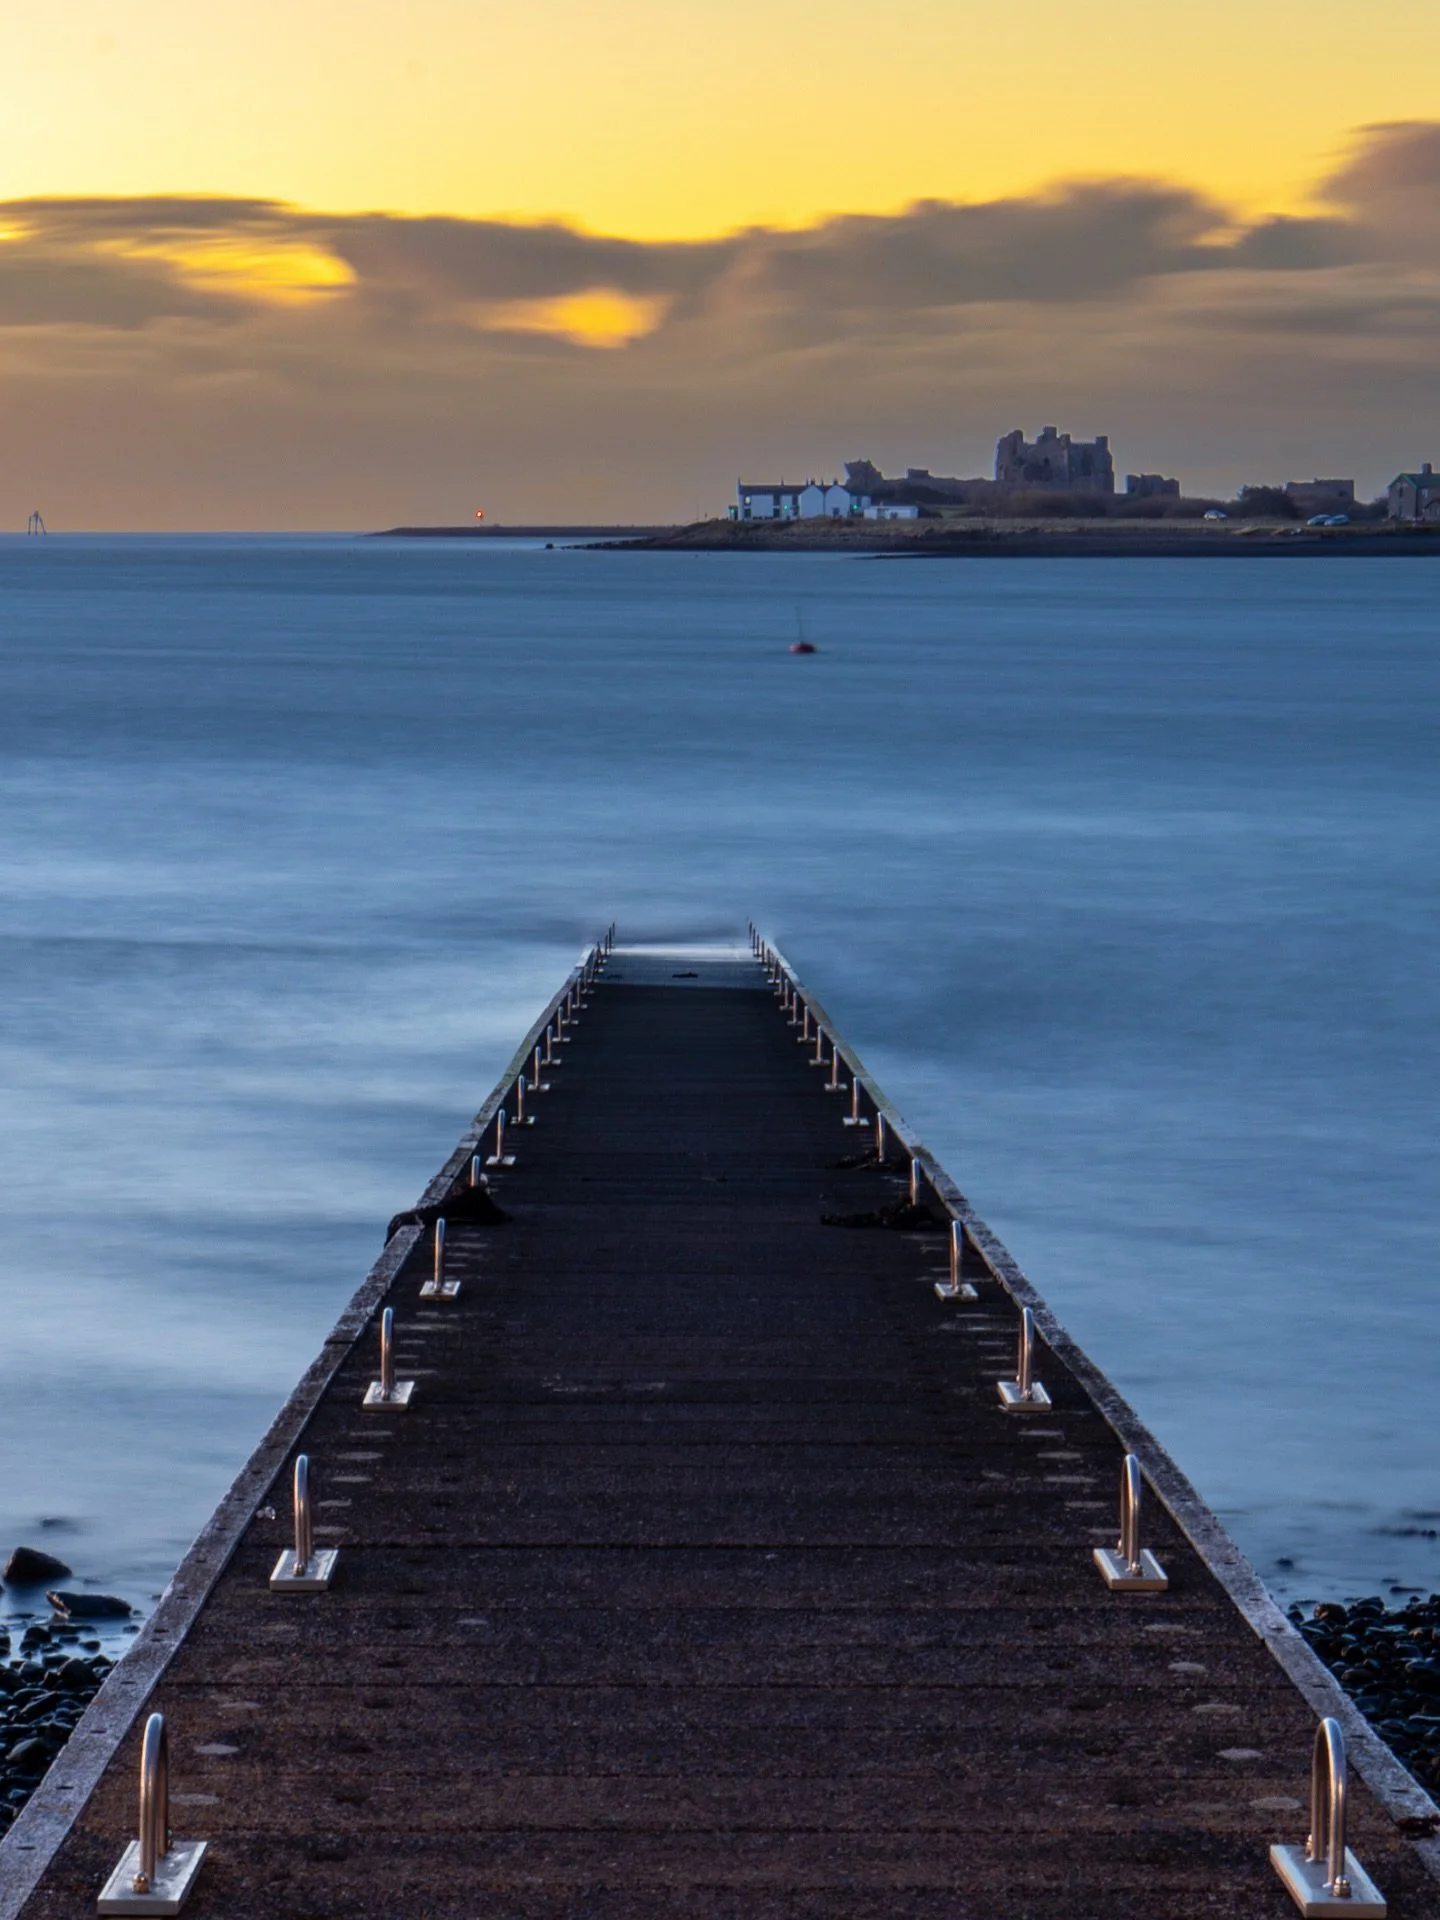
Man-made Anchors in Nature
StructureWhy it works: structure holds the frame while the sky softens the scene.
- Jetties, bridges, boardwalks, lighthouses
- Strong lines pointing into the scene
- Simple compositions (one main subject)
Quick rule: the best blue hour locations usually have (1) water or a clean foreground, (2) a clear subject, and (3) open sky.
What will enhance my blue hour photos?
Blue hour images tend to improve when you slow everything down and stop trying to force them. The light is already doing something interesting, so the job becomes more about refinement than impact. Simple, well-balanced compositions work best because the soft light shows every distraction. Getting white balance right is key too, as it is very easy for blue hour scenes to drift into something that feels cold or unnatural. Artificial light plays a big role, whether that is street lamps, lit windows, or reflections on wet ground, as these small points of warmth give the image structure. A tripod and longer exposures help emphasise the calmness of the scene, but timing matters more than settings. Waiting for the moment when natural and artificial light feel balanced often transforms an image from forgettable into something quietly confident.
Golden Hour vs Blue Hour
Golden hour and blue hour offer very different ways of seeing the same scene, and neither is better, just different. Golden hour is more forgiving, with warm light that flatters textures, shapes, and colour almost automatically. Blue hour asks a bit more of you. The light is softer, cooler, and more balanced, which means compositions need to stand on their own without relying on glow or contrast.
Golden hour often suits dramatic landscapes and bold subjects, while blue hour feels quieter and more considered, rewarding patience and subtlety. I tend to think of golden hour as expressive and energetic, and blue hour as restrained and reflective. Understanding what each one gives you makes it much easier to decide when to stay out a little longer, or when it is time to pack up and head home.
Golden Hour vs Blue Hour (Visual Differences)
A quick, scannable comparison for landscape photographers.
In Summary
Golden hour and blue hour are less about choosing a favourite and more about recognising what each one offers. Golden hour brings warmth, contrast, and immediacy, while blue hour slows everything down and asks for a more deliberate approach. Learning to work with both expands the way you see a location and encourages you to stay longer, look harder, and make more thoughtful decisions. Often, the most satisfying images come not from picking one over the other, but from understanding when the light shifts and being willing to adapt as it does.
If you found this useful and want to support the blog, you can buy me a coffee to help keep these articles going. You can also sign up to my email list for photography tips, behind-the-scenes posts, and new blog updates straight to your inbox.


Check out my previous blog posts by clicking the links below: