Long exposure photography has long been a favourite style of mine to shoot in, and I did wonder when I began to focus on landscape photography in the Lake District whether or not I would be able to indulge this love for long exposures as much as I did when I was living in London.
The answer to this was an emphatic “yes you will”, but some adjustments were needed. For example, in the city, the reason for shooting so many long exposures was because I was often shooting in low light (usually at night) and/or I was trying to capture motion blur in vehicle or, occasionally, trying to remove as many people as possible from an image!
The reasons I am using long exposure in as a Lake District based landscape for photographer are sort of similar, but at the same time, I am applying them to different situations. So let’s break down the fascinating and awesome world of long exposure!
This blog contains Amazon affiliate links, which means that I may receive a small kickback if you make a qualifying purchase after clicking one of these links. The great news is that it’s a great way to support this blog and it doesn't cost you anything extra.
Why use Long Exposure in Landscape Photography?
There are many creative reasons that someone might choose to use long exposure, but sometimes, there is technical need for it. The technical need is usually because you’re shooting in a location at a time when there just isn’t enough light to be able properly expose your image using the shutter speed you normally would, and lengthening your shutter speeds allow you to get enough light hitting that sensor.
The creative reasons are many, and they are really dependant on the look you are trying to achieve in your image. Long exposures can give a sense of movement to your image, they can make something feel other wordly, to they can just create some awesome patterns, shapes and even lines in your images. You can even use these techniques to remove people from your images! Indeed, in early landscape photography, the exposure times were so long that busy streets look empty!
The best bit for me, is that when we do this, we’re kind of slowing down time, and I love that!
Getting a Well Exposed Image
This is the first thing to learn, alongside what effect the exposure time is going to have on your images.
Unfortunately, I can’t give you a magic bullet for what is going to work for each scenario; it’s all going to depend on your location and the conditions which are prevalent when you are shooting.
The closest I have got to this was knowing that when I was shooting bus trails, my preferred exposure length was 3.2 seconds, and I would then adjust all of my other settings to allow for this. I would also shoot these kinds of shots 0.5-1 stop underexposed, as I found that this worked well for me in post and gave the flexibility and look that I was looking for.
Exposure length is going to have an impact on the loo of your images, and you will need to experiment with different lengths to see what ‘works’ for you and what stylistic and creative decisions you want to make for your images.
There will be times that you will be able to work the exposure in-camera using the light-meter, but there will be some times when you will need a longer exposure that you can calculate for within your camera. If this is the case, then you will need to invest in something like the PhotoPills or NiSI filters app - these will allow you to enter your camera settings and will generate the exposure time you need. This might involve using bulb mode on your camera and you’ll need some kind of remote shutter release cable to help you with this.
Smoothing Out Water
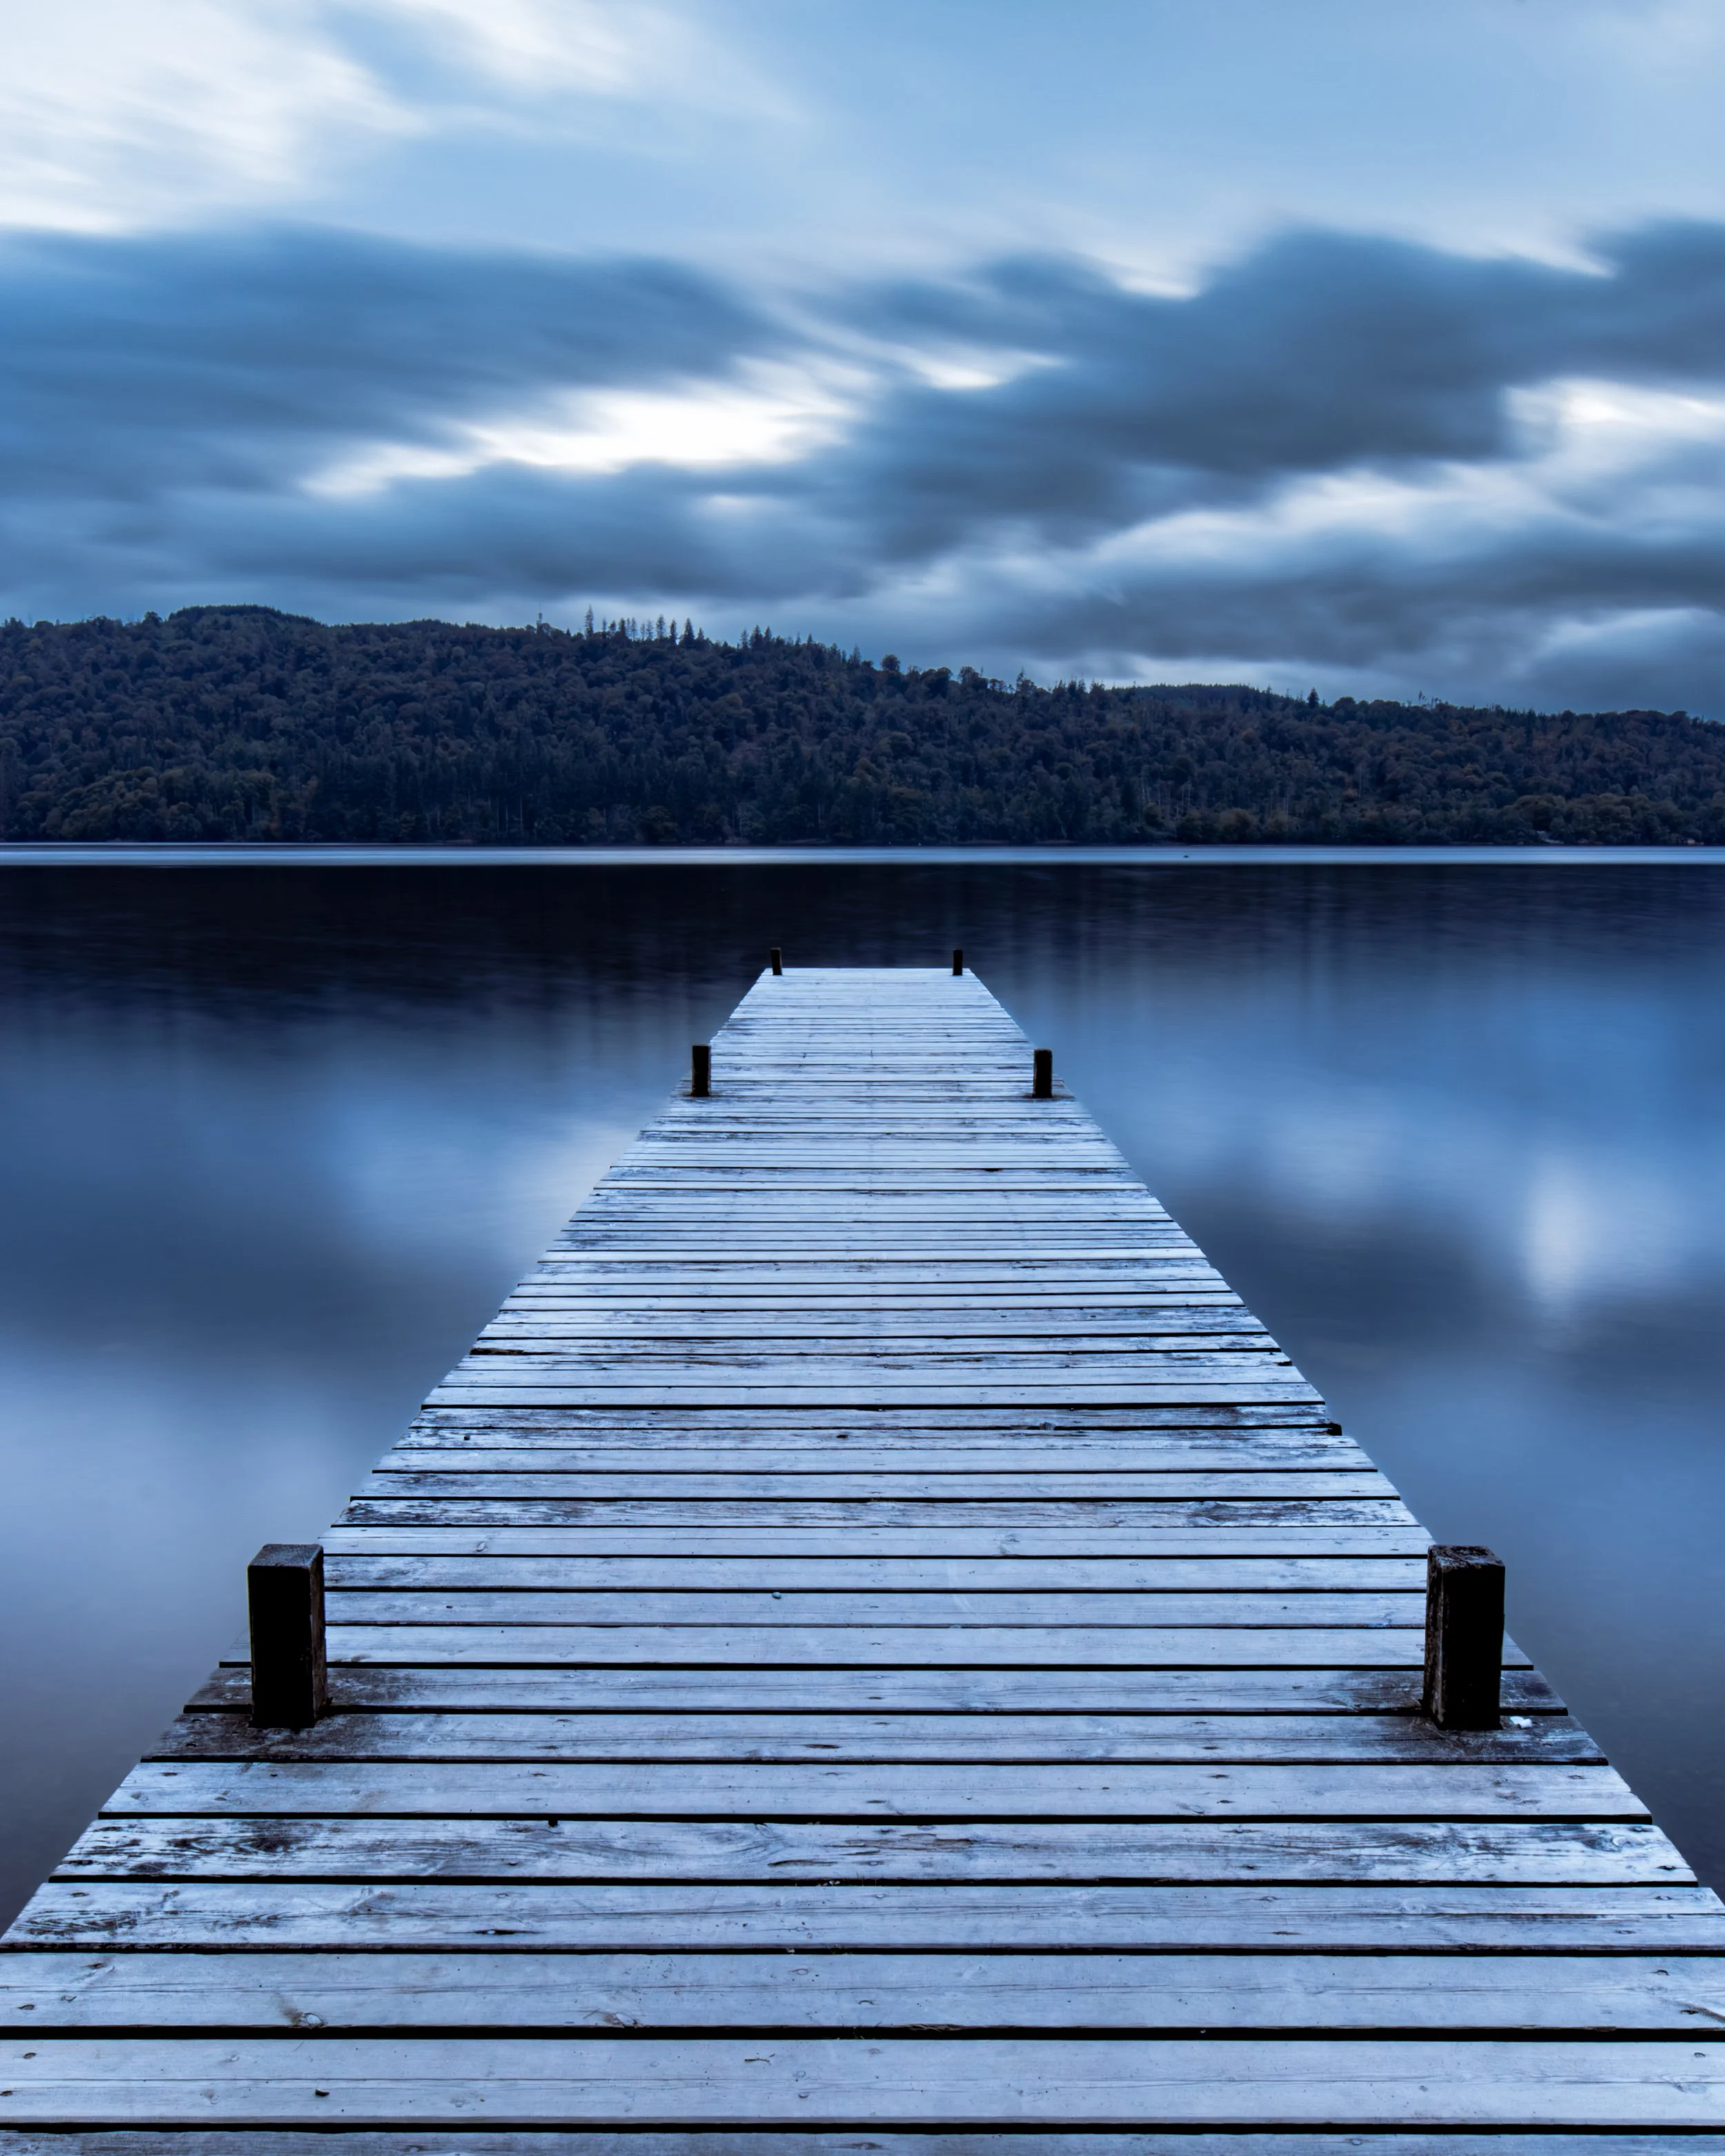
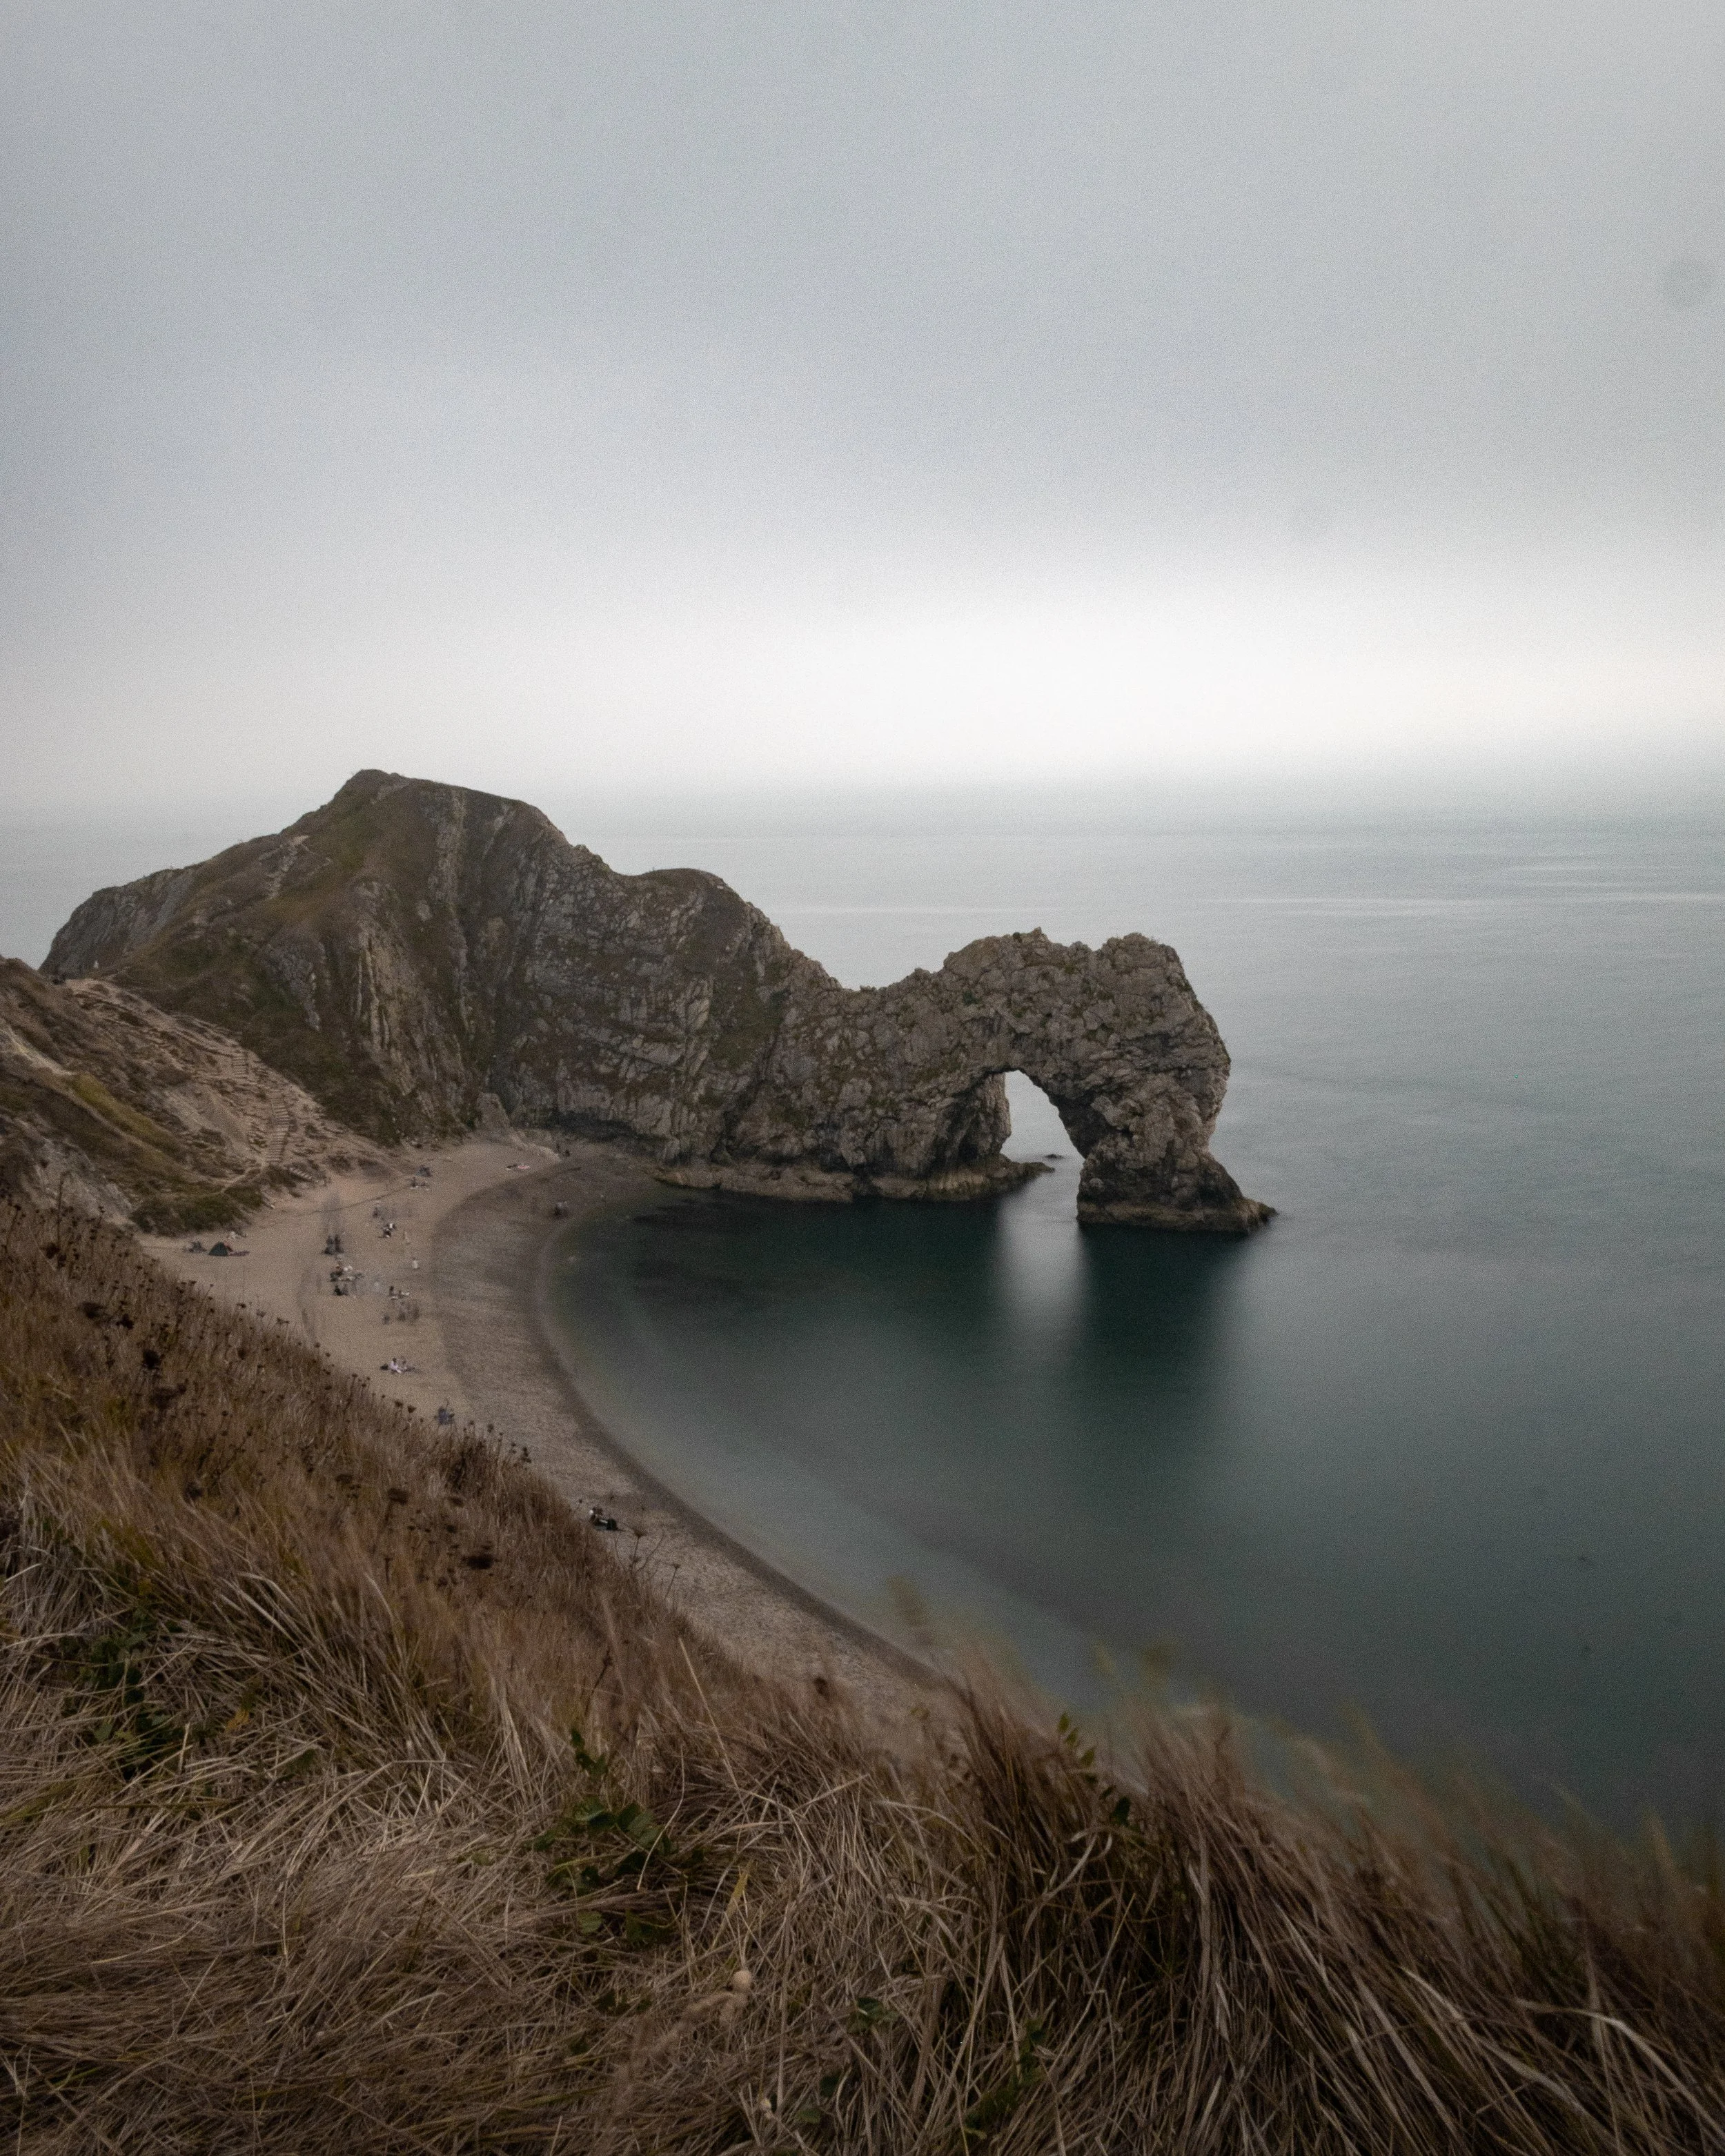
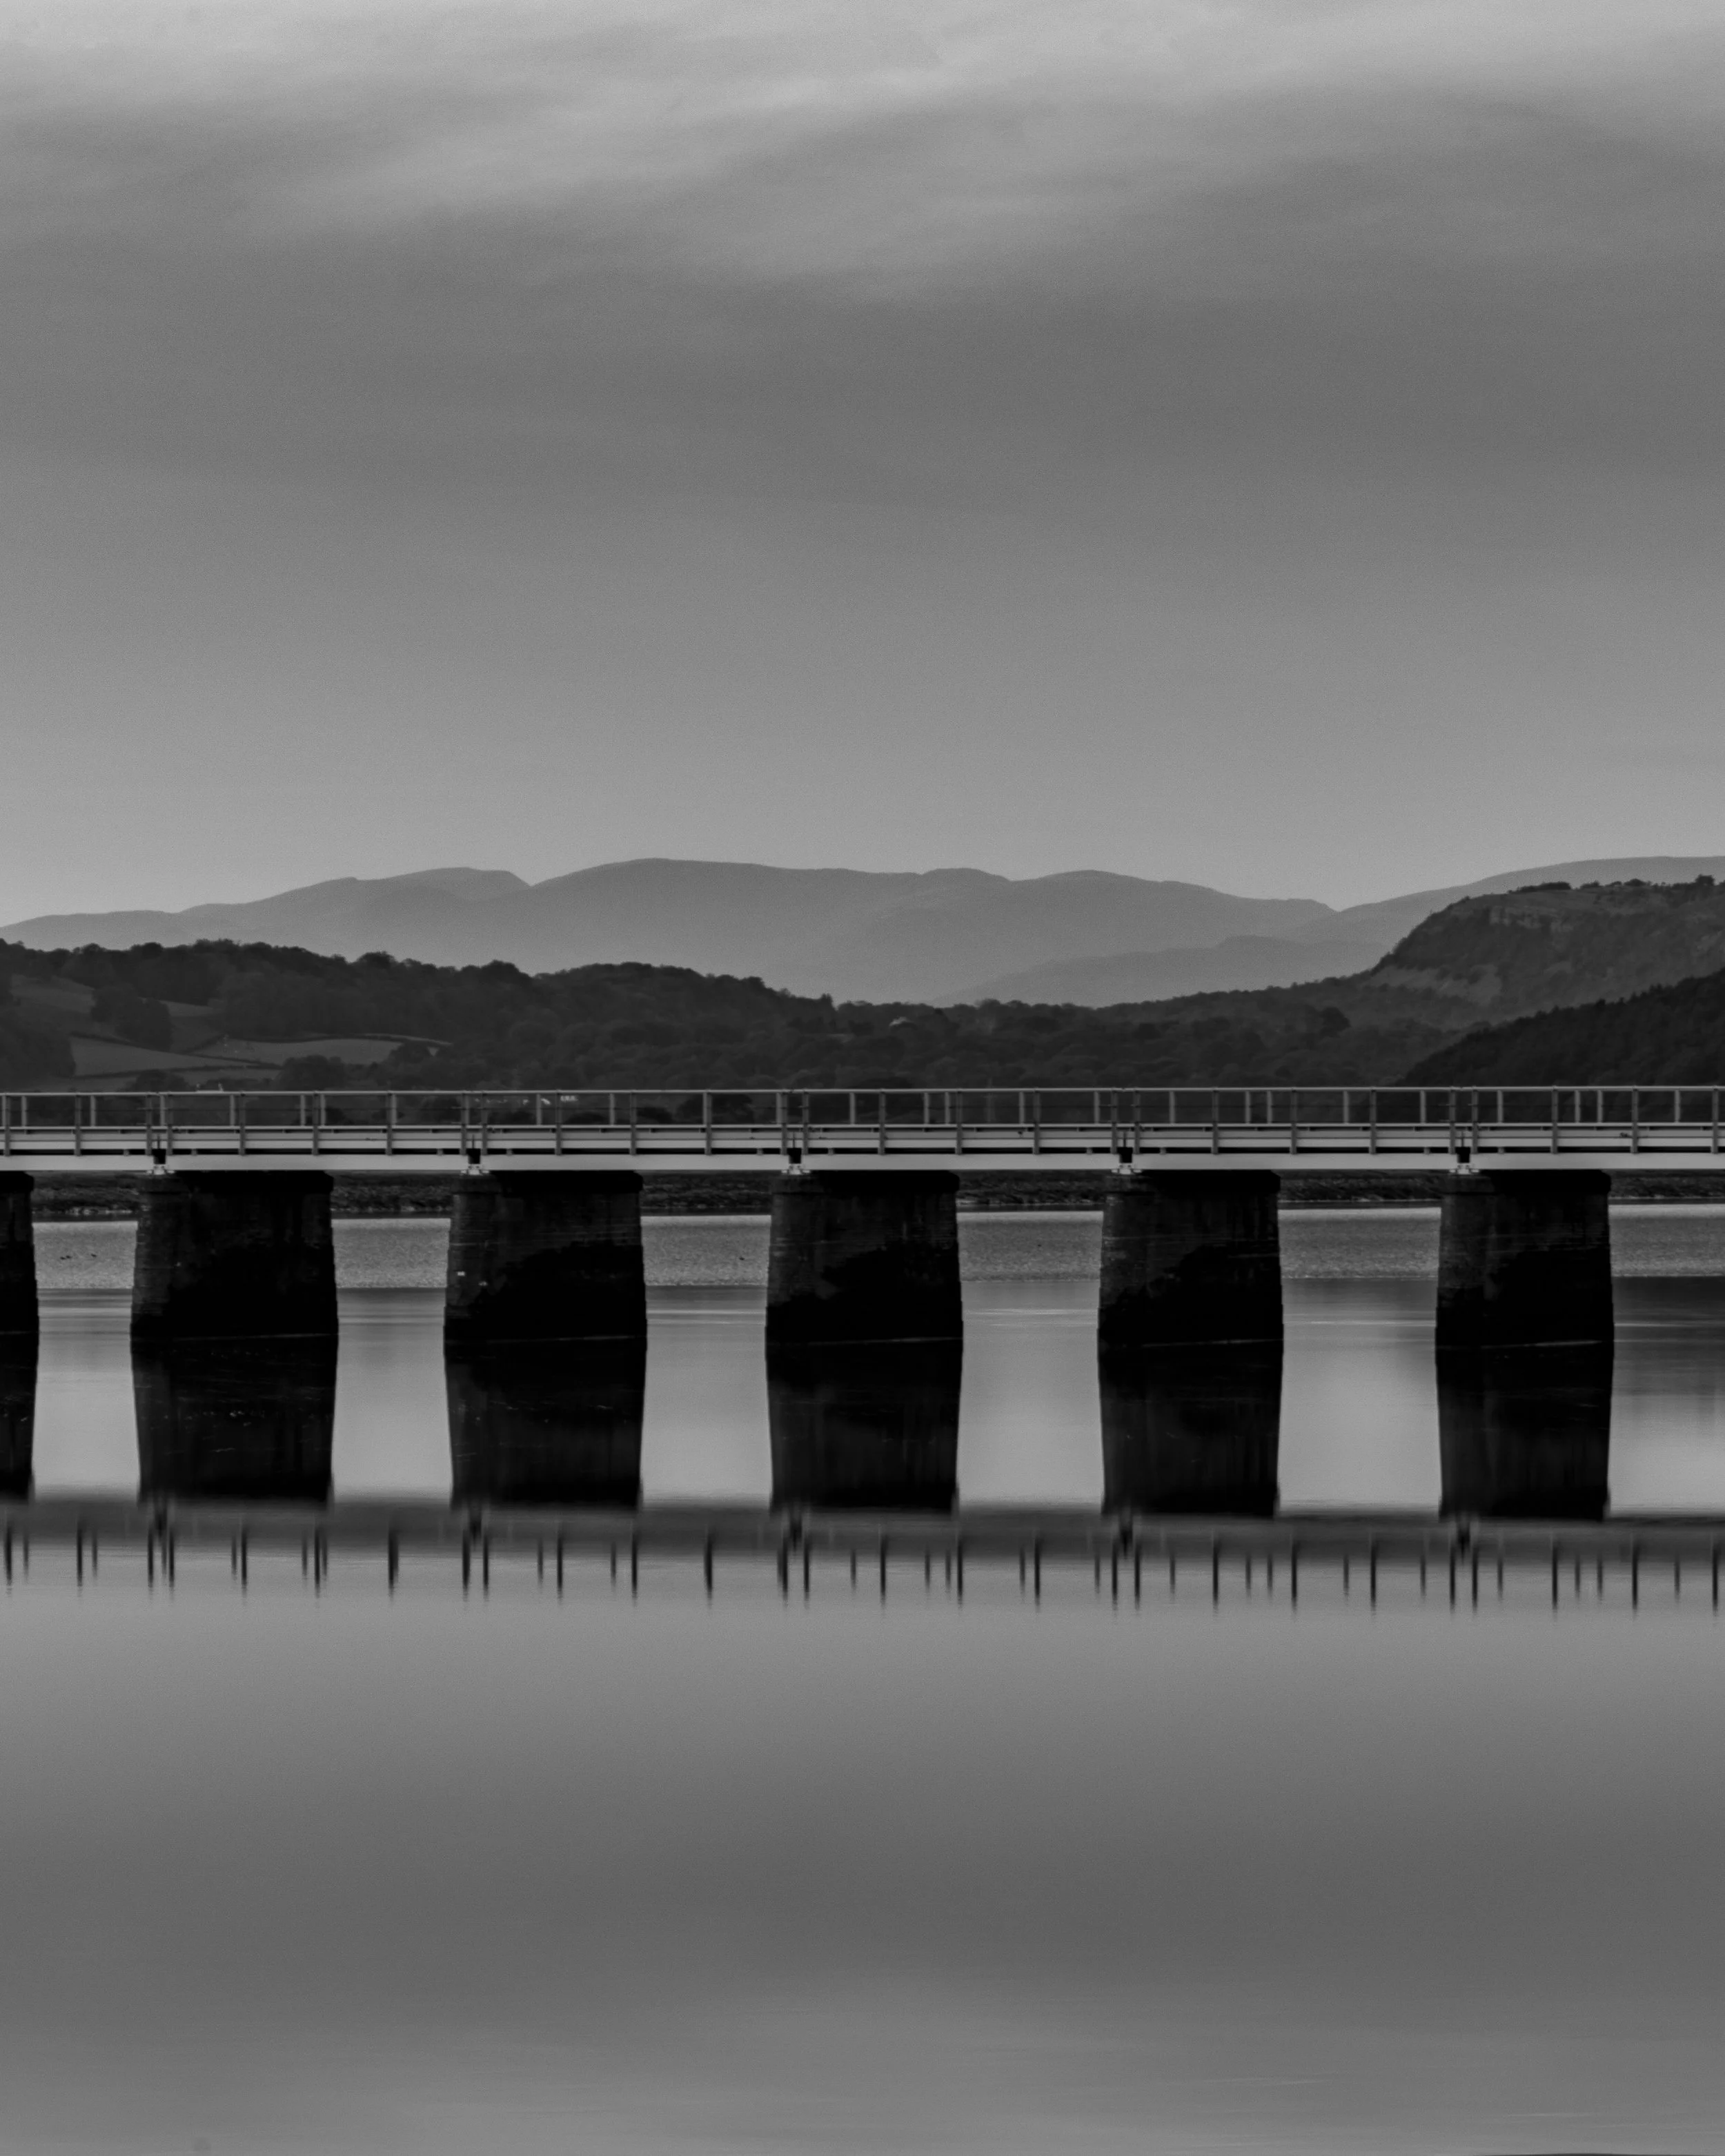
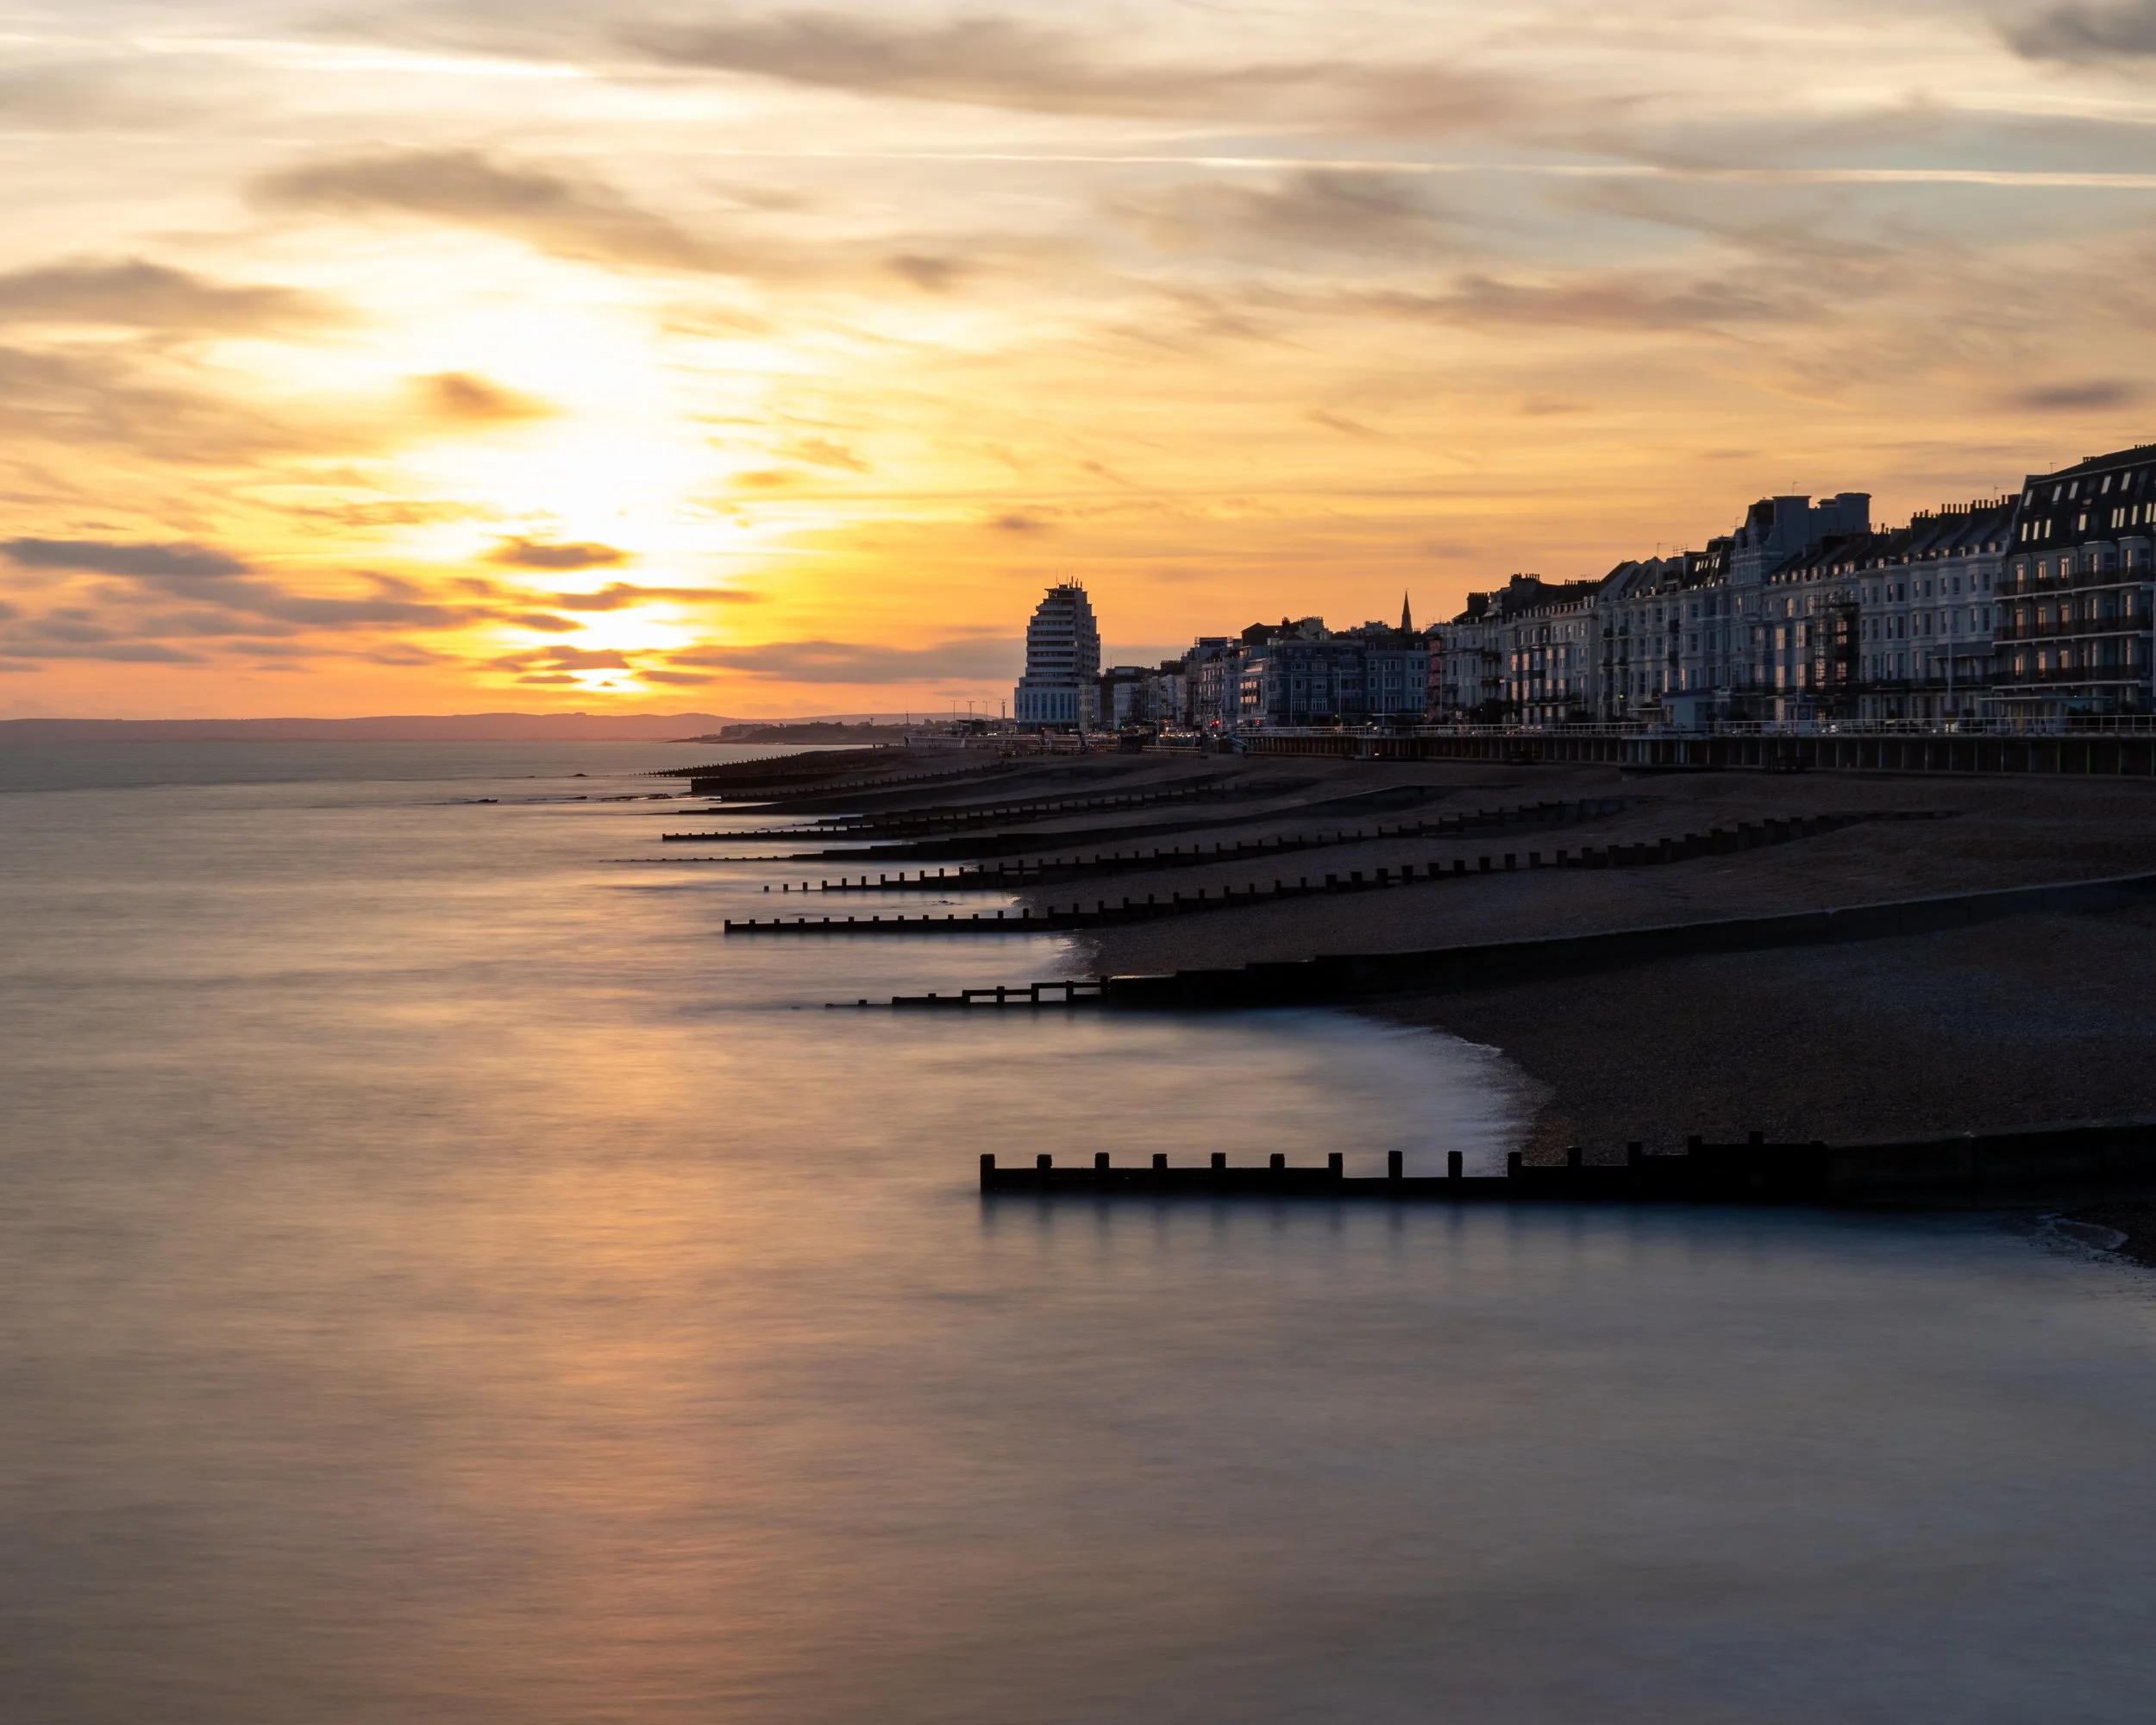
This can be a really good one to use when you’re going for a specific look in your images, especially if you want super smooth water but the weather isn’t on your side with a bit of a breeze whipping up the ripples! You need to be careful with this, because if you go too long with this, you will end up with something that doesn’t look natural and looks completely artificial. This is going to depend on where and you when you are shooting.
One thing I figured out quite quickly when I first started out with this type of image was that it doesn't help make relfections look any better. They won’t always be sharp and it isn’t (well at least it hasn’t been for me) a way to achieve the reflections you might be longing for.
Take a look at the images below, and you can see three different types of image I have taken where I have used a long exposure to smooth out the water, and the results that I got from each.
Below left to right: Durdle Door, Staunton Harold Reservoir (Derbyshire), Arnside Viaduct, Groynes at Hastings and a view of Battersea from Westminster Bridge, London.


Capturing Motion in Water
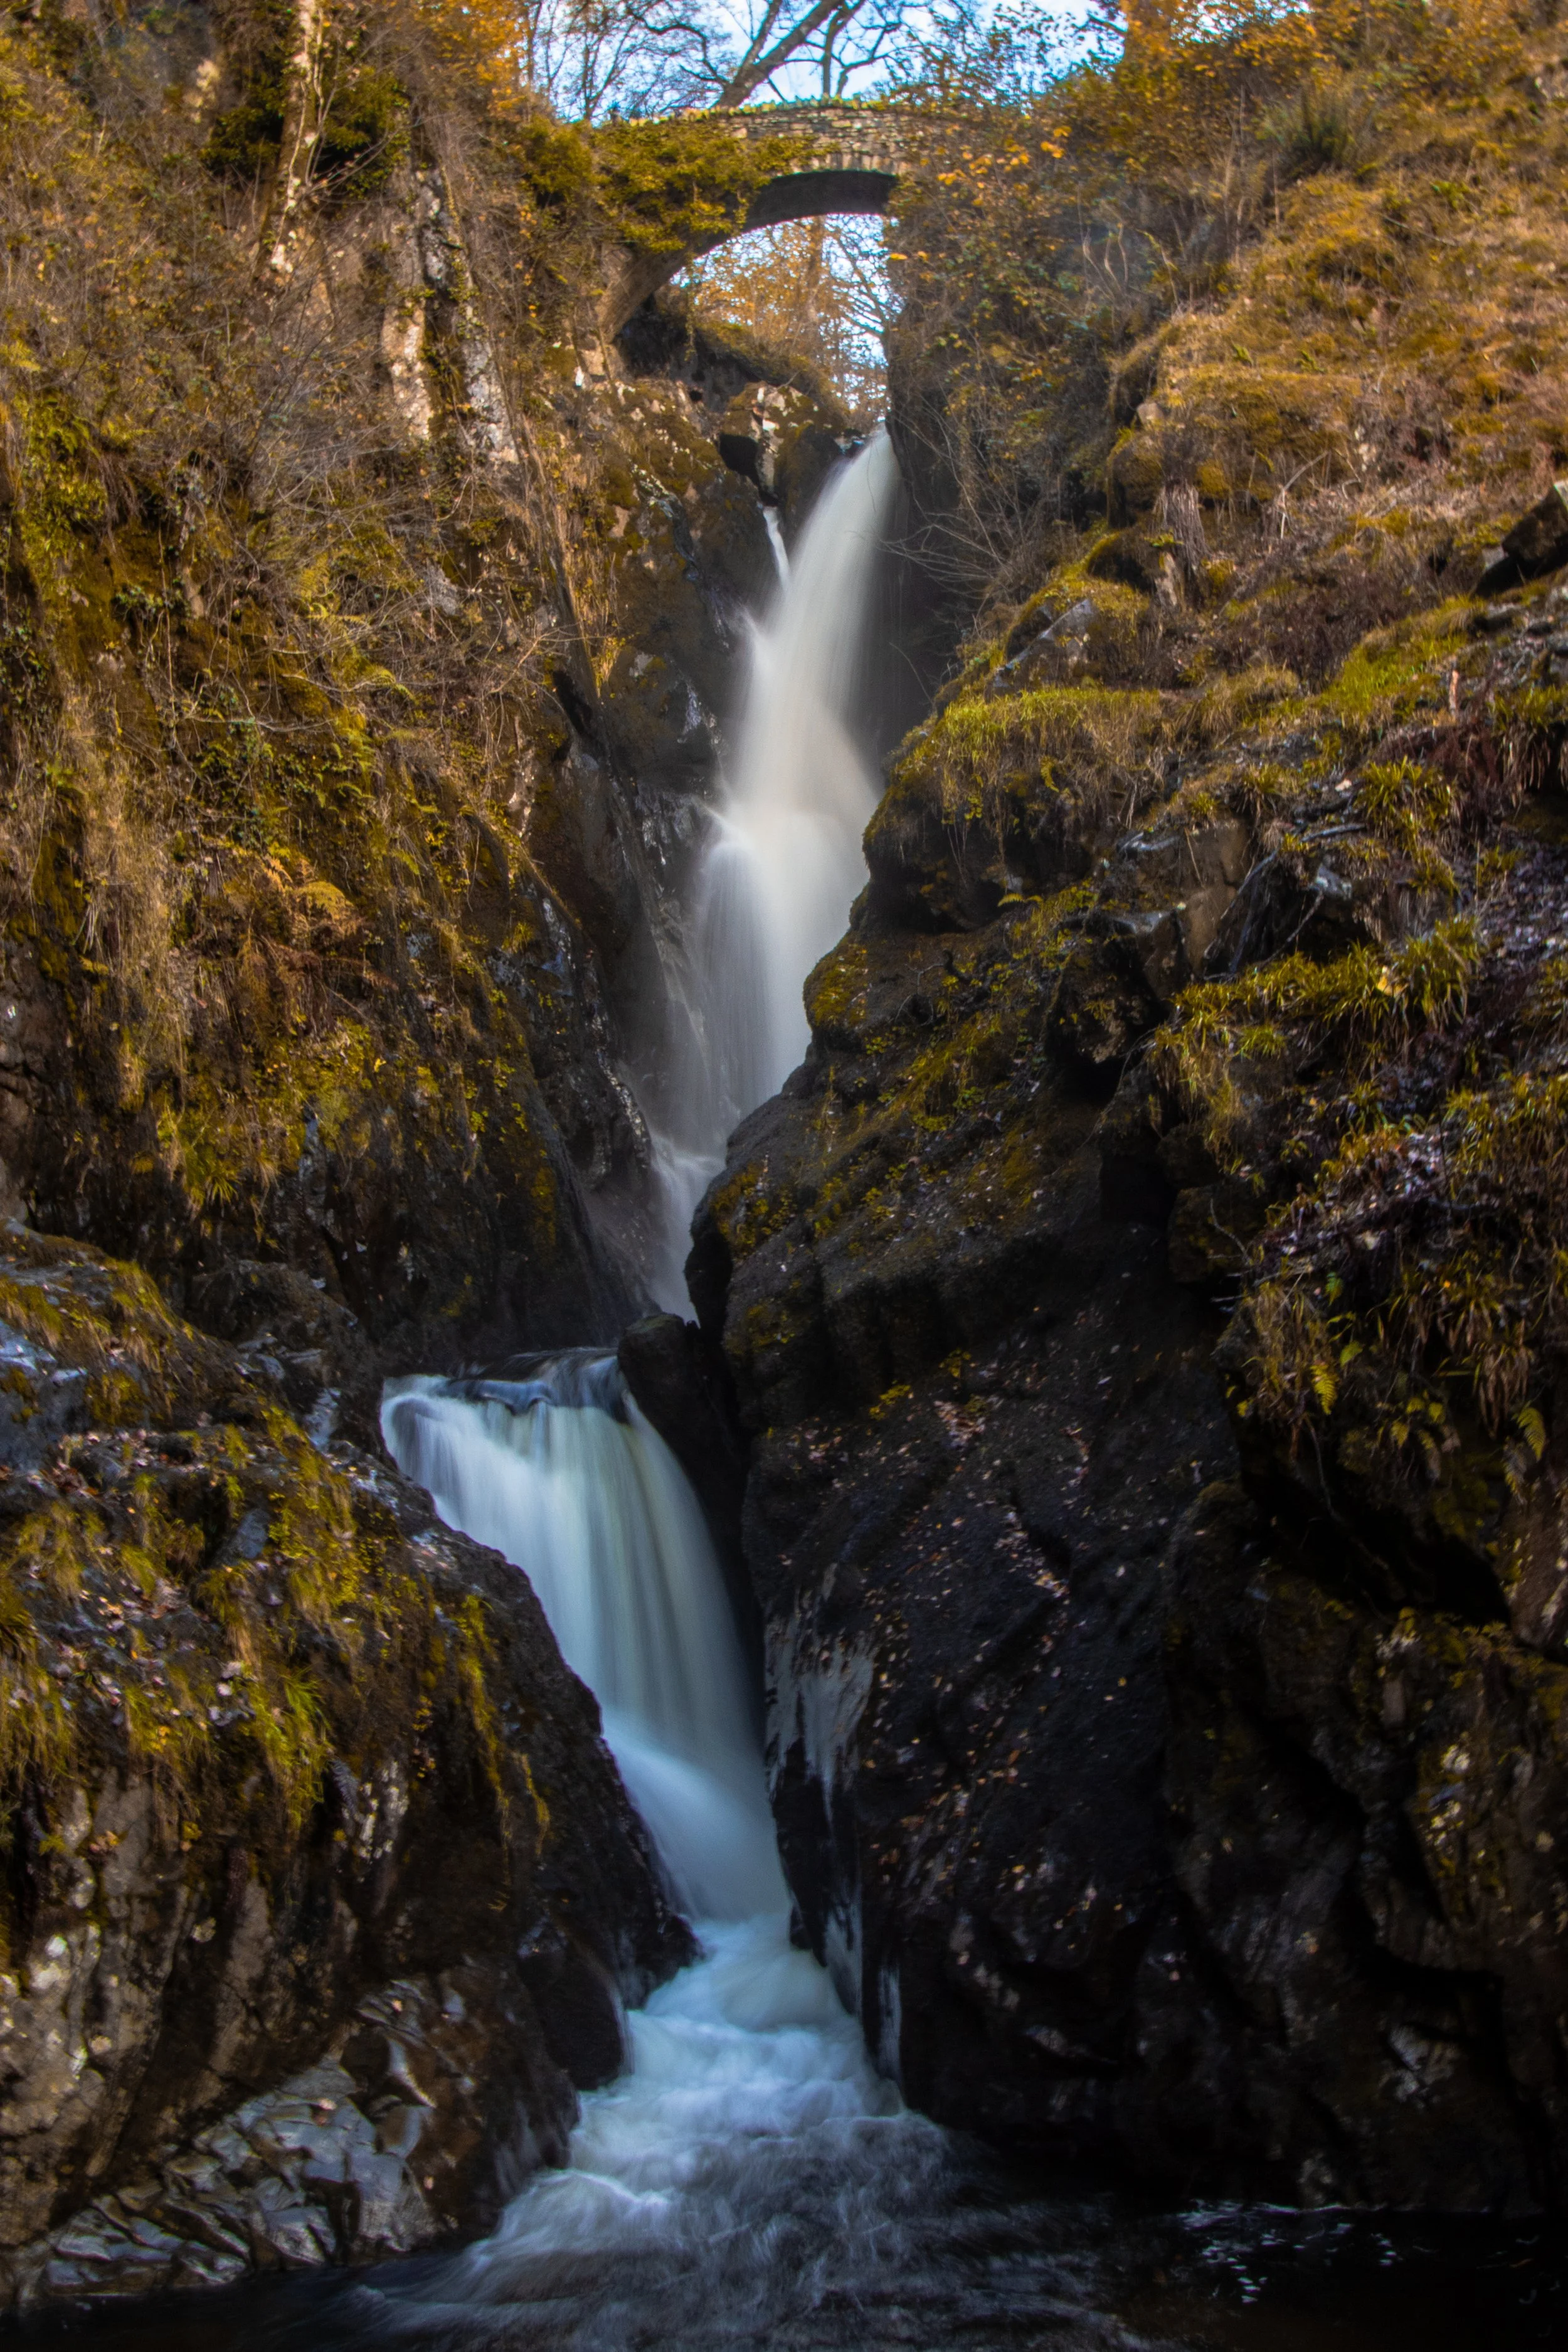
This is something that I have done much more of since I moved to the Lake District and landscape photography became my main fayre. Living in the city didn’t really call for it, and I was certainly using really long exposures to smooth water more than I was using shorter ones to show the motion, but with waves on the sea much more close to home now and the abundance of waterfalls we have in this part of the country I am much more likely to be found using shorter, long exposures.
There’s a real balance to found when you’re trying to capture motion in water. If you’re wanting to get dramatic waves crashing over sea walls or up against cliffs, then you aren’t going to want to use a long exposure - fast exposures to freeze motion are you friend here.
If however, you are wanting to show some of the motion then you’re going to want some long exposures and again, we find ourselves in a place where we you are going to need to experiment with different exposure times to get an image that suits your taste.
Put quite simply, if you expose for too long, moving water, especially that which is flowing down a waterfall is going to end up looking like milk and for me, that’s not a look I like. If you do this, you will end up losing any detail in the water and whilst we are aiming to capture
Cloud Movement
This is one of my favourites in landscape photography as it’s a great way to try and show the passage of time, but I do make sure that I don’t overuse it.
There’s a lot of variables in this one, as there are with the ones I have already written about. Waterfalls are going to depend on the amount and flow rate of the water, larger bodies of water will be dependent (largely) on the wind and cloud movement is dependent on the types of cloud you have and how fast the wind is blowing at the altitude of the clouds.
Images with cloud movement can add some real interest to photos that are taken on days where the light isn’t great because the clouds are thick and grey, but if they’re moving, they can do a great job of leading the eye and giving the photo a bit of a talking point.
Light Trails
These were my bread and butter when I lived in London. There was always traffic and the long exposure shots you can get are countless, exciting and look great when they are viewed on the screen.
The rules here are that if you just want to see the lights, like the one at Vauxhall bus station below, you want a longer exposure. This one was 30 seconds. If you want some of the vehicle(s) to show as well, then you want a short exposure, around 3 seconds. The bus trail outside Harrods was around a 3.2 second exposure. Obviously, composition and your position in relation to the vehicle you are shooting matters here as well.
The shot of Blackfriars Bridge is another 30 second exposure, which illustrates what happens to some of the reflections in water when you use long exposure.


What Equipment Do I Need to Take a Long Exposure Photograph?
This an easy one - at a basic level, you need a camera and a tripod. If you want to get a bit more creative, then you might want to invest in some ND filters. A variable ND is a good option as it gives you flexibility without having to keep screwing and unscrewing lenses off the front of your camera. If you can afford one then the magnetic filter kits can make this a bit easier without having to use VNDs.


The filter kits above represent various price points, and I have opted for kits to give some more flexibility in the amount of light you filter out. When you’re buying filters, you don’t need to by a kit, you could just buy a VND filter, but make sure you get the one which is the right size for the internal filter ring on your lens!
How do I Take a Long Exposure Photograph?
Composition is key when you’re taking a long exposure, as it with every other image I suppose, but you want to make sure that you’re including enough context that the photo makes sense, unless you’re going for something completely abstract.
My other hot tip for being successful and efficient at this process would be to ensure that you are familiar with your camera, its settings and that you know where all the buttons are. This will make your life a lot easier and much more enjoyable!
The other key to successful long exposure photography is to experiment and not be afraid to risks (photographic, not physical!) to get what you want.
The settings will vary from location to location and subject to subject. Clouds tend to look better after a longer exposure than quickly moving water, which often benefits from a shorter exposure time.
You will likely need to stop your aperture down if the light is quite strong, and this in some extreme cases is going to affect your sharpness. This is when your ND filters will come into player.
I can’t give you a complete step by step guide to this, but some what I think are some good pointers would be these:
Set up you tripod on a firm base, get it well steadied and get it level. If you’ve got spikes on your tripod, use them, if you’ve got a hook to hang your bag from and it’s windy, then this can really help. I’ve also been known to stand in the way of the wind as some kind of human wind-break when it’s been really blustery and I am trying to get a decent long expsoure!
Frame up your shot and make sure everything is well balanced in the image.
Select your exposure time and adjust your settings to determine your exposure.
Make sure that you have got your shutter release cable plugged in, and then take the photo.
I always like to use the 2 second shutter delay on my camera, even when I am using the shutter release cable. This means that you giving yourself the best chance of getting a sharp image without any camera shake being introduced.
If you don’t have a remote release cable, then you could use the 10second delay on your camera to give everything a real chance to settle before the camera takes the exposure.
It’s really important not to touch the camera at all when it’s capturing your exposure as any movement is going to affect the quality of your final image.
DSLR users - if you’re working in low light, then it can be really useful to use the eyepiece cover to stop light from leaking into your camera through the eyepiece. Mirrorless users, this won't be an issue due to the different ways that mirrorless/dslr camera project an image into the viewfinder.
Final Thought
Long exposure landscape photographer is awesome, I love it. I love the process, the edit and the results. I also love how simple the process is once you have had a bit of practice at playing around with your settings. Once you know what your tastes are, you will get much quicker at taking these kinds of images as you’ll have an idea of what you like and what works for you.
Don’t be put off by ND filters and tripods, get out there and have a go because for me, this can be one of the most rewarding styles of photography to shoot.
Thanks for reading, and if you have made it to the bottom of the page, thank you again! If you would like to get these blogs direct to your inbox, alongside offers and all of the other good stuff, you can sign up to my mailing list. If you’d like to support my work in another way then consider buying a print or heading over to my Buy Me a Coffee page. It really helps to keep the blog going!

Check out my previous blog posts by clicking the links below: