Photography Gear Mistakes: What I Bought and What I’d Buy Instead
There’s no doubt about it, landscape photography can be an expensive game, even after you have shelled out a lot of money on buying your camera and lenses. There’s tripods, filters, bags and a whole plethora of other accessories. All of these cost money and all of them are incredibly well marketed, to try and make you part with your money.
Many people fall into the trap of buying cheap gear when they start out, but many then learn that “you buy cheap, you buy twice”. Of course there is a lot to be said for buying cheaper items when you first start out as you might not want to spend money on things if you’re not sure you’re going to stick with photography. To help you with this, I have put together a list of some of the mistakes I made when purchasing photography equipment, so that you can avoid making the same ones.
All of these choices are targeted at the entry level photographer and I have tried my best to keep the cost down whilst finding you something that will work well and will last a long time, if you treat it properly. That’s not to say that this equipment is only for beginners. Some of this stuff will last you many years before you need to think about upgrading it.
This post contains Amazon affiliate links. As an Amazon Associate I earn from qualifying purchases. This means that if you click through and buy something, I may receive a small commission at no extra cost to you. I only recommend products that I genuinely think are useful, practical or good value for photographers.
TL;DR:
Photography gear can get expensive quickly, and cheap accessories often end up costing more in the long run. If you’re just starting out, spend your money carefully on reliable essentials like a sturdy tripod, decent filters, a well-made camera bag, a comfortable strap and a remote shutter release. You don’t need the most expensive kit, but buying something solid from the start can save you money, frustration and possibly a damaged camera later on.
Tripods
Your tripod is an important purchase as a landscape photographer. We place a lot of trust in these pieces of plastic and metal, they keep our expensive cameras steady whilst we shoot and as such we need them to be reliable, sturdy and strong. This is one area where it’s always worth spending a bit more when you first start out.
The Amazon basics tripod is fine if you’re wanting to keep a mobile phone steady in an indoor setting or to shoot things in the back garden, but out in the field they’re not something I would trust. A lot of the moving parts are cheaply made out of poor quality plastic and the base plates aren’t especially strong - if this fails, it’s goodbye camera and hello repair bill.
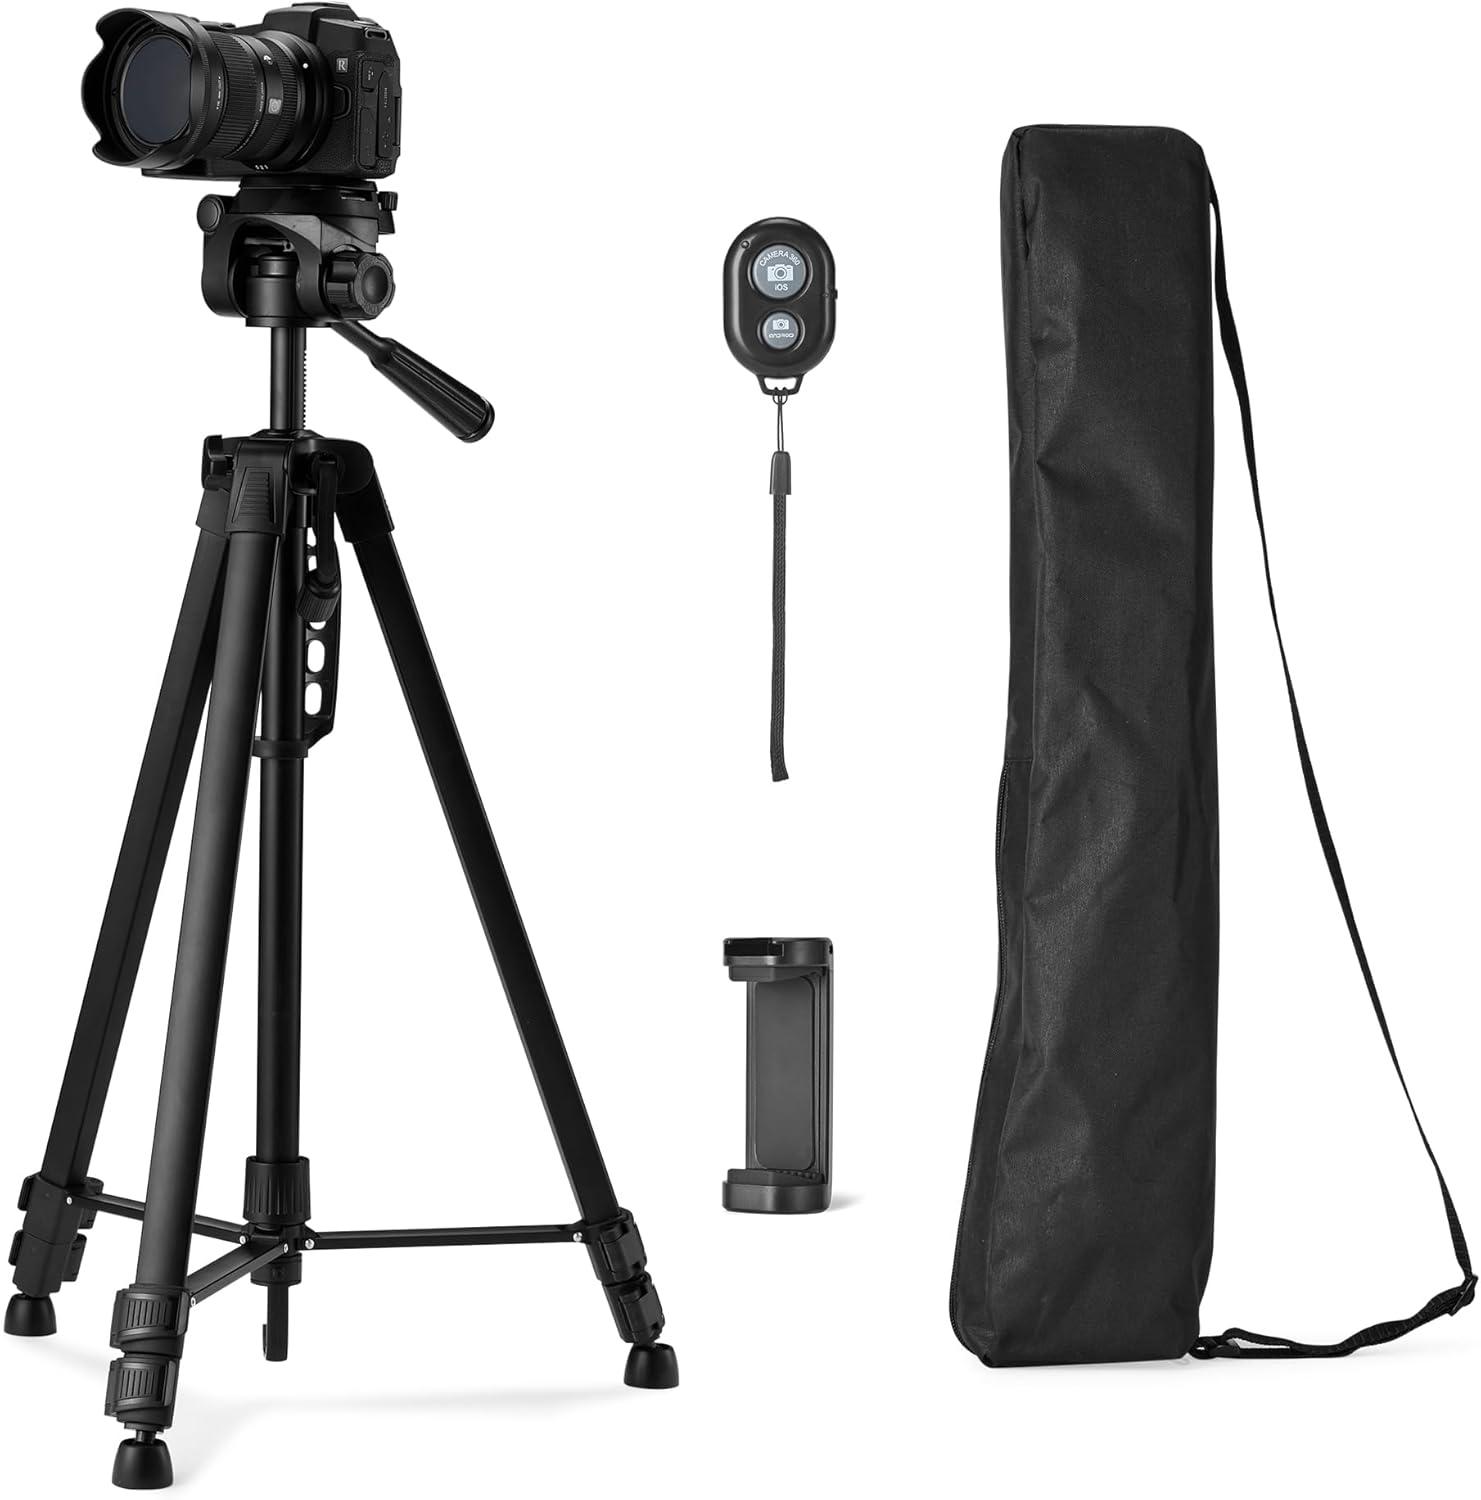
K&F Concept tripods on the other hand, for me, represent some of the best value for money in the tripod market. The materials are stronger, and they feel much more solid. The one in the link below comes in at around £40, that’s almost 4 times as much as the Amazon one, but they’re worth every penny. The base plates are much sturdier and when it’s fully extended, it feels like it’s something than can be trusted to keep hold of your kit.
Just for the sake of transparency, when I am out in the field these days, I use a different tripod but it comes in at around £300 for the legs and the head combined which is probably overkill for most beginners, but I still have a couple of these K&F tripods in the studio, they’re going strong and still helping me to create some great imagery.
| ✕ Don’t buy this | ✓ Buy this instead |
|---|---|

Filters
Filters are a staple of the landscape photographer’s bag. They offer us creative choices, help us to overcome some of the limitations of our cameras and give us the freedom to shoot and achieve results in conditions that may not always be favourable.
Filters can be super expensive but there are some cheaper options out there. I advise people to avoid really cheap filters for a number of reasons, but largely because they will cause a colour cast on your images (if you want ones that are completely cast-free then prepare to spend big money!) and they’re not always super well made, which increases the likelihood of it cross threading on the front of your lens, making it nigh-on impossible to remove. This can lead to damage to your lens, which is going to mean either a replacement or an expensive repair.
Again here, I am recommending a product from K&F Concept (this is not a sponsored post, but if you’re reading K&F, send me a message!), as these are filters that I have and do still use.
There are lots of types of filters; neutral density (ND), polarising, star, mist... the list goes on. They all do different things, but I would recommend starting with an ND filter and maybe a polariser and then think about throwing some more creative choices into the mix as you get more confident.
| ✕ Don’t buy this | ✓ Buy this instead |
|---|---|


Camera Bags
This has to be one of the biggest minefields when it comes to shopping for photography accessories. There is a ton of brands for you to choose from, some of them are well known, some of the less so, but thing that they do have in common is that a good one is often pretty expensive. I also can’t think of a single photographer that I know who only owns one bag!
A quick search on Amazon will yield thousands of results, with the bestsellers pushed to the top. Just because it sells well, it doesn’t mean it’s any good.
There is a multitude of types of bags from cross body bags, to shoulder bags, rucksacks and everything in-between. The problem with buying a bag is that the choice is a personal one - you want one that suits both your style and your use case and it’s an important balance and choice to get right.
Cheaper bags don’t aren’t made of such high quality materials and the hardware isn’t as good. The last thing you want, or need, is the bag failing halfway through a shoot or a walk.
I’ve picked a bag from Lowepro for my “buy this instead” choice, it’s one I own and it’s one I have reviewed previously. It’s not the cheapest bag on the market, but it’s got plenty of space for both your camera kit and anything else you might need during your shoot.
| ✕ Don’t buy this | ✓ Buy this instead |
|---|---|


Camera Straps
This is an interesting one, because you don’t normally buy your camera strap, it comes with the camera but a lot of people often want to change them; they don’t want to be advertising the make and model of their camera to all and sundry and marking themselves as a target for a quick theft.
I used my Canon supplied strap for years, and only replaced it because it was starting to look scruffy and I wanted something a little tidier.
Like your bag, a lot of your choice here is down to personal preference - do you want a long strap or a short strap? A hand grip or a neck strap? Leather or fabric? The list is endless!
Always look for something strong with good hardware, that is easy to attach and remove from your camera, but not so easy that it’s going to fall off. I like something that comes off easily because if I need to put my camera on a tripod I don’t want the strap acting like a sail in windy conditions and either introducing movement into the image or even worse, knocking it over!
| ✕ Don’t buy this | ✓ Buy this instead |
|---|---|


And Finally… Remote Shutter Release
If you’re shooting on a tripod, you need a remote shutter release for your camera. This could be a cable release or a remote release, depending on your personal preference. The great news is that they are all pretty cheap.
You need a remote release to make sure that you’re not introducing movement into your shot, especially if you’re shooting at longer focal lengths when not even your shutter delay is going to help, especially if you have to wait for the wind to die down!
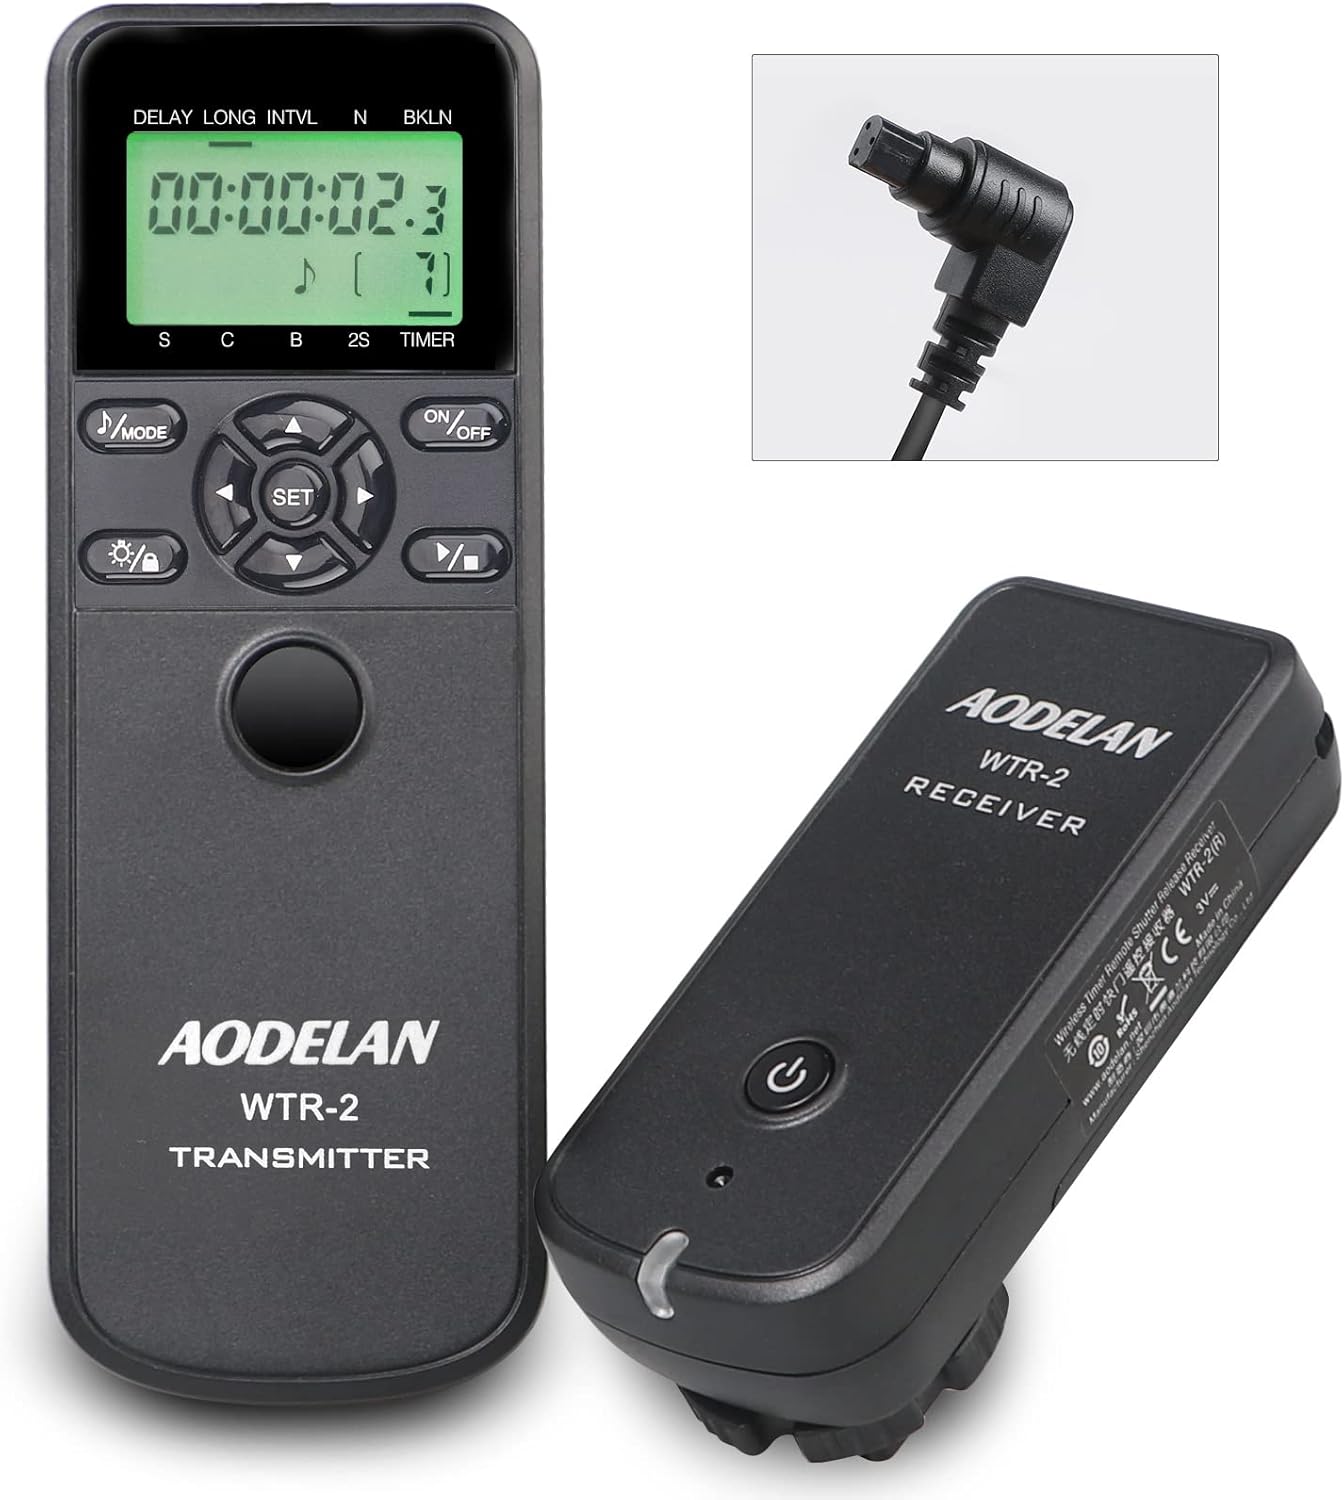
When you’re starting out, a wired release is your cheapest option, but you may want to go straight for the remote option as well. I like the remotes as you don’t have to plug anything into your camera so there’s absolutely no chance of knocking the camera or moving it, but if a shutter release cable is more your thing, then one like this will serve you well.
| ✕ Don’t buy this | ✓ Buy this instead |
|---|---|

In Conclusion
The main lesson here is that you don’t need to buy the most expensive photography equipment when you’re starting out, but you do need to be careful about buying the cheapest. A few well-chosen accessories can make your life much easier, keep your camera safer and help you enjoy the process of making images. Spend where it matters, avoid the false economy of badly made kit, and build your setup slowly around the way you actually shoot.
If you found this useful and want to support the blog, you can buy me a coffee to help keep these articles going. You can also sign up to my email list for photography tips, behind-the-scenes posts, and new blog updates straight to your inbox.

Check out some of previous blog posts by clicking the link below: