Welcome to another weekly blog, and in this instalment I am going to look at 10 things that all landscape photographers should be able to do.
These range from simple stuff that will keep your images looking sharp to keeping yourself safe out on location, making sure that you have a good time and know where you’re going! Being a good landscape photographer isn’t just about being able to operate your camera and I’m going to look at why this is the case in this blog.
This blog contains Amazon affiliate links. If you click one of these links and then make any qualifying purchase, I may receive a small commission, which is at no extra cost to you. These purchases help me to keep the blog running and to keep writing reviews, quality photography content and the bookshelf series. Thank you in advance if you do decide to buy something!
So without any further ado and in no particular order, let’s get going!
TL;DR
Great landscape photography is about far more than knowing how to use a camera. Learn to look after your kit, understand light, weather and tides, navigate safely, research your subjects, accept feedback, adapt when conditions change and know when it’s time to turn around. Most importantly, keep learning, stay safe and enjoy being out there.
1. Clean Your Sensor
This is something that I used to be really scared of doing, so much so, that I used to pay someone an excruciating amount of money to do it for me. Money which I could have been spending on other more exciting things. Cleaning your sensor is a really simple process, but it does need to be done in a clean space, with a delicate hand and using the correct equipment. Don’t just be grabbing a tissue and wiping it; you’re going to be in for a rough time if you do that!
There are hundreds of videos on YouTube giving tutorials on how to do this, so find one you like and one that you trust. I like the one that Nigel Danson has on his YouTube channel, so that’s a good jumping off point for you.
There are lots of different sensor cleaning kits on the market, but as with so many things in photography, you need to make sure you get the right one for your camera; everything in them is the same, apart from the size of the swab, which is different for the various sensor types.
Why does this matter? I mean, we don’t want to spend forever cleaning more sensor spots off our images, but as landscape photographers, we are often changing our lenses in environments that aren’t dust and particle free. We’re prone to things ending up on the sensor, no matter what steps we take and so we need to look after our kit.
If you’re seeing loads of sensor spots on your image then it’s probably time for a clean!


2. Tell a Story
Story is important in photography; you need to be able to tell one in a photo or series of photos. I wrote a blog a couple of weeks ago called “But what’s it a photograph of?” and I spoke about the idea of story at length here.
Being able to tell a story in your images is important. It elevates your image from a photograph ‘of’ something, to a photograph ‘about’ something. Is it just a lone tree, or is it a tree that has overcome the odds and survived brutal winters and sweltering summers just to live on its own tiny patch of land? Is it a photo of a lone tree, or is it something which tells us about the power and beauty of nature, or solitude, or isolation or reflection? The subject of the photo doesn’t change but your intention does.
The possibilities here are endless; the decisions about where to place things in your frame, what to leave out of your frame, how long you want the exposure to be etc. are all the creative decisions which will make your image unique, interesting and one that people might love.
Be observant. Stop. Take a minute and look around you. When I arrive at a location, I will take some time to look around me, hunt for compositions and think about what the weather is doing, what the light is doing and furthermore, what impact are these two variables having on my subject(s)? I think about this, as they are going to impact the choices I make and what I choose to create.
3. Use a Map and Compass
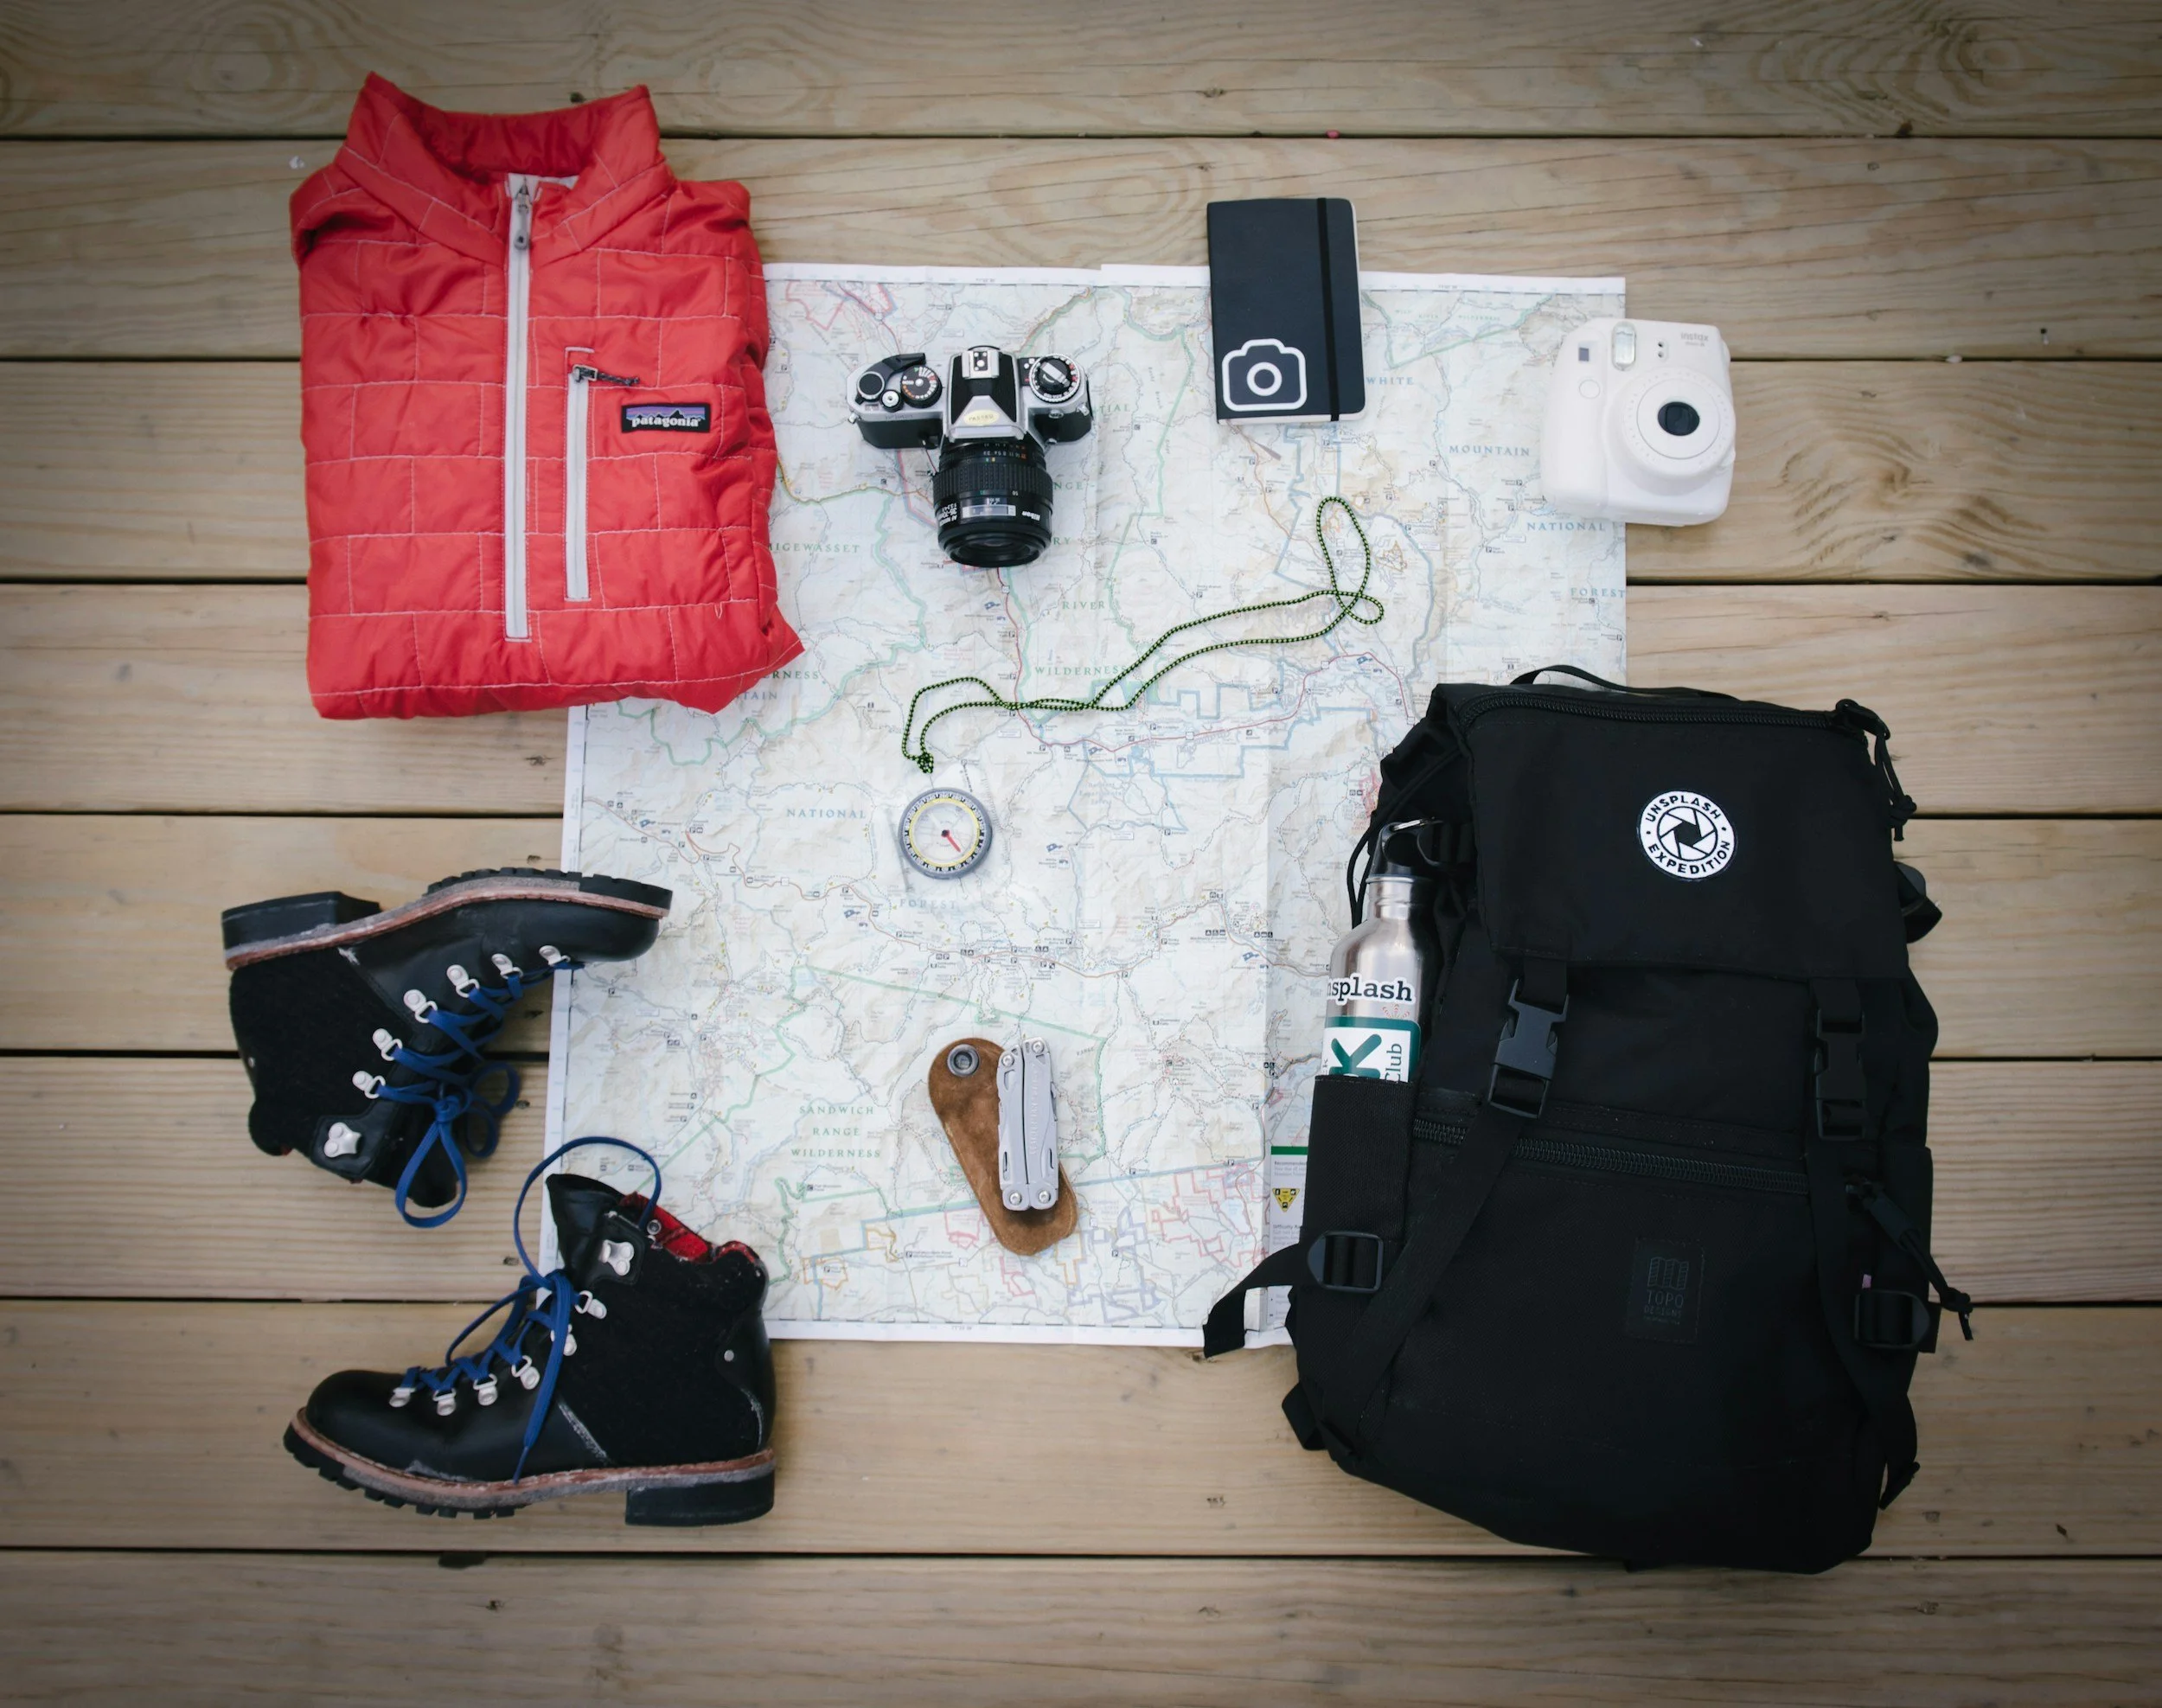
I covered this a lot in my Be Lake District Kind Blog, but I cannot overstate the importance of carrying a map and compass and being able to use it. Online maps are all well and good, but they rely on batteries and having reception. Taking your phone or GPS watch is fine, but please ensure you have the right maps for the area that you are in and pair them with a good compass. The other thing this allows you to do, other than keeping you safe, is to explore more widely. I find that with a GPS or online map, you find yourself constrained to following the line you are being told to follow, but if you have a map to explore with, you are able to see points of interest on the map and then navigate to them. If you’re in a pinch, it could also help you to find shelter or if you’re lucky, a bothy!


4. Know Your Camera and How to Use It
This sounds fairly basic. You can shoot in manual, aperture priority and shutter priority. You know how to use bulb mode and how to shoot focus/exposure brackets. But do you know how to do these in the dark and in the cold, or can you do it quickly in the rain? Can you set your white balance? Are you able to shoot in a custom mode?
I think there is a big difference between knowing what you camera can do and how to make your camera do it and there is a further distinction of being able to do it quickly and without looking down at it all the time.
The more time you spend looking at your camera, the less time you spend looking at the scene in front of you, and that’s when we miss shots. I have had my camera for a few years now and I can operate it and know where all of the buttons are without having to look at what I am pressing or search endlessly for settings in the menus - I have practiced with it and have custom modes set up, alongside back button focus, which is something that was a real game changer for me.
Do you know which focus mode is right for the subject you are shooting? Which metering mode is most appropriate for your scene or subject?
If you want to learn more about your camera and getting the best results out of it, why not consider booking a landscape photography workshop with me, here in the Lake District.
5. Read a Tide Table
I know this is a weird one, but it’s a skill (not a difficult one I might add) that I needed even when I was living in London - the Thames is tidal through London and there’s nothing worse than it being ‘empty’ when you need the water for a shot!
As a landscape photographer, having an idea of when the tide will be in and out is really useful. Take Bamburgh Castle for example, the typical shot is quite wide with the reflections in the pools and patches of water that have been left by the receding tide - you don’t have these if the tide is all the way in.
Timing your arrival and setup for immediately after the tide has gone out means you get the benefit of the reflections, but also of the footprints etc. having been washed away, leaving you with pristine conditions on the sand.
You MUST always be super aware when you are shooting out on land that is covered by the sea when the tide is in. I live not too far from Morecambe Bay and the tide here is famous for how fast it floods - if you go to Arnside, you can see the tidal bore when the tide comes in and it’s quite a site to behold, but it will also make you appreciate how dangerous the sea can be. You should also be aware that if you’re stood on higher ground (the seabed isn’t flat!) then the tide can come in around you and you can quite quickly end up being cut off - you must be aware of the tide and how fast it is flooding so that you can stay safe.
Tide times are widely available and for free, if you don’t want to look too far into the future. Sites like the BBC have about a week’s worth of tide tables published for all areas of the UK. If you want to look further ahead, then you will generally need to buy the tide table for the area that you are visiting; these are more frequently available on line, or if you're frequently visiting somewhere coastal, you should be able to pick a copy up fairly easily; fishing tackle shops are a good place to get them if you are by the coast.
There is a ton of safety information that you need to be aware of; HM Coastguard has lots of information about staying safe at the coast and you should check this out. I am not responsible for your safety when you are photographing the beach, this advice based on my own knowledge and experience and you should always do your research, be aware and seek local guidance and information for the area that you are shooting.
6. Know Your Subject
I have a ‘proper’ job where subject knowledge is everything. If I don’t know the subject then I can’t do my job effectively, and I like to apply the same principles to my photography.
Spend some time doing the research about the place you are visiting: Know its history, know the best times of the year to go and shoot it, use apps like PhotoPills to understand when the light is likely to be the best for the shot that you want.
Let’s take the example of an inanimate object such as a castle. If I am visiting a castle for the first time, I want to know about it, I want to know how long it’s been there, who lived in it, and amongst other things, what it was used for - not only because it’s useful for me as a photographer, but because it’s interesting and it helps me to tell its story.
I want to know what time of year it looks the best, what times of the year the sunrise and sunset are going to be best placed to capture some drama (and where I need to be to see it!). If it’s by the coast, will the tide be out or in when I visit or are there cliffs/rocks that will look great with waves breaking on them in a storm? The list goes on and is going to be dependent on what you want to capture, but you get the idea.

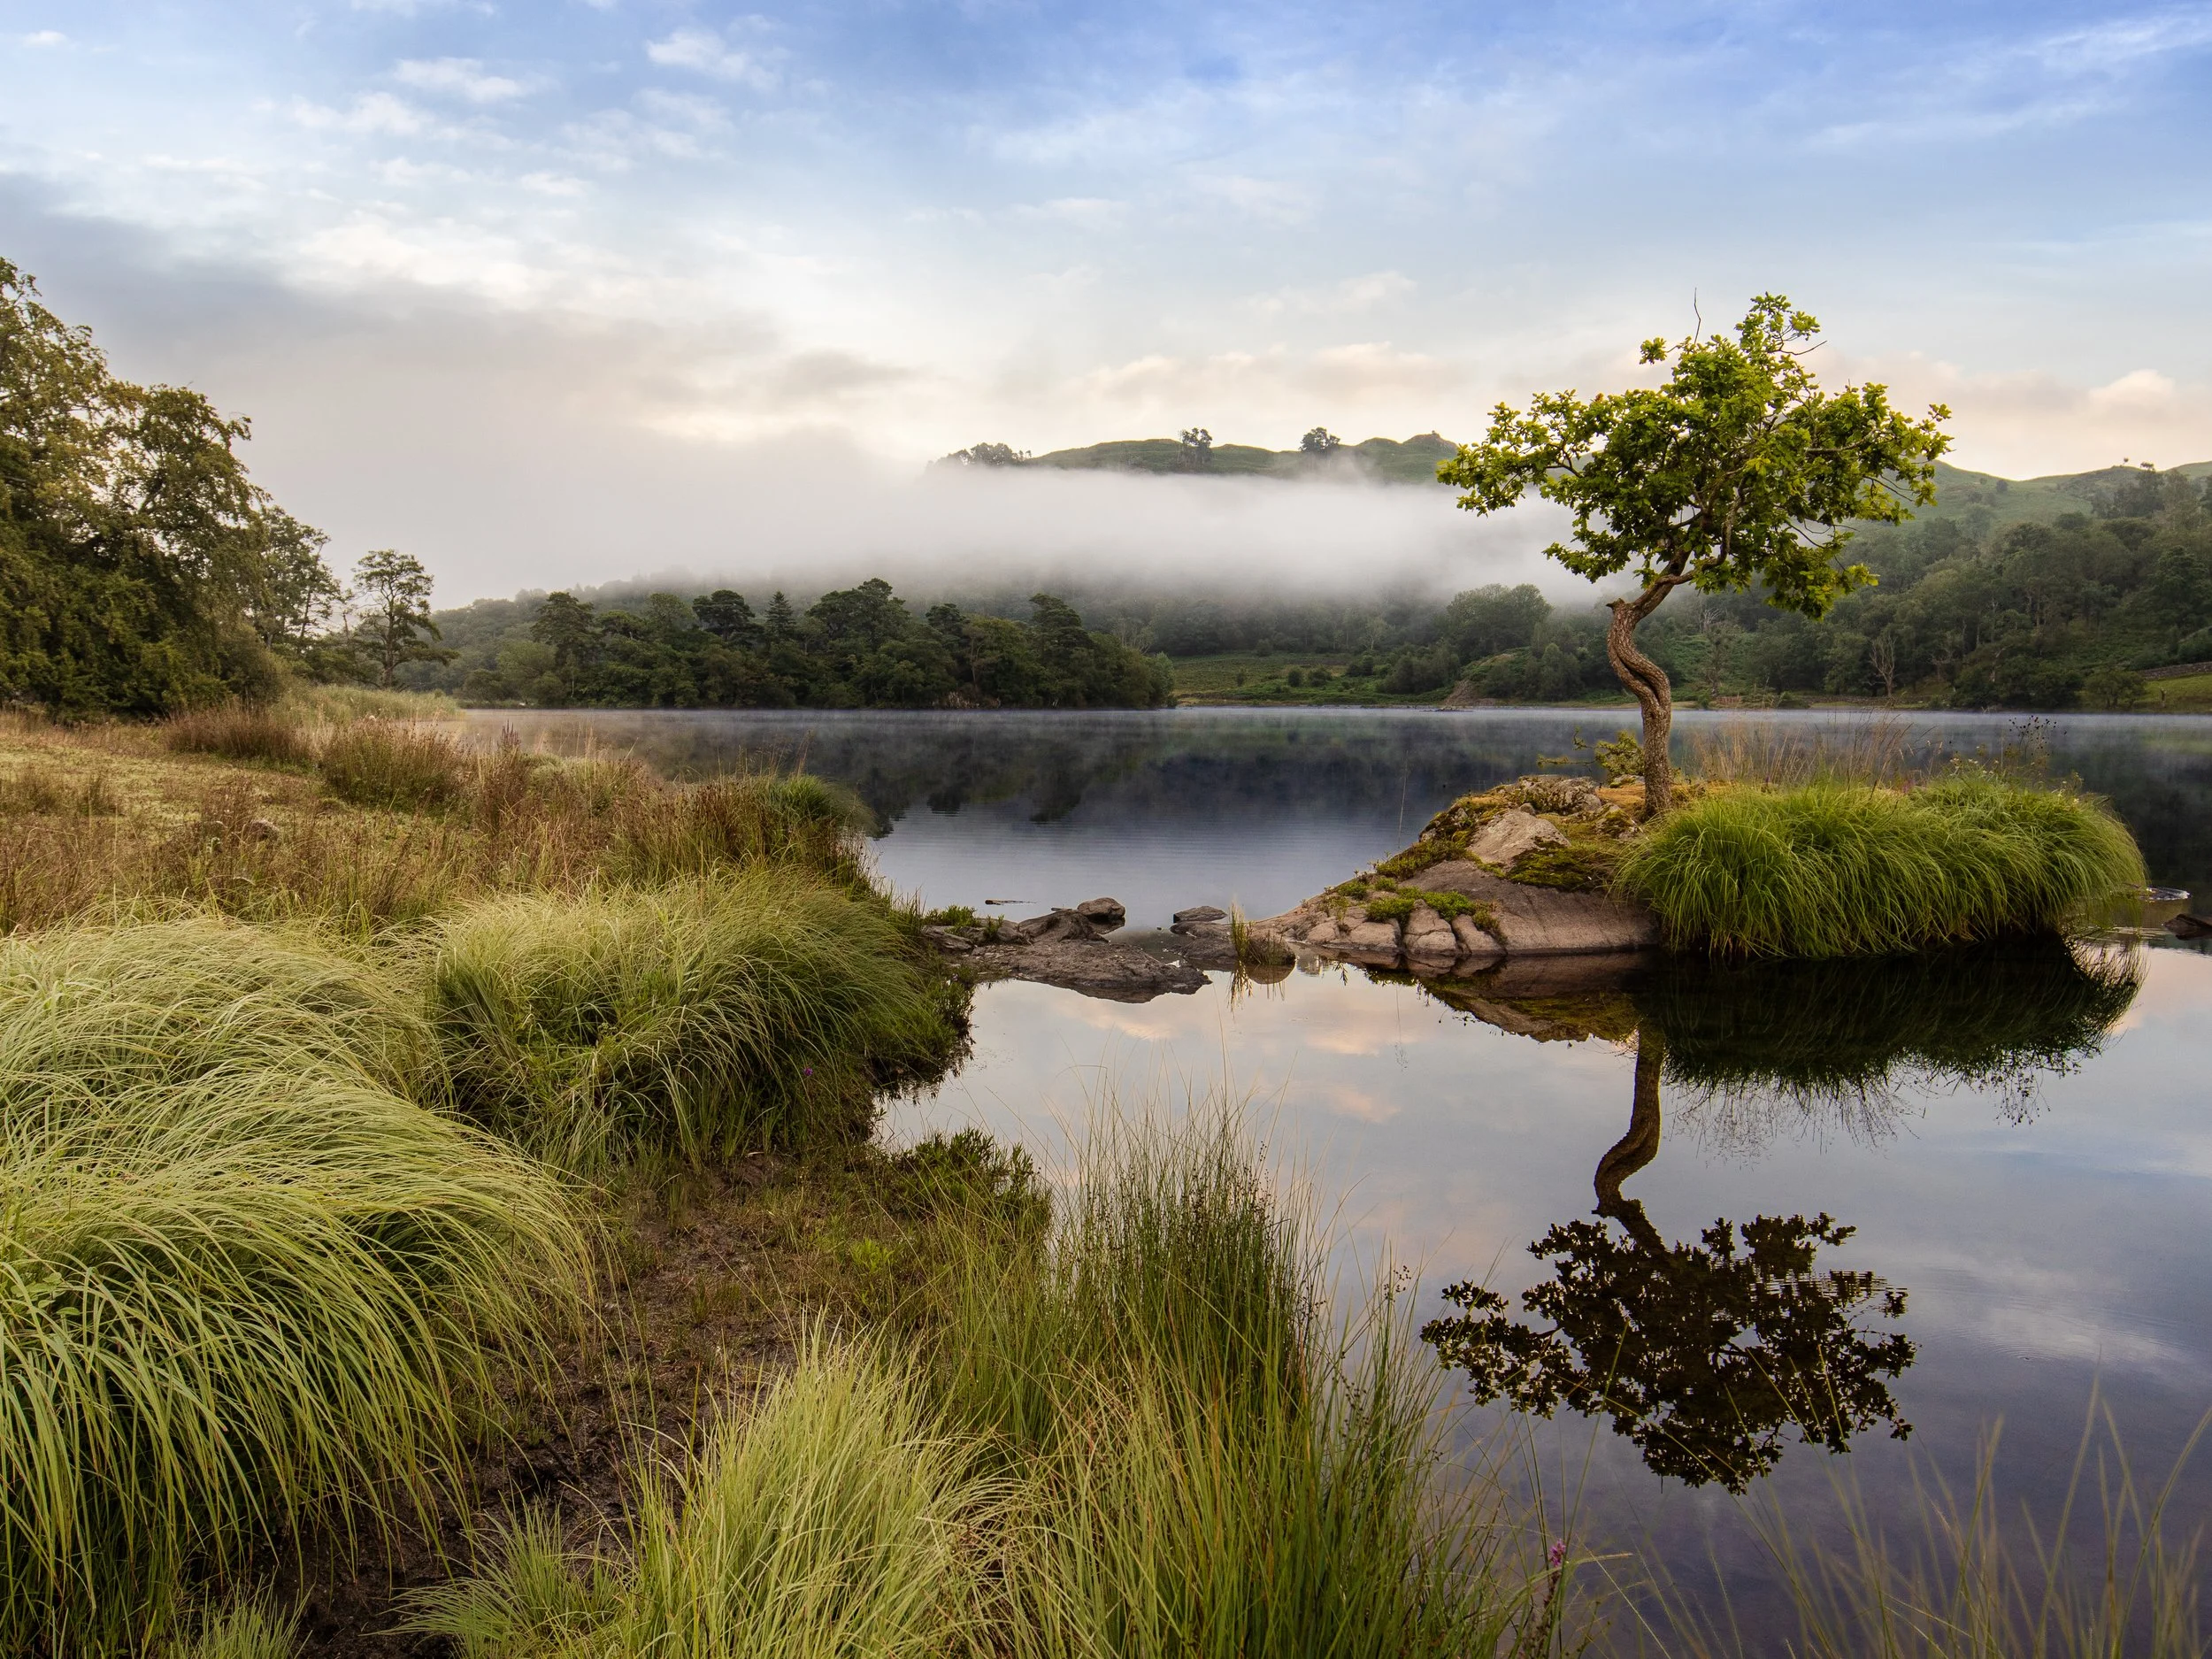
Lone Tree: Grasmere
I knew I needed low wind speeds for this one, or the ripples one the water would have ruined the clarity of the reflection.
Try and think like a wildlife photographer looking to get a shot of a particular animal. There are things they don’t just want to know, but need to know to get the shot. Where does it live? Does it hibernate? Is it nocturnal/diurnal/crepuscular? What time of the day/year is it most active? Which parts of the country does it live in? Does it migrate? These are all things which are important because if you want to photograph swallows in December, you’re going to need to head south on a plane. If you want to photograph nocturnal animals in the middle of the day, you are going to be very disappointed. If you want to photograph barn owls, but live in the centre of London, it’s going to be much harder than in the rolling fields of the countryside.
If you think more like this, you will be more successful and you will take better images. Remember, research doesn’t remove spontaneity, and it’s not cheating: you’re just improving your chances!
7. Read the Weather and Interpret the Weather Forecast
This one is important from both a safety point of view and a photography point of view.
Let’s start with safety, because safety first!
There are some important things to consider, especially if you’re headed into the hills/mountains. It might be lovely, sunny weather down in the valley, but by the time you have hiked a couple of hours up the hill and have gained 700 metres of elevation, the story might not be so pleasant.
Living in the Lake District really makes you appreciate how changeable the weather can be (only this morning, at 6.30am it was bright and sunny with patchy cloud, 45 minutes later and we have torrential rain). This changeable weather can make things dangerous if you’re not prepared for it. If you’re heading onto higher ground, then you should be checking the mountain weather forecast for the area you are visiting before you leave.
If you’re in the Lake District then you should also check the Weatherline, which runs from December to April every year and is prodcued by the fell top assessors - these guys are the heroes you didn’t know you needed!
These aren’t the only forecasts you should be checking. You should also check a reliable, general weather forecast too, as this will give you more of an overview.
You are responsible for your own safety. Don’t head out if you don’t have the right skill level, equipment or experience. We’ve all heard of “all the gear, no idea” - owning some crampons and an ice axe that you have never used and don’t know how to use properly is not adequate preparation.
I am not going to bleat on for too long about the weather from a photography point of view as I have already written a blog about interpreting the weather as a photographer, but I will say that you should be sure to check what the conditions are so you know what the light might be doing and whether or not you are going to need things like ND filters and polarisers. There are a ton of apps that you can use to help your planning, so do some swotting up and make sure you’re ready.
I have compiled a list of things you might want to think about weather-wise which could add something to your shots:
Which direction is that cloud travelling?
What's happening at elevation?
Will there be gaps near the horizon?
Is there mist potential?
What's the wind doing?
Is this safe?
If you’re considering these, then you’re thinking like a landscape photographer.
8. Sleep
Weird one, huh? I saw Thomas Heaton talking about this in a video, and he is absolutely right, especially in the summer when the sunrise in my part of the country is at something stupid like 4.38am. That doesn’t mean get up at 4.38. If you’ve got a one-hour drive, then a 20-minute walk, for a fifteen-minute setup, you’re going to need to be leaving at 2.30am to give yourself a fighting chance. I’d be setting off at 2am, just to be sure!
If you go to bed at midnight that night, you’re setting yourself up to either not get up at all, or get up, drive tired (not advised) and shoot tired. You’ll end up with shots that could have been better, all because you were tired having not slept enough.
Develop good sleep habits, make sure you’re getting the recommended hours of sleep per night and try and establish routines which promote better sleep hygiene - and think about what you do before you go to bed - avoid the wrong types of food and don’t sit scrolling on your phone; these things can have a negative impact on the quality of sleep you get.
9. Ask for Feedback - AND LISTEN TO IT.
This is something we all (me included) could be better at. I love getting feedback, but I am not very good at asking for it. Social media isn’t always the best place to get this, because there are two groups of people out there and neither of them are especially helpful - the first group of people are those who ‘like’ your image and leave comments like “great shot”, “nice work” or “🔥🔥🔥🔥🔥”. This is all lovely and compliments are always welcome, but they aren’t always helpful as they don’t allow us to improve, but they do encourage us to keep churning out more of the same.
The other group you will find on social media and on the wider internet are what I call “the gatekeepers” and they don’t want to do anything helpful either. They just want to tell you why, in their opinion, your work is bad. Generally (and I can only speak from my own experience), the photography community on social media are a pretty friendly bunch, but there are always people out there who, for whatever reason(s) known best to themselves, want to drag everything that everyone else does right down. I often think that this is because they feel threatened by someone else’s ability and all they have left to day are comments about your kit rather than your image directly. Ignore these people, they are not good for you.
But who should you ask? I am fortunate to be in the position of being in a WhatsApp group which is full of photographers, who are all people I know in real life and are all really talented. The feedback I see in this group when people seek it is always constructive, helpful and given in a way that is encouraging. I have seen many times that someone has asked for feedback, got it and shared the new images they have made which have taken on board the feedback. It’s a beautiful, powerful thing.
If you don’t have a group like this, ask friends, ask family but ask them to be honest. My mum is really good at this, she knows a good photo when she sees one, but will tell me when she doesn’t like something but will also be able to tell me why this is the case - this is the most useful part! Or, you could consider starting your own group, just like the one I mentioned!
I always tell the students I work with that it’s “OK not to like someone else’s images - you can’t like everything”, but if you don’t like it, you must be able to say why. This does two things - it promotes critical thinking, which in turn develops the way in which people are able to see and talk about photographs.
Ask for the feedback, be prepared to deal with the constructive criticism, but always act on the feedback; you don’t have to go and reshoot the same image, but you can apply it to other images you create.
10. Know When to Adapt and Know When to Turn Around
I feel like this is a cheeky 10 and 11 combined, but I think there is a strong link between the two.
We have all been there, we've got up early, driven to a car park, hiked in the dark (with our head torch of course), got to our location and then nothing happens. The light isn’t what we had hoped for, it all feels and looks a bit flat, it’s started raining and/or every other photographer in the world has arrived and you can’t get set up where you wanted to. This is the point where we start to feel disappointed and wonder why we even bother.
We need to turn this into a new opportunity and start to look for things that are different. You can bet your bottom dollar that all of the other photographers who are there and set up where you wanted to be are all going to end up with very similar shots. This is your chance to get something different.
The same is true if the conditions aren’t in your favour. Your intended composition might not work, but there are countless others that will - you just need to find them. Break out a super wide lens or find some detail to shoot with a macro lens. Is there a panorama that works or can you pick out something different with a telephoto lens?
Less favourable conditions than you had predicted after checking the weather apps don’t mean a failed shoot'; they just mean a shoot that is different to the one you intended.
More important (in my opinion), is knowing when to turn around. By this, I mean that the weather has changed or is worse than you expected, your clothing is no longer appropriate or you feel out of your depth. These should all result in you deciding to head back to the car. I know I keep making this point across various blogs, but no photograph is worth risking your safety or your life for, nor is it worth risking the lives of the Mountain Rescue teams who will need to come and haul your sorry behind off the mountain. The mountains and the landscape will be there next week and long after you are gone. Make sure you stay around as long as possible to enjoy them!
Final Thought
You don’t have to make all of these changes at once; you don’t have to make any of them if you don’t want to, though I would always encourage people to make the changes that will keep them safe. This is about getting better and remembering that change and development is a process, not an event - these things take time.
Be comfortable with failure and make mistakes; mistakes are how we learn. You can’t correct something if you haven’t identified that it’s a problem.
Lastly, remember to enjoy it. Not every single outing needs to bring home a portfolio-quality image (wouldn’t it be great if that were actually the case!) - sometimes, the weather, the location and the joy of being outside are more than enough and these things are made just that little better by having your camera with you.
Thanks for reading! If you enjoyed this one and want more photography tips, thoughts, guides and the occasional ramble like this, you can sign up to my newsletter. I send out new posts, useful resources and other bits that I think photographers might actually find helpful — no spam, no nonsense.
If you'd like to help keep the blog going, you can also buy me a coffee. It helps cover the cost of running the site, testing gear, getting out to make new work and generally gives me an excuse to keep disappearing down photography-related rabbit holes. Completely optional, but always hugely appreciated.
If you’ve enjoyed this, or found it useful, you can check out some of my other blog posts by clicking the links below.