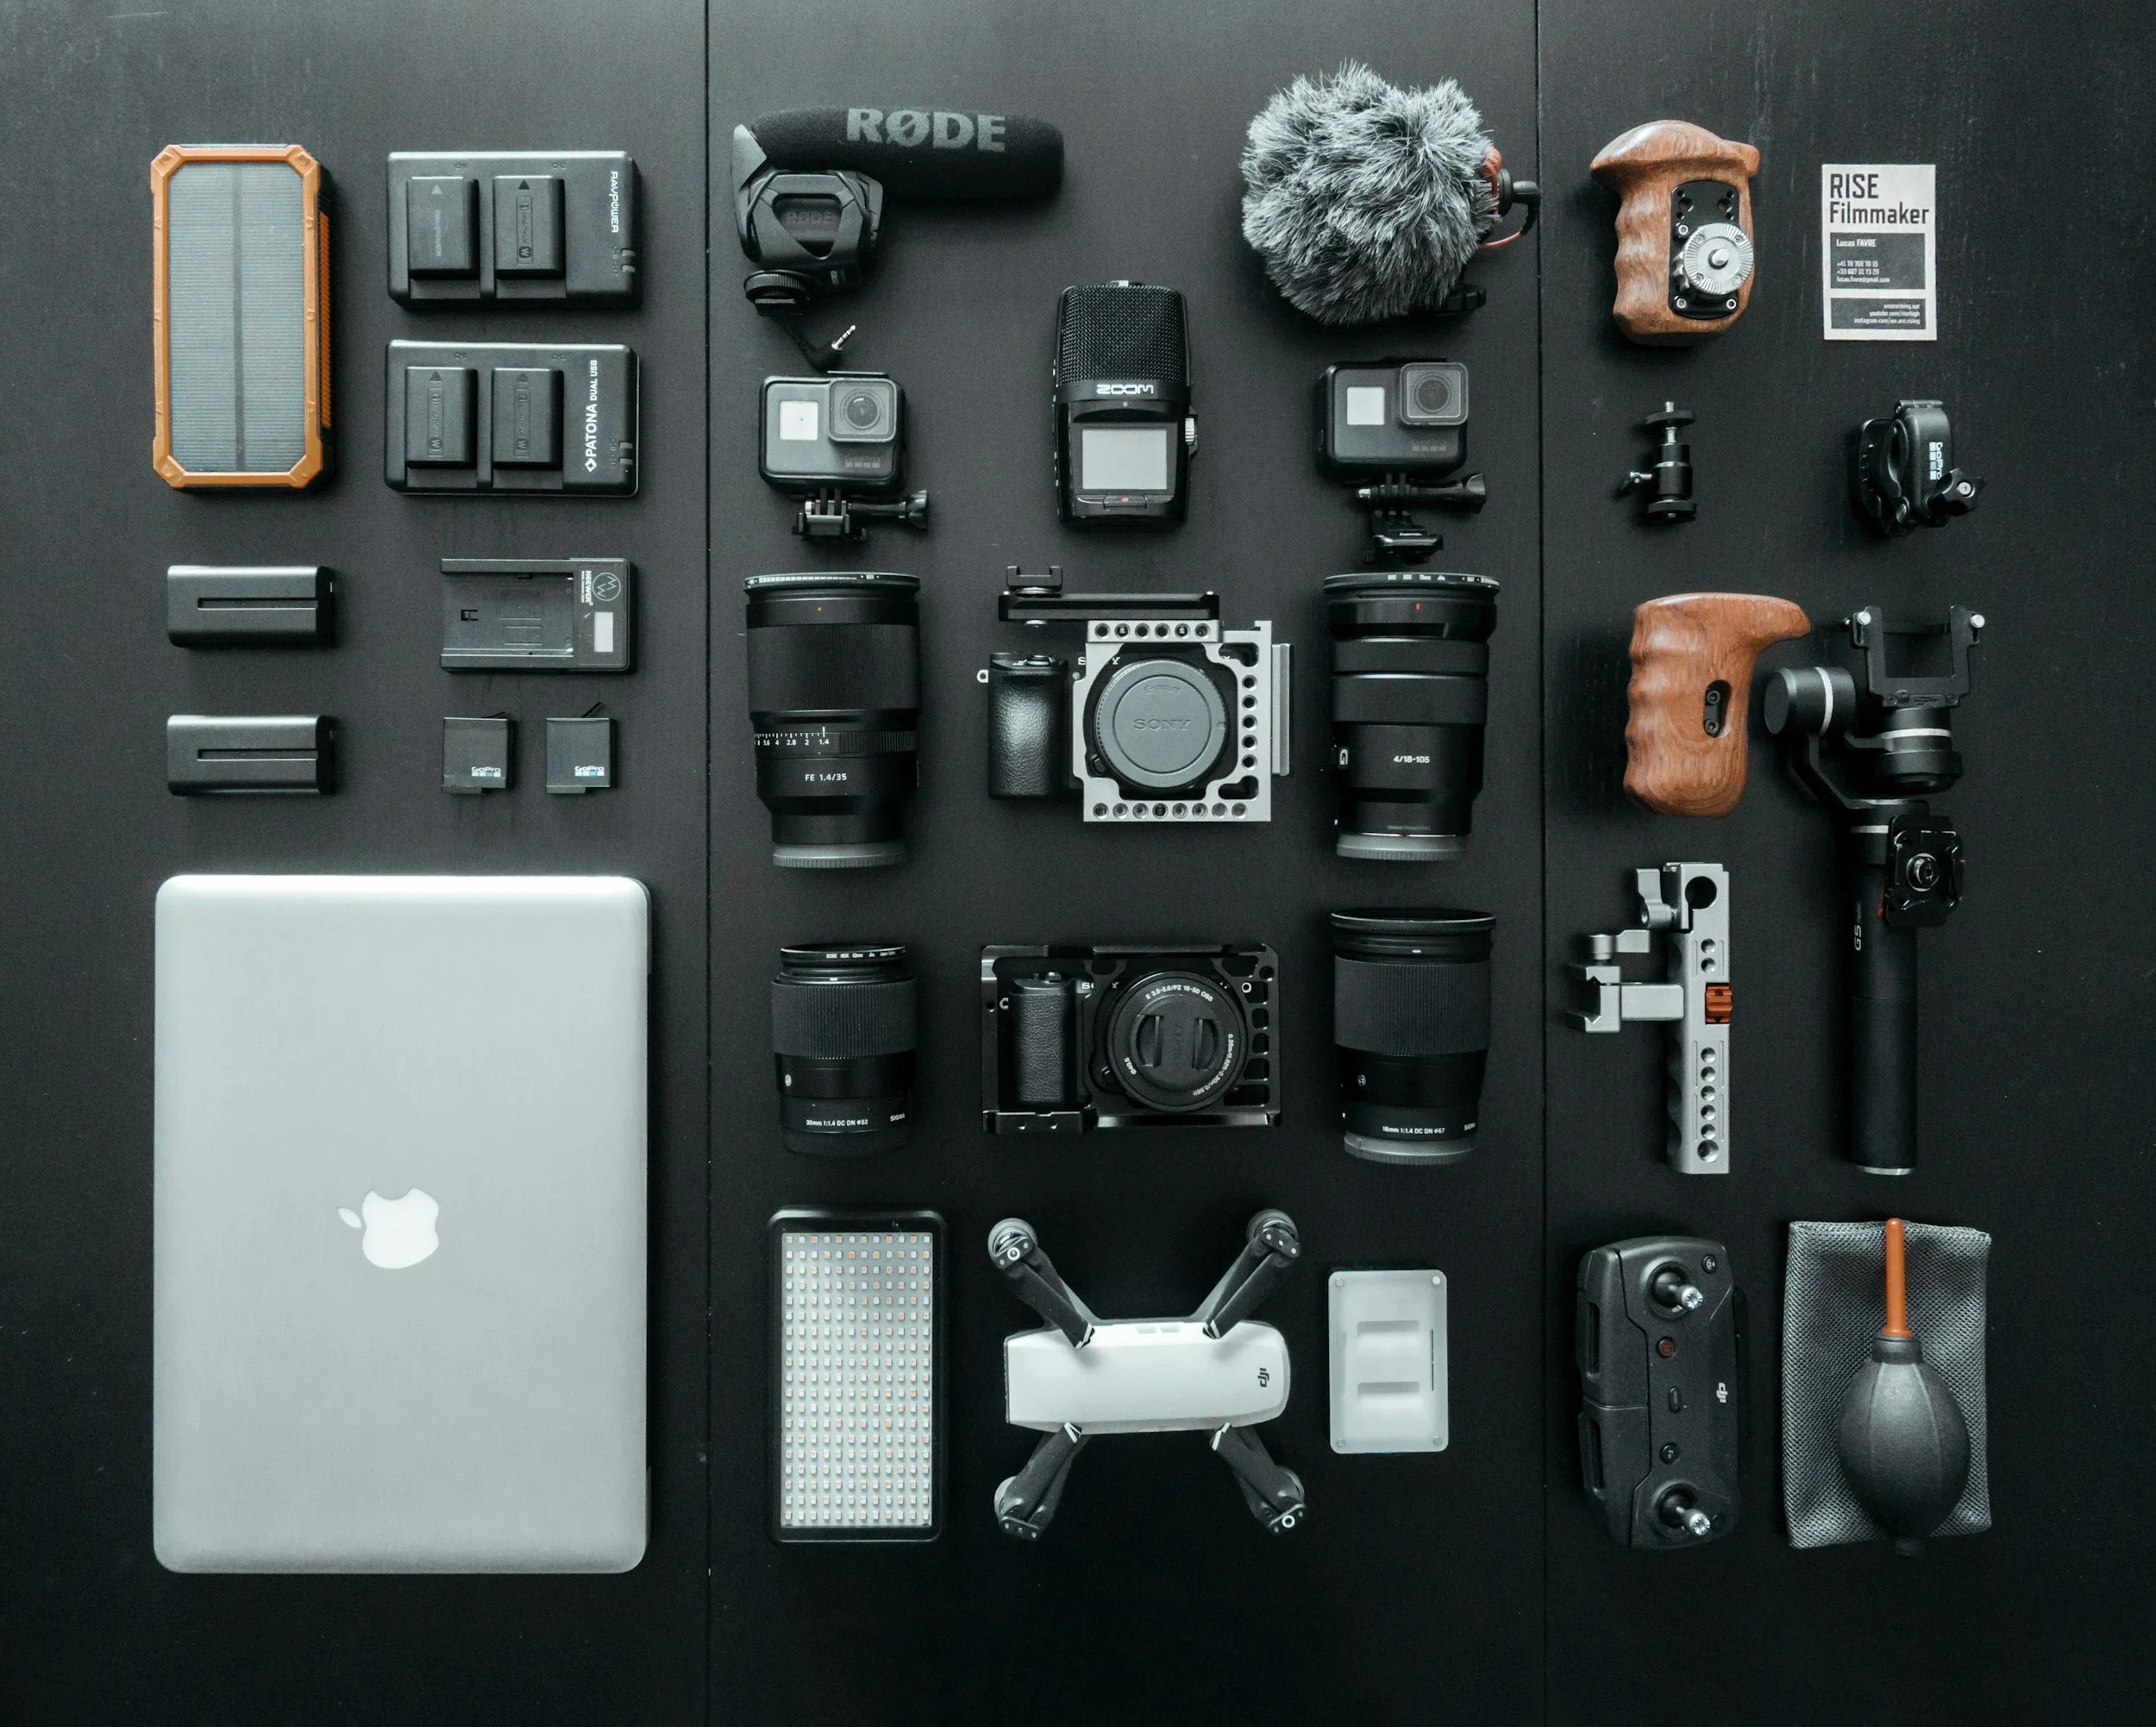
Using Custom Modes on Your Camera.
Using Custom Modes on Digital Cameras: A Practical Guide for Faster, More Consistent Photography
Custom modes are one of the most powerful but underused features on modern digital cameras. Whether you shoot landscapes at sunrise, products in a studio, or portraits on location, they allow you to store complete camera setups and recall them instantly.
In this guide, I will explain what custom modes are, how they work, and how you can use them to speed up your workflow, reduce mistakes, and shoot more consistently.
What Are Custom Modes on a Camera?
Custom modes are user-defined camera settings that can be saved and recalled using the mode dial or camera menu. On many cameras they appear as C1, C2, C3 or U1, U2, U3.
Instead of manually changing shutter speed, aperture, ISO, focus mode, drive mode, metering and stabilisation every time you switch genres, you can store a complete configuration and access it in seconds.
Think of them as presets for how your camera behaves.
Why Custom Modes Matter for Real-World Photography
Photography rarely gives you unlimited time to adjust settings. Light changes quickly, subjects move, and opportunities disappear.
Custom modes help by:
Reducing setup time when conditions change
Preventing forgotten settings from previous shoots
Improving consistency across sessions
Allowing you to concentrate on composition and timing rather than menus
Once set up properly, they become part of your muscle memory.
What Settings Can Usually Be Saved?
This varies by camera brand, but most systems allow you to store:
Shooting mode (Manual, Aperture Priority, Shutter Priority)
Aperture, shutter speed and ISO
Auto ISO behaviour
White balance
Focus mode and focus area
Drive mode
Metering mode
Exposure compensation
Image quality and file type
Stabilisation settings
Silent shutter and electronic shutter options
Some cameras also store menu preferences and button customisations.
It is worth checking your specific model to understand exactly what is included.


Practical Custom Mode Setups That Actually Work
Here are a few examples based on real shooting scenarios.
Landscape Photography Setup
A typical landscape custom mode might include:
Manual exposure
Aperture at f/8 or f/11
ISO 100
Single shot drive mode
Manual focus or single point AF
Tripod stabilisation disabled
Two-second timer
This allows you to arrive at a location, turn the dial, and start composing immediately.
Studio and Product Photography Setup
For controlled lighting environments:
Manual exposure
ISO 100
Shutter speed synced to flash
Fixed white balance
Manual focus or controlled autofocus
RAW only
Histogram display enabled
This avoids accidental changes that can ruin consistency across a product set.
Handheld Everyday Photography Setup
For general shooting:
Aperture Priority
Auto ISO with limits
Continuous autofocus
Auto white balance
Image stabilisation on
This mode acts as a reliable default when you just want to shoot.
How to Set Up Custom Modes Step by Step
The exact process depends on your camera, but the logic is usually the same.
Set the camera to your desired shooting configuration
Open the menu
Find “Save to custom mode” or similar
Choose the custom slot
Confirm
It is worth testing your setup by switching away and back again to ensure everything saved correctly.
Common Mistakes to Avoid
Custom modes are powerful, but they can also cause confusion if used poorly.
Forgetting What Is Stored
If you have not used a mode for months, you may forget what is inside it. This can lead to strange exposures or focus behaviour.
Tip: keep a simple note on your phone listing what each mode does.
Overcomplicating Your Setup
You do not need ten different modes. Two or three well-designed presets are usually enough.
Not Updating Them
Your shooting style evolves. Revisit your custom modes every few months and refine them.
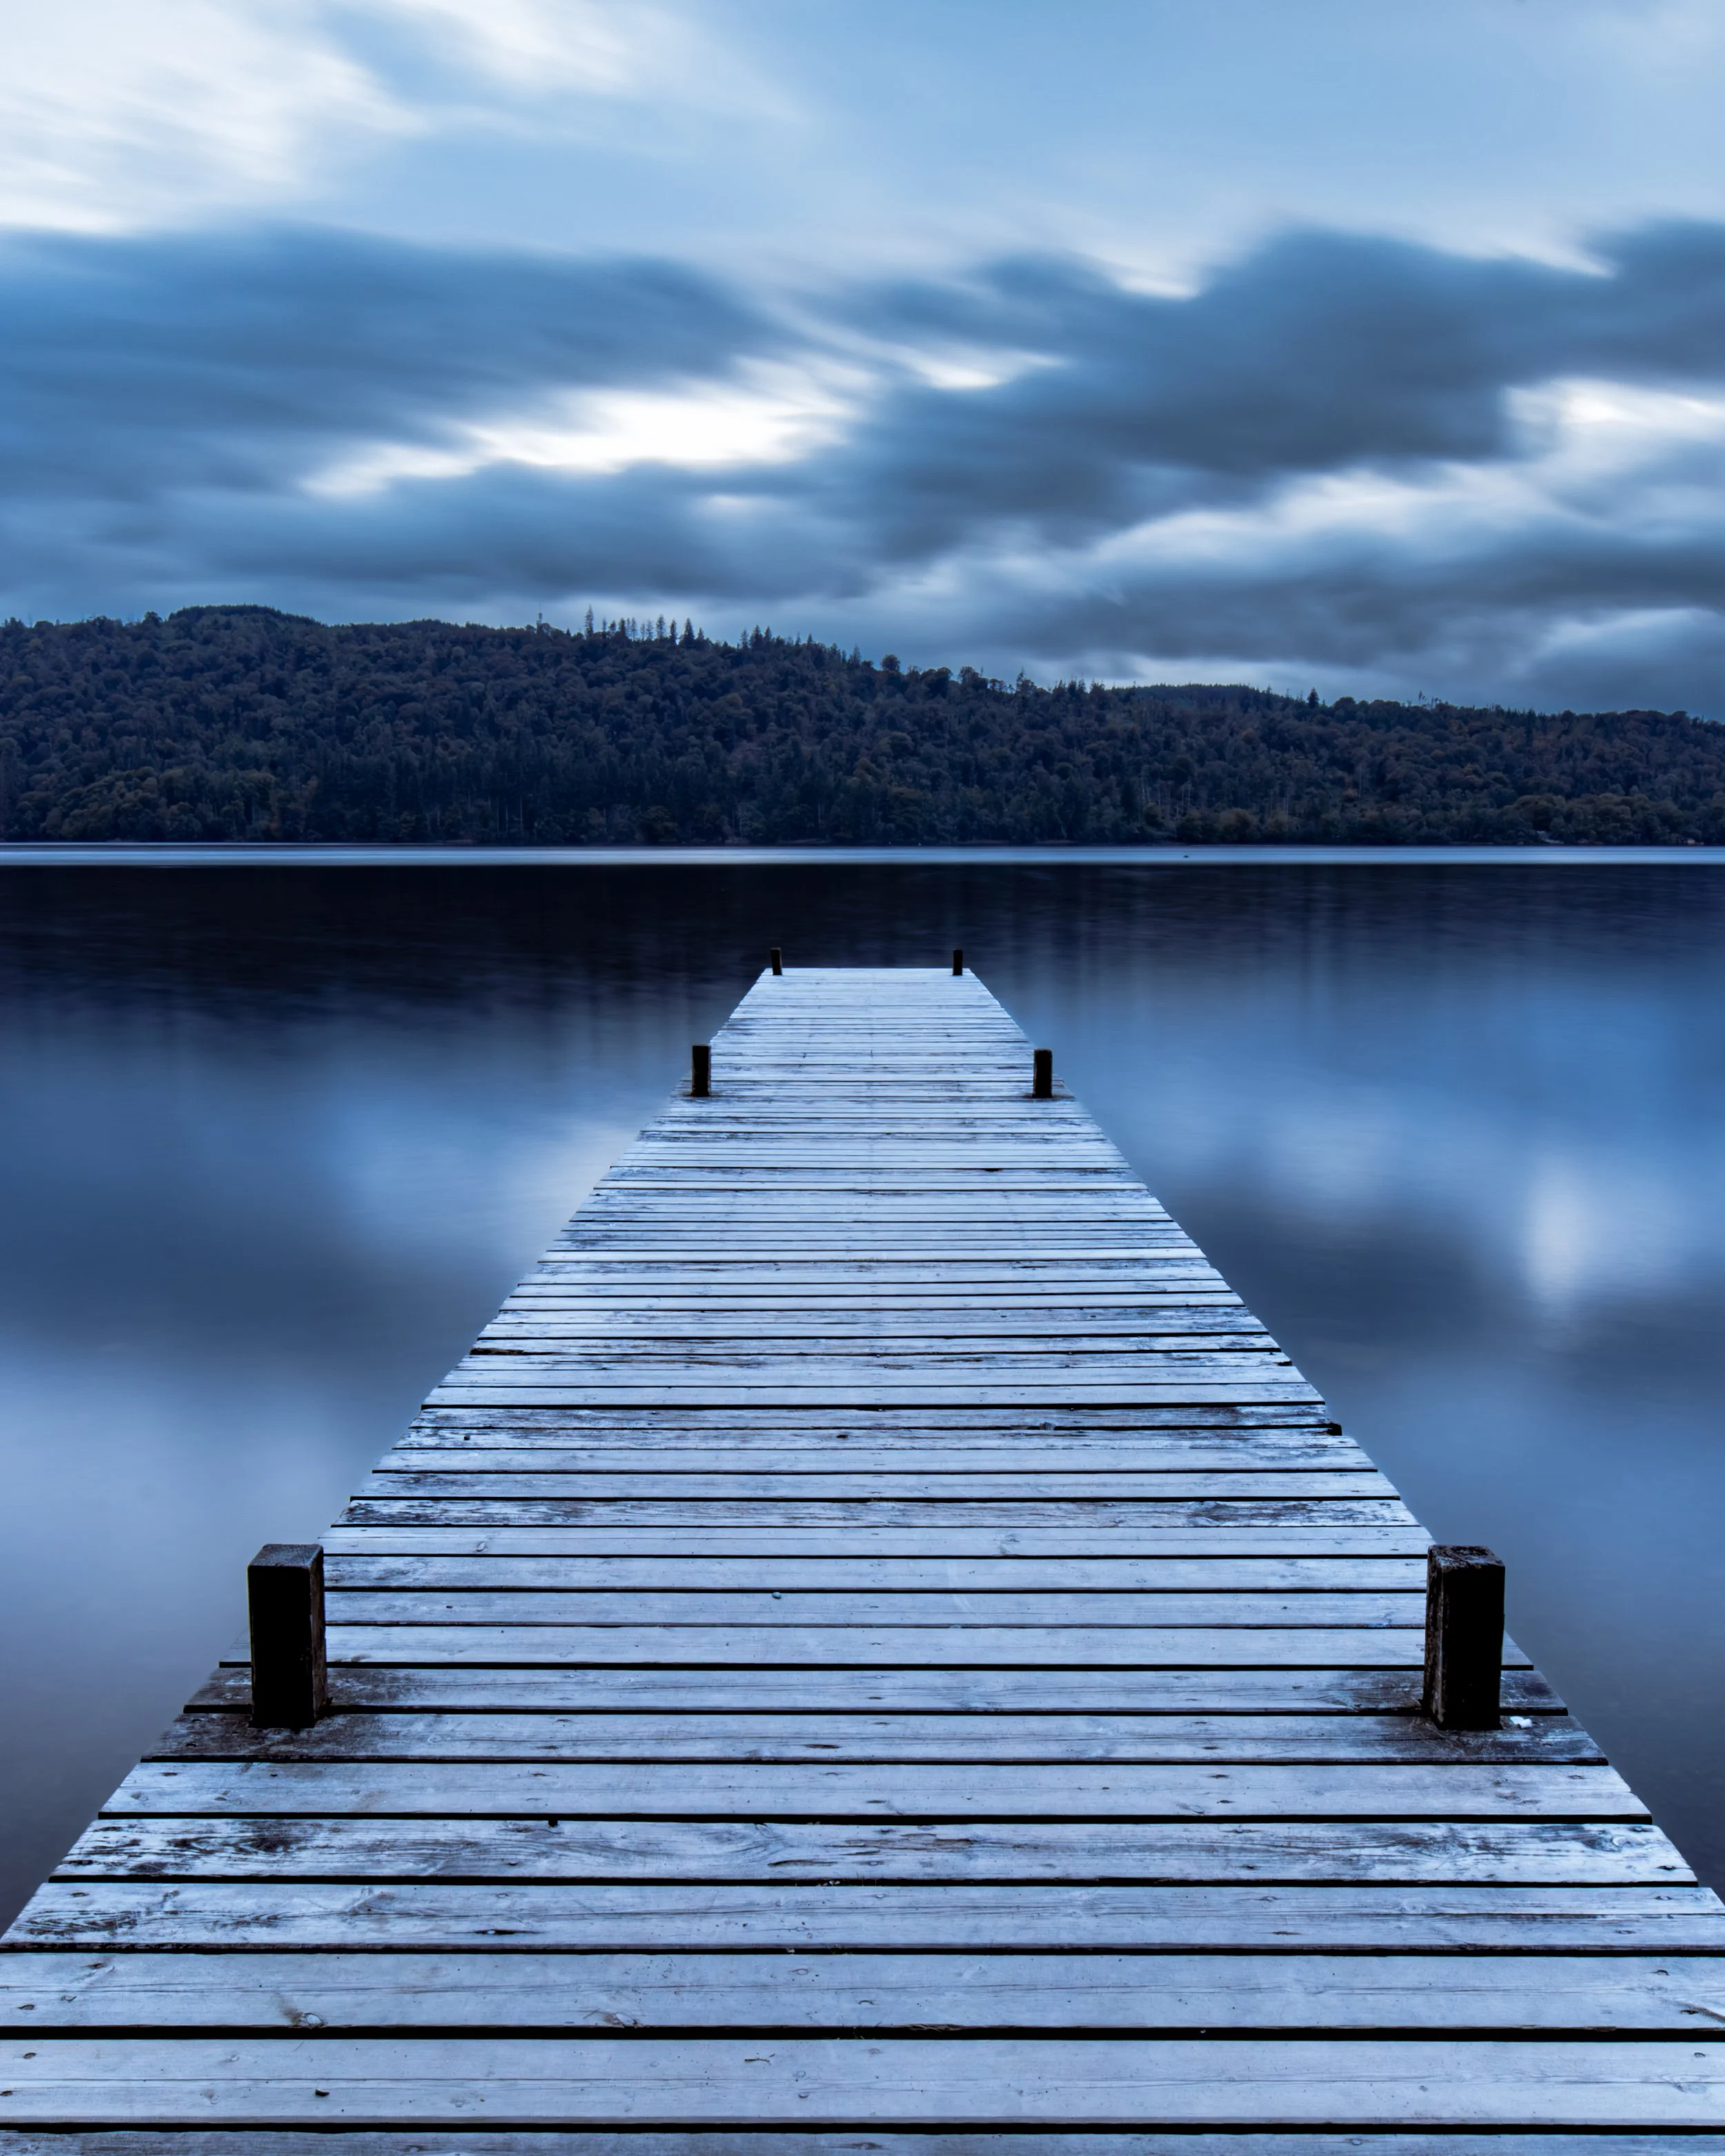
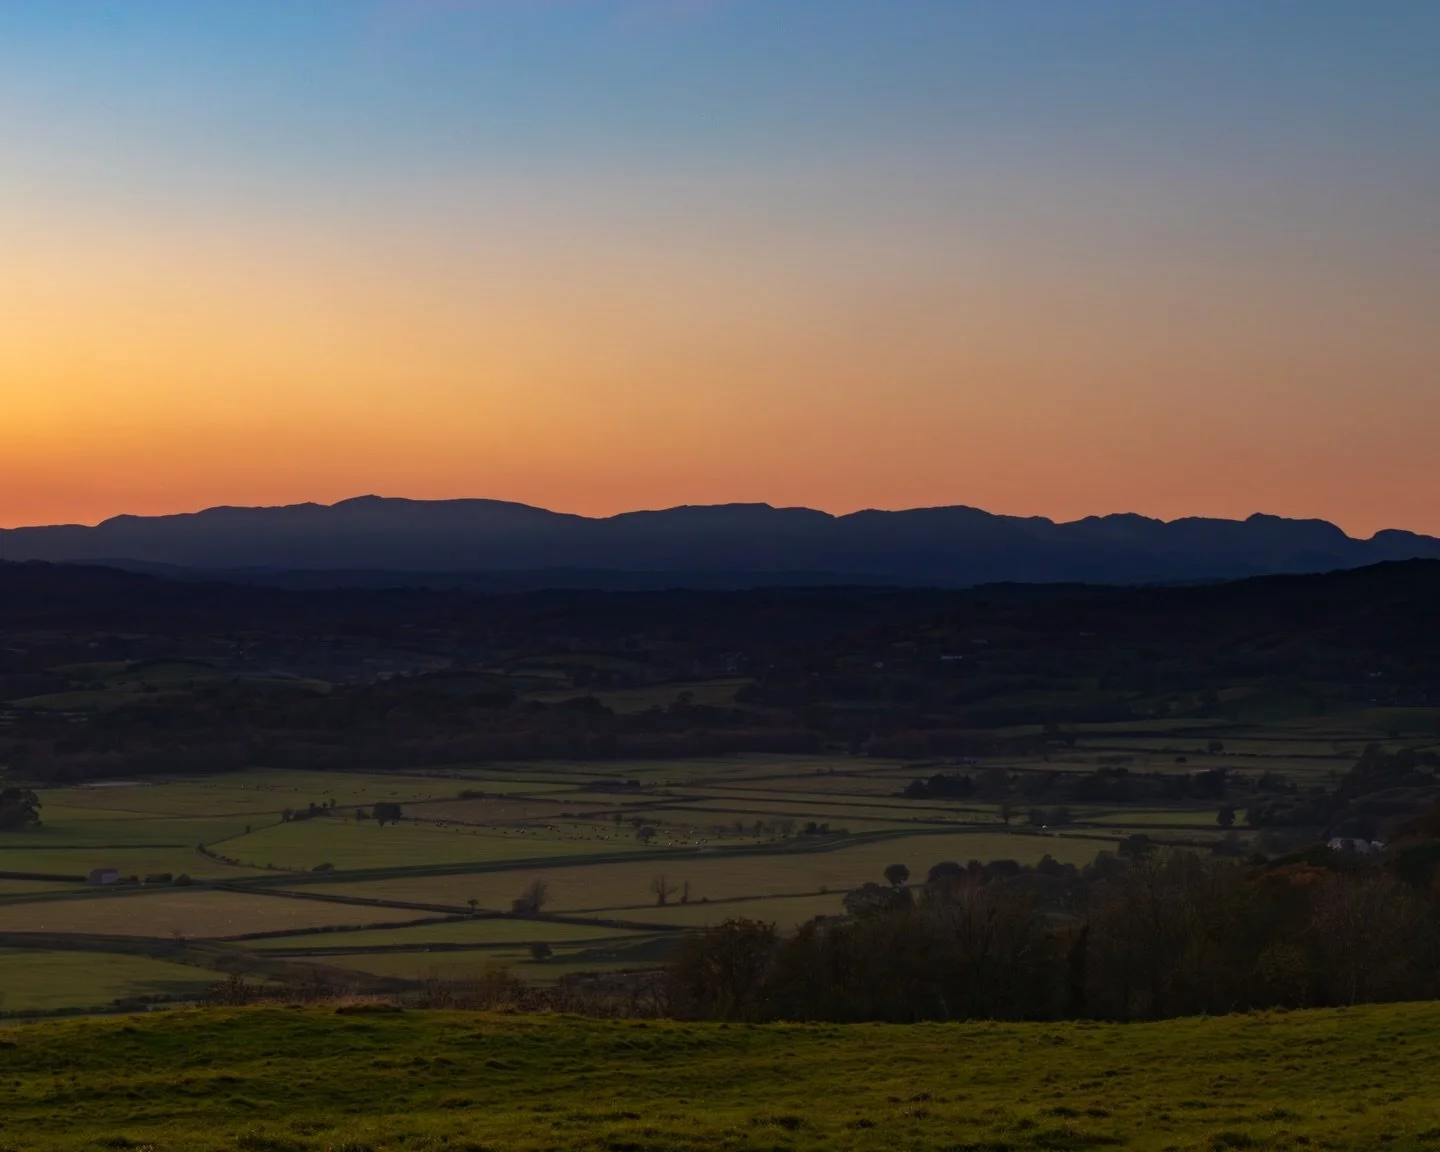
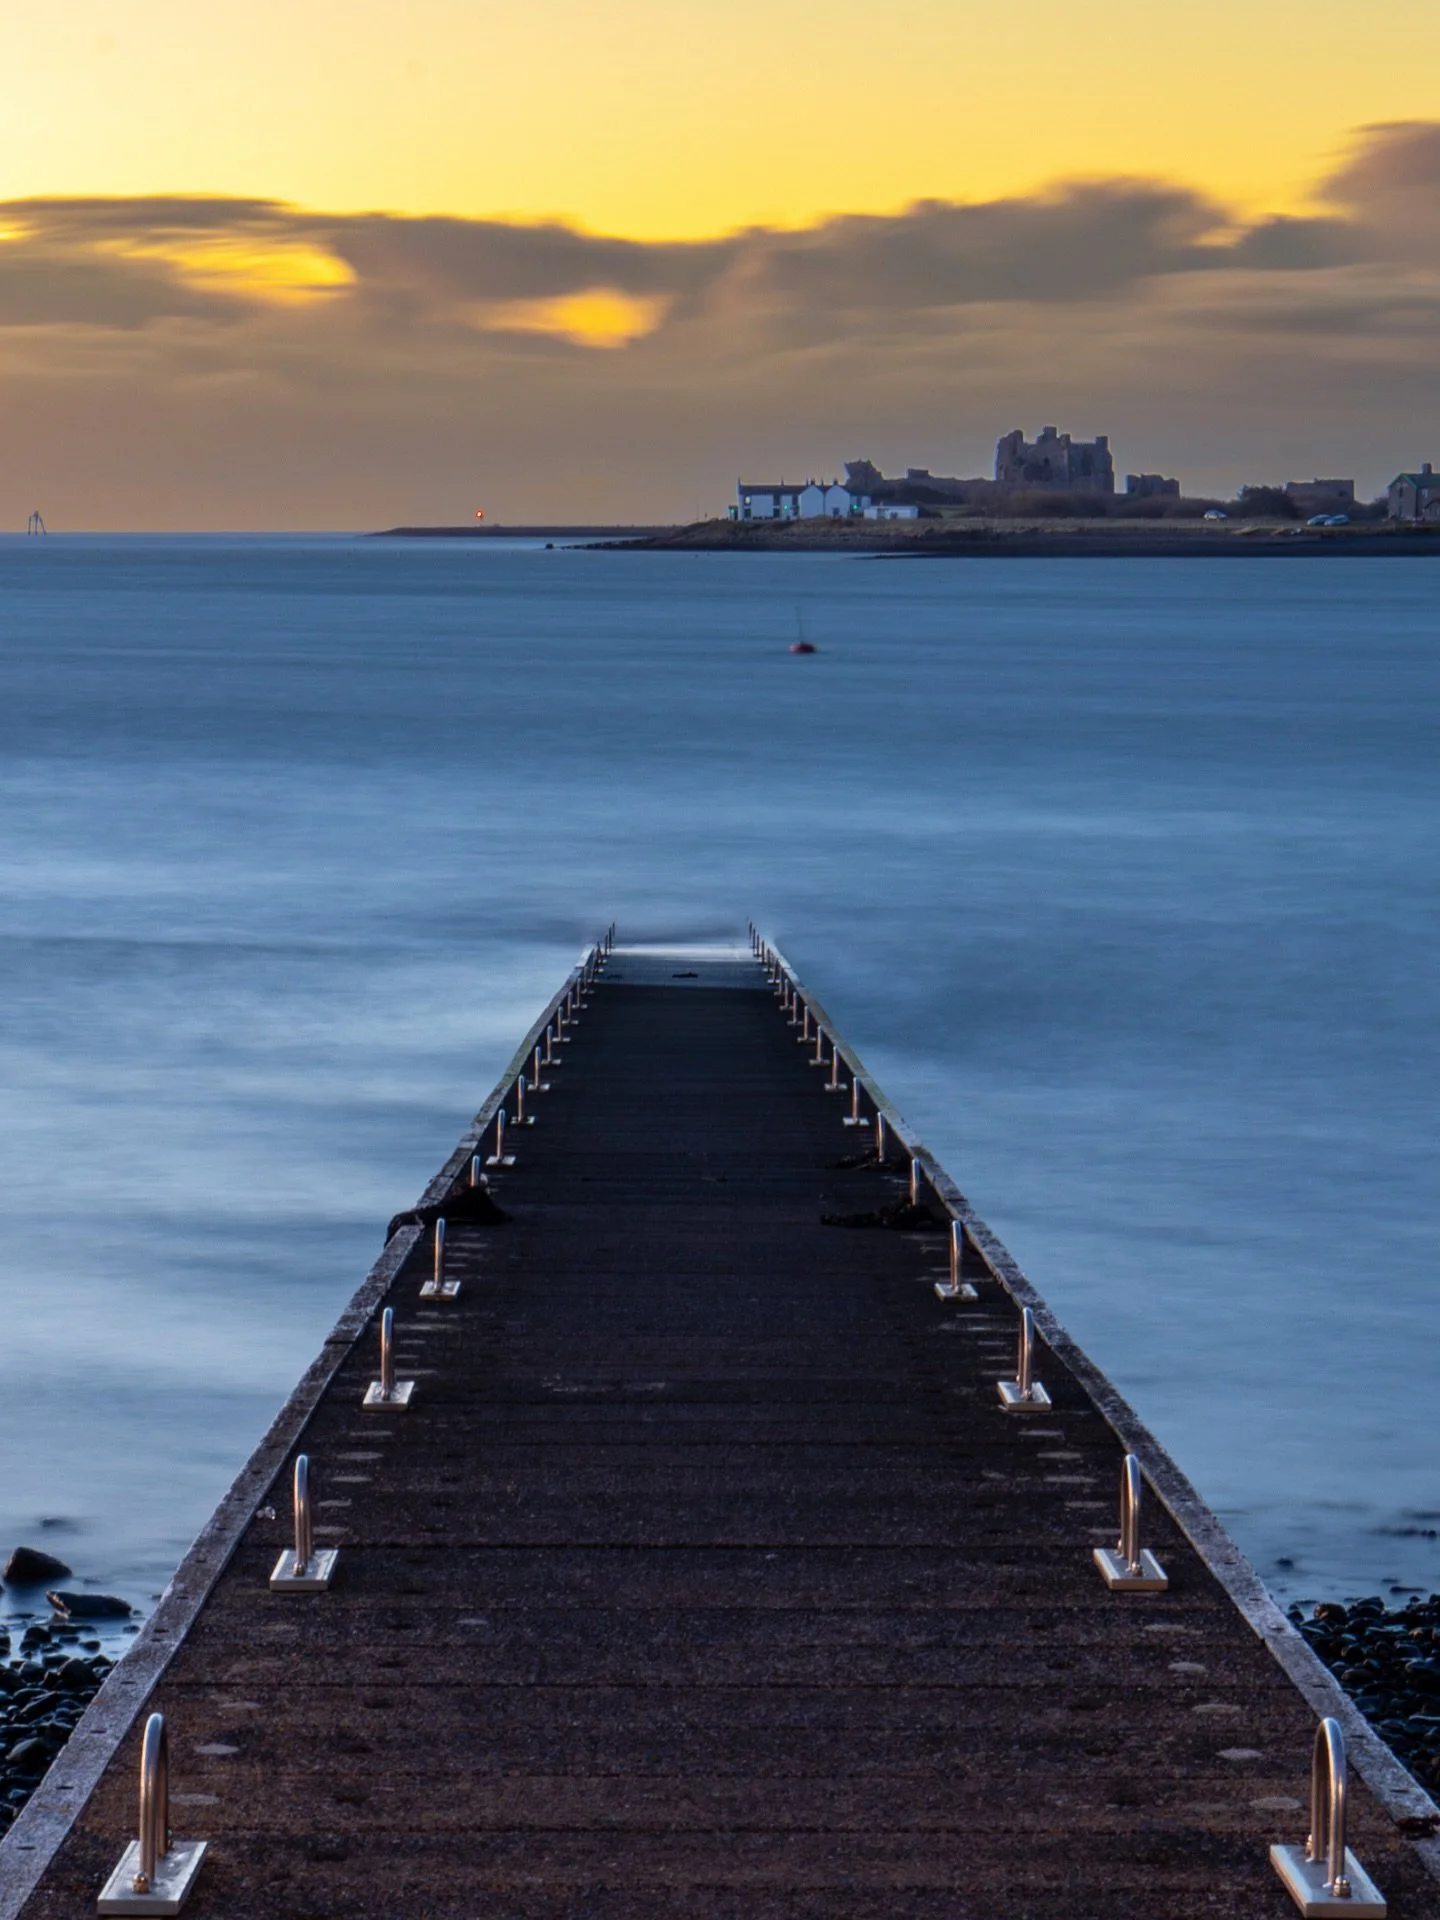
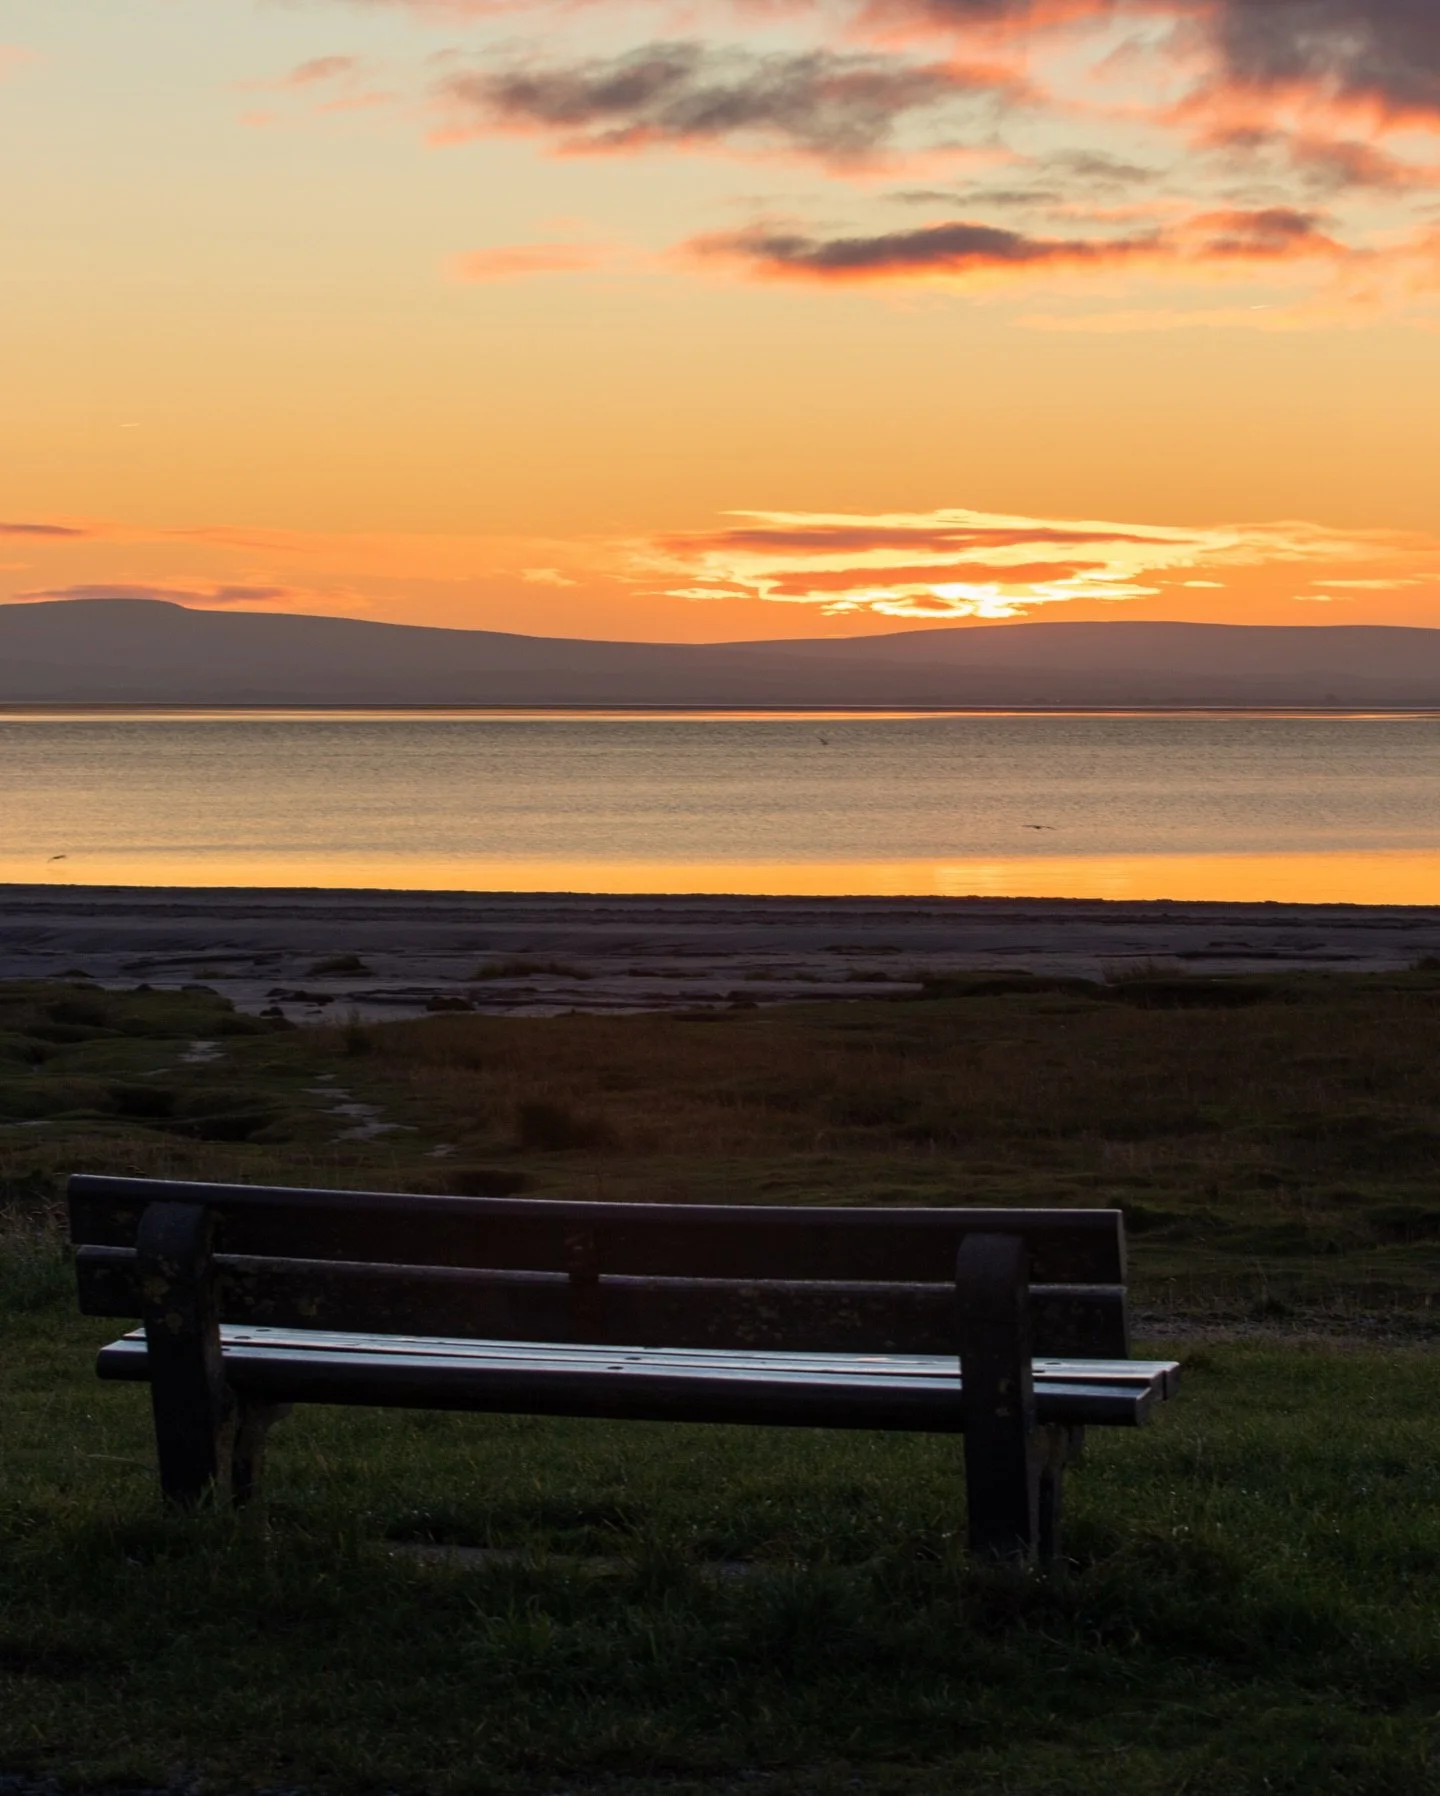
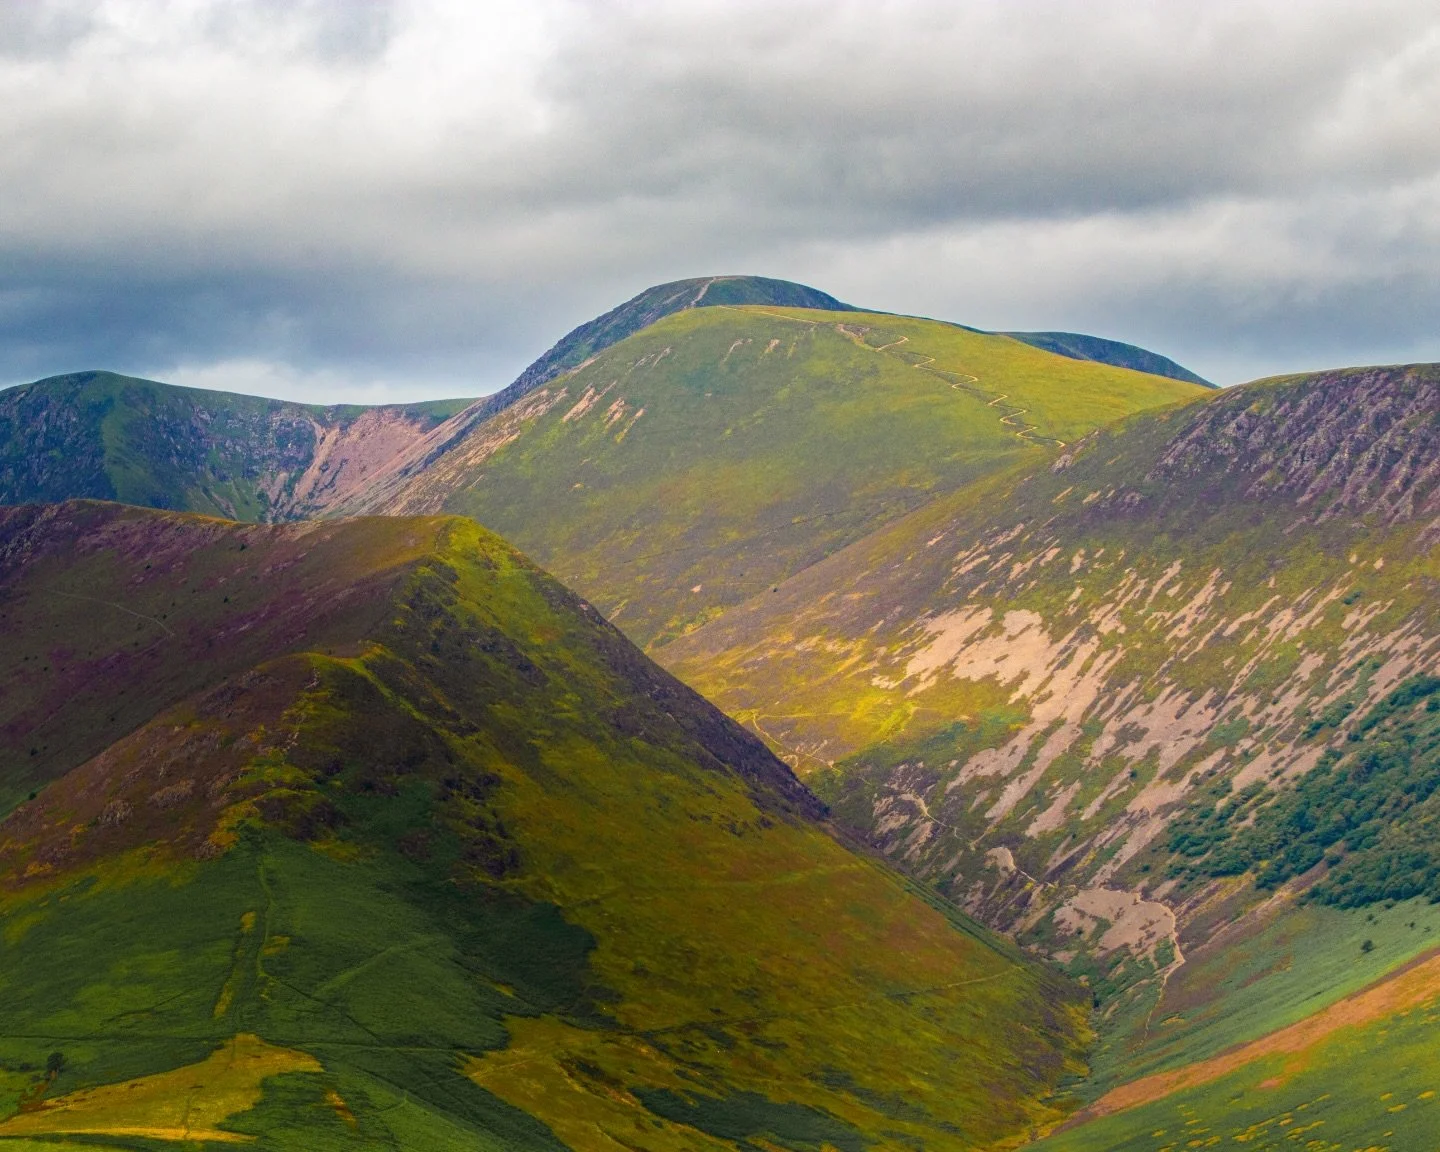
Custom Modes for Landscape Photographers
For landscape work in places like the Lake District, custom modes are especially useful.
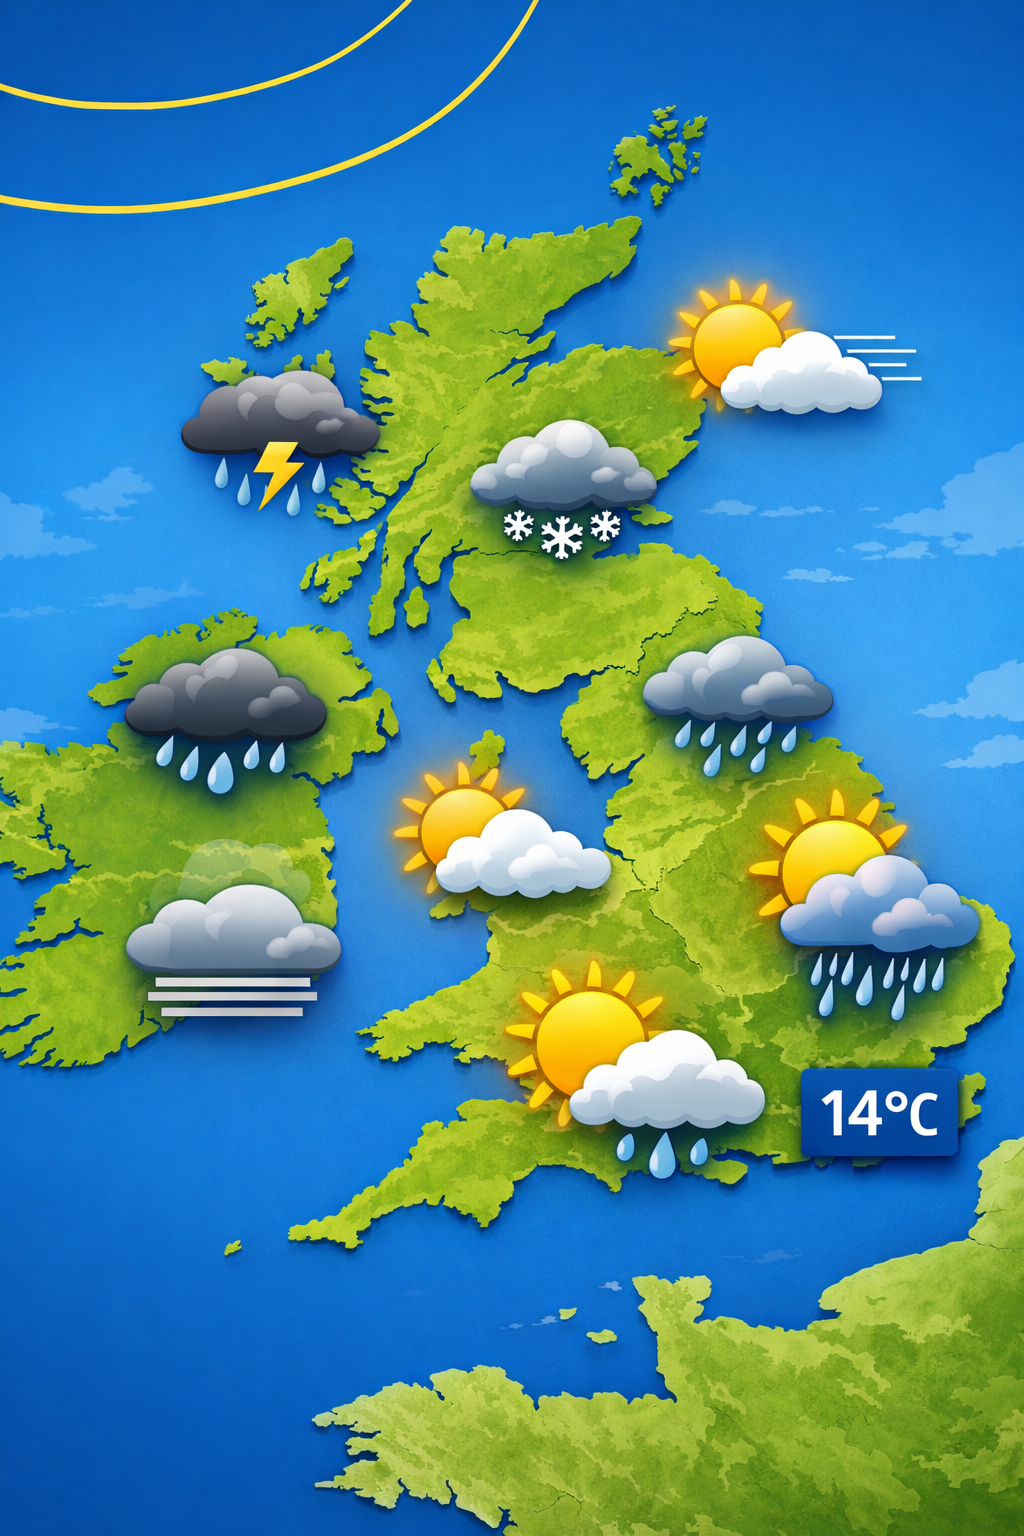
Light can change rapidly at sunrise and sunset, weather shifts quickly, and shooting often alternates between tripod and handheld.
Having separate modes for:
Tripod landscapes
Handheld low light scenes
Long exposure work
can remove friction from your process and reduce missed shots.
Are Custom Modes Worth Using?
Absolutely.
They do not make you a better photographer by themselves, but they remove technical distractions that slow you down. Over time, this leads to more consistent results and fewer avoidable mistakes.
Once you start using them properly, going back to manual setup every time feels unnecessarily slow.
Final Thoughts
Custom modes are one of those features that quietly transform how you work once they are part of your routine.
If you shoot more than one genre, or regularly move between controlled and unpredictable environments, they are well worth investing an hour to set up properly.
Your future self, standing in the cold at sunrise while the light changes, will thank you.
If you found this useful, you may also enjoy my guides on exposure and focus stacking.
I spend a lot of time testing techniques, writing guides, and sharing what I learn so others can spend less time guessing and more time shooting. If you found this useful, you can support the site by buying me a coffee, thank you!
Check out my previous blog posts by clicking on the links below.