Landscape Photography for Complete Beginners
I suspect that those of you who are reading this, are, probably going to fall into one of three categories: People who have got a new camera and are taking their first steps in landscape photography, people who have some experience in photography and are looking to to move their skills on to their next level and more advanced photographers who are looking to develop their skills in a new genre/style of photography.
This isn’t intended to be a fully comprehensive guide to landscape photgraphy, but more of a boarder overview into some techniques and practices that will hope you to develop a basic set of skills that will get you out in the field and making some images that you bring home to evaluate, edit and share.
If you’re completely new here or you’re brand new to photography, I’d recommend you go and read my beginner’s guide to the exposure triangle and make sure that you’re familiar with this before you head read further into this blog and before you head out into the field to start using your new toy.
Another one of my blog that would be worth some time of yours, at some point is my blog about must have apps for landscape photographers. These are going to be a great help to your during your shoot planning and will help you to check the weather, calculate exposure times and, perhaps most importantly figure out where to shoot and how to get there.
I am going to say this at the start: STAY SAFE! I’m not responsible if you go out and hurt yourself! The mountains and the scenery will be there tomorrow, make you are too. If you’re going alone, let someone know where you are going and when you expect to be returning. If you’re heading into the fells, take a map, the batteries won’t run out in and it’s always going to have signal. Oh and if it might get dark or start to get dark whilst you are out, take your head torch. Finally, (albeit not exhaustively), make sure you are wearing terrain appropriate footwear and weather appropriate clothing.
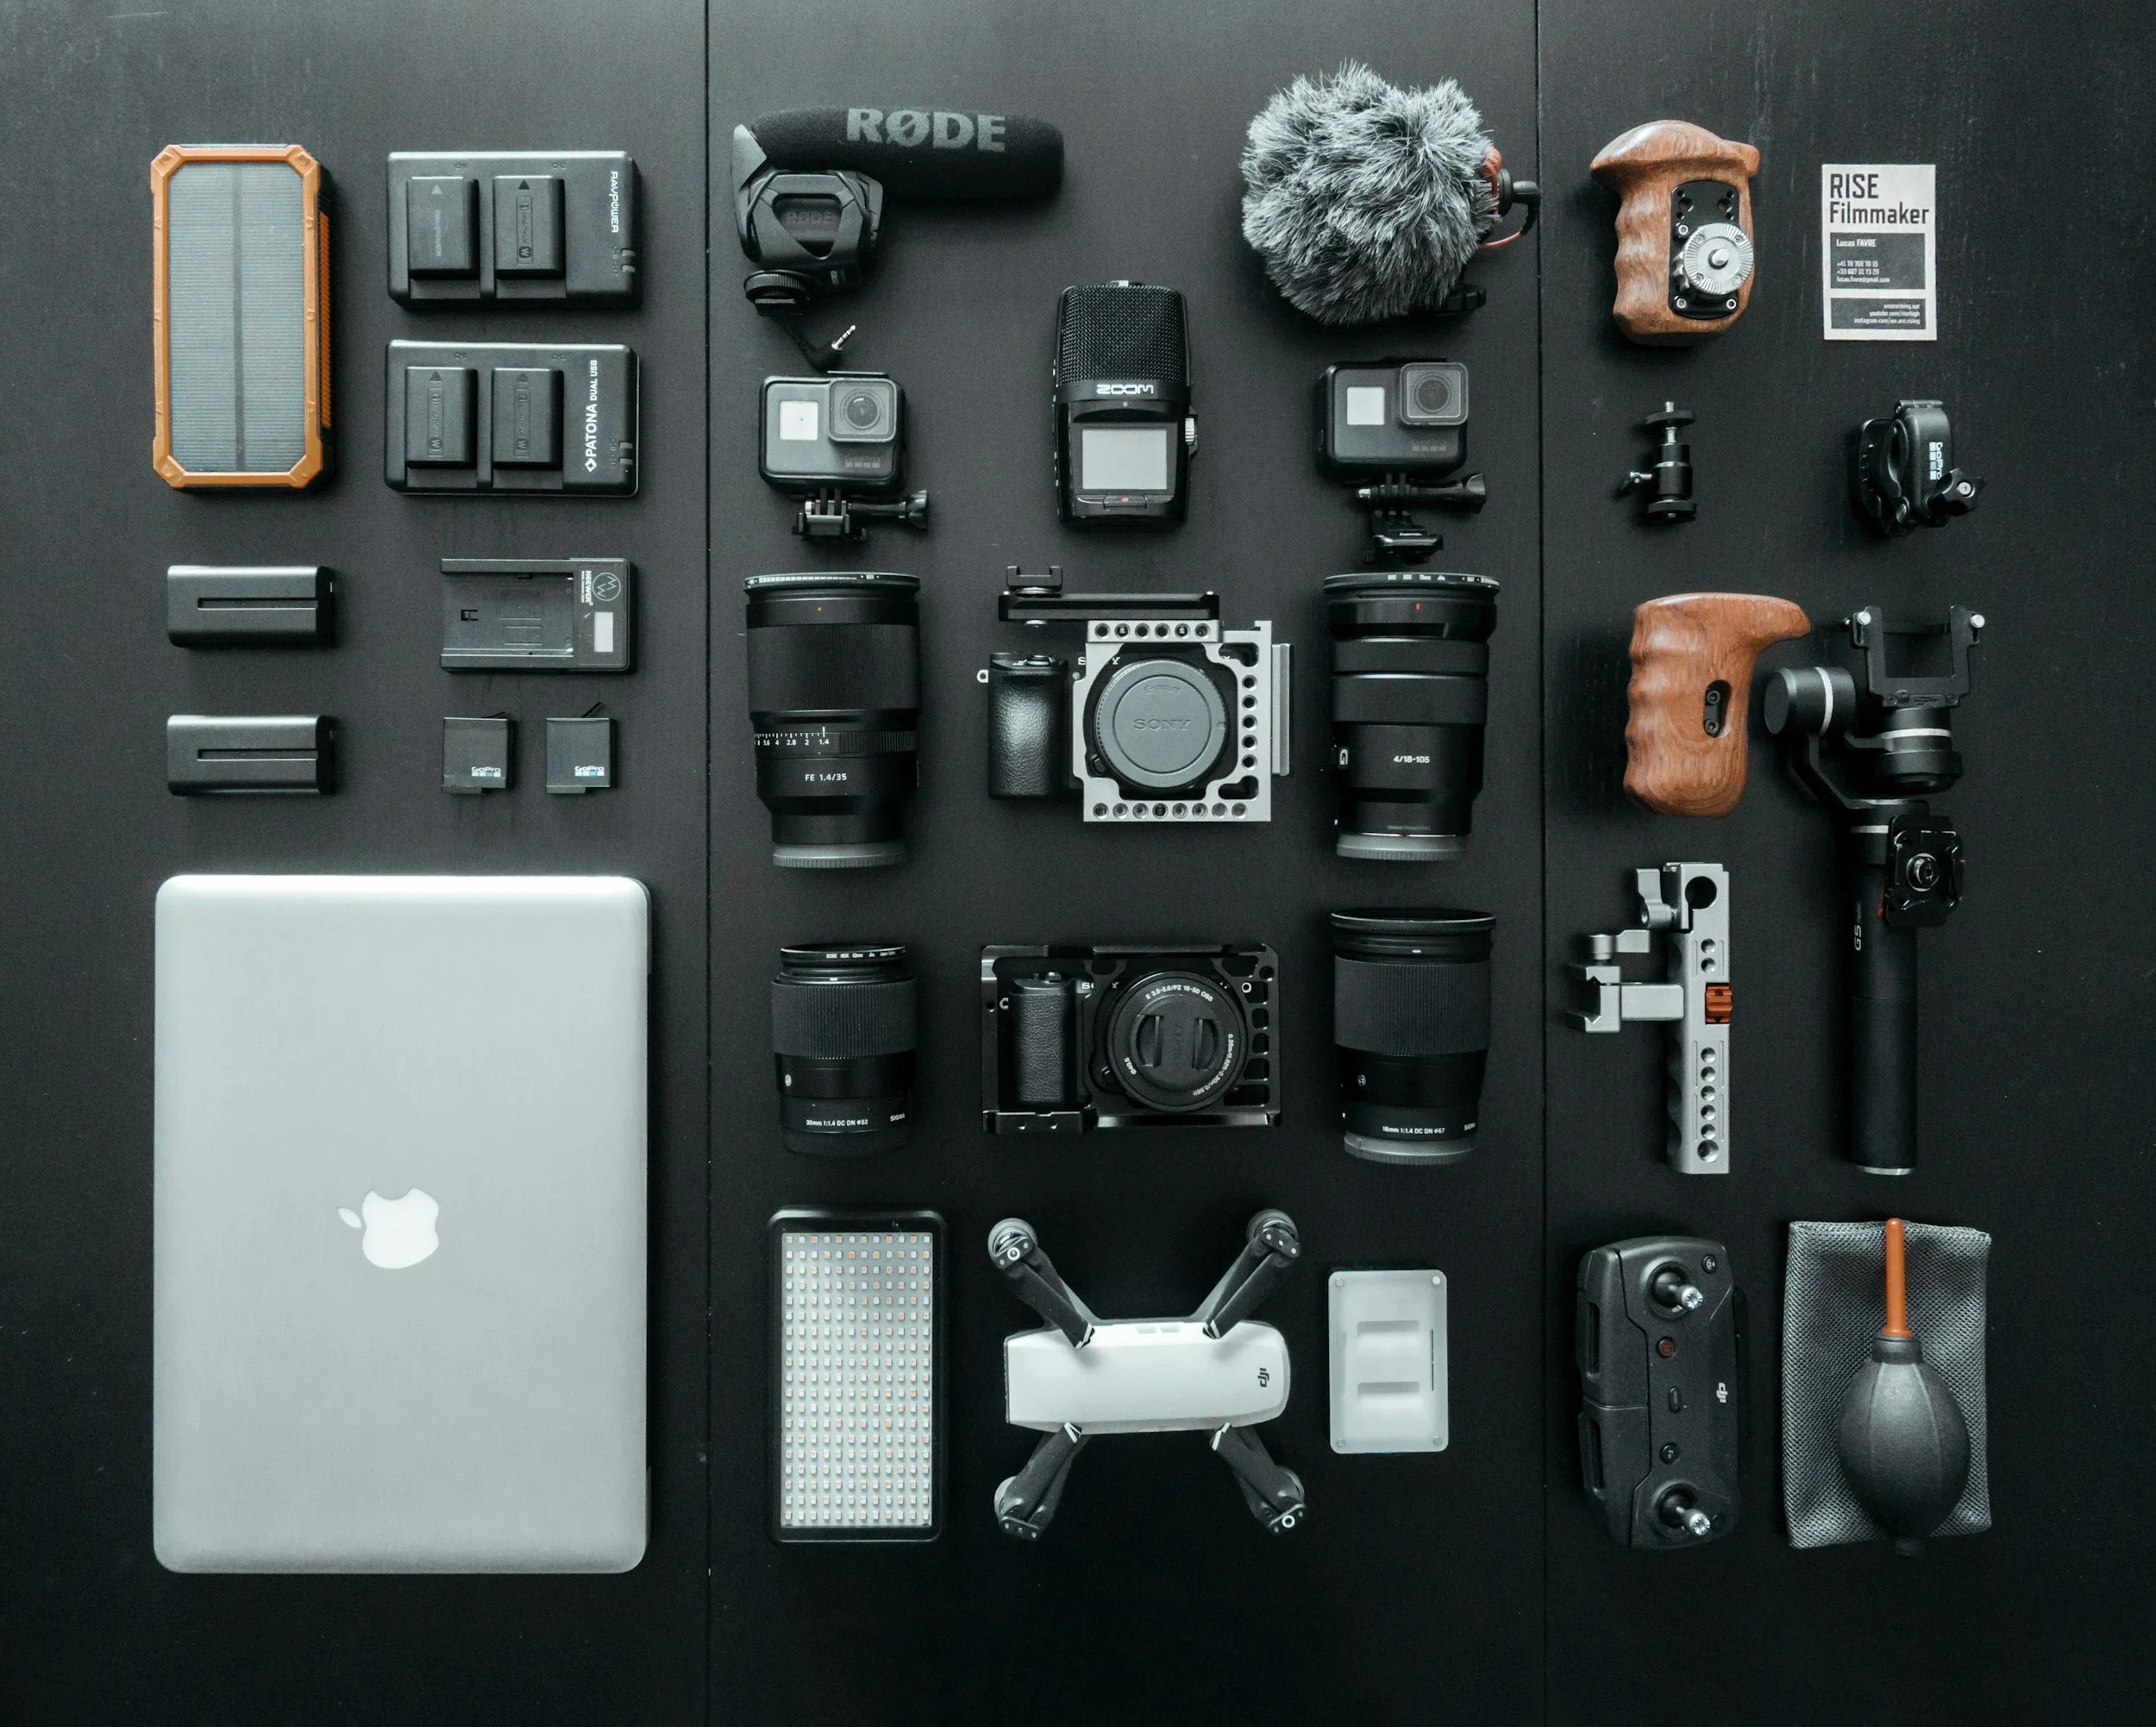
There are going to be some assumptions made throughout this blog: I am going to assume that you have your camera and that you have a kit lens to go with it (this is going to have a focal range of around 18-55mm and a variable aperture of around f/3.5-5.6), a tripod to mount it on (and a way to attach your camera to your tripod) and that you’ve got a bag to carry it all around in. If not, then if you have a read of my blog “What gear do you really need as a beginner landscape photographer?”. This should give you some ideas about where to start, and not too epxensively.
So now that we have looked at some basics and managed to minimise any gear talk, what should you be thinking about as a beginner photographer?
RAW vs JPEG
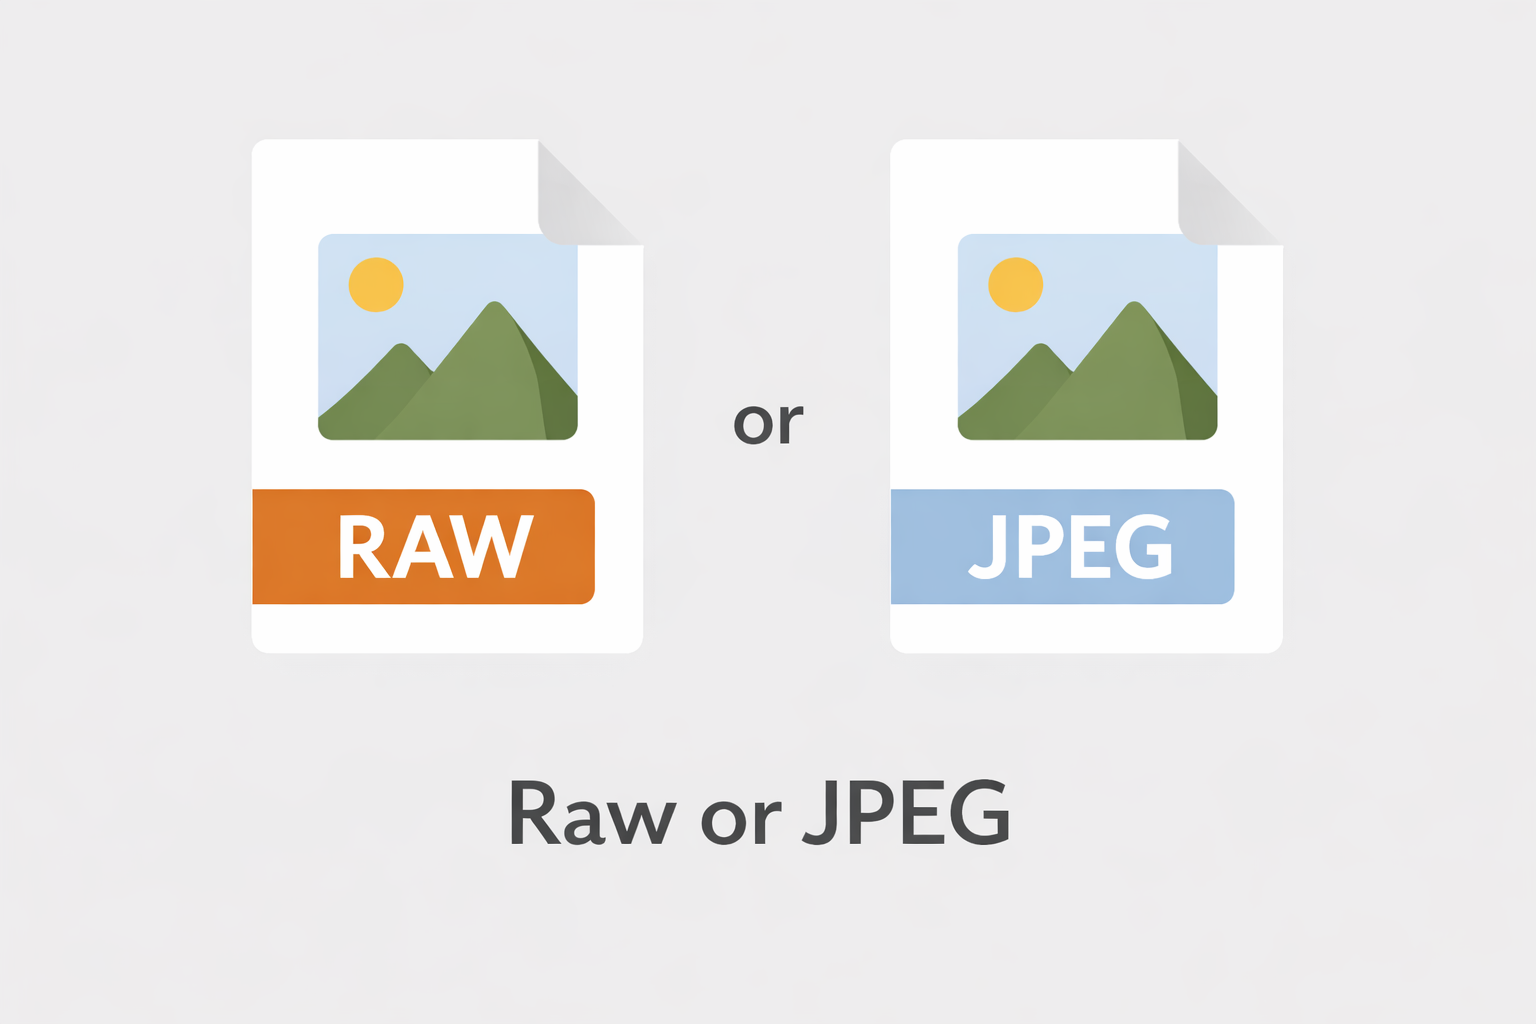
These are the two types of file that your camera is able to write to your card when you press the shutter button. You’ll need to tell the camera what type of file you want. Both have their advantages, but if you want flexibility when you are editing in Lightroom, you want RAW files. If you want faster results and photos that you don’t need to much colour correcting and exposure adjustment on, you want jpegs.
So what’s the difference? RAW files contain a lot of data about the colour and light in the photo that you have taken.
The advantage of them is that when you import them into your editing suite (lightroom/affinity/other), you can get more creative with the image and this gives you more scope to be creative with your edits. These files in their original state will not be suitable for sharing/printing. They will often look dark and flat - pretty unappealing. Once you have spent time editing them, you will have something to be proud of, but be prepared to put the work in to edit them images. These are big files and take up quite a bit space on your card and your hard drive so storing them can get expensive if you’re shooting a lot.
JPEGS on the other are much smaller in terms of file size, and this is because they are compressed files. When you take the image on your camera, it applies a colour profile to the image and makes it look “ready”. It's essentially a little a bit like taking a photo on your phone. Because of the way the file is compressed, it means that they’re not great for editing. If you try and adjust colours in a jpeg, or you try to increase exposure or contrast (for examople), you’ll find that they quite quickly start to look a bit strange and they don’t look natural. There is a limit to what you can do with them before they’re unusable.
Most camera will allow you to shoot just a RAW file, just a JPEG and RAW + JPEG. The last option is great as it gives you the best of both worlds.
Ultimately, if you plan on editing your photos, shoot in RAW. If you don’t want to do that and you want to take photos that are “ready to use” then shoot JPEG. You’ll need to consult your camera’s manual to see how to alter this setting for your individual camera.
Shooting Modes.
Some people will tell you that to be a “proper” photographer, you should be shooting in manual mode. This isn’t the case. Lot’s of pro’s shoot in aperture priority or shutter priority (called aperture mode/value and time mode/value on some brands of camera) and there is nothing wrong with this. When you’re learning, there’s nothing wrong with shooting in auto, but if you want more complete control of the final image you capture, you’ll want to learn to shoot in one of the other modes I have mentioned.
What mode you choose is largely going to come down to what you are shooting, but because landscape photography tends to be much slower, it often makes sense to shoot in full manual mode. Street photographers often prefer to shoot in aperture priority as it makes things a bit quicker for them.
But what’s the difference? In manual mode, your are in full control of all three aspect of the exposure triangle (aperture, ISO and shutter speed). In aperture priority, you choose the aperture and the camera will select your ISO and shutter speed, if you shoot in shutter priority you choose the shutter speed and the camera adjusts the other settings to help you to get the desired exposure.
If you are letting the camera choose some of the settings for you, you might want to investigate your manual and find out how to set the maximum aperture, maximum ISO and maximum shutter speeds you want it to use. ISO in particular, if set to auto could add things to your image that you don’t want like (like ISO noise) which can be hard to deal with and can affect the look of a photo.
I like to shoot in manual mode for the most part. It’s not because I think it makes a better photographer, but because I know that it gives me the most control and forces me to make deliberate decisions about what I am doing with my camera and therefore the resulting image. I don’t shoot exclusively in manual mode, but it is the one that I use more than any other.
Focus Modes
On the surface this is a bit more straightforward as you’ve only got two modes to shoot in; manual focus and autofocus. If you choose autofocus then it gets a bit more complicated as there will be lots of different autofocus modes on your camera. Talking about all of these is a complicated issue as they vary from brand to brand and camera to camera. You should read the user manual and search YouTube videos to discover more about the specific autofocus modes on your camera.
If I am shooting landscapes then I am using manual focus. I’m usually shooting on a tripod so that I have a steady based to work from and I am choosing where in the image I want to focus myself. You adjust the focus by twisting the focus ring on your lens and look in your viewfinder or on your LCD screen to see when you have got the image sharp. Once you’re happy, you can click the shutter and review what you’ve got.
It’s always worth checking the focus after you have taken the image, and using the zoom buttons on your camera to zoom into the focus areas to check that it is ‘properly sharp’.
This an area where you can get really creative, especially with depth of field (controller by your aperture and the distance between your lens and the subject) and this can create depth and layers in your image. The key is to experiment and discover what you find pleasing.
There are of course, some caveats to focusing and these are largely down to the limitations of your chosen lens. All lenses, no matter how expensive, have limitations and we can’t always get everything that we want to get in focus, in focus; we can’t break the laws of physics! As you get better and your confidence builds, you may want to explore focus stacking, but this is a much more advanced technique that we can explore at a later date.
Composition
This is a never ending topic, but composition is important. Like really important. Alongside lighting, it is one of the trump cards in photography.
There are rules in composition, but remember that rules can be broken. The common ones you will hear about are the rules of thirds, leading lines and framing.
The rule of thirds: The frame is divided into a 3×3 grid. Placing key subjects (a tree, a person, a horizon) along these lines—or at their intersections—creates a more dynamic composition than centring everything.Put the horizon on the top or bottom third, not the middle. Place the main subject on a left or right third line.
Leading Lines: Leading lines are natural or man-made lines that guide the viewer’s eye into the image—from roads and rivers to fences, shadows or architectural lines. Lines draw attention and create depth, helping the viewer understand where to look first.
Position yourself so a path or shoreline leads toward your subject or use curves to add elegance and movement to the composition.
Framing
"Framing" means using elements in the scene—like archways, branches, windows or rocks—to surround or partially enclose the subject. It adds depth, focuses attention and creates context within the wider environment. Shoot through a doorway or gap in trees or use overhanging branches or rocks to frame a landscape.
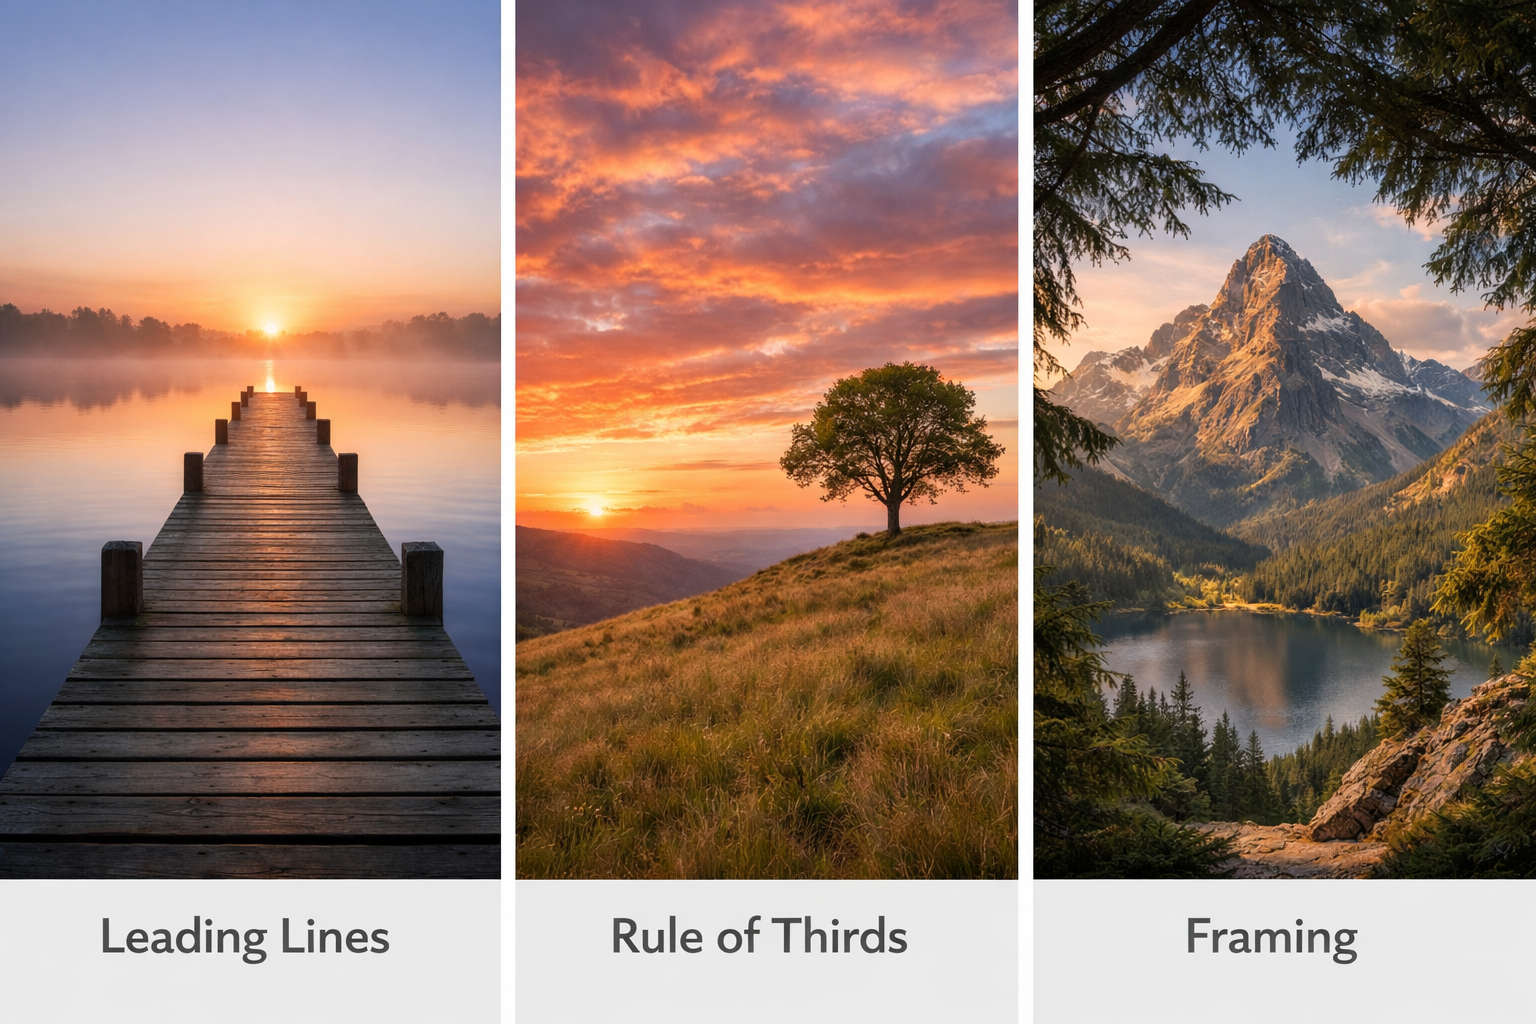
Examples showing different compositional techniques or ‘rules’
Planning
Fail to prepare = prepare to fail. Know where you want to be, when you want to be there, how you’re going to get there, and equally as importantly, how you’re going to get back. Have a look at some locations you want to visit and check them out online and see what books you can find to help you to get the most from them. There are some great photography guide books out there, such as this one which talks about photography in Scotland - there’s a whole bunch of them in this series, but don’t be too influenced by what you read and what you see online. You’ll just end up taking the same photo as everyone else.
You also need to think about the weather - what clothing do you need and what impact the weather is going to have on where you can go.
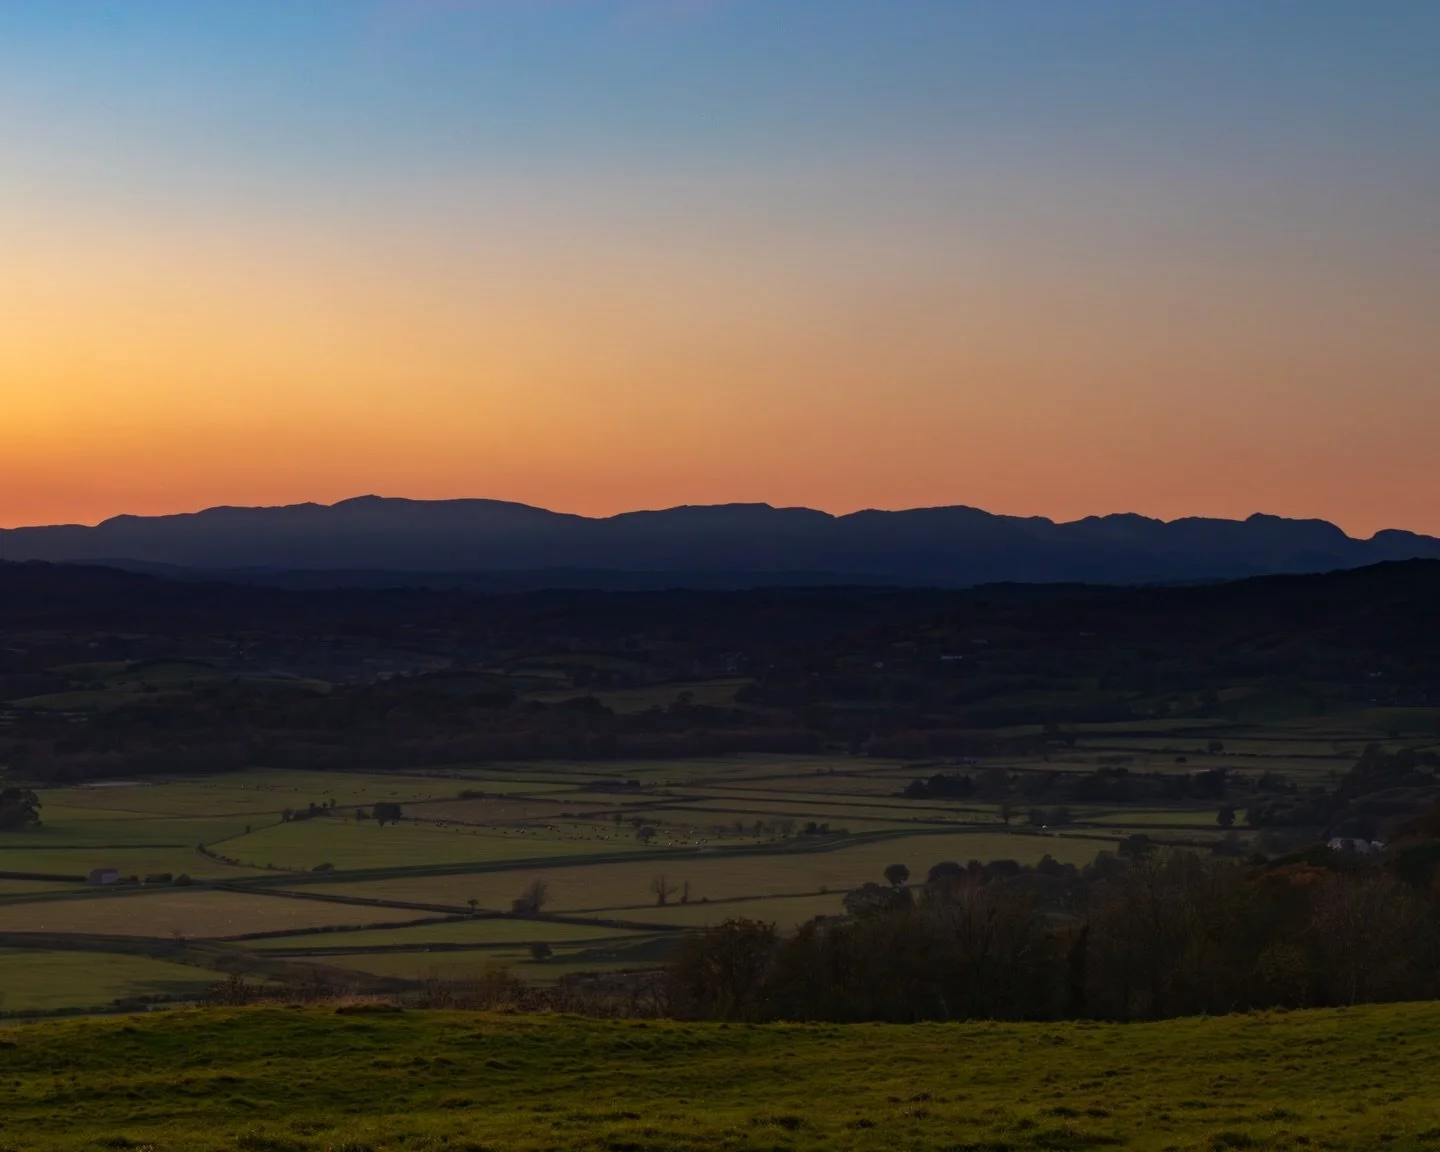
When I was photographing London, this wasn't as much of an issue as it’s the weather doesn’t make it any more dangerous, but in the Lake District (or anywhere else where you can end up isolated or at the top of a mountain) it can make the landscape deadly. As always, the moutains will be there tomorrow, make sure you are too!
Kit… what are you are taking with you? If you are a beginner, then you’re probably going to be taking your camera and your kit lens, hopefully in some kind of camera bag and you will have tripod. You don’t need to spend a fortune on a tripod, but the more you spend, generally, the better and lighter they become. That’s all you need to get started!
I think my biggest advice for your first shoot would be to go somewhere that you know and somewhere that you love. It’s even better if you have multiple different shots that you aim to grab whilst you’re out and about. Unfortunately these places are likely to be busy which means that if you don’t want people in your images (and sometimes you won’t), it’s going to make this harder. It also means that are likely to be other photographers and if it’s your first time out doing landscape photography, that can be a bit daunting. Don’t let it put you off. For the most part, we’re a friendly bunch and we love to chat about photography and some of us love to help!
Don’t Worry What Other People Think
You are probably going to feel really self conscious the first time you go out. You might be carrying a tripod, you might be using your camera on your tripod, and that makes you stand out. No one cares. People might be interested, which is great.. talk to them and be kind! People are used to seeing landscape photographers in places that are nice to look at. They’re used to seeing street photographers in towns and cities. We’re everywhere!
I remember the first time I went out to shoot when I lived in London. I felt like everyone was looking at me, especially when I was set up on a tripod. Truth is that there were far weirder things than a bloke taking photos in the city… life just passes by in London and everyone seems to have somewhere that they want to be and they wanted to be there yesterday.
Now I know that it’s very different up in the hills, there are fewer people and the people that are there are spread out but generally walking on the same paths, looking at the same locations. People will notice you but as long as you’re not being selfish or behaving like a k**b then no one minds that you’re there and no one cares that you are. Do you thing and move on when you’ve got what you need and have taken some time to enjoy the view.
You won’t always have the place to yourself. I remember going to Elterwater very early on a winter’s morning, like really early and being amazed that were at least 10 other photographers at the location with me. It’s just one of those things… beautiful places attract landscape photographers. That’s a fact that you need to deal with.
Talk to People.
For the most part, landscape photographers are a friendly bunch who like to talk and who like to help. There is a real community in photography and you should embrace it. Talking to people is one of the best ways to learn - listen to what people have to say, take not and then do your research to see how it will work for you (or if it will work at all) and then try to use it.
I have made some wonderful friends whilst out doing photography. I am part of a WhatsApp group of photographers that I know and have met from my time in London (it’s not some weird social media engagement group), but it’s a great place to learn, share images and get feedback on them, ask questions and to get support and advice.
Community in photgraphy is really important. Be a part of it. I’m going to explore the idea of community in photography in another blog post later in the year (it’s saved in the drafts at the moment whilst I figure it out), look out for it… if you want to get notified about it then sign up to my newsletter via the contact page.

Social Media
You probably want to share your images with people, and when you start out, social media is a great way to share them. Don’t expect to amass a huge following overnight. The way that social media works these days means that this is much, much harder than it used to be. Some people get lucky and have such good content that they can still do this, but those instances are much fewer and farther between.
Do it for the love of what you do and to put you images out there.
If you’re serious about it, have a strategy stick to it and adapt it. There’s a ton of stuff on social media that will help you with this, but choose wisely and don’t spend money on social media advice!
Use your social media platforms to network with other photographers. Don’t worry about the likes, don’t worry about the engagement (at least not when you’re starting out), just do it because you can and because you enjoy doing it, and don’t ever feel like you are under pressure to post.
This isn’t Everything…
I could go on for hours about all of the stuff I think you should know and you’d spend more time reading this that you do shooting, and that would be counterproductive. Different photographers are going to give you different advice, and that’s good, just choose the advice you take carefully.
Get out There and Enjoy It!
No matter where you are and where you live, the best thing you can do to get better at photography is to get out there and practice. Take the images. Make the mistakes, learn why the mistake happened, learn to correct it and have another go. You’re not going to get better sat on your behind not taking photos.
Thanks for reading - I hope you have found it useful. If you want more stuff like this as well all of the updates, please head to the contact page and sign up to my newsletter and get updates direct to your inbox!
If you’d like to support the blog and help me keep producing Lake District photography content, honest gear reviews and regular website updates, you can do so via my Buy Me a Coffee page. Keeping everything running smoothly takes time, and your support makes a real difference. Thank you.