My Photography Blog

Welcome to my photography blog, which is where I hope to share some of knowledge and experience so that you can all benefit from it. There will be something for everyone from the beginner to the advanced photographer and some stuff for people who aren’t photographers, but need to buy a gift for a photographer or who just want to understand a bit more about what we do and we are so obsessed with it!

I hope that you find them either useful, inspiring or both. All of the links in the blog which link to Amazon are affiliate links, so if you make a qualifying purchase after clicking one of theses links, I might get a small kickback and this always helps out so thank you in advance!

If you’d like to me blog about a particular subject or idea then let me know and I will get it done it done (within reason!) in a future entry.

Enjoy!

Chris Kendrick Chris Kendrick

What Gear Do You Need As A Beginner Photographer?

Essential Photography Gear for Beginners: What You Really Need to Get Started

Embarking on your photography journey can be both exciting and overwhelming. With countless gadgets and accessories available, it's crucial to focus on the essentials that will set you up for success. Whether you're aiming to capture stunning landscapes, candid portraits, or everyday moments, having the right equipment is key.​

So you’ve decided you’re going to take your photography more seriously and you’re in the market for some new camera gear! But what is the best gear for beginner photographers? What gear do you need as a beginner? What gear can you do without? In this blog I will outline the things that (in my opinion) are the essential and highlight some of the stuff you can do without, and a couple of things that you might want to completely avoid.

I’m going to come at this from the point of a landscape/travel photographer rather than a studio/still life photographer. I will explore the latter in a different blog later in the year as it can be a bit of a different ball game. 

I will try to look at different set-ups for beginner photographers on a variety of budgets. This is probably going to have a bit of a Canon bias, but I will do my best to offer suggestions from across different eco systems. I will also try to untangle some of the jargon for you!

The first thing to explore is new camera gear vs second hand gear that you can purchase from a variety of sites, such as MPB.com; this can be a great way to get more for your money. Using a site like MPB means that you’re getting the item that you see on the screen as they photograph every item and don’t just show you a generic pack shot of the camera/lens/other that you are buying. Buying from a reputable retailer also means that you’re covered by some kind of warranty (check with the individual seller). I have also made purchases from CEX and from my local camera shop; both of which have been completely hassle free. The other advantage is that buying from somewhere reputable (rather than the minefield that is Facebook Marketplace), is that you’re going to get some kind of warranty which will vary depending on the country you are in.

One of the great things about your local camera shop is that you can get some great advice and at the same time, can support local business. You also get to feel the camera and get a sense of what it feels like in your hands. The drawback is that you often find that there is a more limited choice of items on offer and this can mean that you end up buying online anyway. 

So what do you actually need?

A Camera

This one is a bit of a given! You could use your phone, but if you are reading this, I am guessing that you are someone who is looking to buy a dedicated camera that doesn’t make phone calls. I have awlways maintained that modern phone cameras are great, but they don’t offer the flexibility or a mirrorless or a DSLR.

Len(es)

You’re going to need a lens to put on your new camera. Most camera bodies won’t come with a lens, unless you are buying brand new and they have bundled a kit lens with it. There’s lots to choose from, but which one(s) should you get to begin with?

Tripod

Because we’re talking about landscape and travel photography, you’re probably going to want to buy a tripod to keep your camera still for long exposures and also to help you move it more accurately and smoothly for some of the panoramic applications that you might find yourself doing with it. 

Camera Bag. 

You’re also going to need a camera bag so that your new kit is protected when you are moving it around. Some people will tell you that you don’t need one, but my attitude is that although your new camera is ultimately the tool that you are using and you can’t ‘baby’ it, you also don’t want to break it beyond repair by throwing into a rucksack and letting it rattle around inside there when you are moving it from point A to point B and then to point C and so on. 

So, let’s unpack some of these and try and find something that suits your budget.

Cameras

This can be a bit of a minefield of technical jargon - megapixels, APSC vs Full Frame vs Micro 4/3, medium format, mirrorless vs DSLR Canon vs Sony… the list goes on. 

All of the latest cameras that are being pushed at you online, are likely to be full frame ones - Things like the Canon EOS R series, Sony A7R5 and Nikon Z6. These are all full frame mirrorless cameras.

The ‘mirrorless’ part refers to the fact that these cameras don’t have a mirror which reflects the image through prism into the viewfinder of the camera. Instead, you have an LCD screen in the electronic viewfinder (EVF) which shows you what the camera is looking at. This makes the camera lighter and also means that there are less moving parts to fail on you as the camera gets older. 

I would urge you to go for a full frame option as this is the direction that camera manufacturers are heading and the APSC stuff is going to start falling by the wayside (it does mean that lenses are cheaper though!).

Medium format cameras are often extortionately priced and are also not something I would recommend for someone who is just starting out - you’re unlikely to use it to the fullest of its capabilities. 

Mirrorless cameras are also a bit smaller and a bit lighter as they don’t have to house the mirror to reflect the image to the viewfinder. This is great if you’re doing a lot of walking around with it. 

If I were to write about all of the idiosyncrasies that each of the brands and various models have, this would turn into a super long blog (it could be a post all on it’s own), so once you think you have settled on a brand, do some research and make sure that you get something that is right for you. 


Cameras to consider:

  • Canon EOS RP

  • Sony A7 II

  • Nikon Z6

All of these come in at under £500 on MPB.COM and could be cheaper deepening on how you feel about the cosmetic condition of what you’re buying.

If you want to go for something which is cheaper still, then something like the Canon 80D, which is an APSC camera (it has smaller sensor than a full frame camera) is a great option and has been my workhorse for a number of years!

Don’t be blinded by the megapixel count of the camera, most images these days are viewed on a screen and the cameras I have recommended above have more than enough resolution to produce images that you will love! The only execution being if you’re hoping to shoot (with a camera!) a lot of wildlife and need to crop in - if this is the case and you don’t have a lot of resolution then you are quickly going to see some image degradation.

Lenses

This is another area which can be absolute nightmare. There are thousands of different lenses available in endless focal lengths and apertures, colours and specifications. 

Things you need to know about lenses:

The focal length of the lens refers to its field of views - the smaller the number, the wider the field of view. For example, a lens with a focal length of 10mm is going to take in much more of a scene than a 600mm focal length which is going to be zoomed right in and is usually used used to take photos of things such as birds/wildlife and sports; things where we can’t always get as close to the subject of the photograph as we would like. 

Aperture: This refers to how wide the iris of the lens opens. The lower the number, the wider the aperture will open. This is usually indicated in a format such as f/2.8 or f/3.5-5.6. This is know as the f stop. The smaller this number is, the wider the aperture will open. The wider it opens, the more light it can let in, and this can influence your shutter speed and will affect the depth of field. You can read more about this in my Exposure Triangle Blog. Lenses which have a low f/number and let in lots of light, are often referred to as “fast lenses”. 

Prime/Zoom. This one is an easy one. Prime lenses have a fixed focal length. This means that a 50mm prime lens takes photos at 50mm and 50mm only. It doesn’t zoom in or out. A zoom lens, such a 70-200mm lens takes photos from 70mm and can zoom in to a 200mm focal length, meaning that your subject is brought “closer” to you. Prime lenses are often much sharper than zooms but they are also often more expensive!

It’s a nice idea to have a couple of lenses when you start out so that you have some flexibility in what you do snd how you do it. I love my 70-200mm lens for landscape photography as it allows me to pick out details in a scene to create different compositions, so this can be a good starting point. I also really rate the Canon 50mm prime len (as do millions of other photographers) and the great thing about them is that you can pick up a second hand one for around £60-70!

A 24-70mm lens is also a really nice to have in the arsenal and again, gives you some flexibility and a wider field of view than the 70-200mm lens. 

Most camera companies will offer what’s called a “kit lens”. This will be a zoom lens, and will usually have a focal length of somewhere around 18-55mm and a variable aperture (the more you zoom in, the smaller then minimum aperture size available becomes) and these are a great starting point. You’ll often find them bundled with new cameras so that you can get started. A lot of people will tell you that kit lenses are rubbish, but I have taken some of my best and most favourite shots with mine; there’s even an image taken with a kit lens available in my store!

Again, if I listed lenses from every manufacturer here, this would be a massive list, but some focal lengths worth considering are listed below. 

  • 18-55mm - Gives some flexibility for wider shots and allows you to punch in to find some different compositions. 

  • 24-70mm - similar reasons to the 18-55mm but what you gain in zoom, you lose at the wider end of the scale. 

  • 70-200mm - probably my go to for landscapes these days, makes me think more creatively about compositions and the reach at 200mm encourages me to pick out interest in the landscape that’s in front of me. Can be a useful one for some wildlife photography, if you can get close enough.  

  • 50mm prime - a great lens which is cheap, light and will make you think creatively. These are a great thing to have in the bag. 

You don’t need to buy all of these lenses at once! If I could only pick one of these to suggest to a beginner, it would be the 18-55mm kit lens; this will give you the most flexibility for the cheapest price and will allow you to figure where you want to go next as a beginner photographer.

Tripods

This one is much more straight forward. If you want sharp images, want to take images that are shot with longer exposrure times or you find yourself doing a lot of panoramic shots, you need a tripod. The great thing is that they can be as cheap or as expensive as you want them to be.

A good tripod should be, sturdy, steady and not too heavy. The lighter you go, the more money you can expect to spend.

You also want to make sure that your tripod has a decent head on it. If it’s a bit naff, you will end up with camera movement and potential breakages which can lead to your camera breaking. Consider the weight of your camera when you’re thinking about this. 

I like to use an L-Bracket on my camera rather than relying on the tripod to do this bit of work for me, as I find that it’s quicker for me to get set up and I have more confidence that my tripod will do its job and not break when I am using it. My L-bracket practically lives on my tripod and I use a ball head from K&F concept.

Some tripod options to consider:

Camera Bags. 

The camera bag market is crazy and most photographers will have a small collection of bags and even then won’t tell you that they are 100% happy with their preferred option. Unfortunately, bags are something which is very much a personal preference. Online shops are packed with a million and one offerings and then a million and one more. As a beginner photographer, you don’t need some crazy lightweight bag with all of the latest tech inside it. You need something comfortable that you can get in and out of easily, which keeps your gear safe and allows you to carry your camera gear in a way that works for you. I have four bags and I use them all for different things.

Some bags ideas here:

Lowepro Tahoe 150: This was the first camera bag I had and is great value for money. It fits in a ton of stuff, is comfortable and full of padding. I do wish it had a waterproof cover, but you can pick one up on Amazon for a few pounds. It’s a great bag when you’re setting out. 

Lowepro Fastpack: I’ve had this for a little over 12 months and absolutely love it. It’s great if your going to spending time out and about walking and I have written an in depth review of it here

Editing your images

I always recommend shooting in raw format as opposed JPEG. This means that there is more information for your editing software to use to aid you in enhancing your images in the edit. 

When you’re first starting out, it can seem a bit crazy with the amount of options that are available to you, some are paid, some are free. 

When you first start out, consider using things like Photopea or GiMP. These are free applications that will allow you to edit your images in much the same way you would in photoshop. 

When you’re ready then take a look at the Adobe website and see what works for you. As a beginner, the photography package, which includes Lightroom and Photoshop will be more than enough to start to get to grips with. There are tons of tutorials on YouTube.

You could also consider Capture 1 Pro, but this only has colour grading functions so you might want to think about whether or not you want the more in-depth options that photoshop offers.

Things you don’t need to buy as a beginner photographer.

Instead of buying these things when you first start, maybe consider investing this money in some of the stuff I have mentioned above.

Drone - learn to compose shots and edit them first, then think about taking aerial shots with a drone. I have one and love using it but don’t use it anywhere near as much as I thought I would. They’re great for video but take things slow and take this leap when you are ready.

Lens Ball - gimmicky to the point that I have four of these. One I bought myself and the others were gifted to me and have hardly been used. I have taken one photo using one of these that I actually like. Buy one and say hello to your new optically engineered paperweight. If you’re going to buy one of these and don’t have a 50mm prime, then buy the prime lens instead. You can thank me later. 

Filters - As you develop your skills and learn about photography, you will definitely want to learn about filters and how and when to use them. Not having them won’t cause you any huge issues when you first start out and will help you to get to know your camera. You can use exposure bracketing to manage scenes with high dynamic range rather than reaching for an ND filter.

Gimbals - Unless you are planning on making a ton of video content then there is no need for one of these. I have a mobile phone gimbal which I use now and again to create timelapses but haven’t used it anywhere near its full capability! 


Other things to consider buying when you buy your first camera

SD Cards (you can never have too many of these), spare batteries (especially of you’re buying a Somy camera or you think you are going to be shooting a lot of video - make sure you get the right ones for your camera), lens cloths, rocket blower and if you’re a landscape photographer, a head torch!

When you’re buying SD cards, buy the biggest you can afford, but check the read/write speeds on your camera specs. There isn’t any point spending money on a superfast card when your  camera isn’t able to write as quickly as the card can handle - you won’t notice any difference. 

Another thing I would consider is a shutter release. This is a simple bit of kit which allows you release the shutter on your camera without touching it. This can be important when you’re shooting on a tripod, and even more important if you are shooting on a tripod at a long focal length. No matter how hard you try, when you press the shutter button on your camera, you are going to introduce movement into your image. Movement often results in either blurred or soft (out of focus) shots, and that’s often not what we are aiming for!

Final Thoughts

I hope that you have found this useful! Buying a camera can be a bit of a nightmare as there is so much choice and the way cameras are marketed makes it even more difficult to make what is the right choice for you and not what is the right choice for the camera manufacturers. Don’t get sucked into spending money that you don’t need to.

Make sure that you look at the second hand websites as I said at the start of this blog. The second hand market for camera is awesome and given the current global economic situation, this is only going to continue to save you some money and the great thing is that when you’re ready to upgrade in the future, you can sell them back to where you got them from and have something to put towards your new purchase!

If you have any questions about what is in the blog, or if you buy new gear and want to learn how to use it then drop me an email with a question or to discuss a photography workshop in the Lake District where I can spend a day or half a day with you showing you how to get the most out of your new camera gear!

Read More
Chris Kendrick Chris Kendrick

5 Quick (and free) Tips to Boost Your Photography

In this blog, I talk you through five quick and easy tips that will help you to up your photography. Best of all, these are all free and are things that you can start doing right now with a small amount of effort - be sure to read to the end for the two bonus tips!

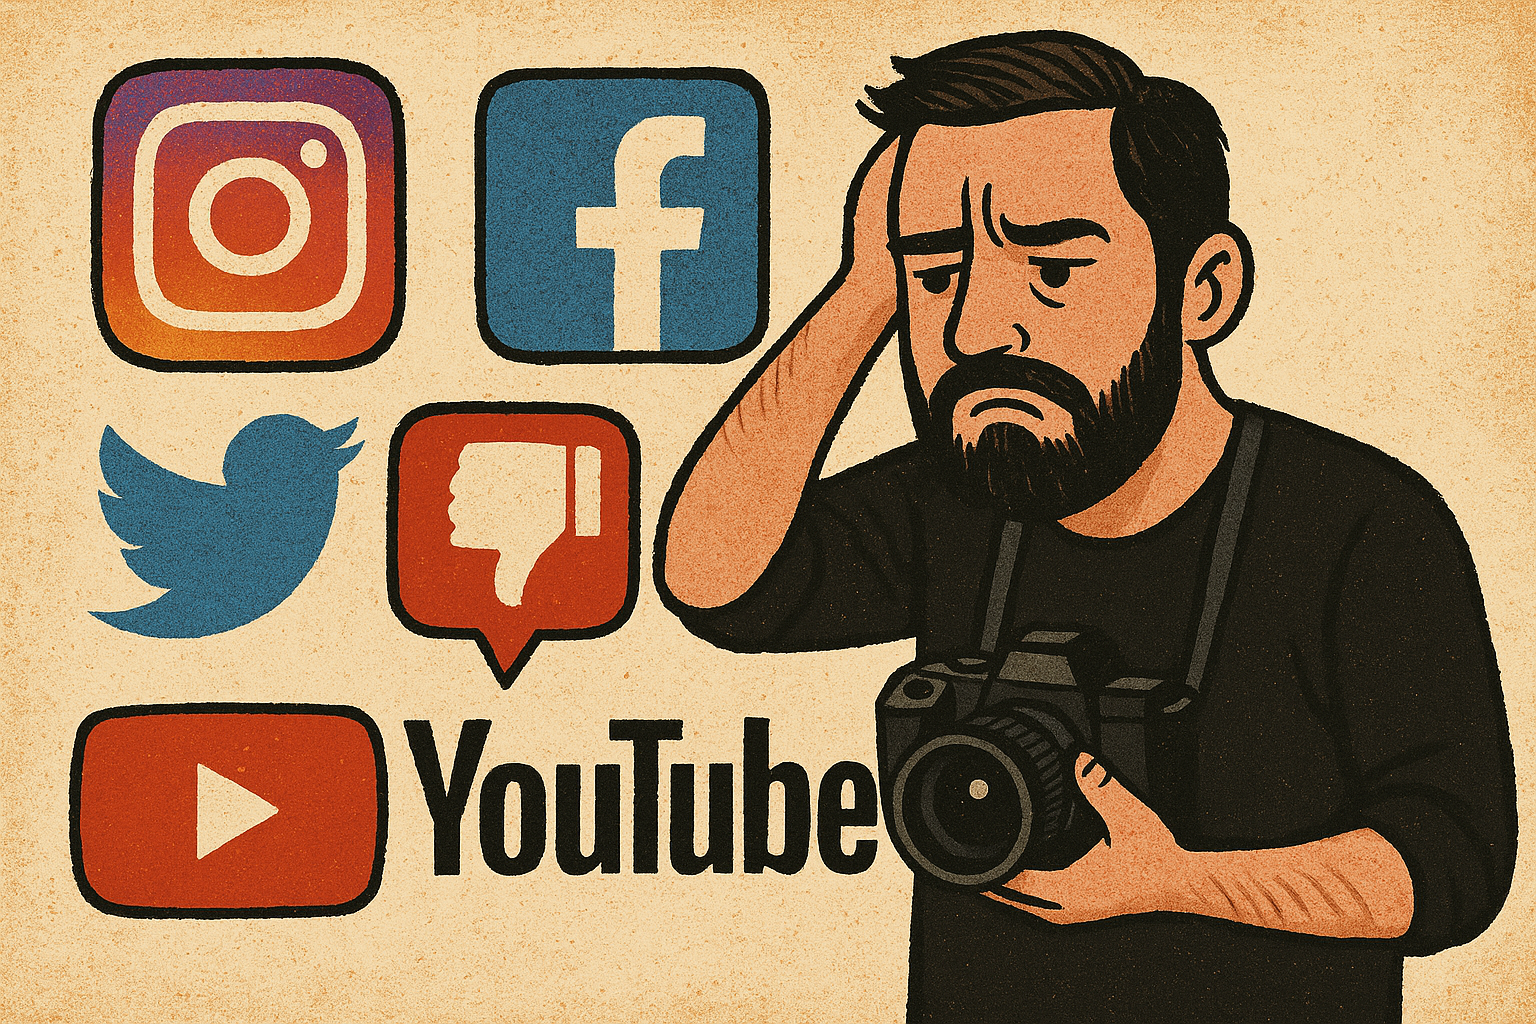
Nothing techy, nothing expensive, just 5 things that you can do today!

1: Shoot what you love and what you enjoy.

Don’t be a slave to social media and shoot what you think everyone else wants you to photograph. Photography should be something that you do because YOU enjoy it; i really believe that if you’re shooting what you enjoy, somewhere you enjoy doing it, then you will take better images because you will have more of a connection with your subject matter. It might be wildlife, it might be landscapes, it might be street, it might be commercial but it should be what you enjoy! I manage to combine my love of being outside with my photography, so I get the best of both worlds!

2: Look at the work of other photographers. 

Read photobooks, look on the internet, soak it all up! You don’t have to copy everyone else’s work but it's useful to have inspiration and to see how other people compose images.

If you can avoid all of the other distractions, then using the internet to do this is a great idea, but know what you want to find and then go find it!

Some of my favourites are Nigel Danson, James Popsys, Scott Choucino (these three have really active social media and YouTube channels and I have learned a TON from them!), Galen Rowell and of course, the master: Ansell Adams.

These aren’t the only photographers out there, so find ones that you like and learn about their photography!

3: Talk to other photographers!

This is where I have learned more than via any other medium, other than actually going out and shooting. And let’s be honest, if you’re talking with other photographers, you’re probably out shooting anyway! Talking to other photographers and shooting with them is one of the best ways to learn, to get better and to develop your skills.

4. Be Present. 

By this, I don’t just mean be there and be ready to get the shot. I mean be present in the moment, be aware of what is going on. Put your phone away, take the AirPods out, look and listen. Doing this meant that one a recent trip to a local viewpoint, I got to see things in the night sky that I haven’t seen before and it was really special. Allow of your senses to play a part in what you’re doing. Nothing beats being out early morning listening to the birds and watching the world come to life in front of you and capturing it with your camera.

5. Get out and shoot!

Make a plan and stick to it. Go out without a plan. But go out! 

Some of my best shoots have been spontaneous, some have been the planned shoots, but they all involved getting off my behind and going out and doing the thing that I love. New years day last year was a really special one - I was up early and took advantage of the empty streets (I was still living in London) and saw one of the best sunrises I saw in all of my time in London. It was a great start to the year!

Bonus Tip!

Take lots of photos - I see so many people who have gone out and taken 10 photos on the same photo walks where people have taken 300. It pays to have shots in the bank, because the more you take, the more chance you have having something different or something interesting. Taking fewer photos because you “know how to get the shot” doesn’t make you a better photographer, it means that you get shots that other people miss. 

Bonus Tip 2!

Know your camera. It should be like an extension of your body. READ THE MANUAL! Watch YouTube videos about your camera and find out everything it can do and then learn how to do it. There is nothing worse than seeing something amazing happening in front of and then having to faff about with your camera to dial in the settings meaning that you miss the shot. Even during the longest of golden hours, the good light can be there and gone in a minute (or even seconds!) and you don’t want to spend that time staring at your camera wondering why you can’t make it do what you want it to. Oh, and make sure that you’re shooting in raw so that you have the flexibility when you’re doing your post processing!

Keep Creating!

Chris

Read More