
My Photography Blog
Welcome to the Chris Kendrick Photography Blog, where I share the stories, challenges and inspirations behind shooting Lake District landscapes and working as a Cumbria-based photographer. Alongside behind-the-scenes reflections from the fells and lakes, you'll also find honest photography gear reviews, covering the cameras, lenses and accessories that genuinely perform in real Lake District conditions. Whether you’re passionate about landscape photography, exploring Cumbria’s scenery, building your kit, or simply curious about the craft, there’s something here for you.
Some posts include affiliate links; thank you if you choose to support the blog through a qualifying purchase. If there’s a topic or piece of gear you’d like me to cover, let me know. Enjoy exploring!
Enjoy!
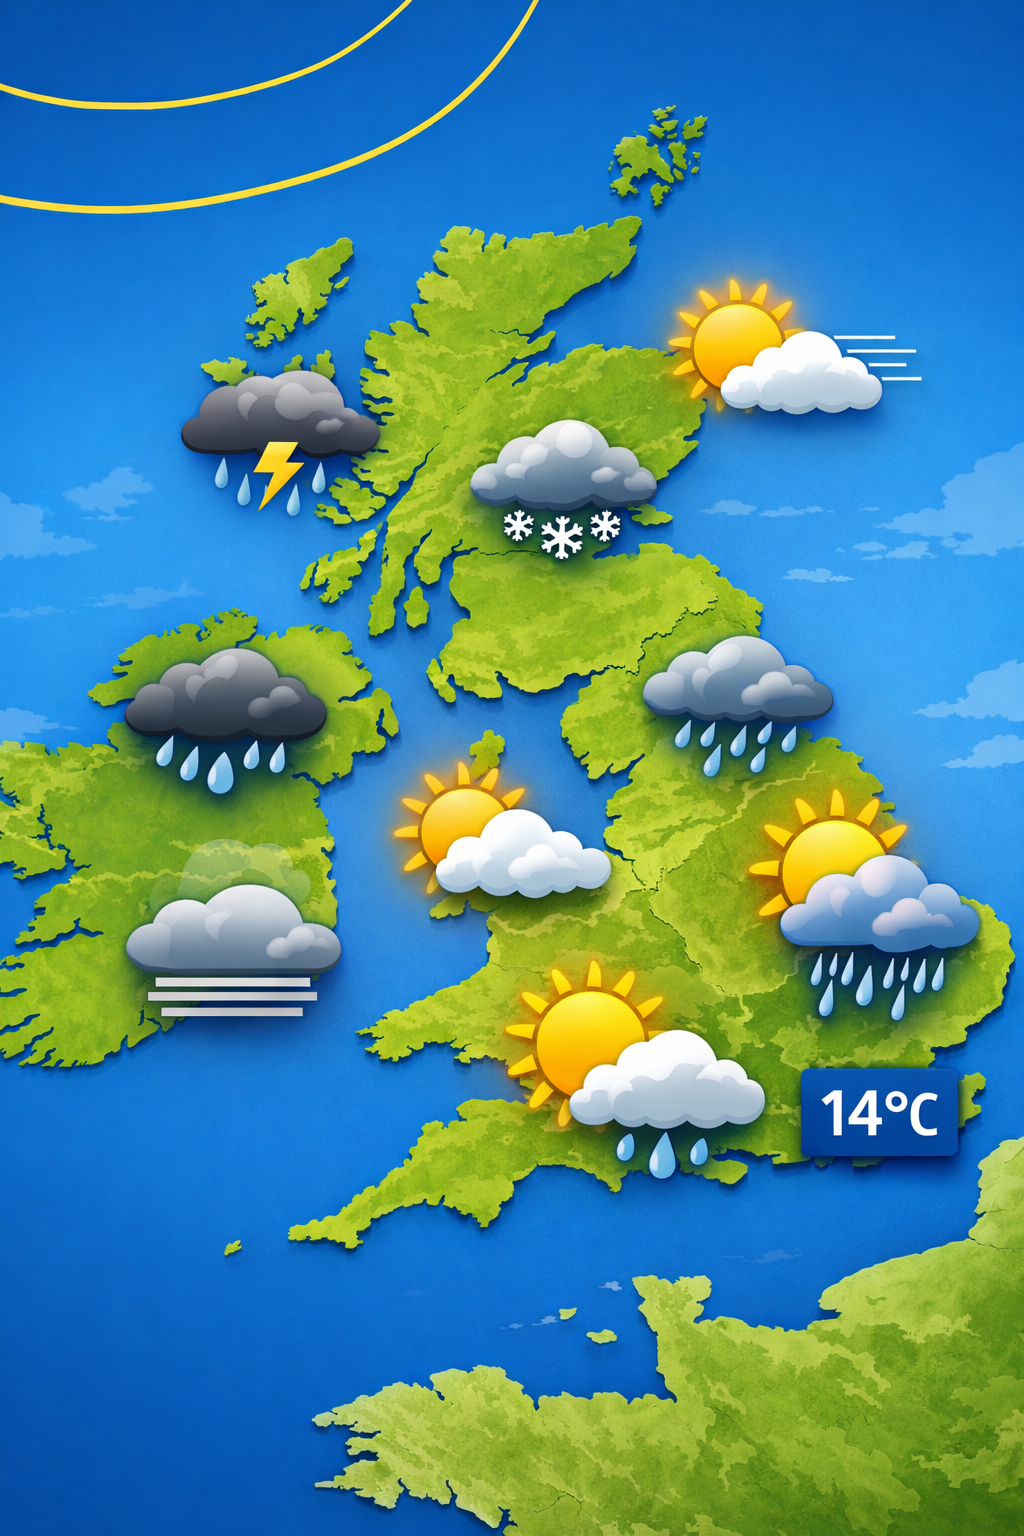
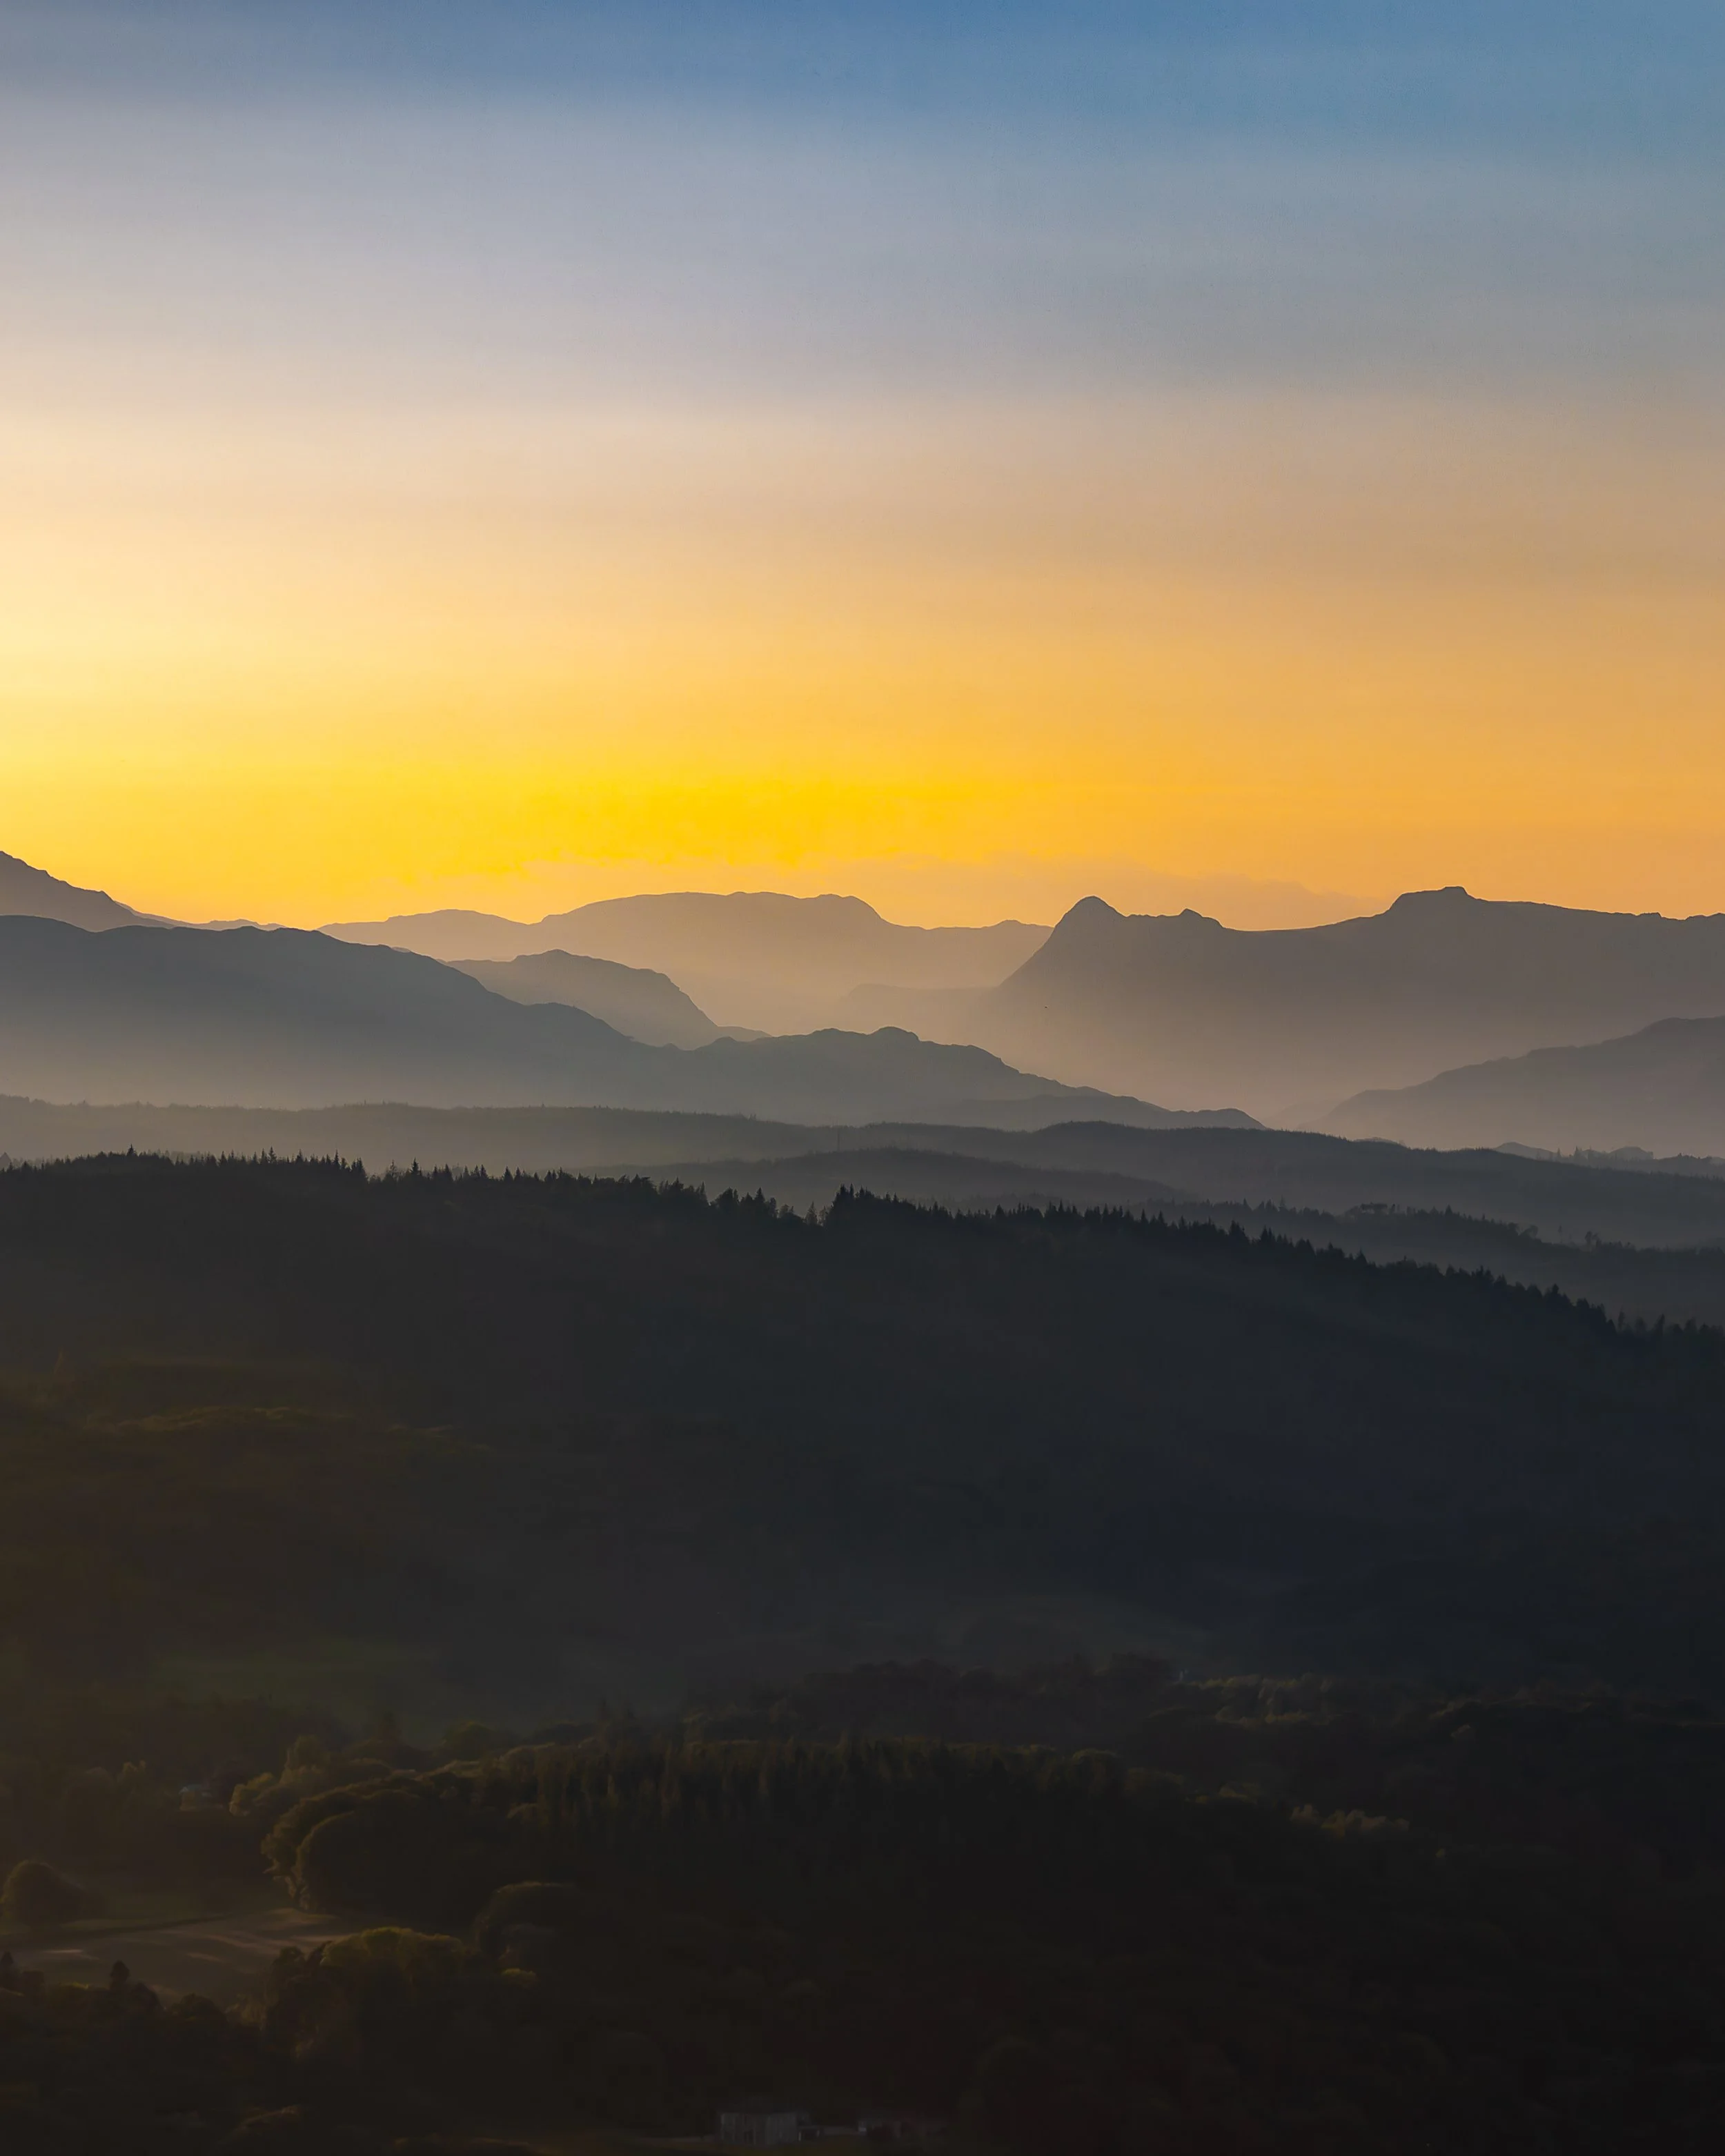
Reading the Lake District Weather Like a Landscape Photographer, not a tourist.
Most people read Lake District forecasts to decide whether it’s worth going out. Photographers need to read them differently. This post explains how I interpret cloud, rain, wind, temperature, and dew point to find atmosphere, mood, and changing light — even on days most people write off.
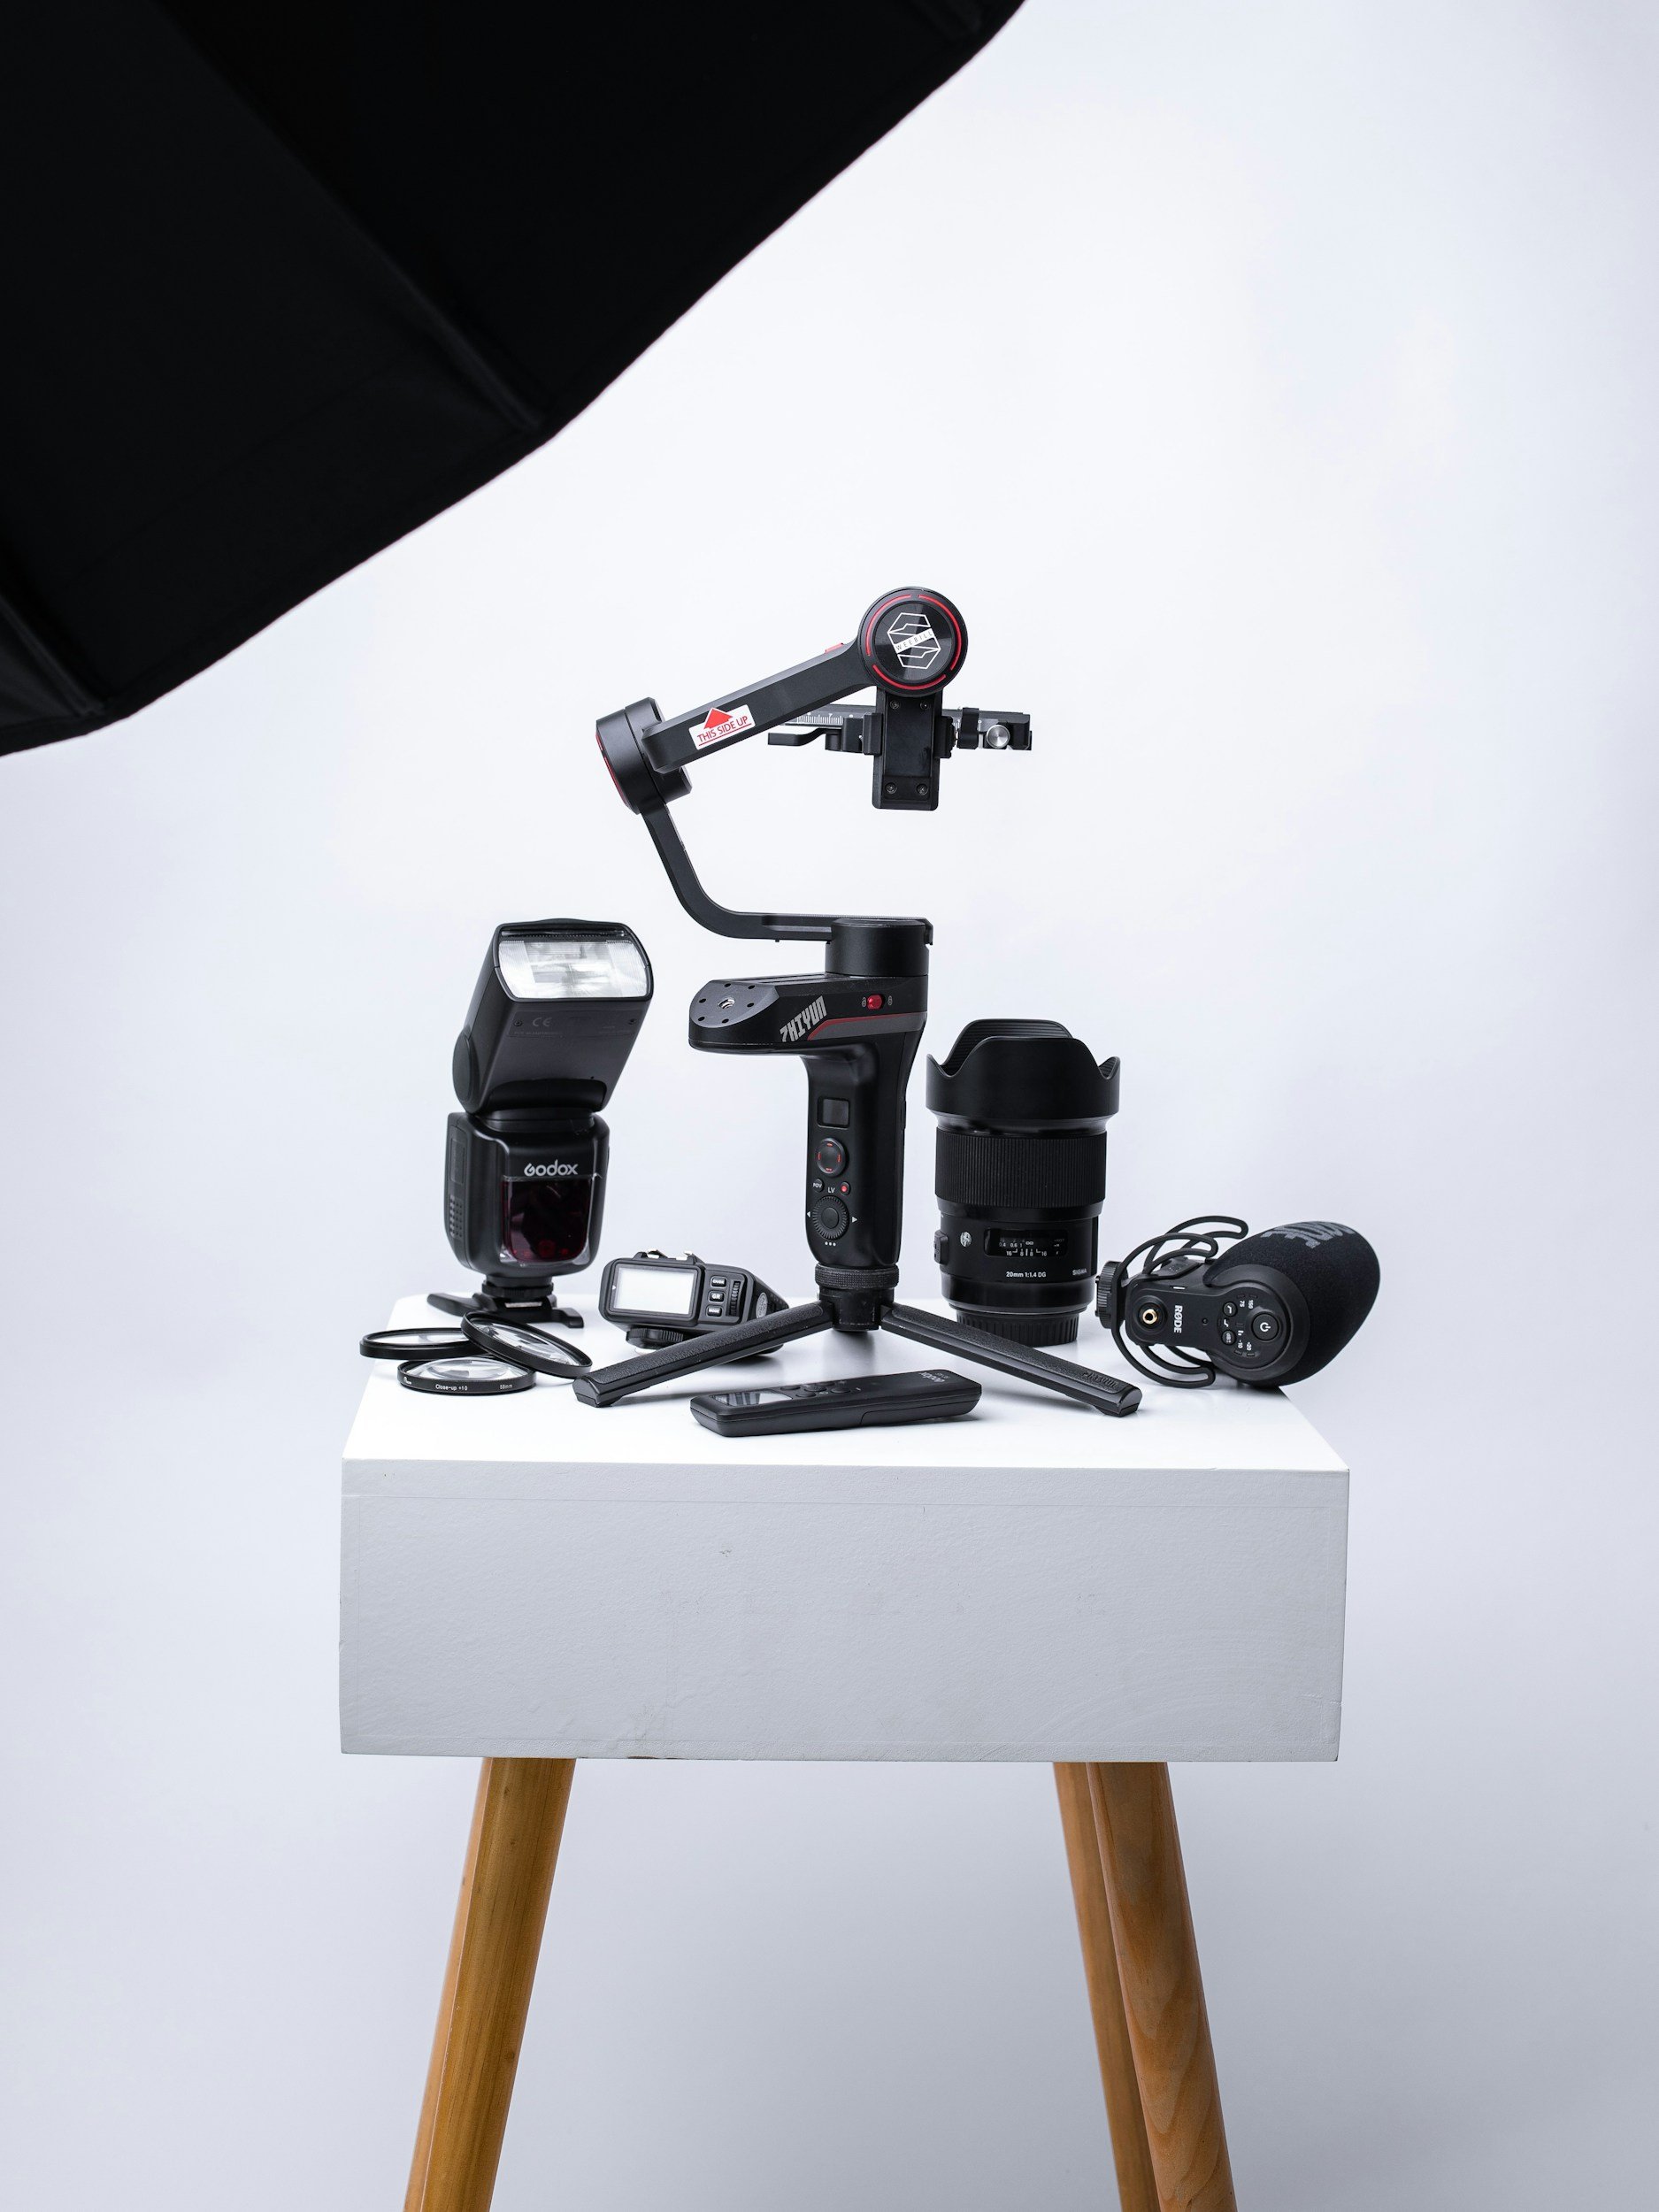
Camera and Photography Accessories that are Actually Worth It.
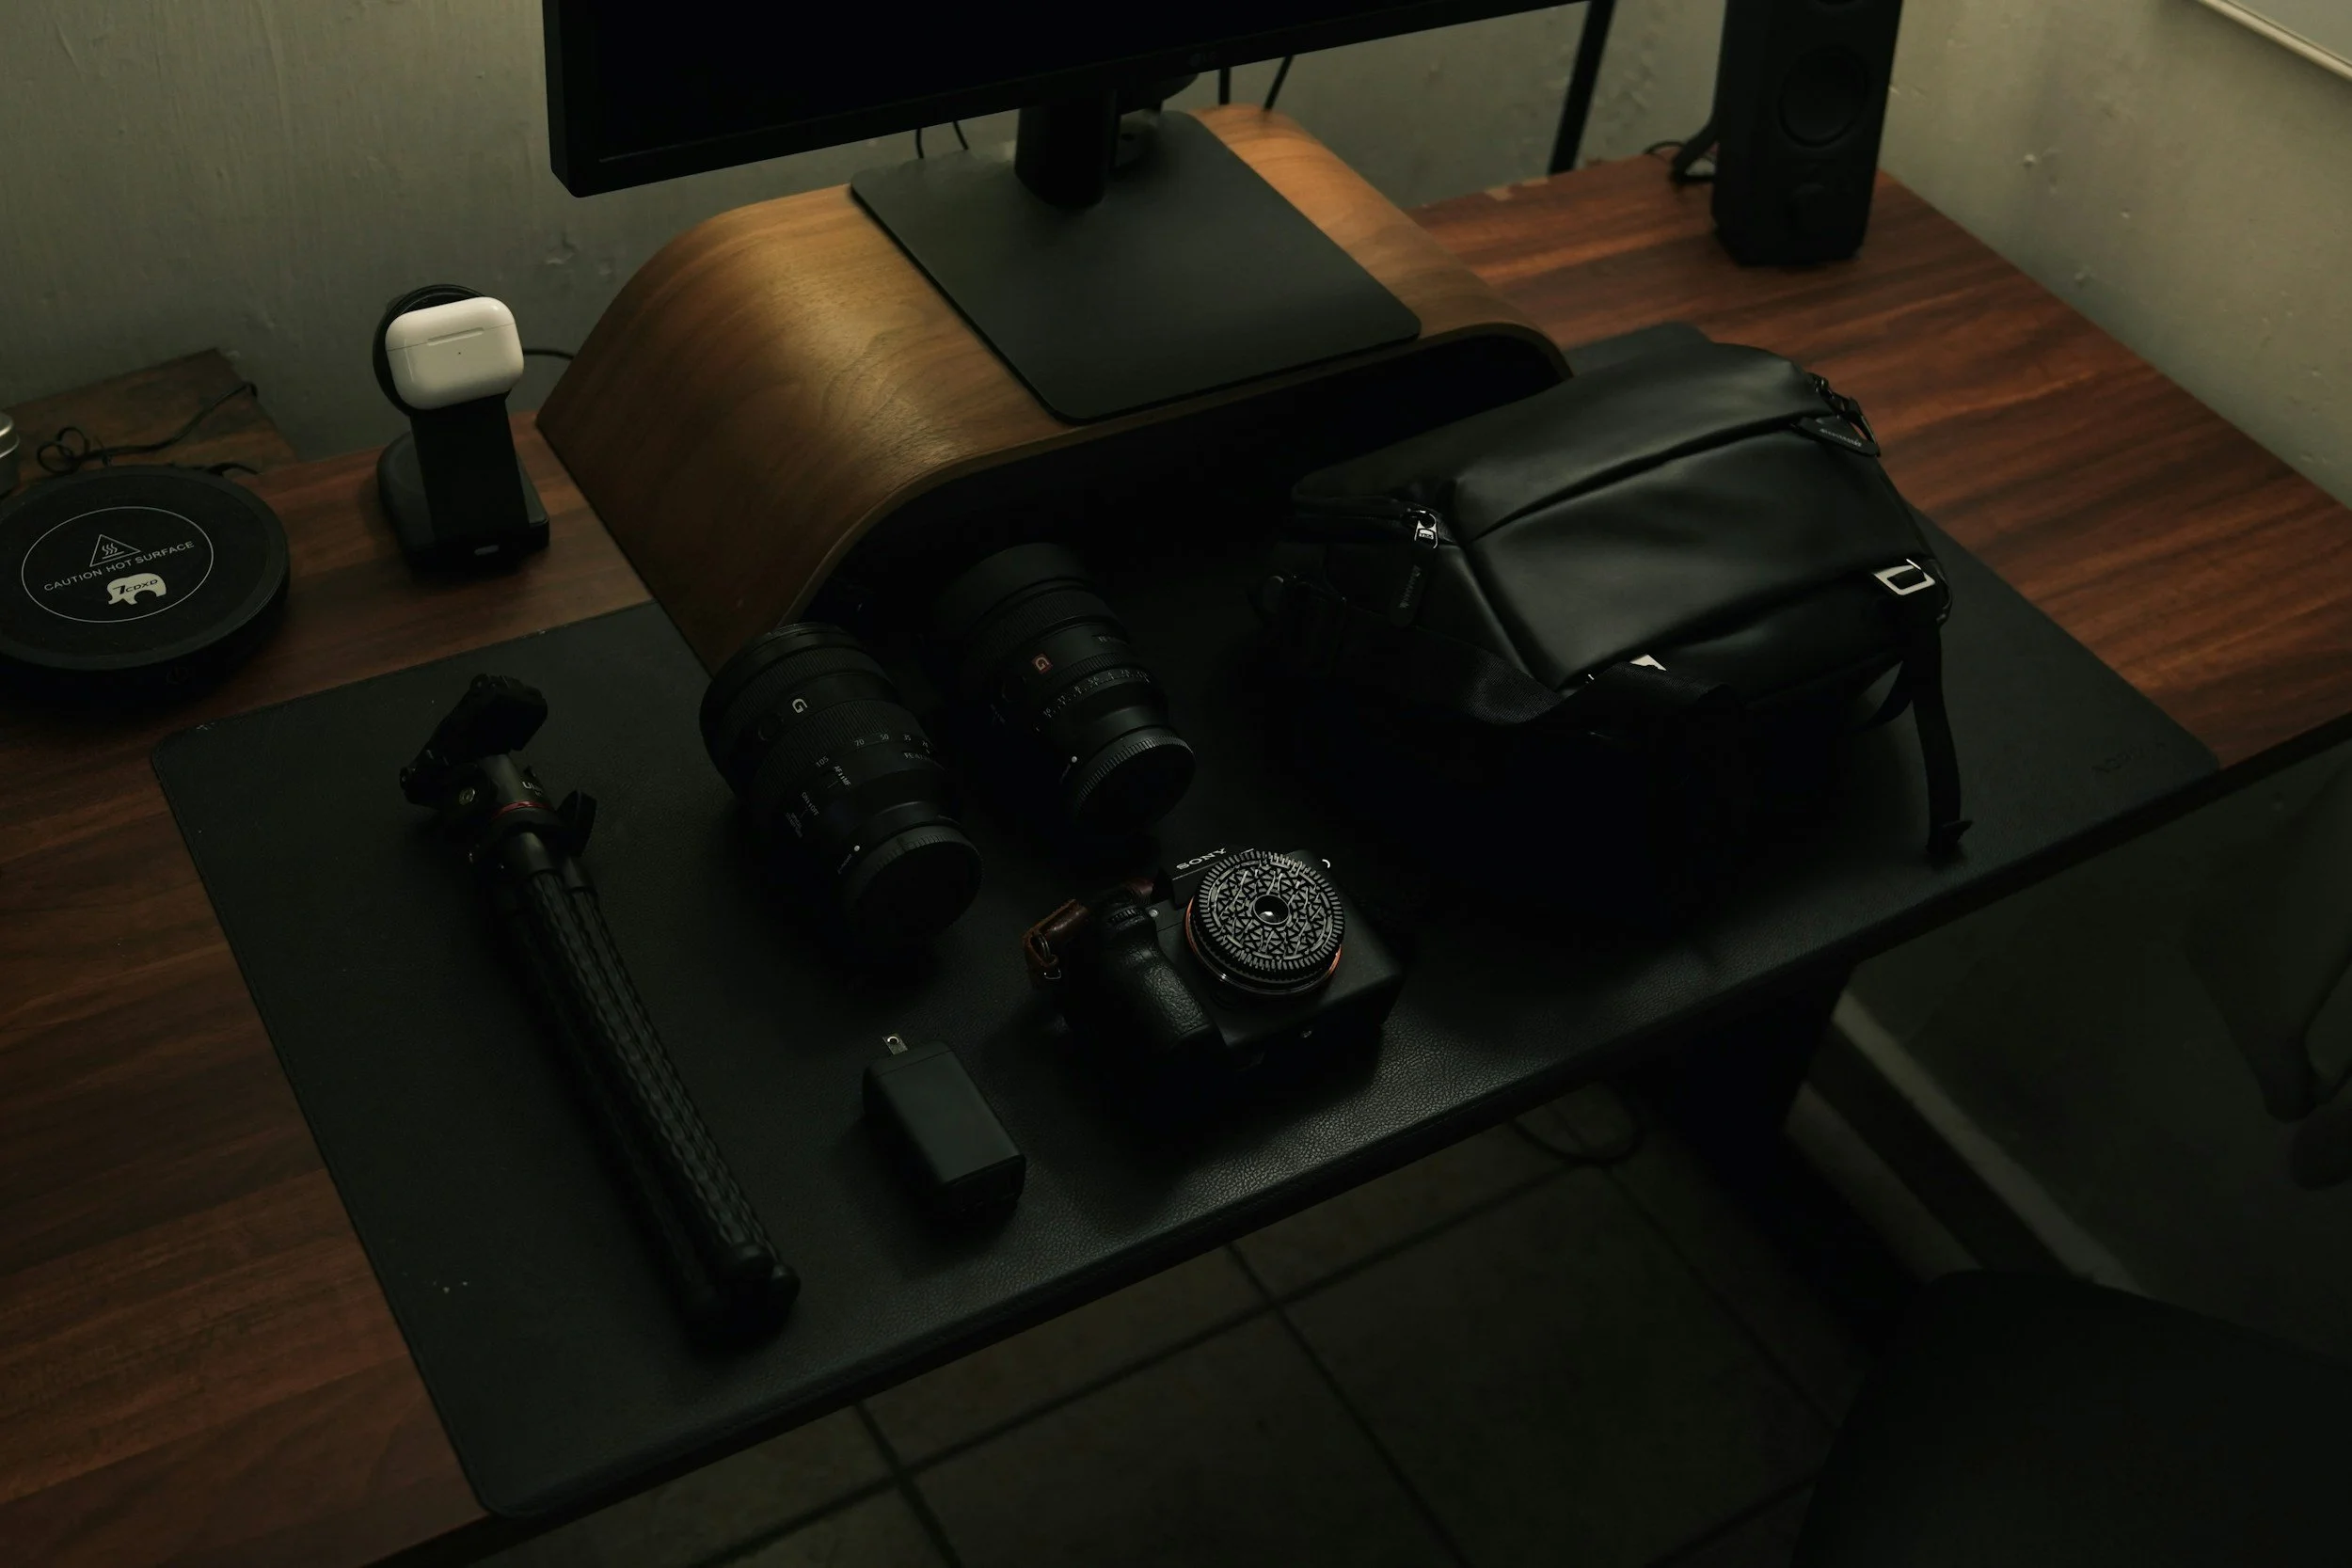
The world of photography accessories is full of clever marketing, bold promises and expensive kit that often ends up gathering dust. From “must-have” gadgets to trendy add-ons, it can be hard to know what actually improves your photography and what simply lightens your wallet.
In this article, I break down the accessories that are genuinely worth investing in – the tools that make shooting easier, more reliable and more enjoyable, whether you’re photographing landscapes, products, or everyday scenes. No hype, no unnecessary upgrades – just practical gear that earns its place in your camera bag.
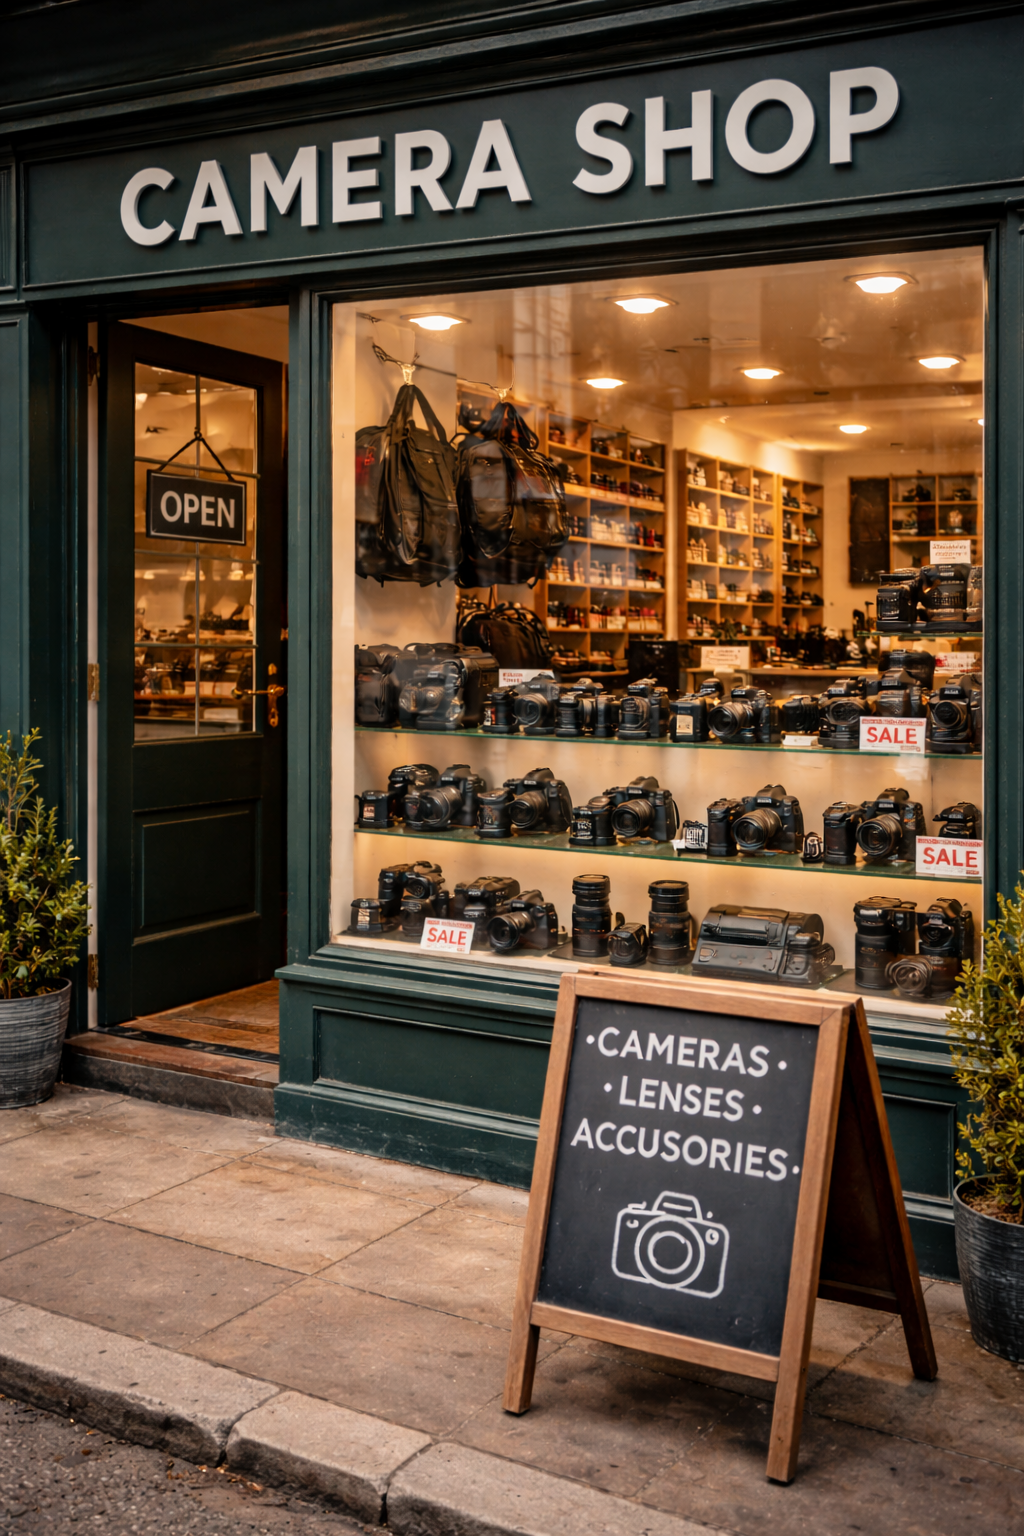
Do I Need New Gear for Landscape Photography?
Do you really need new gear to take better landscape photos? With constant marketing, YouTube reviews, and social media pressure, it’s easy to believe that upgrading your camera is the fastest way to improve. In this article, I break down when new gear genuinely helps, when it makes very little difference, and how to decide if an upgrade is actually worth your money. An honest, practical look at photography equipment, diminishing returns, and making smarter choices as a landscape photographer.
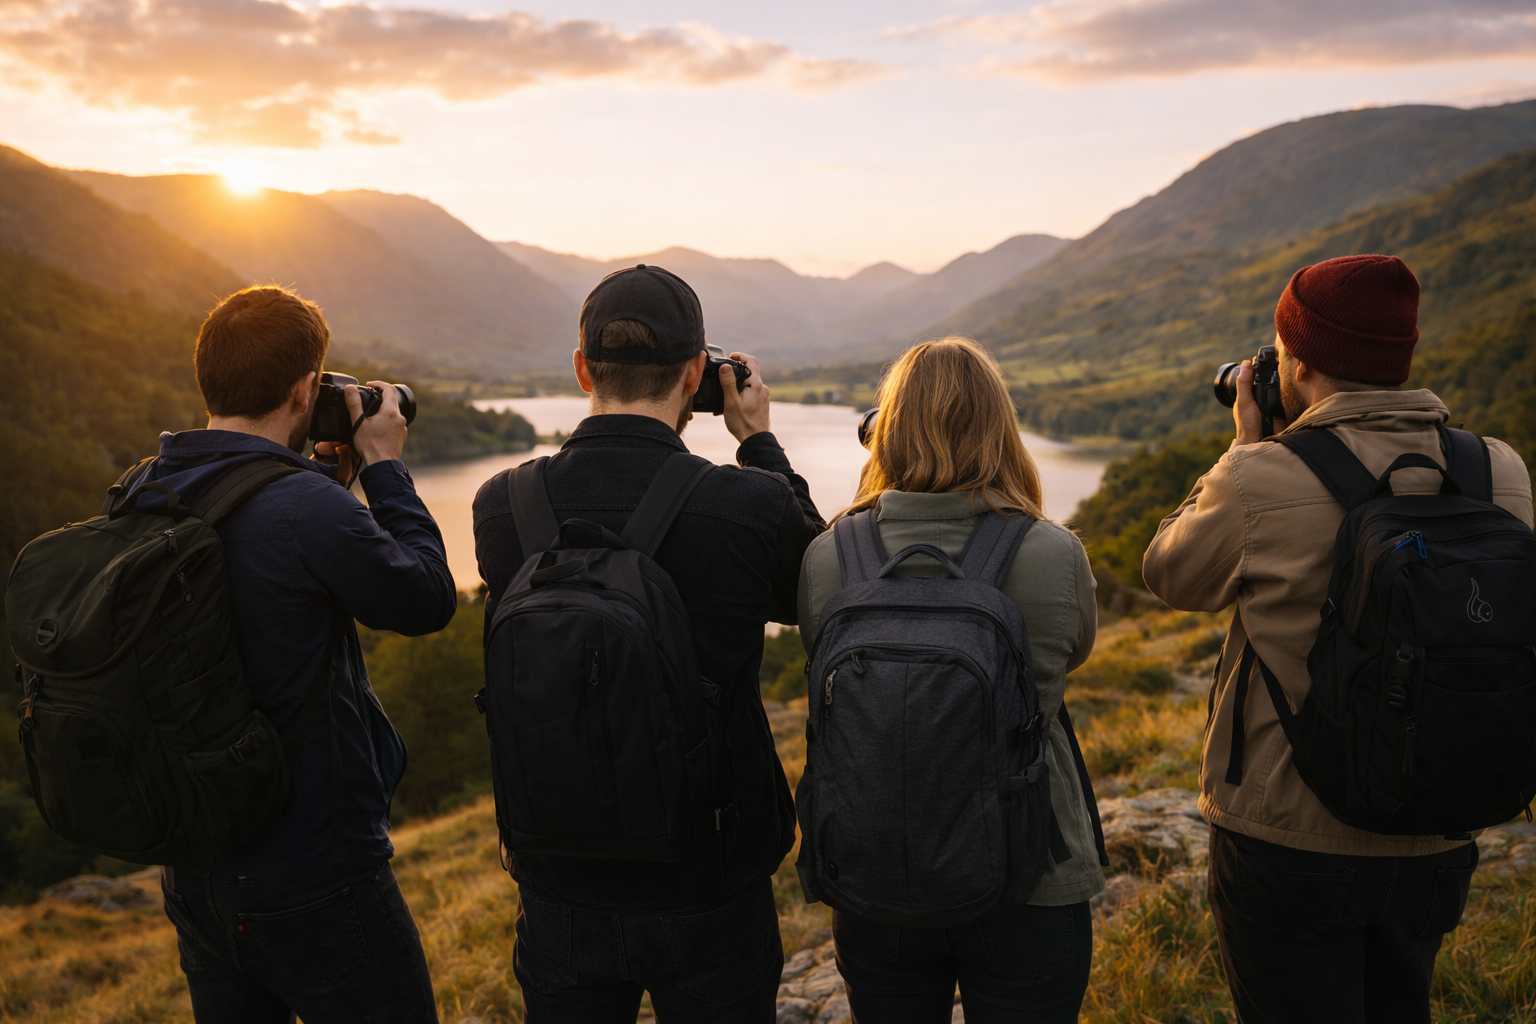
Community in Photography. Why It Matters.
Landscape photography is often seen as a solitary pursuit — long walks, early starts, and quiet moments alone with the camera. While that’s part of its appeal, it can also mean that opportunities for connection, shared learning, and community are harder to come by.
In this article, I reflect on my experience of photography communities in London and how that sense of belonging has been harder to find since moving to the Lake District. I explore why in-person connection matters, what’s currently missing from landscape photography culture, and why online communities don’t always fill the gap. Finally, I share an idea for building something more local, supportive, and grounded in real-world photography — and invite others to be part of the conversation.

Why You Need a Website as a Landscape Photographer.
In an age of social media and instant sharing, it’s easy to question whether a dedicated website is still necessary for landscape photographers. Platforms come and go, algorithms change overnight, and your work is always competing for attention. A website gives you something social media never can: control, permanence, and credibility.
In this article, I explore why having a website matters, even if photography isn’t your full-time job. From building a professional online presence and showcasing your portfolio properly, to improving discoverability through search and creating opportunities for print sales, licensing, or commissions, a website acts as a central hub for your work. If you’re serious about your photography and want to future-proof it, a website remains one of the most valuable tools you can invest in.
Affordable Landscape Photography Accessories
Landscape photography doesn’t have to be expensive. In this guide, I share some of the best affordable accessories that can dramatically improve your landscape images. From sturdy budget tripods and essential filters to clever accessories that make shooting outdoors easier, these tools help you get professional-looking results without spending a fortune.

Landscape Photography Workshops in The Lake District
Discover how landscape photography workshops in the Lake District can transform your skills. Learn to master light, composition and editing with expert field guidance.
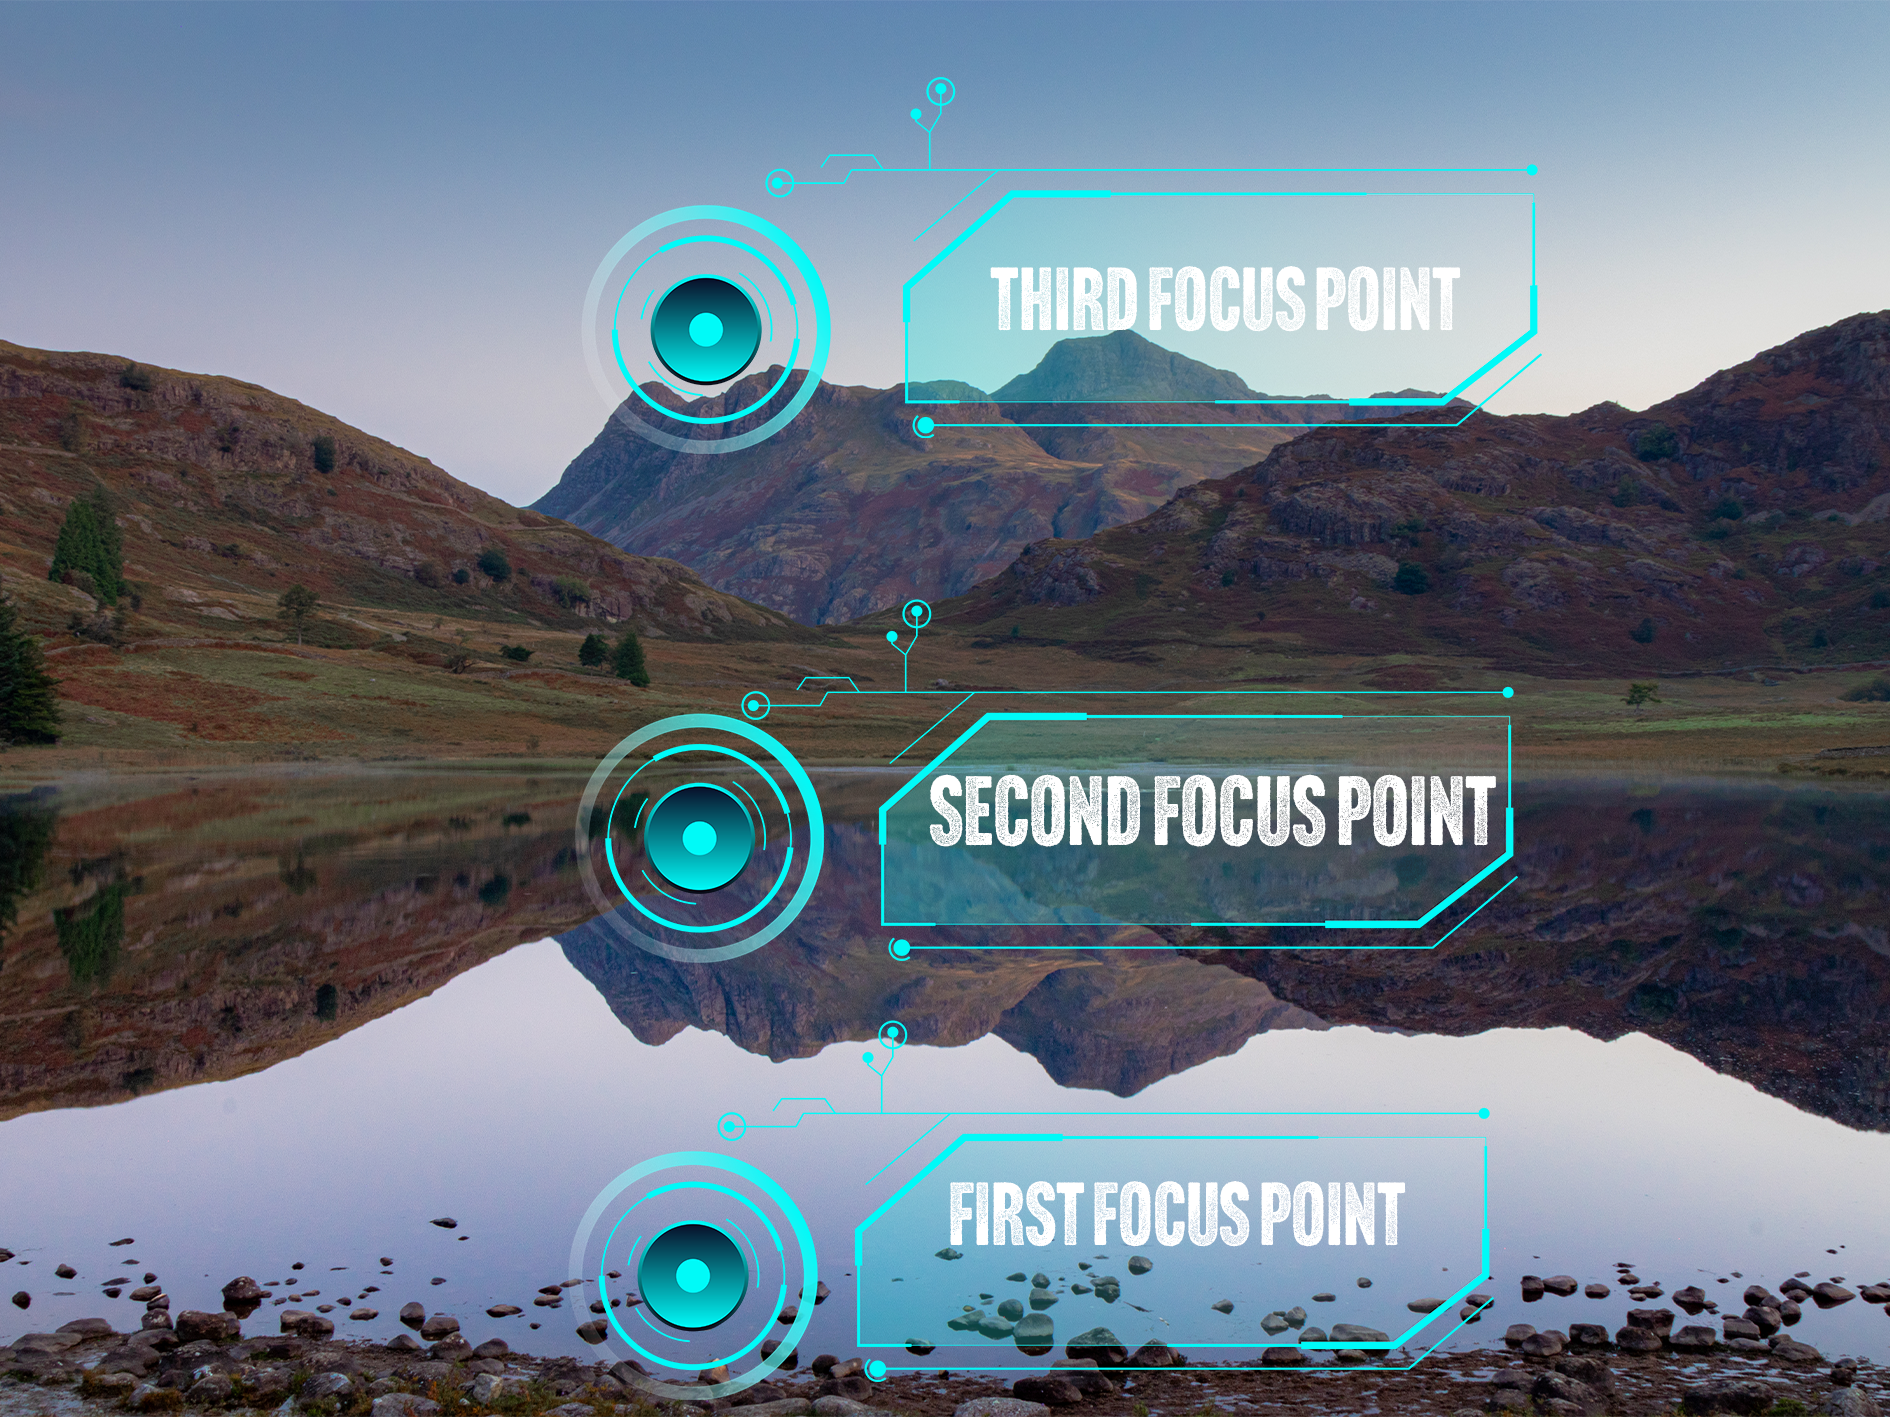
Focus Stacking: How to Get Sharp Images in Landscape Photography
Focus stacking is a powerful technique that allows photographers to achieve sharp focus throughout an entire image, from foreground to background. In this beginner-friendly tutorial, you will learn what focus stacking is, when to use it, how to shoot the required images in the field, and how to blend them together in post-processing for professional results. Ideal for landscape and macro photographers looking to improve image sharpness and detail.
5 Beginner Lake District Landscape Photography Locations You Can Reach Without a Long Hike
Short on time or energy but still want great Lake District landscape photos? These five locations offer incredible views with minimal walking, perfect for beginners, visitors, or quick photography trips.

The Problem with Social Media and Photography.
Social media has become deeply embedded in modern photography, but its influence is not always positive. From chasing likes and trends to comparing yourself endlessly with others, platforms can quietly shape how photographers create, edit and even value their own work. In this article, I explore the real problems social media introduces into photography, how it affects creativity and confidence, and why stepping back can sometimes help you reconnect with what matters most behind the camera.
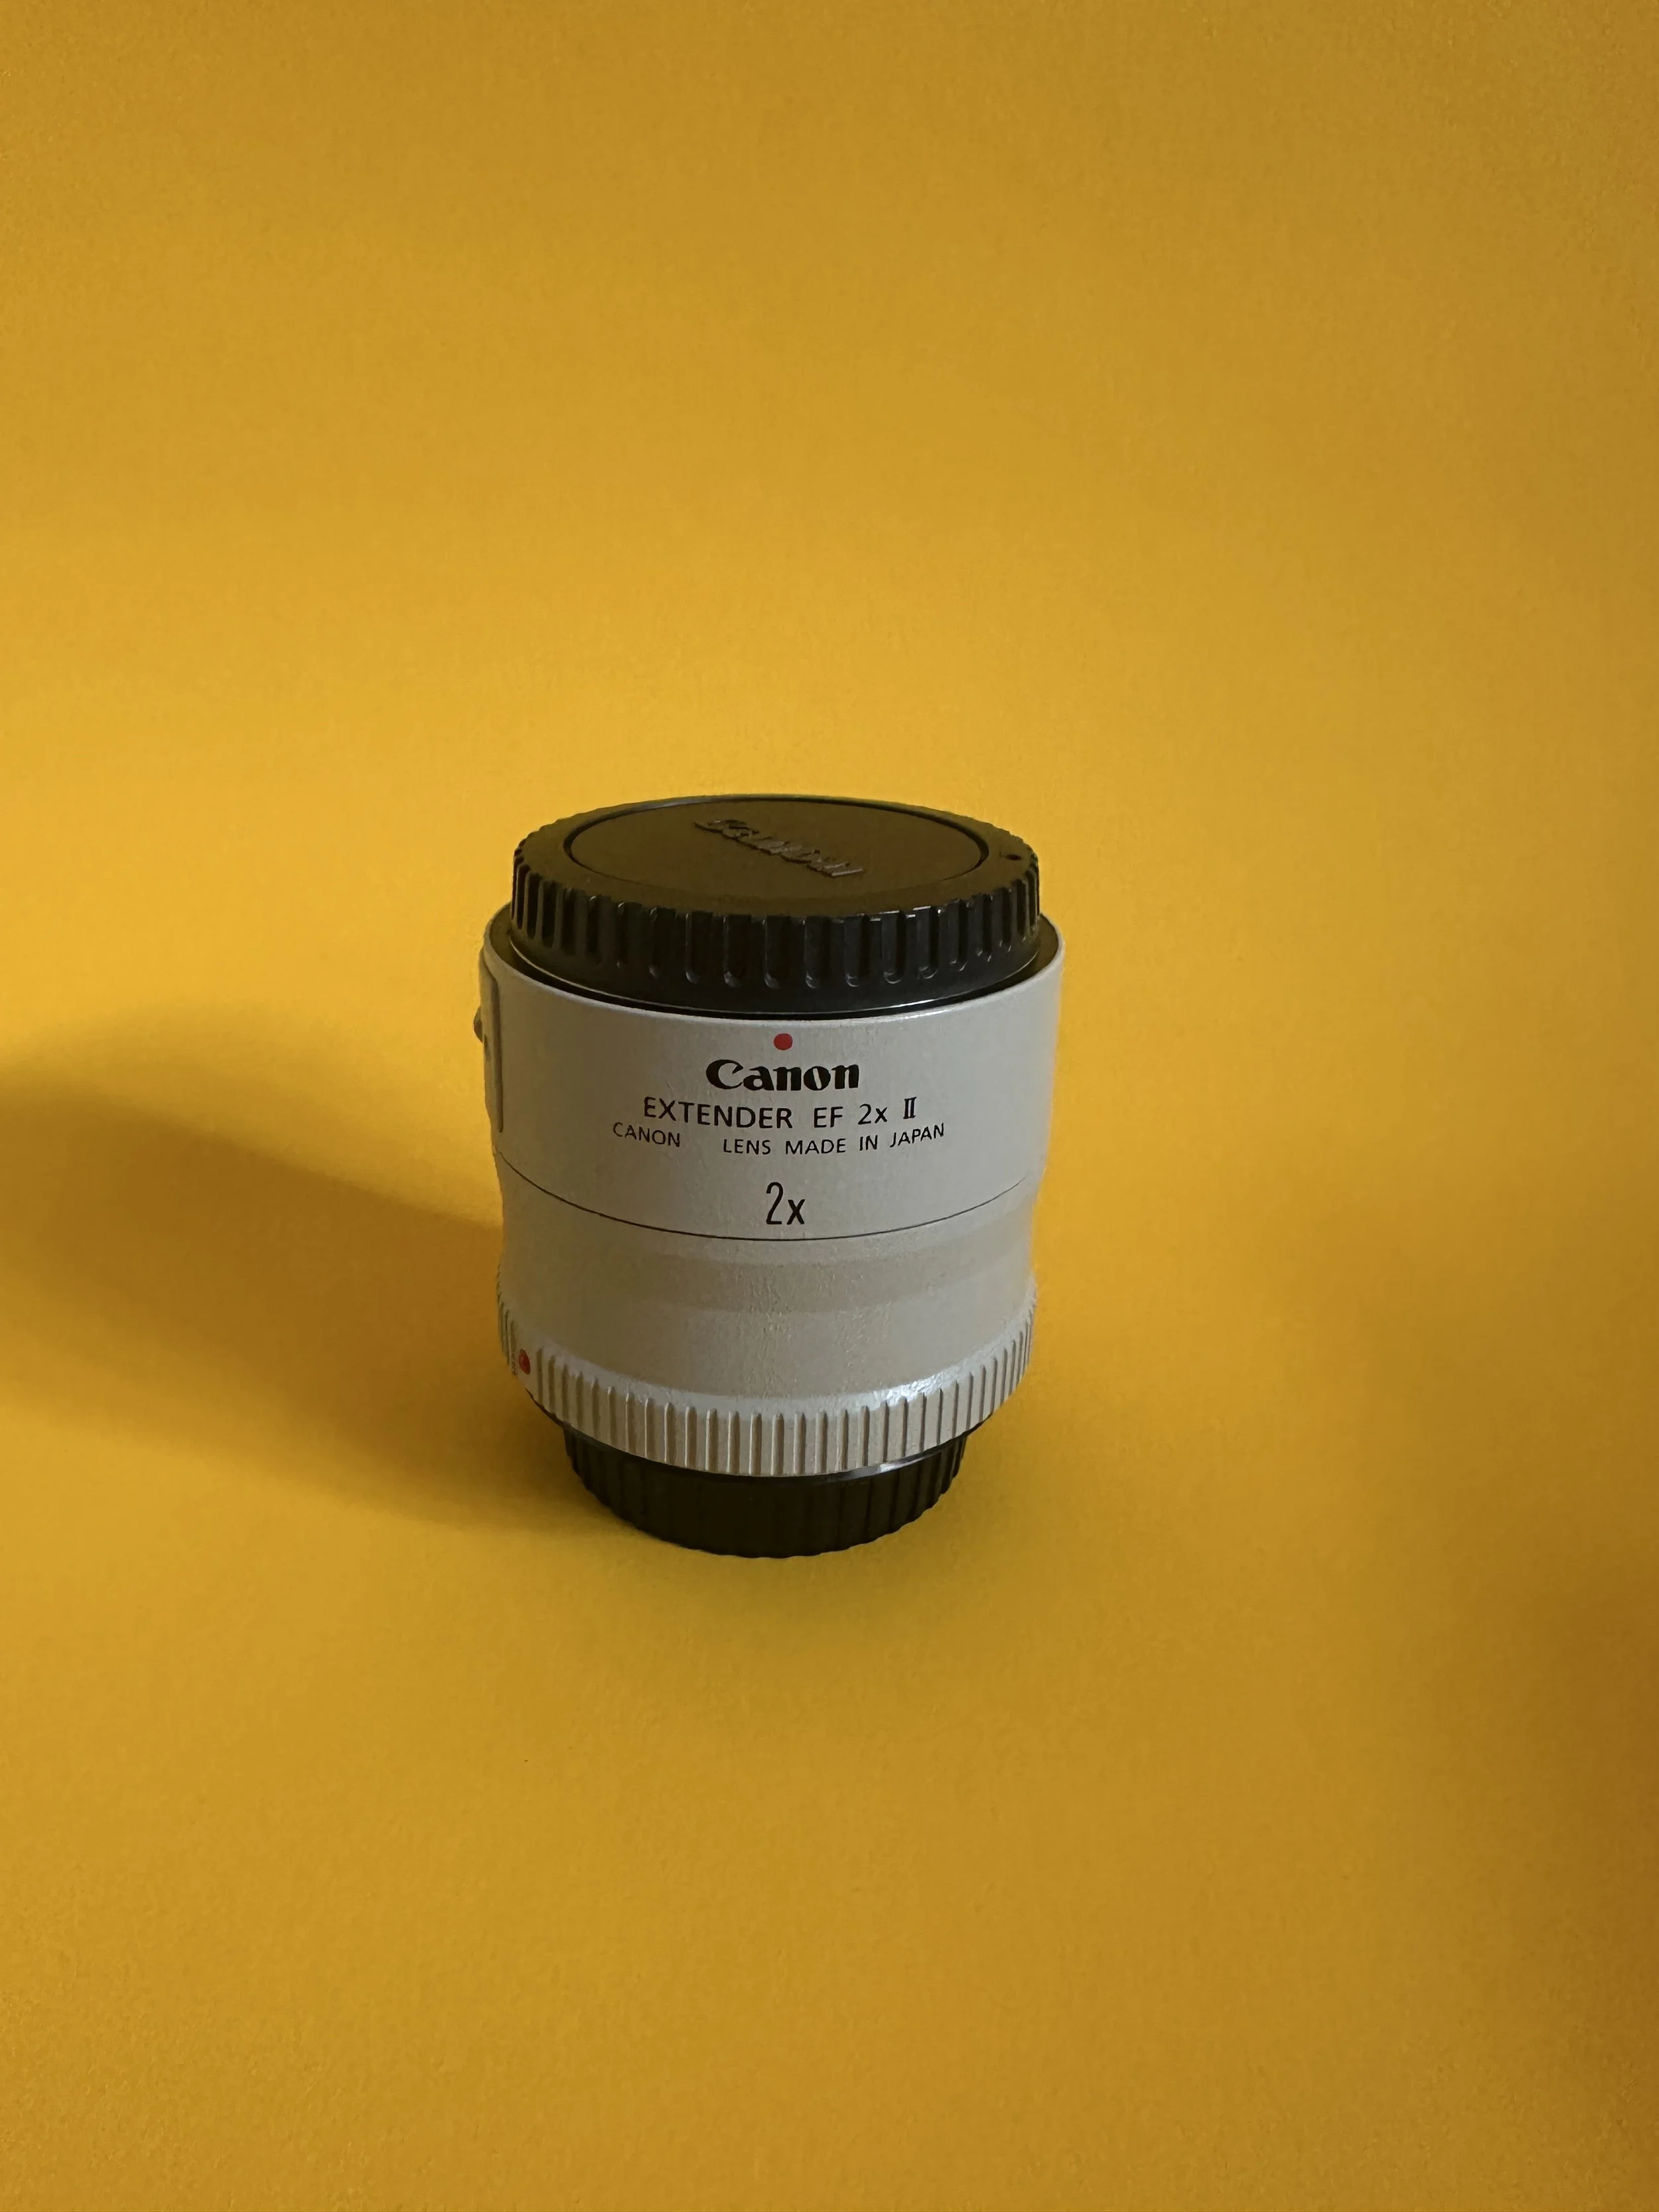
Gear Review: Canon EF 2x Teleconverter MKII
Are you looking for extra reach from your current Canon lenses without investing in a costly super-telephoto? The Canon EF 2x Extender (teleconverter) could be the answer. In this review, I explore the pros and cons of the Canon 2x Extender, how it affects image quality, aperture, and autofocus, and whether it’s worth adding to your kit for wildlife, sports, or landscape photography.

Lake District Photography Itinerary: The Best 3-Day Trip for Stunning Shots
Planning a short break in the Lake District? This 3-day Lake District itinerary is perfect for travellers who want to experience the very best of Cumbria’s landscapes, lakes, and fells in just a long weekend. From hiking iconic Wainwrights to exploring charming villages like Keswick and Ambleside, and photographing world-famous beauty spots such as Ullswater, Buttermere, and Derwentwater, this guide is packed with must-see locations and practical travel tips. Whether you’re a keen landscape photographer, a casual walker, or simply here to soak in the views, this Lake District travel plan helps you make the most of 72 hours in one of England’s most breathtaking national parks.

Street vs. Landscape Photography: A Personal Perspective
Moving from London’s bustling streets to the wild, open fells of the Lake District has transformed the way I see and capture the world through my camera. In this post, I share what I’ve learned making the shift from street photography to landscape photography — from mastering natural light and adapting composition techniques, to preparing for unpredictable weather and refining my gear choices. Whether you’re curious about photographing in the Lakes or looking to adapt your city skills to the countryside, you’ll find tips, techniques, and personal insights from my own journey.