
Are You Using Your Tripod Properly? A Guide for Landscape Photographers
The humble tripod is a staple of most landscape photography setups, unless you’re James Popsys, who is very proud of the fact that he hasn’t used one for long time (I have a LOT of admiration for this), but if you use one, are you using it properly and safely? How could you be using it more to your advantage? What should you look for when buying a tripod? What mistakes do landscape photographers make when using their tripod? I am going to do my best to answer these questions in this blog, as well as providing what I hope you will find are some helpful tips along the way.
This blog contains Amazon affiliate links. If you click on one of these and then make a purchase, I may receive a small commission. This doesn’t cost you anything, but it’s a great way to support the blog and helps me to continue writing posts like this one.
If you find this blog useful, please consider signing up to my newsletter to get first looks and tips straight to your inbox.
TL;DR
A tripod can improve both sharpness and composition, but only if you use it properly. Keep it low and stable, avoid extending the centre column unless necessary, use a timer or remote release, and check whether image stabilisation should be turned off.
Don’t automatically shoot at eye level: changing the tripod height can dramatically improve a composition. Choose a tripod based on stability, weight, height, folded size and the type of head you need, then look after it properly so it lasts.
Most importantly, remember that a tripod is a tool, not a rule. Sometimes the best thing you can do is take the camera off it.
Safety
Not the most interesting place to start, but you need to be safe and I need to make sure that I have my backside covered!
Don't walk around with a camera attached to a loosely extended tripod.
Check the plate is actually locked before letting go.
Check leg locks.
Be careful around cliffs, water and unstable ground.Don’t got flying or swimming unesscarily, the former certainly never ends well.
Don't leave an erected tripod somewhere somebody can trip over it. They will hurt themselves and they will damage your gear. Both of those things hurt.
Don't assume that because the tripod can physically stand somewhere that putting £5,000 of camera equipment on top of it is always sensible.
Never leave it unattended - a number of things could happen from it falling over to someone picking it up and running off with it. It hasn’t happened to me, but I am aware of instances of it happening (thankfully in London, not in the Lake District!)
Thickest Legs First
This is a simple one, and it’s a good habit to form - extend the thickest legs of your tripod first to get the best stability. It’s too easy to extend the thinnest ones first because they are at the bottom and it seems logical, but they are often the thinnest/flimsiest! Having the thickest legs of your tripod extended first, especially if they are the only ones you are using, is going to give you the most stable base for shooting.
Turn off image stabilisation.
Lens stabilisation and in body image stabilisation (IBIS) are great pieces of technology. Some, newer cameras are even boasting of several stops of image stabilisation built into the bodies. The Hasselblad X2D II claims up to 10 stops of stabilisation at the centre and 8 stops at the edges when paired with the XCD 3.5/120 Macro.
However, with most cameras, turning off stabilisation when you have mounted your camera to a tripod will mean that you get a sharper image. Many cameras have stabilisation systems that will effectively “hunt” for movement, even when there is none there and correcting for this non-existent movement means that things in the camera/lens are moving, even if your camera isn’t. Generally, when we’re on a tripod, we don’t want any movement. The same is true of stabilised lenses.
This used to be an absolute rule. It isn’t anymore. There are some cameras out there now which can detect your camera being mounted to a tripod and will handle all of this for you. It’s worth checking your manual, as many bodies and lenses will recommend turning stabilisation off when you’re tripod mounting your camera. Make sure you’re doing what the manufacturer recommends.
Check your manual(s) and make sure you are setting yourself up properly - a few minutes reading the manual could save you a lot of time on a wasted shoot.
Don’t use it at full extension/eye level all the time.
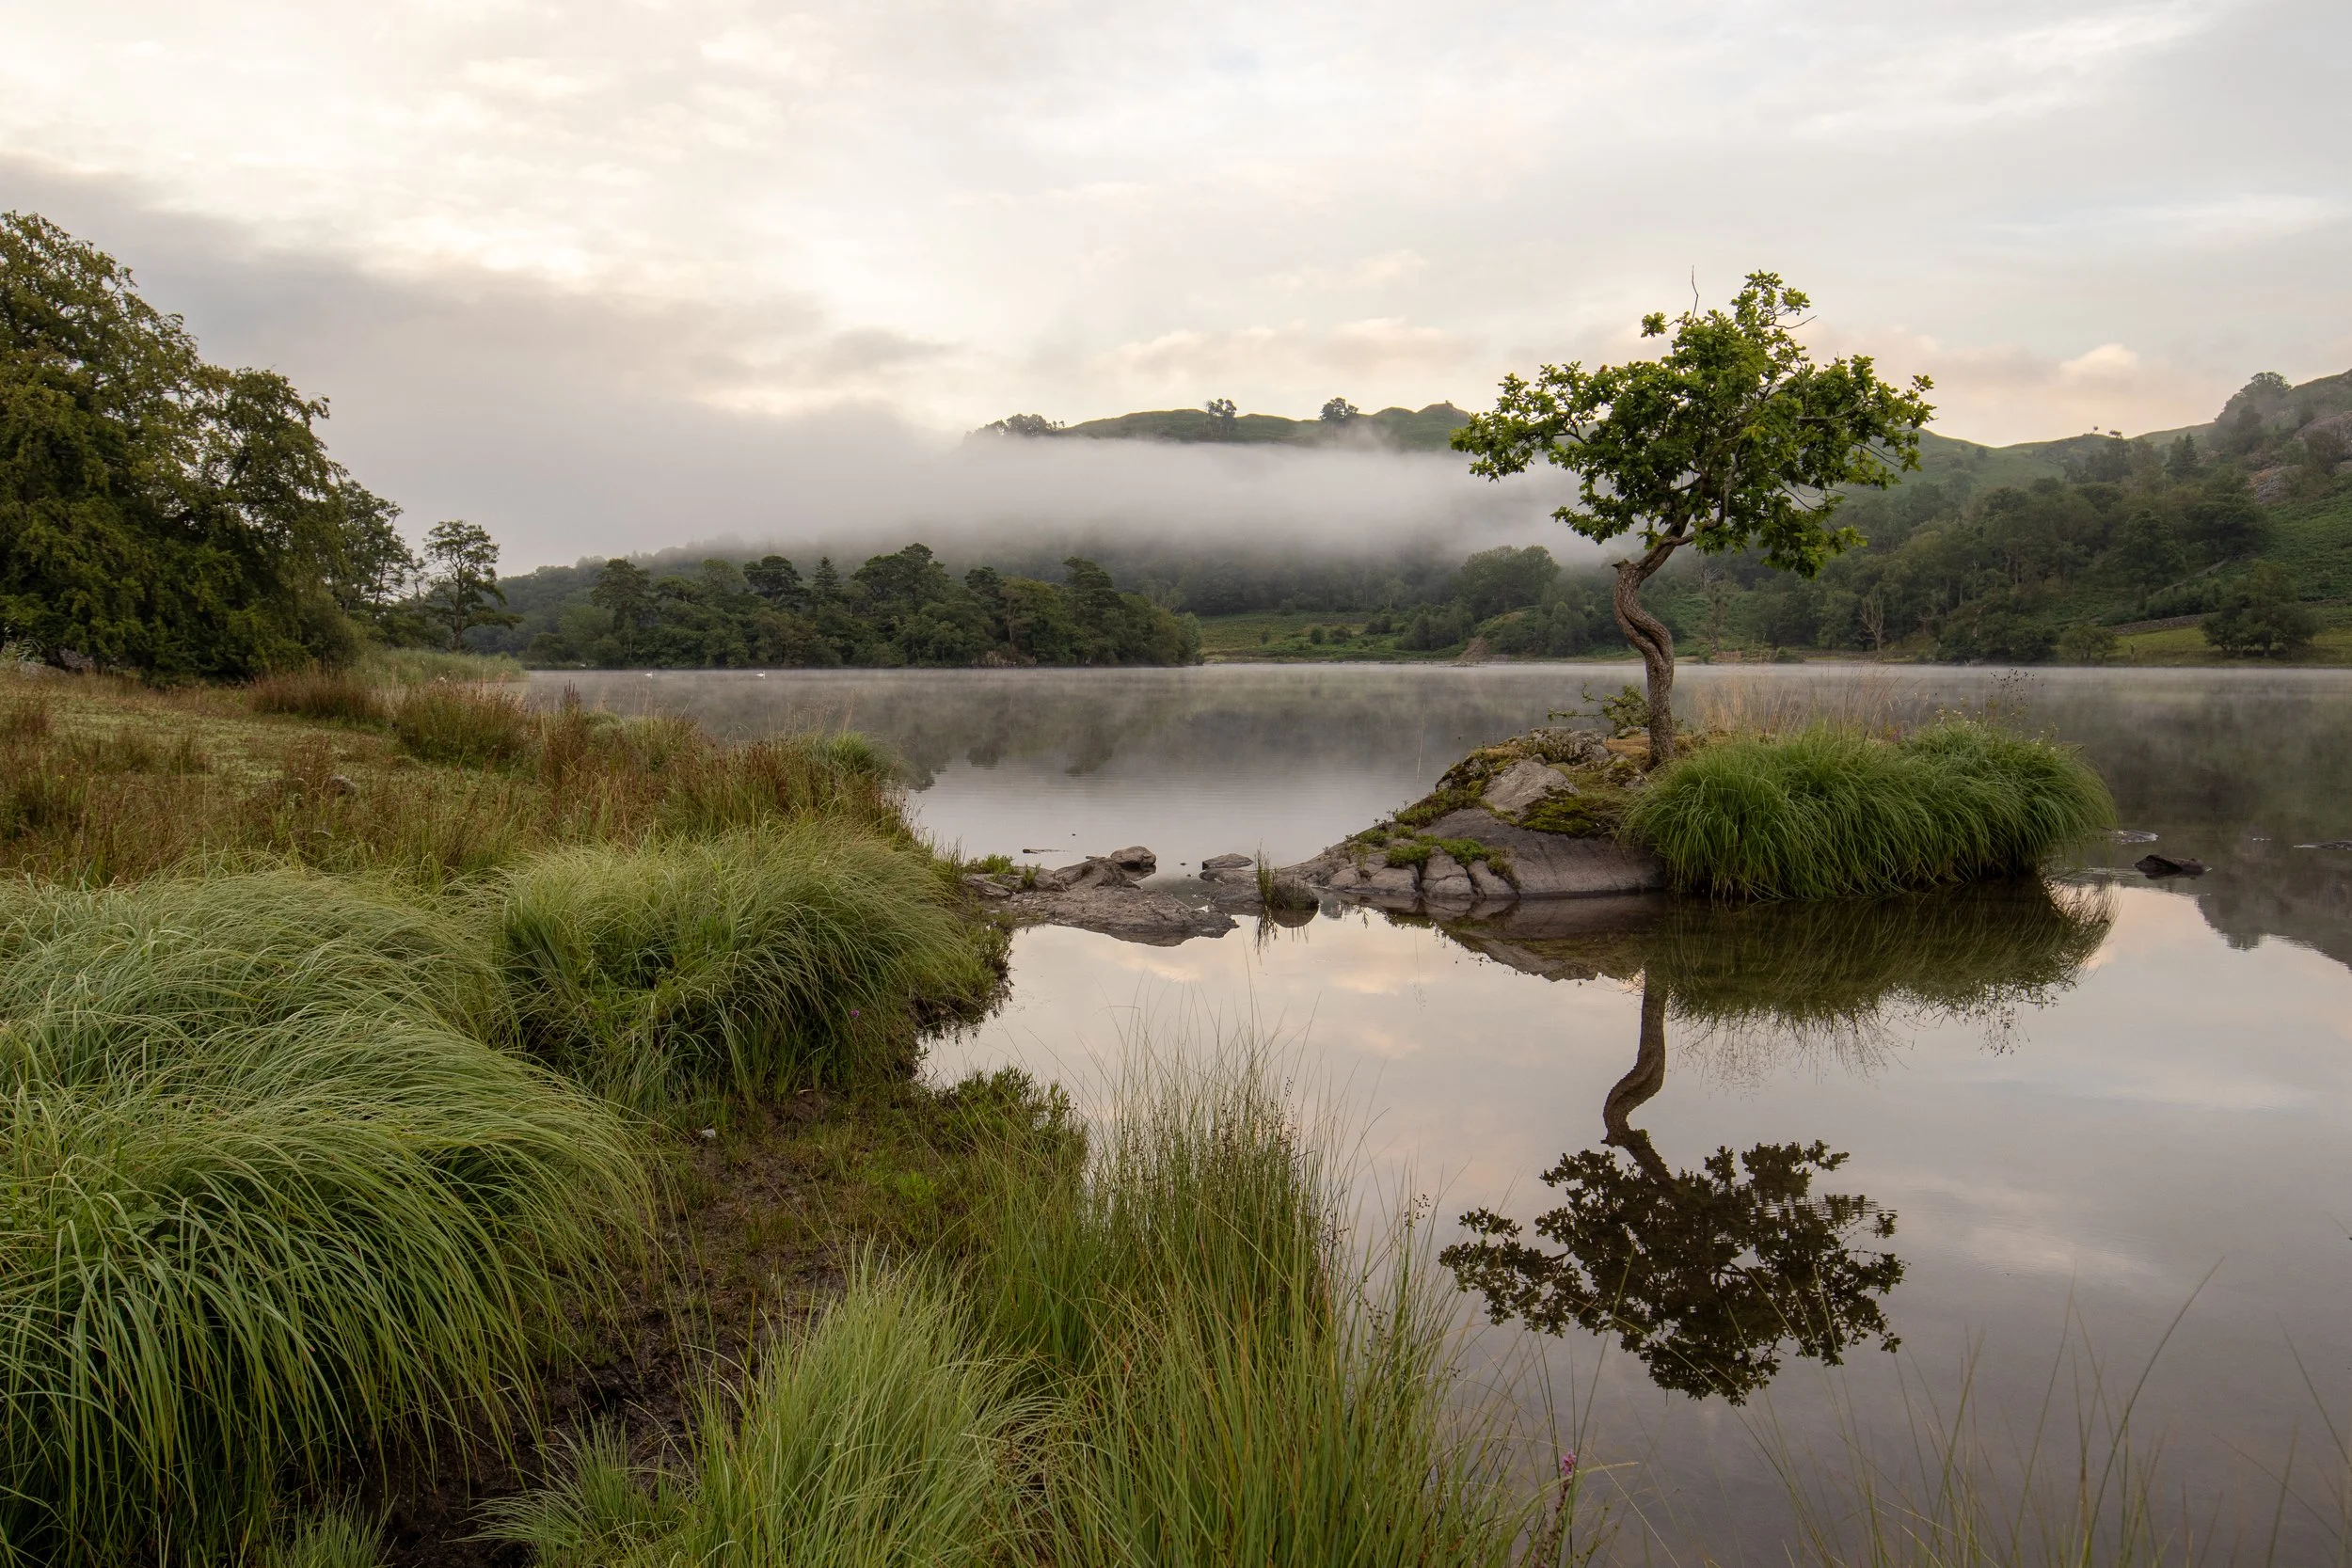
This is the reason I am writing this blog. I am just looking through some images from a shoot I went on yesterday (August 2026 for those of you reading months after the fact), and there are several shots where, by making my tripod much shorter and getting a couple metres closer to my subject would have elevated the shot from “OK’ to “Great”.
One of the shots in question is the one of the lone tree in this blog. You will see that the crown of the tree sits below the ridgeline of the Lake District fells in the background - the fells are passing right through the line of the tree. Dropping the tripod down and angling the camera up slightly would have shifted this perspective so that the crown of the tree was “higher up” in the shot, had broken through the ridge line and was against the background of the sky. This would have made the subject stand out more off the background, and in my opinion, would have made for a more pleasing shot.
Don’t fall into the trap of having your tripod eye level all the time like I did. Its function is to give you a sturdy base to shoot from, not to raise your camera to eye level (though this is always tempting if you want to save your back a bit!)
Avoid Using the Centre Column
Most tripods will have an extendable centre column, which is where your ball head (other heads are available and I discuss these further down) is attached. I always try to avoid using this because it can make things unstable, can catch the wind and make things top heavy. You are moving the camera away from the stable centre of gravity and we can unintentionally introduce more movement. If you do need to use it for practical reasons then try not to use it at full extension. They exist because they allow manufacturers to add more height into the same folded up package, if you can, buy a bigger tripod so you don’t need to use it.
Use your 2 second timer or your remote release.
This is a really good habit to get into as soon as you can. As I have said (repeatedly), the whole point of the tripod is to keep your camera steady. Every time we touch the camera, we introduce movement, even if we don’t think we have and this is movement that the tripod won’t stop, no matter how hard you try, especially at longer shutter speeds.
Make use of your camera’s two second timer so that things have time to settle down once you have triggered the shutter. Sometimes, if I am shooting at longer focal lengths then I will use the 10 second timer even though isn’t its intended use. It gives me the confidence that if I am not using a remote shutter release, any movement I put into the camera has had time leave before the shutter gets released. Longer focal lengths magnify the effect of angular camera movement in the image, which makes small amounts of shake much more visible.
Many cameras now come with an app which will allow you to control the camera, but if you want something as more of a backup to keep in your bag, then the links below will direct you to some good but affordable solutions that don’t add too much weight and don’t take up a lot of space in your bag.
Remember that when it comes to remote shutter release, ‘remote’ doesn’t always mean wireless, so if this is important make sure you read the specs. You should also check that the model your are buying is compatible with your camera. Finally, there is always the the potential for anything electronic to not function as you intended, be that through malfunction or user error (flat battery anyone?), so I ALWAYS carry an analogue option, like the eTone below. Just in case!


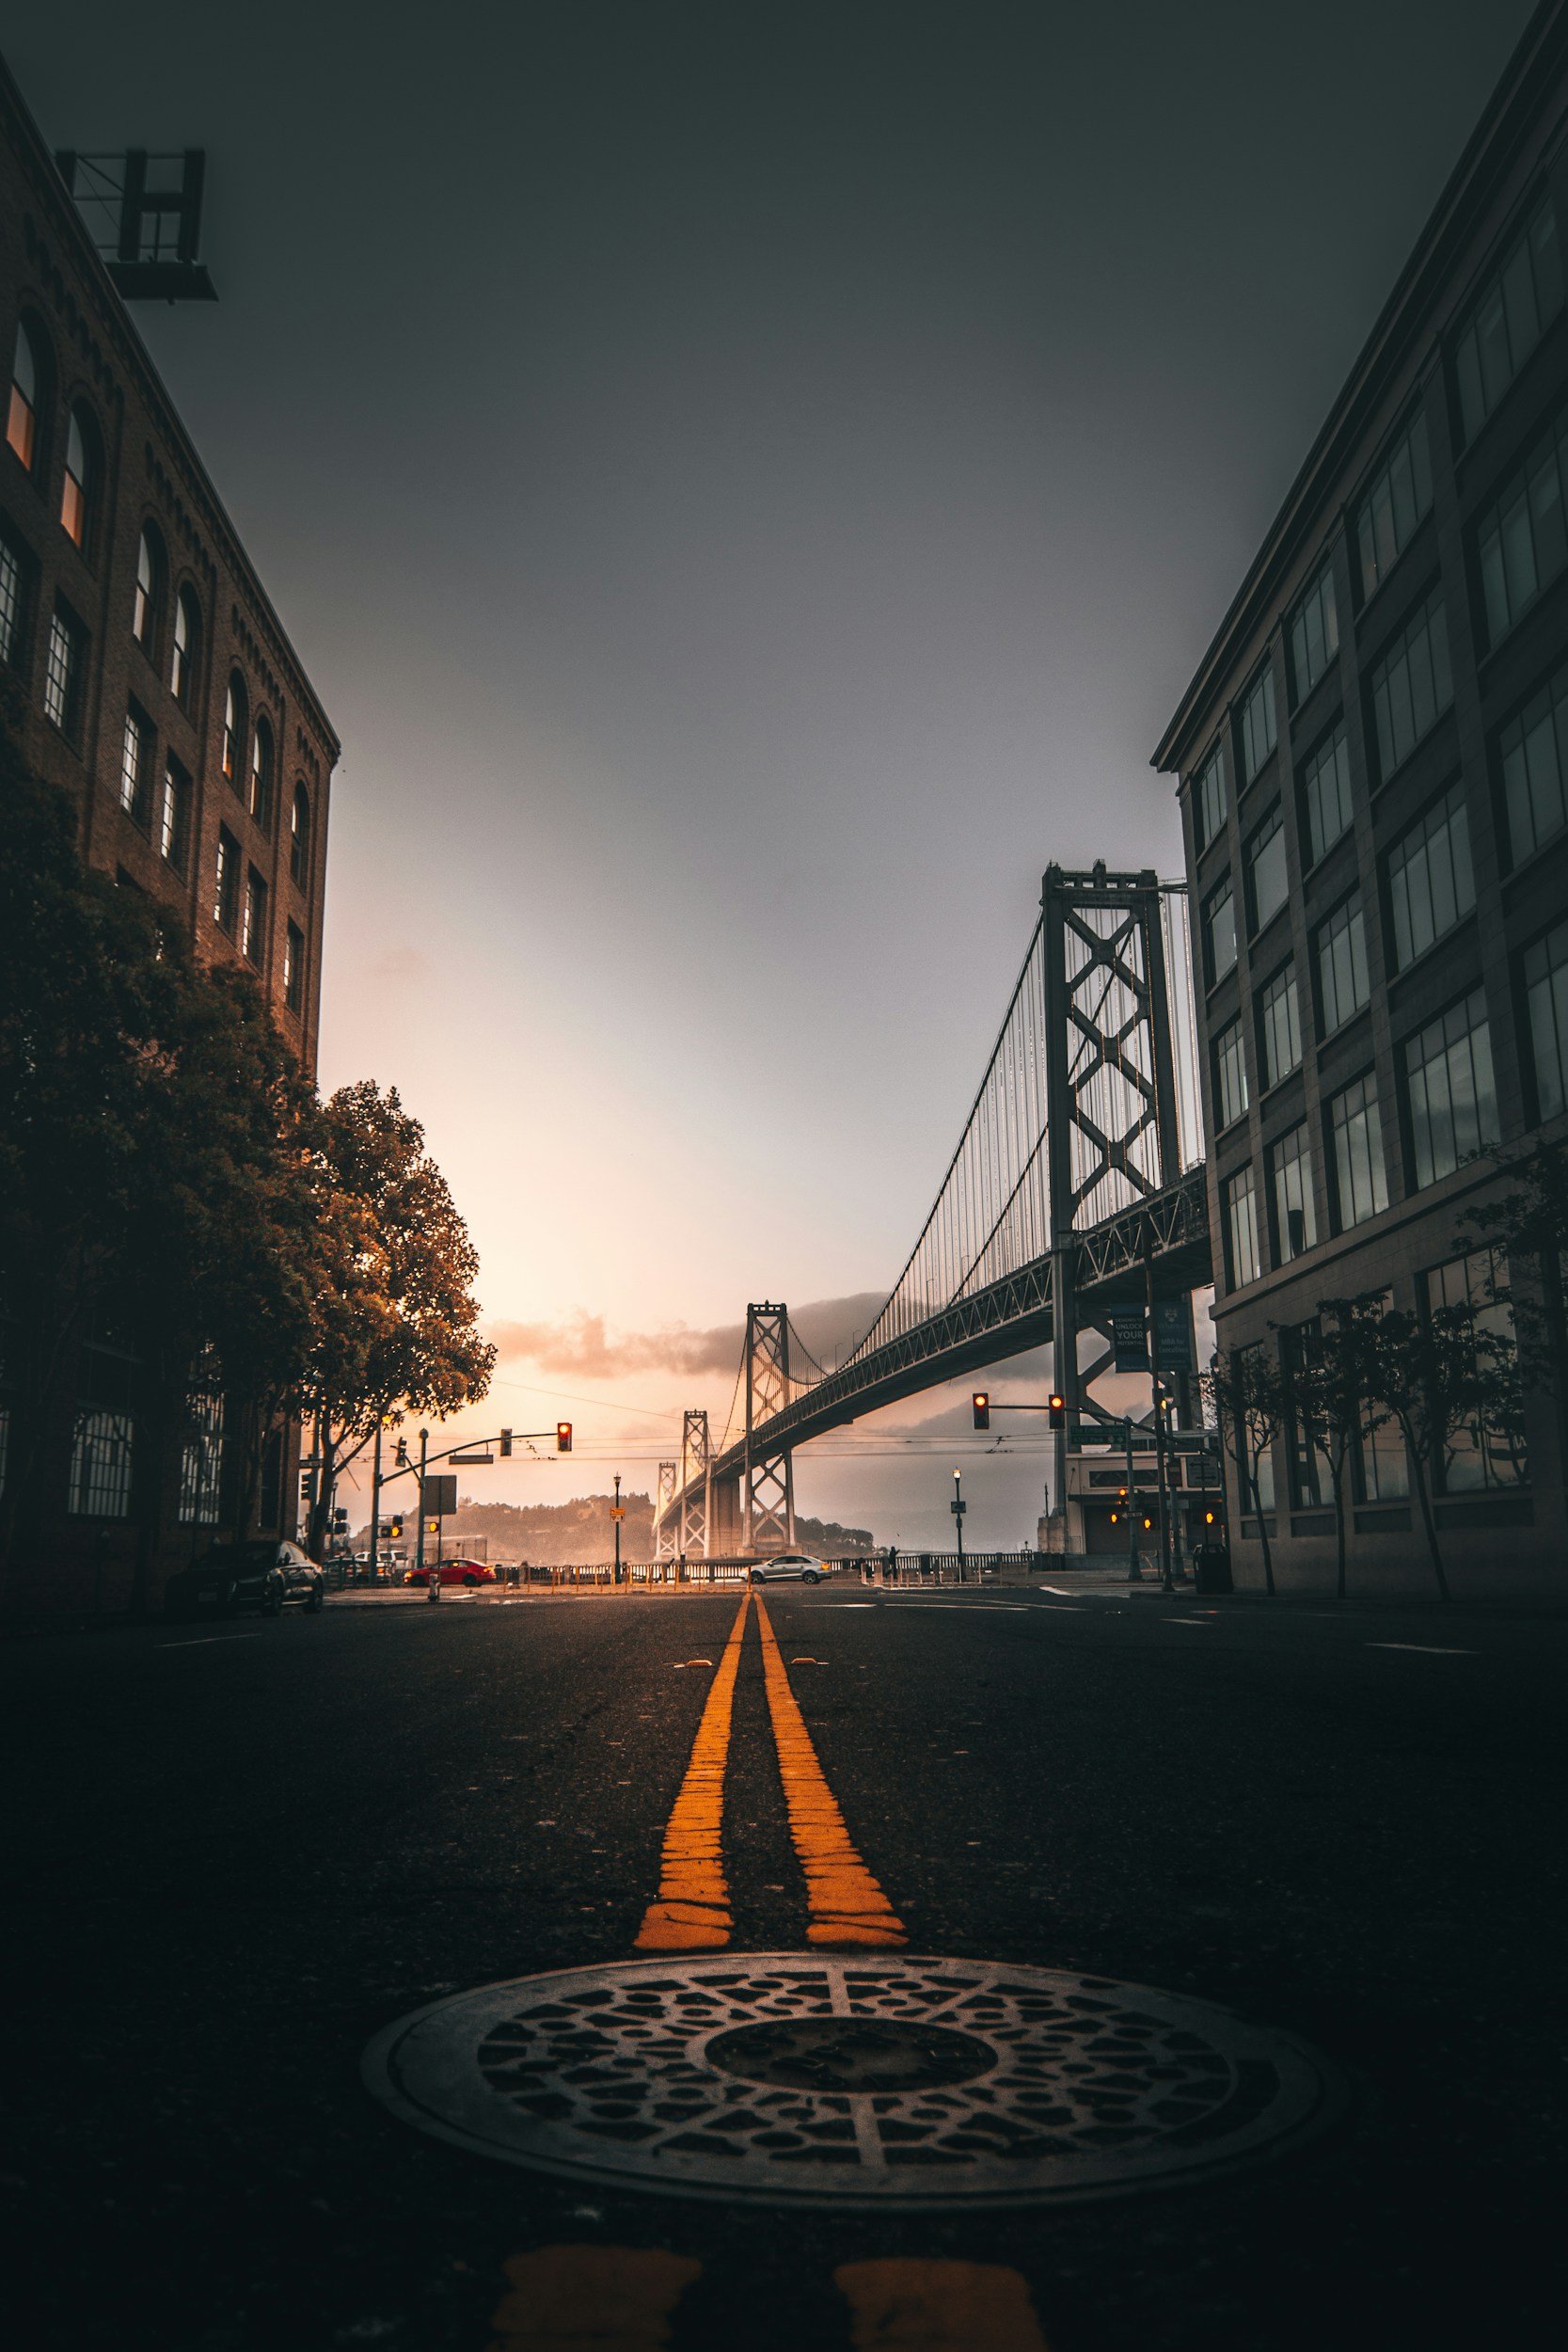
Consider using it underslung for low angle shots.
Some tripods have the ability to shoot in underslung ‘mode’. This means that the centre column can be completely removed and inverted, so that your camera is now hanging upside down. This is really useful for low angle shots where you don’t want to lie down, or can be especially useful for people who like macro photography. It allows you get close and remain stable whilst you do it. It’s not something that everyone will need, but it’s something worth considering before you make a purchase.
This one from K&F concept does just that!
If this isn’t for you then consider a tripod where the legs open super wide that you can get your camera close to the ground. Don’t always rely on this though, if you’re in a tight space and your tripod has 6 feet of legs, that’s often going to mean that you need more room than you have.
Finally, if neither of these work for you, then you could consider a mini tripod that you can keep in your bag. The only one of these I would bother with is the Manfrotto Pixi, but be aware that the load capacity on this isn’t huge.
A quick note on load capacity: This isn’t just the weight of your camera;
It’s the weight of your camera body and anything which is attached to it, so a camera which weighs 800g isn’t going to have a load of 800g; you need to add your lens, your L-bracket and anything that’s sitting in the hot shoe. If you’re using filters then you’ll need to account for these as well - they don’t weigh much, but it all adds up!
Add some weight to keep it stable.
The vast majority of tripods will have a metal hook installed under the centre column. The primary function of this is to hang weight on it to aid stability. If you’re not hulking around everything including the kitchen sink, then the ideal thing to hang on here is your camera bag. The idea is that more weight=more stability. Avoid hanging things like your jacket or jumper as these will just act as a sail and introduce movement, which is exactly what we are trying to avoid.
Be careful in windy conditions as you can end up adding a pendulum to your tripod - that’s not just unstable, that’s an expensive visit to the camera shop (aren’t they all?!) or at the very least a repair that you could have avoided.
Leave it at home.
This seems counter intuitive and I know there will be some situations where you can’t work without your tripod because handholding just doesn’t produce results you want, but not having it can be quite liberating. I have found that even taking it off the tripod when I am out on location can really help me to look for new and interesting compositions simply by handholding and lifting it up to my eye.
Just because you have it with you doesn’t mean you have to use it.
Slow Down.
This doesn’t apply just to situations where you have your tripod, but to photography in general. Slowing down, being methodical and taking a moment can really help you to see more of what is in front of you. We spend a lot of our time waiting for the light, or at the very least waiting for what light we have to develop and if you’re always staring at the back of you camera, you aren’t going to see everything that is developing in front of you. Looking up once in a while can provide some surprises and you (and I!) should do it more often.
Keep it level.
There aren’t many tripods that come without a bubble level built into them somewhere, and there aren’t many cameras that don’t use an accelerometer to show you whether or not your camera body is level by showing you something either in the viewfinder or on your LCD screen. Its more important for the camera to be level than the tripod - most of the time your tripod won't be exactly level, but you will need to counter this in the way you mount your camera and adjust your tripod head, but always try to have your tripod as level as possible.
Keeping your camera level means that if and when you need to straighten your images, you will lose less of it around the edges. Yes, I know that these days we can use generative or content aware fill to get rid of the transparent edges we find ourselves with, but that’s not why we’re here; the more you can get right in camera, the less you will have to do in post. Even if you love post processing (which I do), you can make the experience even more enjoyable if you’re not scolding yourself for not having the composition you wanted because you camera isn’t level.
If you don’t have a camera or a tripod with a built in level, or if yours has broken then you can by replacements quite cheaply and whilst they look a bit garish, they might, in a pinch, just save you a lot of hassle! These ones just slide into your hot shoe, not complicated, nothing expensive:

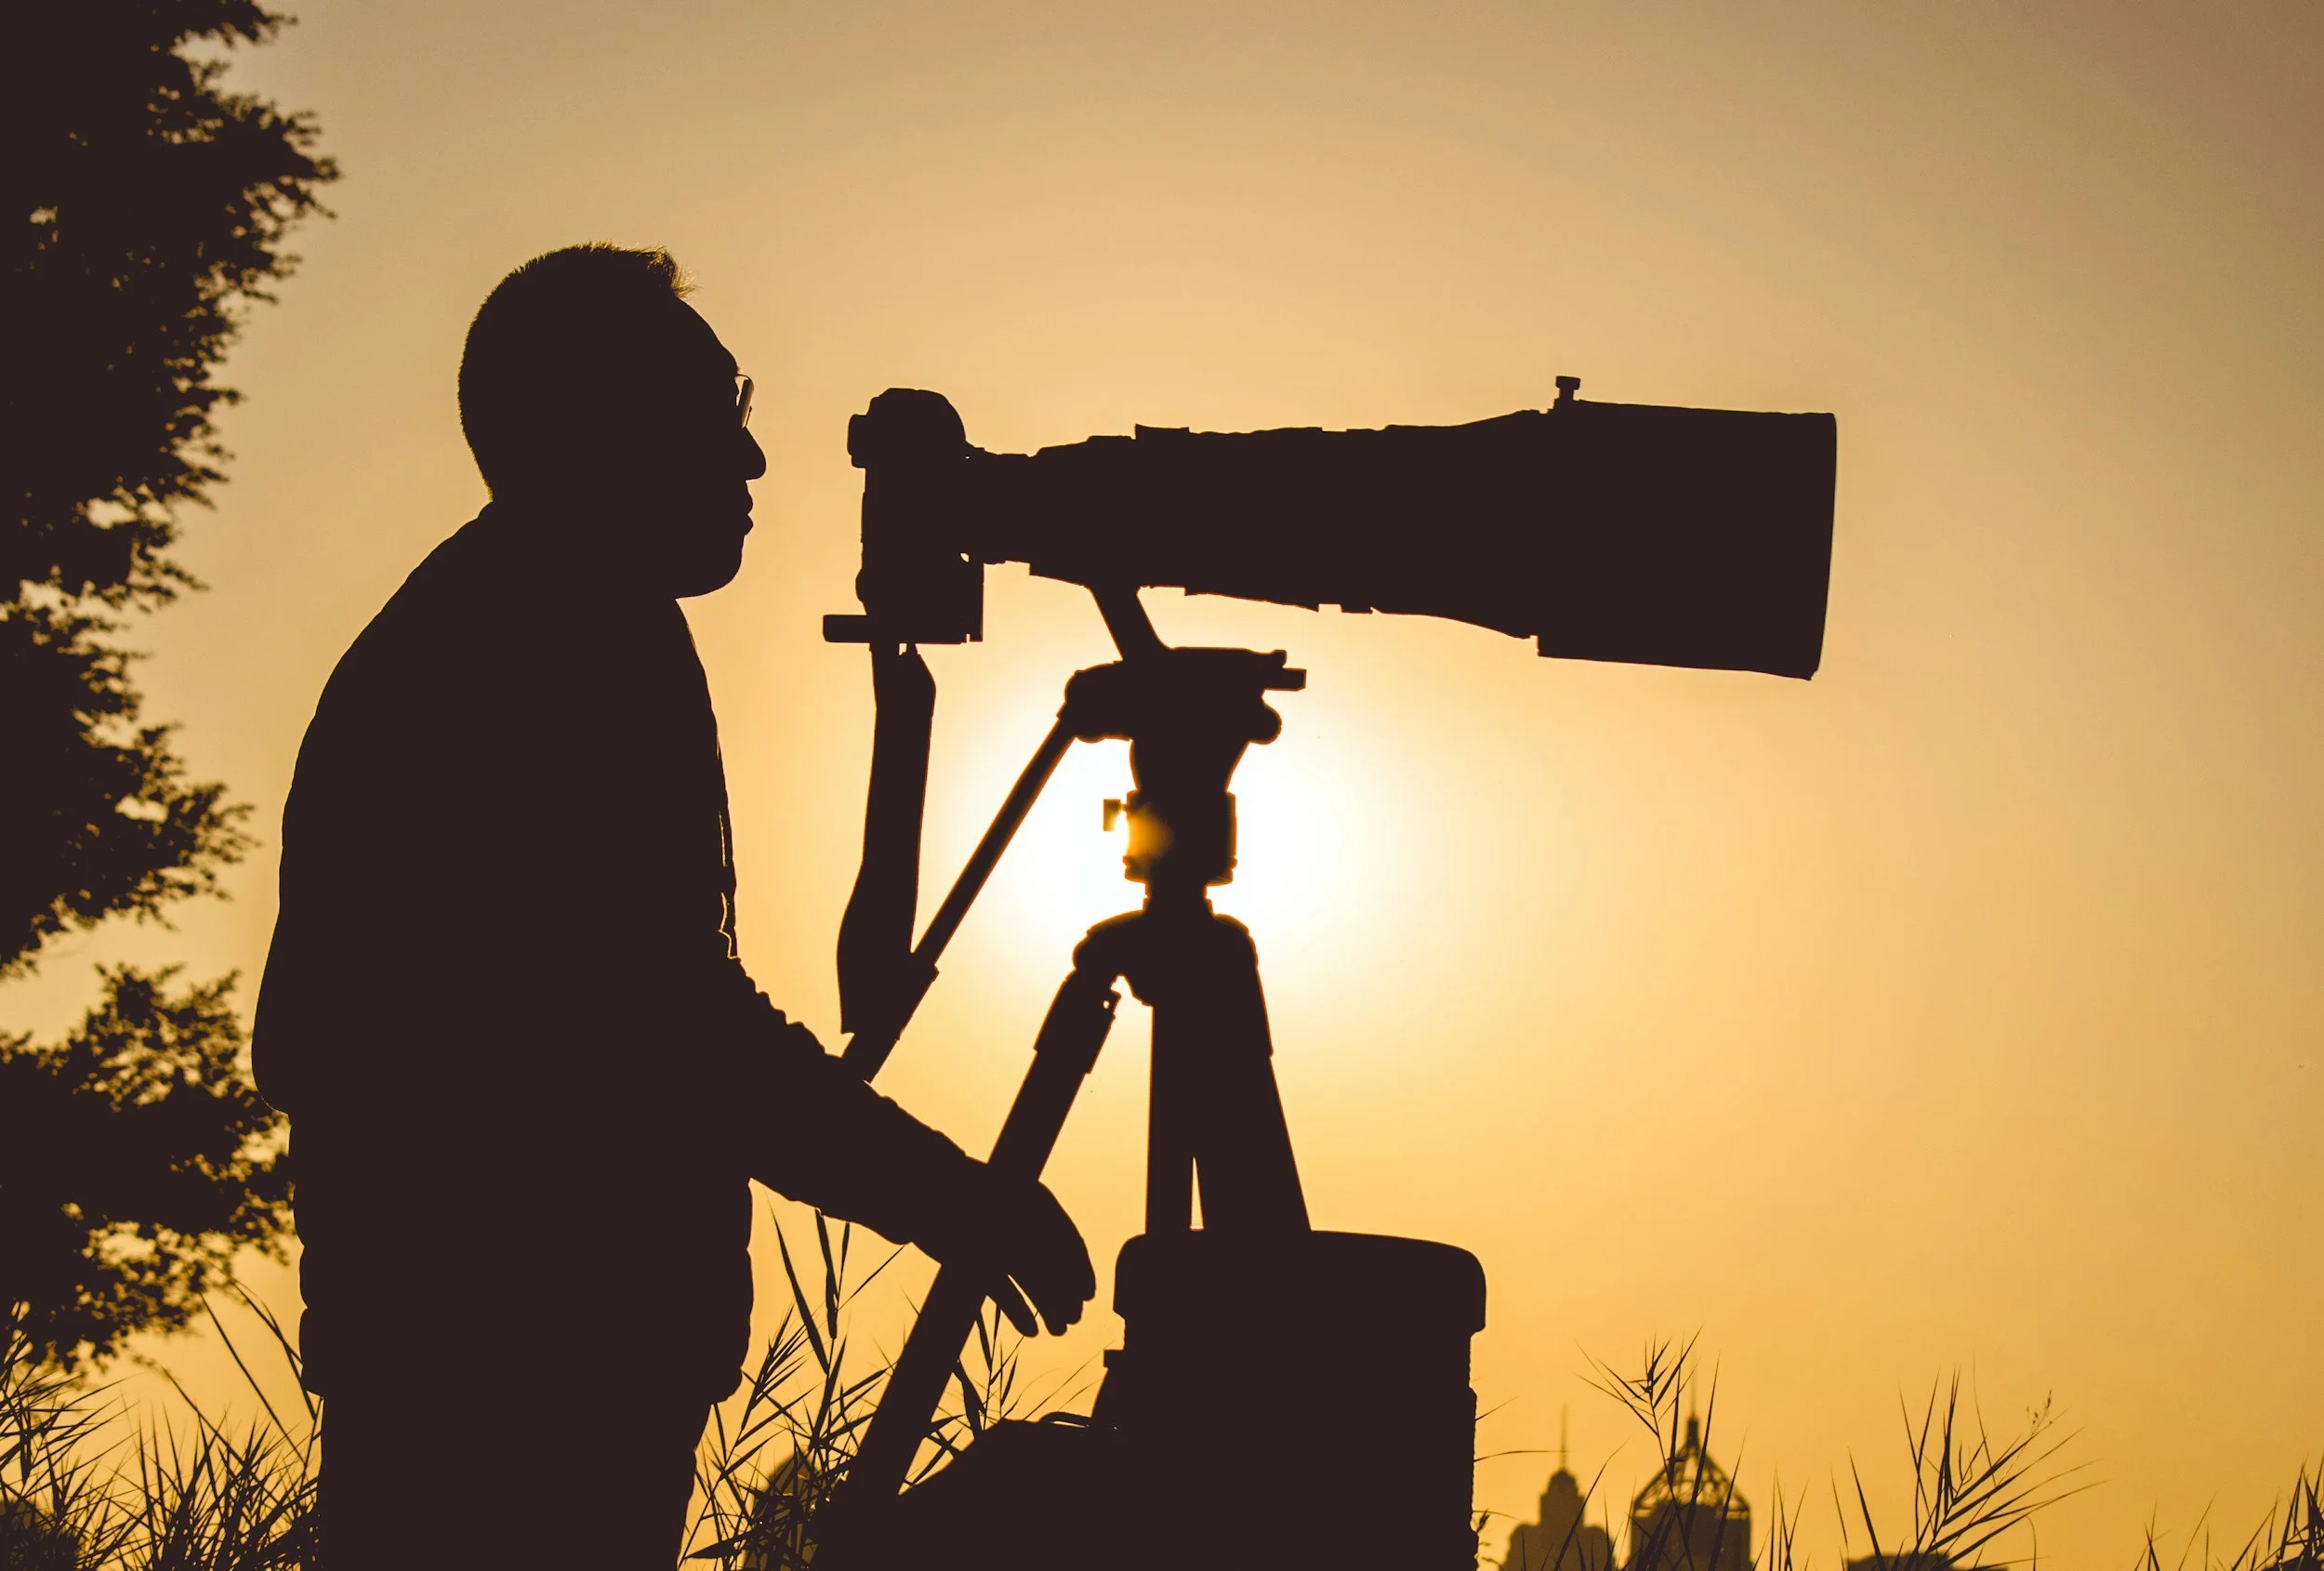
Using a long lens? Use a collar!
Many telephoto lenses come supplied with a lens collar that attaches to the lens. Use it to mount the camera to your tripod rather than the attachment on your collar. This will create you a more balanced setup and balance will give you better stability.
If you’ve bought something second hand, and it didn't come with a collar, then replacements can be purchased for a reasonable price on Amazon, and as with so many things, make sure you buy the the right one to fit your lens.
Get Some Decent Legs.
These are what give you the stability and height. You want something that provides both, preferably without having to use the centre column.
There are a lot of variables, the material impacts the weight and the price. Lighter materials are inherently more expensive so you will either have to save some extra money or decided where you want to compromise. Carbon fibre is awesome, it looks cool, but it will often add a considerable chunk of money to your purchase.
Think about the folded size of the tripod - we spend more time carrying them than we do using them and it’s often useful to have both hands free rather than carrying it all the time so think about how you are going to use it. If you like ‘drive up and shoot’ spots with only a short walk, then this isn’t as much of a consideration, but if you like to hike then you probably want something short enough and thin enough when folded that you can attach it to your bag and forget about it until you need it.
Don’t take the maximum height at face value - this will often be listed as the max height with the centre column extended and as we discussed above, whilst this saves space, it can be at the sacrifice of stability.
You should also consider the way the legs lock - there are broadly two ways that this function will be executed; twist locks (which use friction) and clip locks. I prefer a twist lock as it’s easier to assemble/disassemble on location, especially when it’s cold, you don’t want to take your gloves off and aren’t at your most dextrous. I have also found that some of the clip locks on cheaper tripods tend to snap quite easily and this is something I am keen to avoid!
Whilst you’re at it, get some decent feet to go on those legs!
These are the only points of contact between your tripod and whatever surface you have it standing on. Chances are it will come with some general purpose rubber feet, and these are a great starting point, but you might want to consider some ice spikes and/or some wide feet for when your are shooting on softer, less firm ground. These only cost a few quid so are an easy, worthwhile, useful investment.
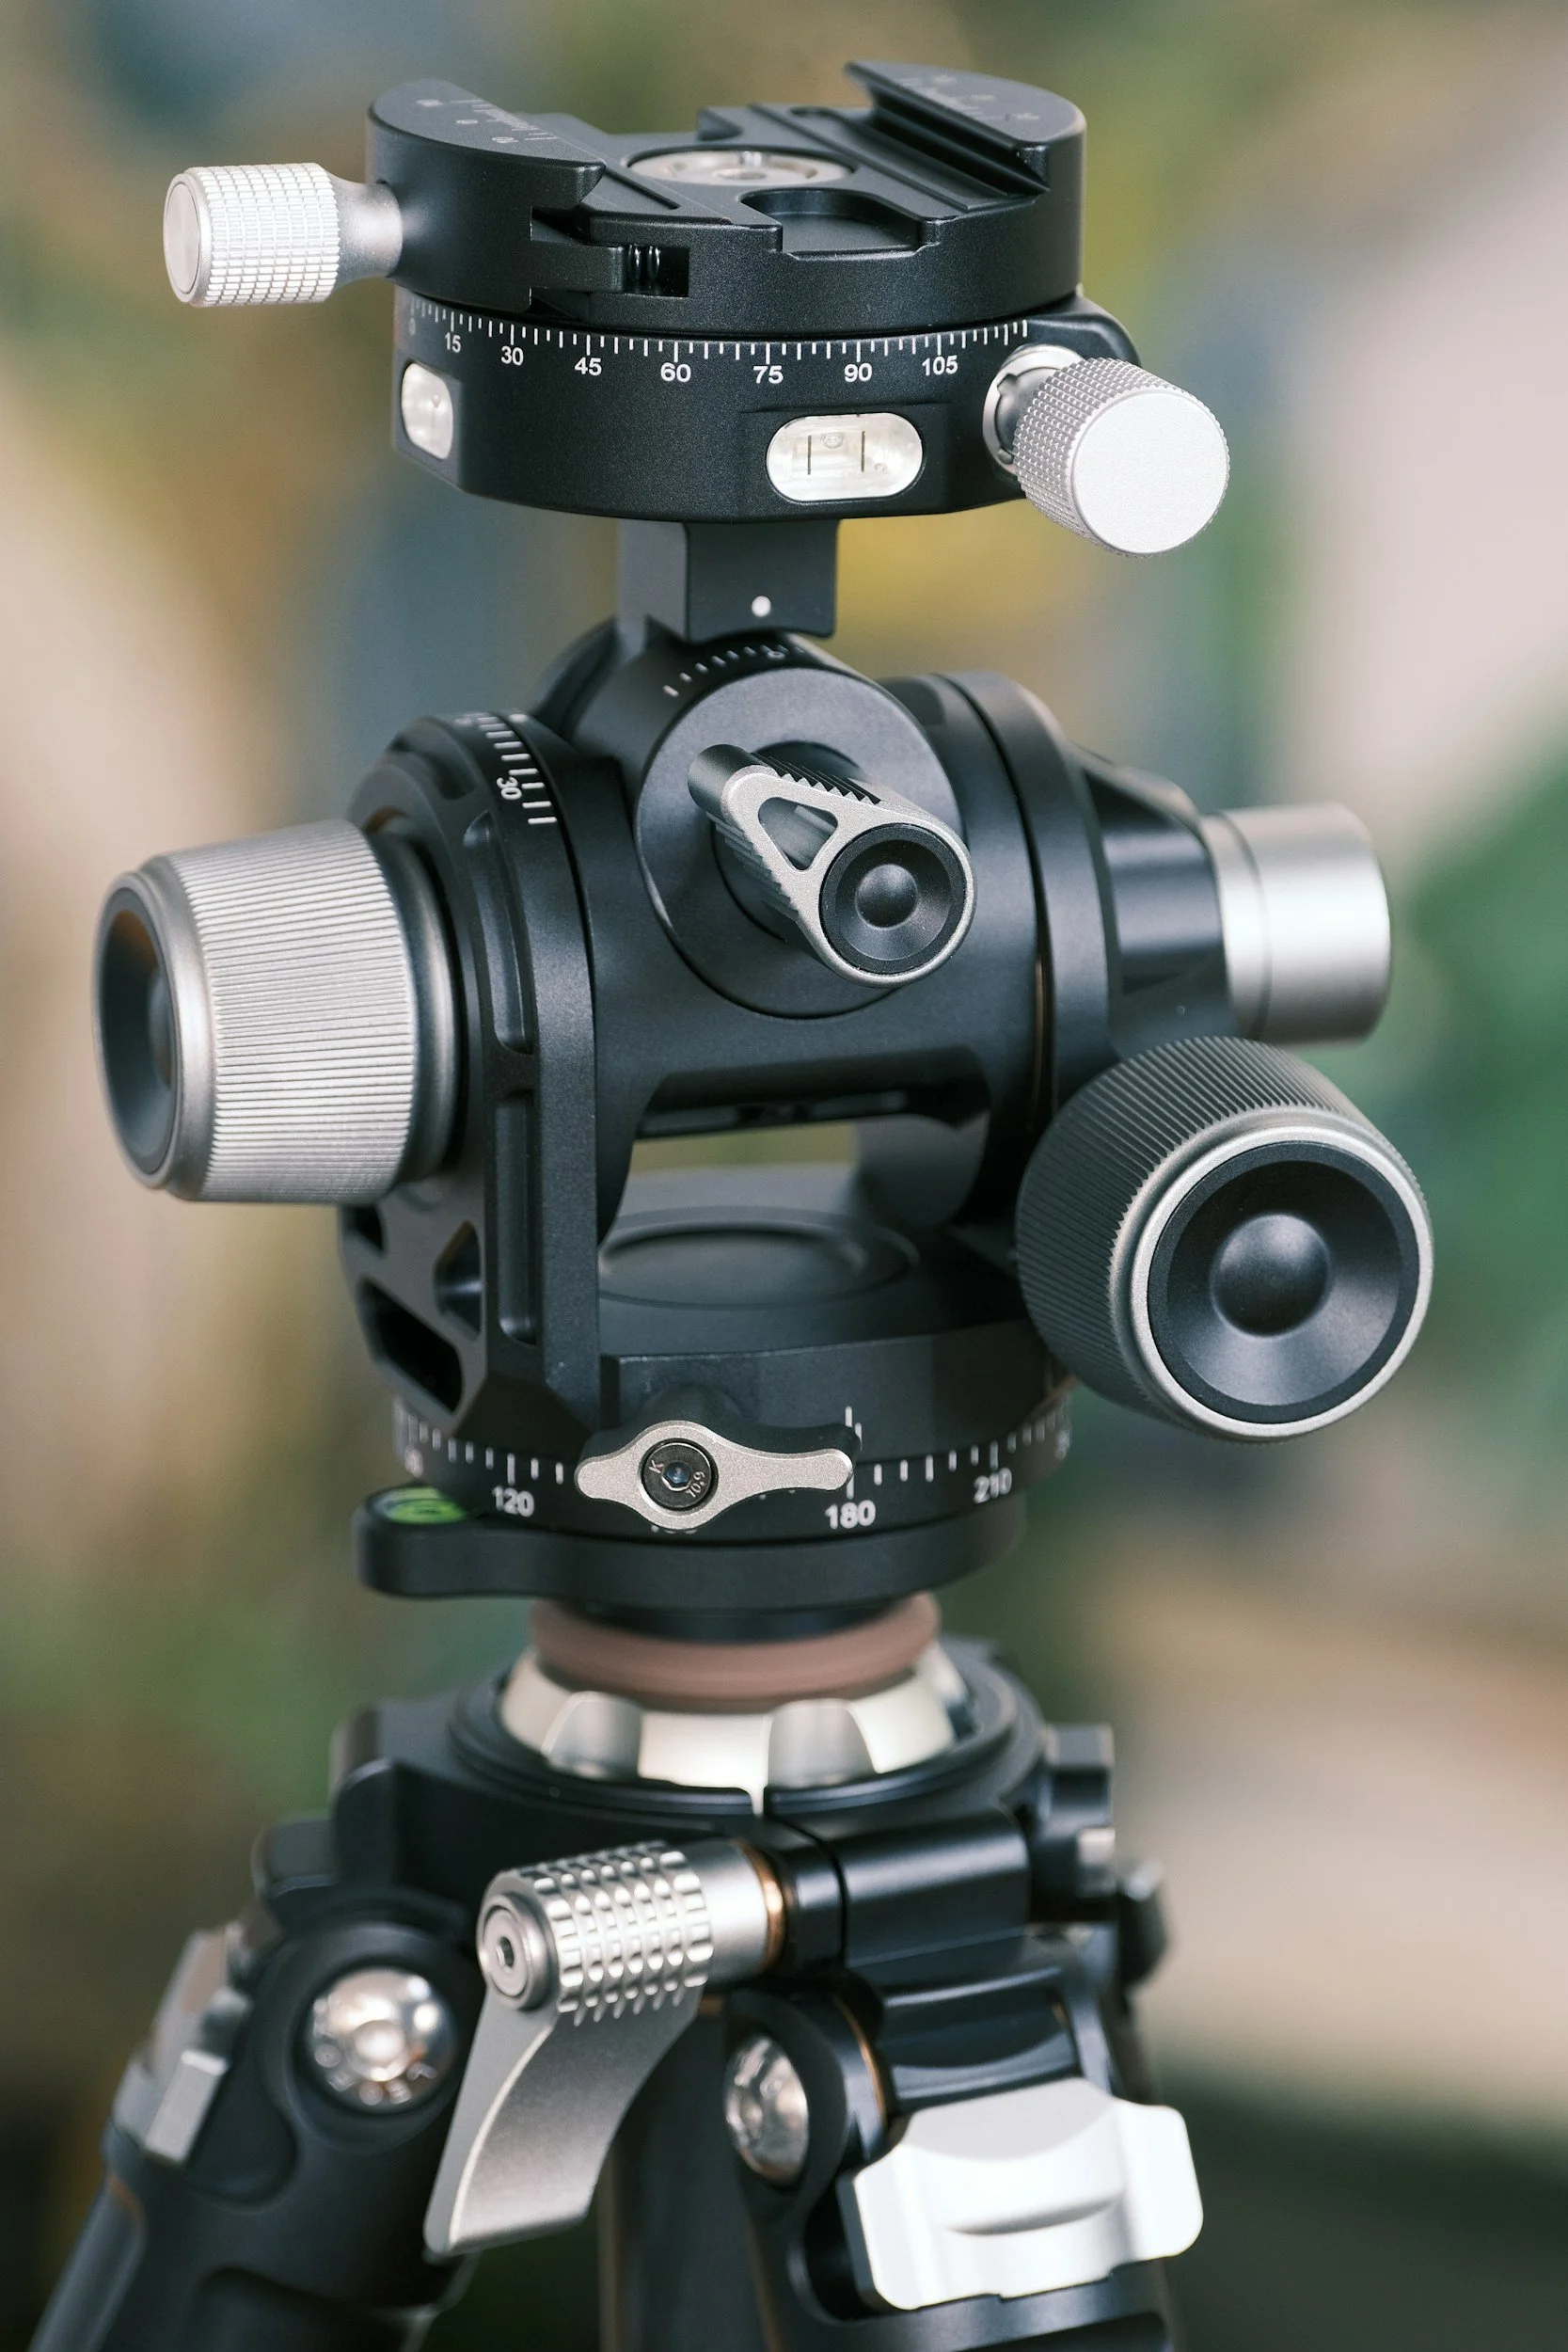
Choose the right head.
The tripod market is huge and can be a difficult and confusing place to navigate; there are ball heads, panoramic heads, 3-way geared heads, macro rails, fluid heads, tilt heads and gimbal heads… They all do the same thing, but all do very different things in different ways. There’s a lot of great marketing - do you research.
A lot of tripods come with a ball head, but as you start to spend more money, you start to get a bit less, and high end tripods are often sold as component parts - you buy your legs and then your buy the head to go with it.
Ball heads are what I would recommend for anyone who is buying their first tripod/head and is what most tripods will come supplied with. These allow you to move the camera quickly and easily by loosening/tightening screws/bolts on the head until you achieve the desired position. You can also put the camera into portrait/landscape orientation fairly easily, though I much prefer to use an L-Bracket for this as I find them much more user friendly.
Geared / three-way heads: These can be expensive, but also a game changer for landscape photography. These allow you to adjust one axis without disturbing the others, so can be really important when you have spent a long time setting up your composition.
Panoramic Heads are just that; they are designed to help you take better panoramas and they do this by rotating around the camera’s no-parallax point. If you’re just starting out, this is probably something to leave until you have decided whether or not this is something that is worth the investment.
Gimbal Heads are designed to keep your camera steady and balanced. They are a useful investment for wildlife photographers who need to be able to move quickly whilst balancing a heavy telephoto lens. They’re not something you will see many landscape photographers using.
Macro Rails are used for, believe it or not, macro photography. They are geared and usually move forwards and backwards, left and right. They allow you make precision adjustments without moving the position of the tripod itself. They are indispensable pieces of kit for macro photography, especially if you’re not using a camera that allows you to do in-body focus stacking.
Z-Style Tilt Heads are something I use in the studio when I need to create a specific angle. They unfold into a z-shape and allow you to shoot at angles which aren’t as easy to obtain with other types of tripod.


Unless you are shooting a lot of video, I wouldn’t bother with a fluid head (these are easily identified by the handle which is attached to them), and are primarily intended for getting smooth panning actions across the X and Y axis whilst you’re filming. I would however, recommend one of these if you struggle with dexterity/grip in your hands as you have less things to unscrew and you may find these easier than dealing with the smaller screw fittings on a ball head.
If you’re getting your first tripod/head then I would recommend going for a decent ball head; they will keep your camera steady without breaking the bank. If you later find out that you need a more specialised head for a different application, then you can go ahead and look at other options, but I’d go with simple and stable to start with and then work from there.
Finally, whilst we are on the subject of how you attach your camera to your tripod, consider the other important bit… I have already mentioned L-Brackets and if you’re an L-Bracket user then this may not be as relevant, but if you’re not and your ball head comes with a plastic Arca-Swiss/Arca-type plate, then it’s worth the money to get a decent metal one. They aren’t expensive and you can thank me when the metal doesn’t snap or break in a way that the plastic one inevitably will!


Watch the Wind!
Wind can be the tripods worst enemy. If it’s windy, keep it low, retract the centre as much as you can or better still, don’t use it all.
If you’re using a strap, take it off the camera. This can be fiddly unless you’re using with quick release tabs like the Peak Design Slide Camera Strap. It will act like another sail and could potentially ruin your image or your camera!
Go as streamlined as possible and remove your lens if you’re using it, especially in a crosswind. If you can, find some natural shelter or use your body to shield it from the wind.
Finally, wait a for a lull before you release that shutter!
Look after it.
This sounds like a fairly straightforward one, but I don’t know many people who do this or admit to doing it, but look after your tripod and it will look after you… and your wallet. They can be relatively expensive pieces of kit and taking care of it means that it will last longer, is less likely to fail and you will spot problems before they become critical.
A good starting point is to wipe it down when you get home. This will remove any moisture and obvious bits of debris. If you have one that can be taken apart easily then it’s worth doing this periodically and giving everything a wipe. I have found that giving it a blast with a can of compressed air manages to get out smaller bits of ‘muck’, such as grains of sand etc. This last point isn’t universally good for all tripods because of the lubricants and seals that they use so check your brand’s/model’s care instructions.
A quick wipe down when you get in from your shoot doesn’t take 5 minutes and could save you some money in the long run when it doesn’t start to go rusty/corrode/similar.
If you have a bag for it, take it out of its bag when you get home and make sure there is no moisture in the bag. With the best will in the world, even the best tripod isn’t going to love you if you let it sit in the damp.
It’s also worth keeping a camera multi tool in your bag; with the amount of use the fixings on the things get, it is inevitable that at some point they will loosen up a bit and you’re left with a limp leg! Something like this one from Smallrig will have you covered for just about every eventuality.
Finally, a special mention if you have been shooting in/around sand or saltwater - get your tripod rinsed! Sand and saltwater are not good bedfellows with tripods - if you don’t rinse it off and make sure it’s clean then you’re inviting problems. Benro recommend that when you have been shooting in these conditions that you clean and dry supports after wet, dusty, sandy or salty conditions, remove debris from locks/leg sections/moving parts, and rinse appropriately with fresh water where required.
You should always read the manufacturer's guidelines on cleaning your tripod and don’t spray it with anything abrasive or chemically harsh as you could do more harm than good. You have been warned!
My tripod recommendations.
This may well be why you’re here, either because you’re making a purchase and want some advice, or because your a bit nosey! (I’m fine with either.)
The tripod I use is the Benro MACH3 Long (Aluminium) and I have it paired with Benro GX30 Low Profile Ball Head. This is the best tripod I have used, but it isn’t the lightest. Nor is it particularly small when it’s folded up, but it is incredibly stable and the ball head is buttery smooth with a quick release mechanism that is convenient. Most importantly it is secure. Benro do make a carbon fibre version of this tripod, but expect to pay carbon fibre money - if weight is a huge consideration, your may think it’s worth it, but that choice is down to the individual.
I’ve put some links below to some tripods I would recommend so feel to browse at your leisure.


Three Legged Thing Punks Corey 2.0 Lightweight Travel Tripod


Benro Tortoise Columless Tripod
In Conclusion:
The tripod is an essential (for the most part), piece of landscape photography gear that if used properly will really help you to elevate the standard of image that you are producing. If it’s looked after well, it will give you many years of usage.
Don’t fall into the traps or make the mistakes that I have mentioned above and you will be producing portfolio worthy images for many years to come.
Keep it level, keep it locked, keep it looked after and every now and again, keep it low!
Thanks very much for reading. If you want to support the work that I am doing writing this blog and helping other photographers, please consider making a purchase using the links above, or you can click the button below to buy me a coffee. All of the money I make from this blog gets reinvested to buy gear to review so that you can make more informed choices.

Click the links below to read my previous blog posts!



Image Credits: Tripod Head: Duc Van @unsplash | Telephoto Lens Sunset. Jonathan Mabey @blueguy590 @unsplash | Low Angle Cityscape Sunset Aaron Lau @cloud_symmetry @unsplash