
My Photography Blog
Welcome to the Chris Kendrick Photography Blog, where I share the stories, challenges and inspirations behind shooting Lake District landscapes and working as a Cumbria-based photographer. Alongside behind-the-scenes reflections from the fells and lakes, you'll also find honest photography gear reviews, covering the cameras, lenses and accessories that genuinely perform in real Lake District conditions. Whether you’re passionate about landscape photography, exploring Cumbria’s scenery, building your kit, or simply curious about the craft, there’s something here for you.
Some posts include affiliate links; thank you if you choose to support the blog through a qualifying purchase. If there’s a topic or piece of gear you’d like me to cover, let me know. Enjoy exploring!
Enjoy!
Photography Gear Mistakes: What I Bought and What I’d Buy Instead
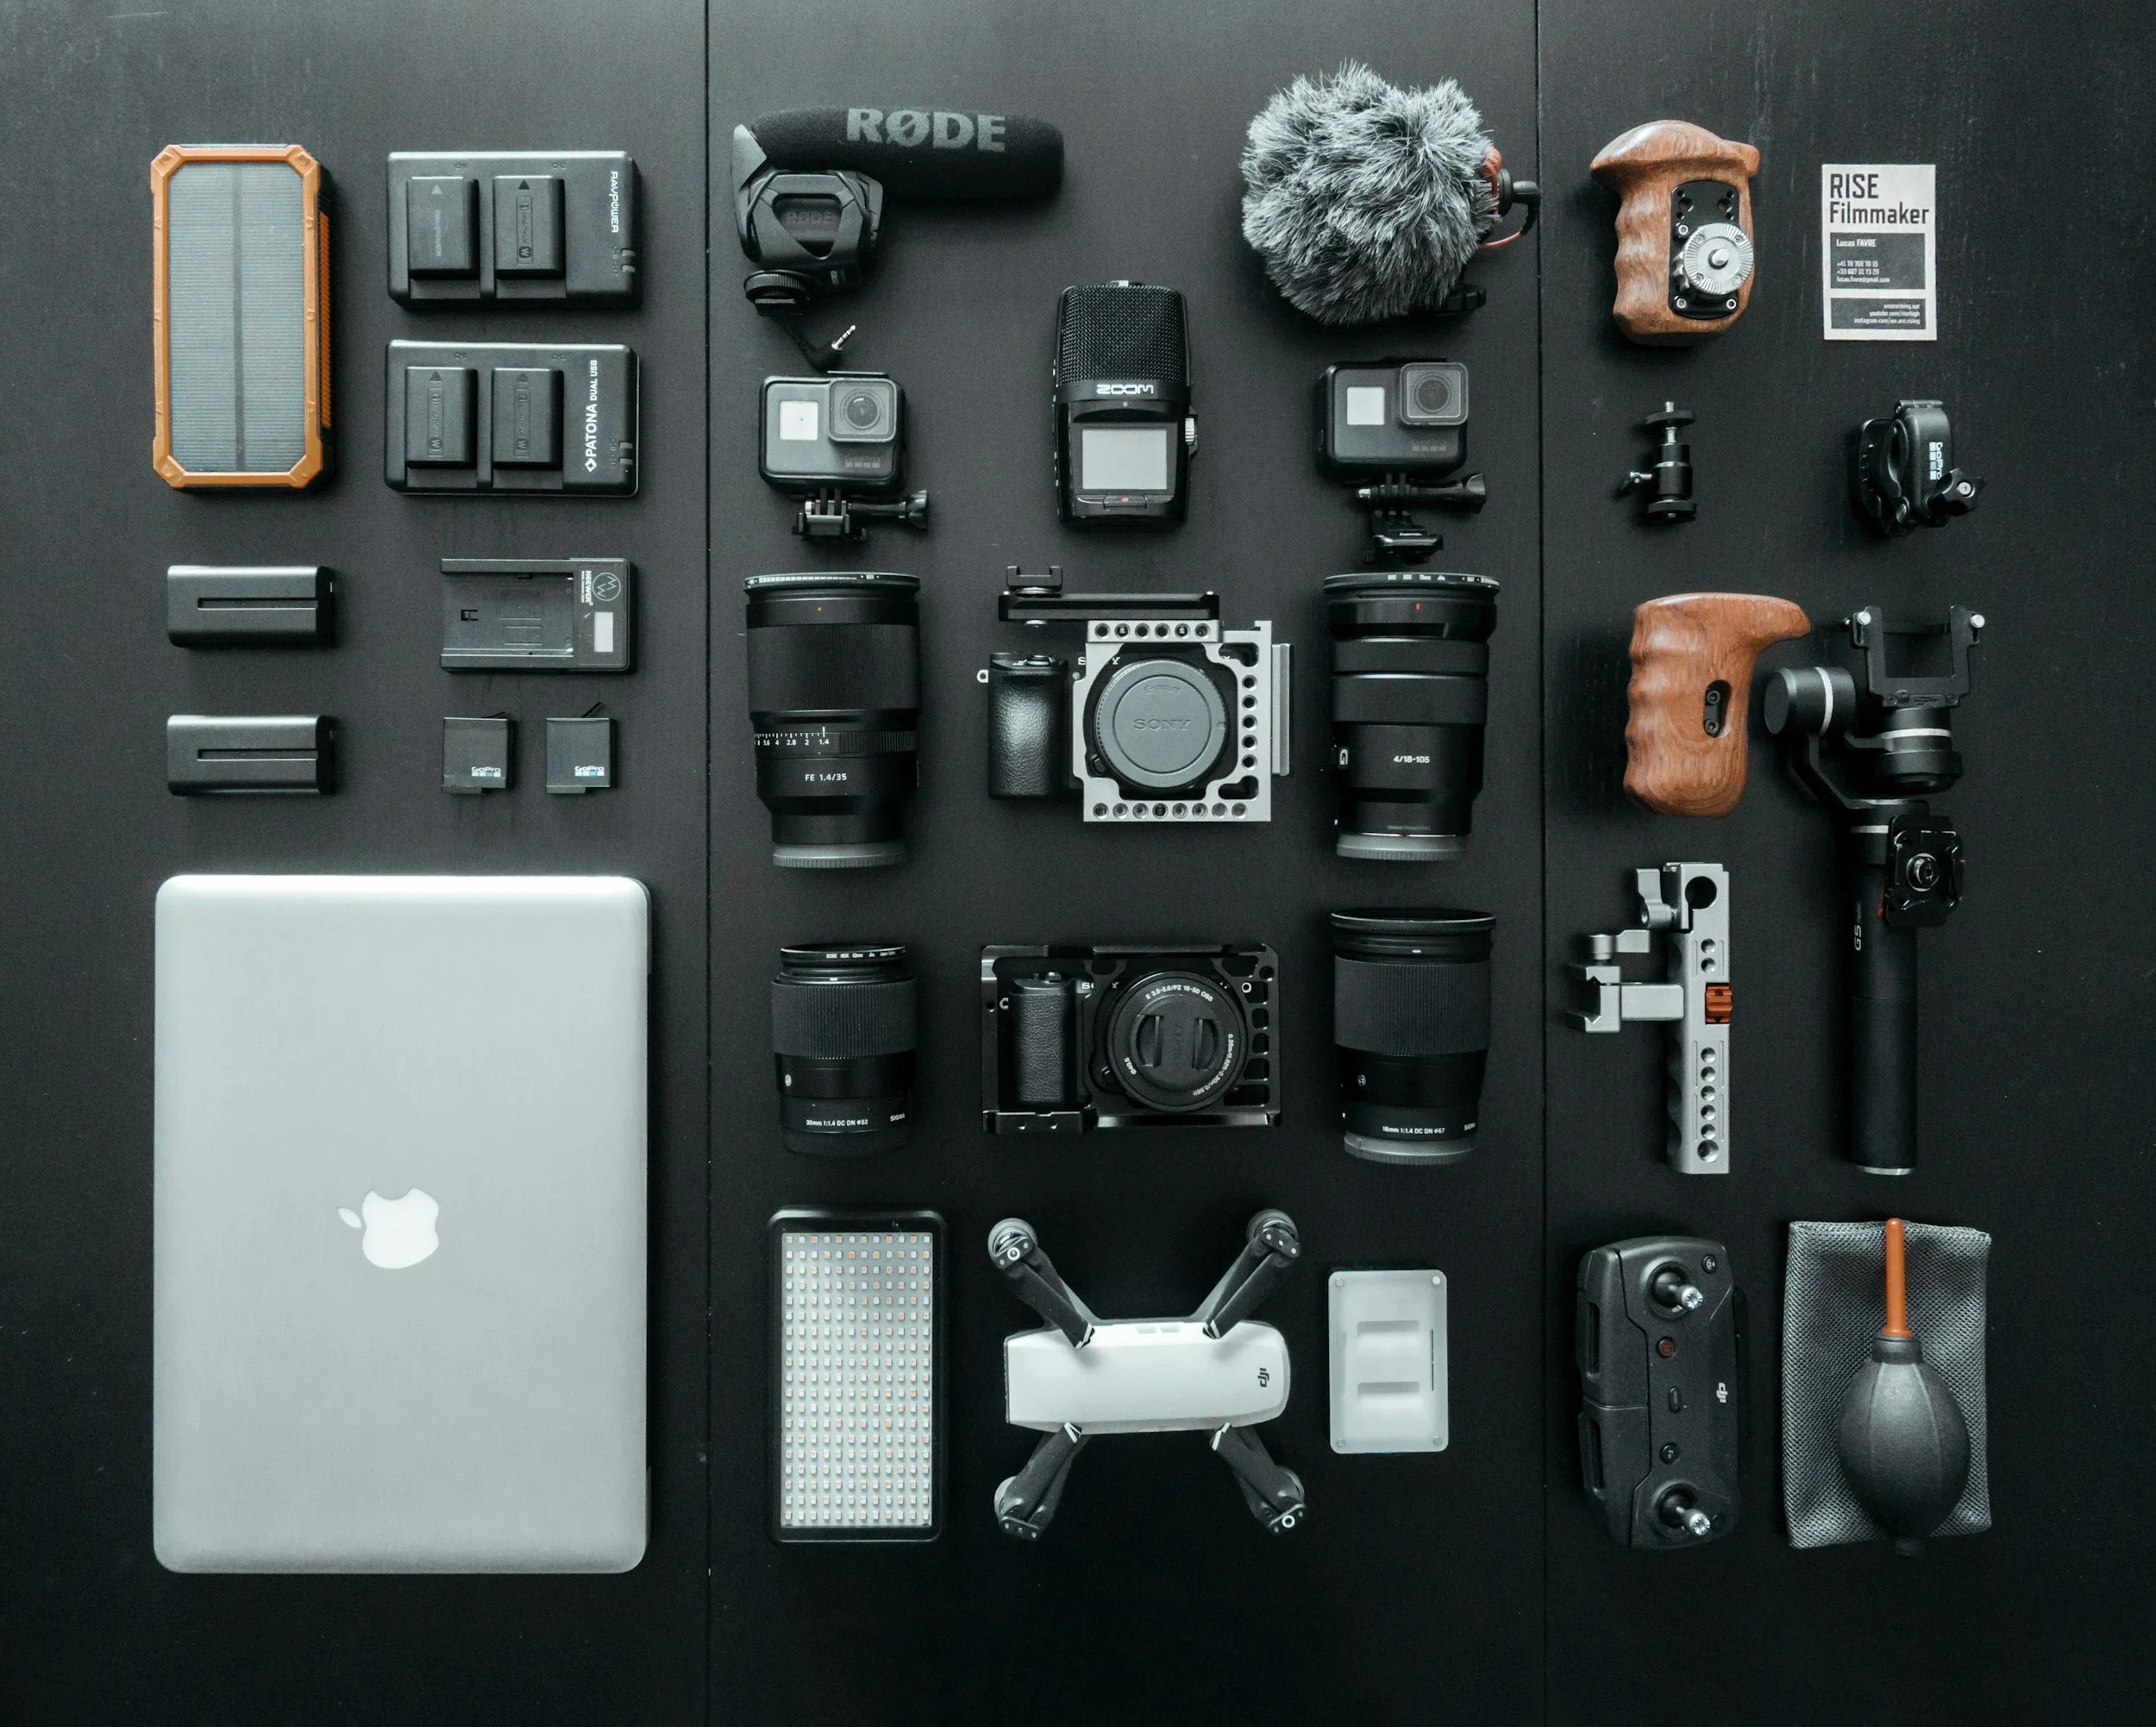
Photography gear can get expensive quickly, especially when you’re first starting out. In this post, I share some of the beginner photography purchases I regret, from cheap tripods to filters and camera bags, and explain what I’d buy instead to save money, protect your kit and make better images.
Gear Review: Logitech MX Creative Creative Console - Keypad and Control Dial
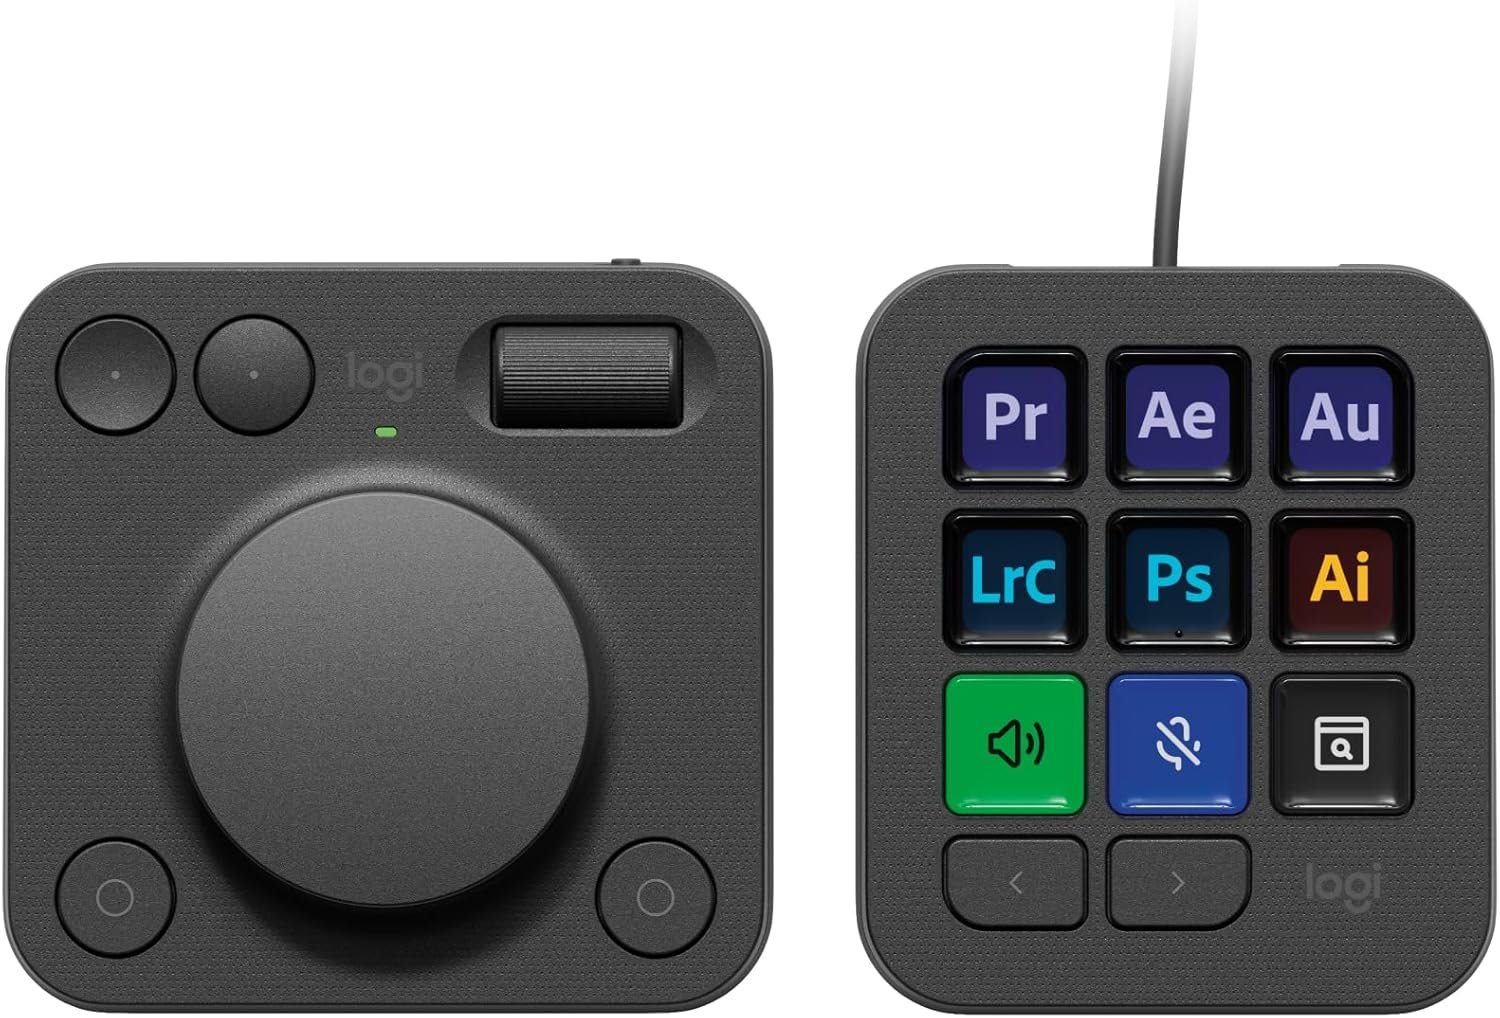
The Logitech MX Creative Console is quickly becoming one of the most talked-about tools for photographers and content creators looking to speed up their workflow. Combining a programmable keypad with a precision control dial, it offers a more tactile, intuitive way to edit photos and videos compared to traditional keyboard shortcuts. With growing support for apps like Adobe Lightroom, Photoshop, DaVinci Resolve, and Figma, it’s designed to streamline repetitive tasks and improve efficiency across creative workflows.
But is it actually worth adding to your setup in 2026? In this review, we break down its key features, real-world performance, and how it compares to alternatives like the Stream Deck—so you can decide if it’s the right tool for your editing workflow.
Gear Review: Godox X3 Pro Wireless Touchscreen TTL Flash Trigger.
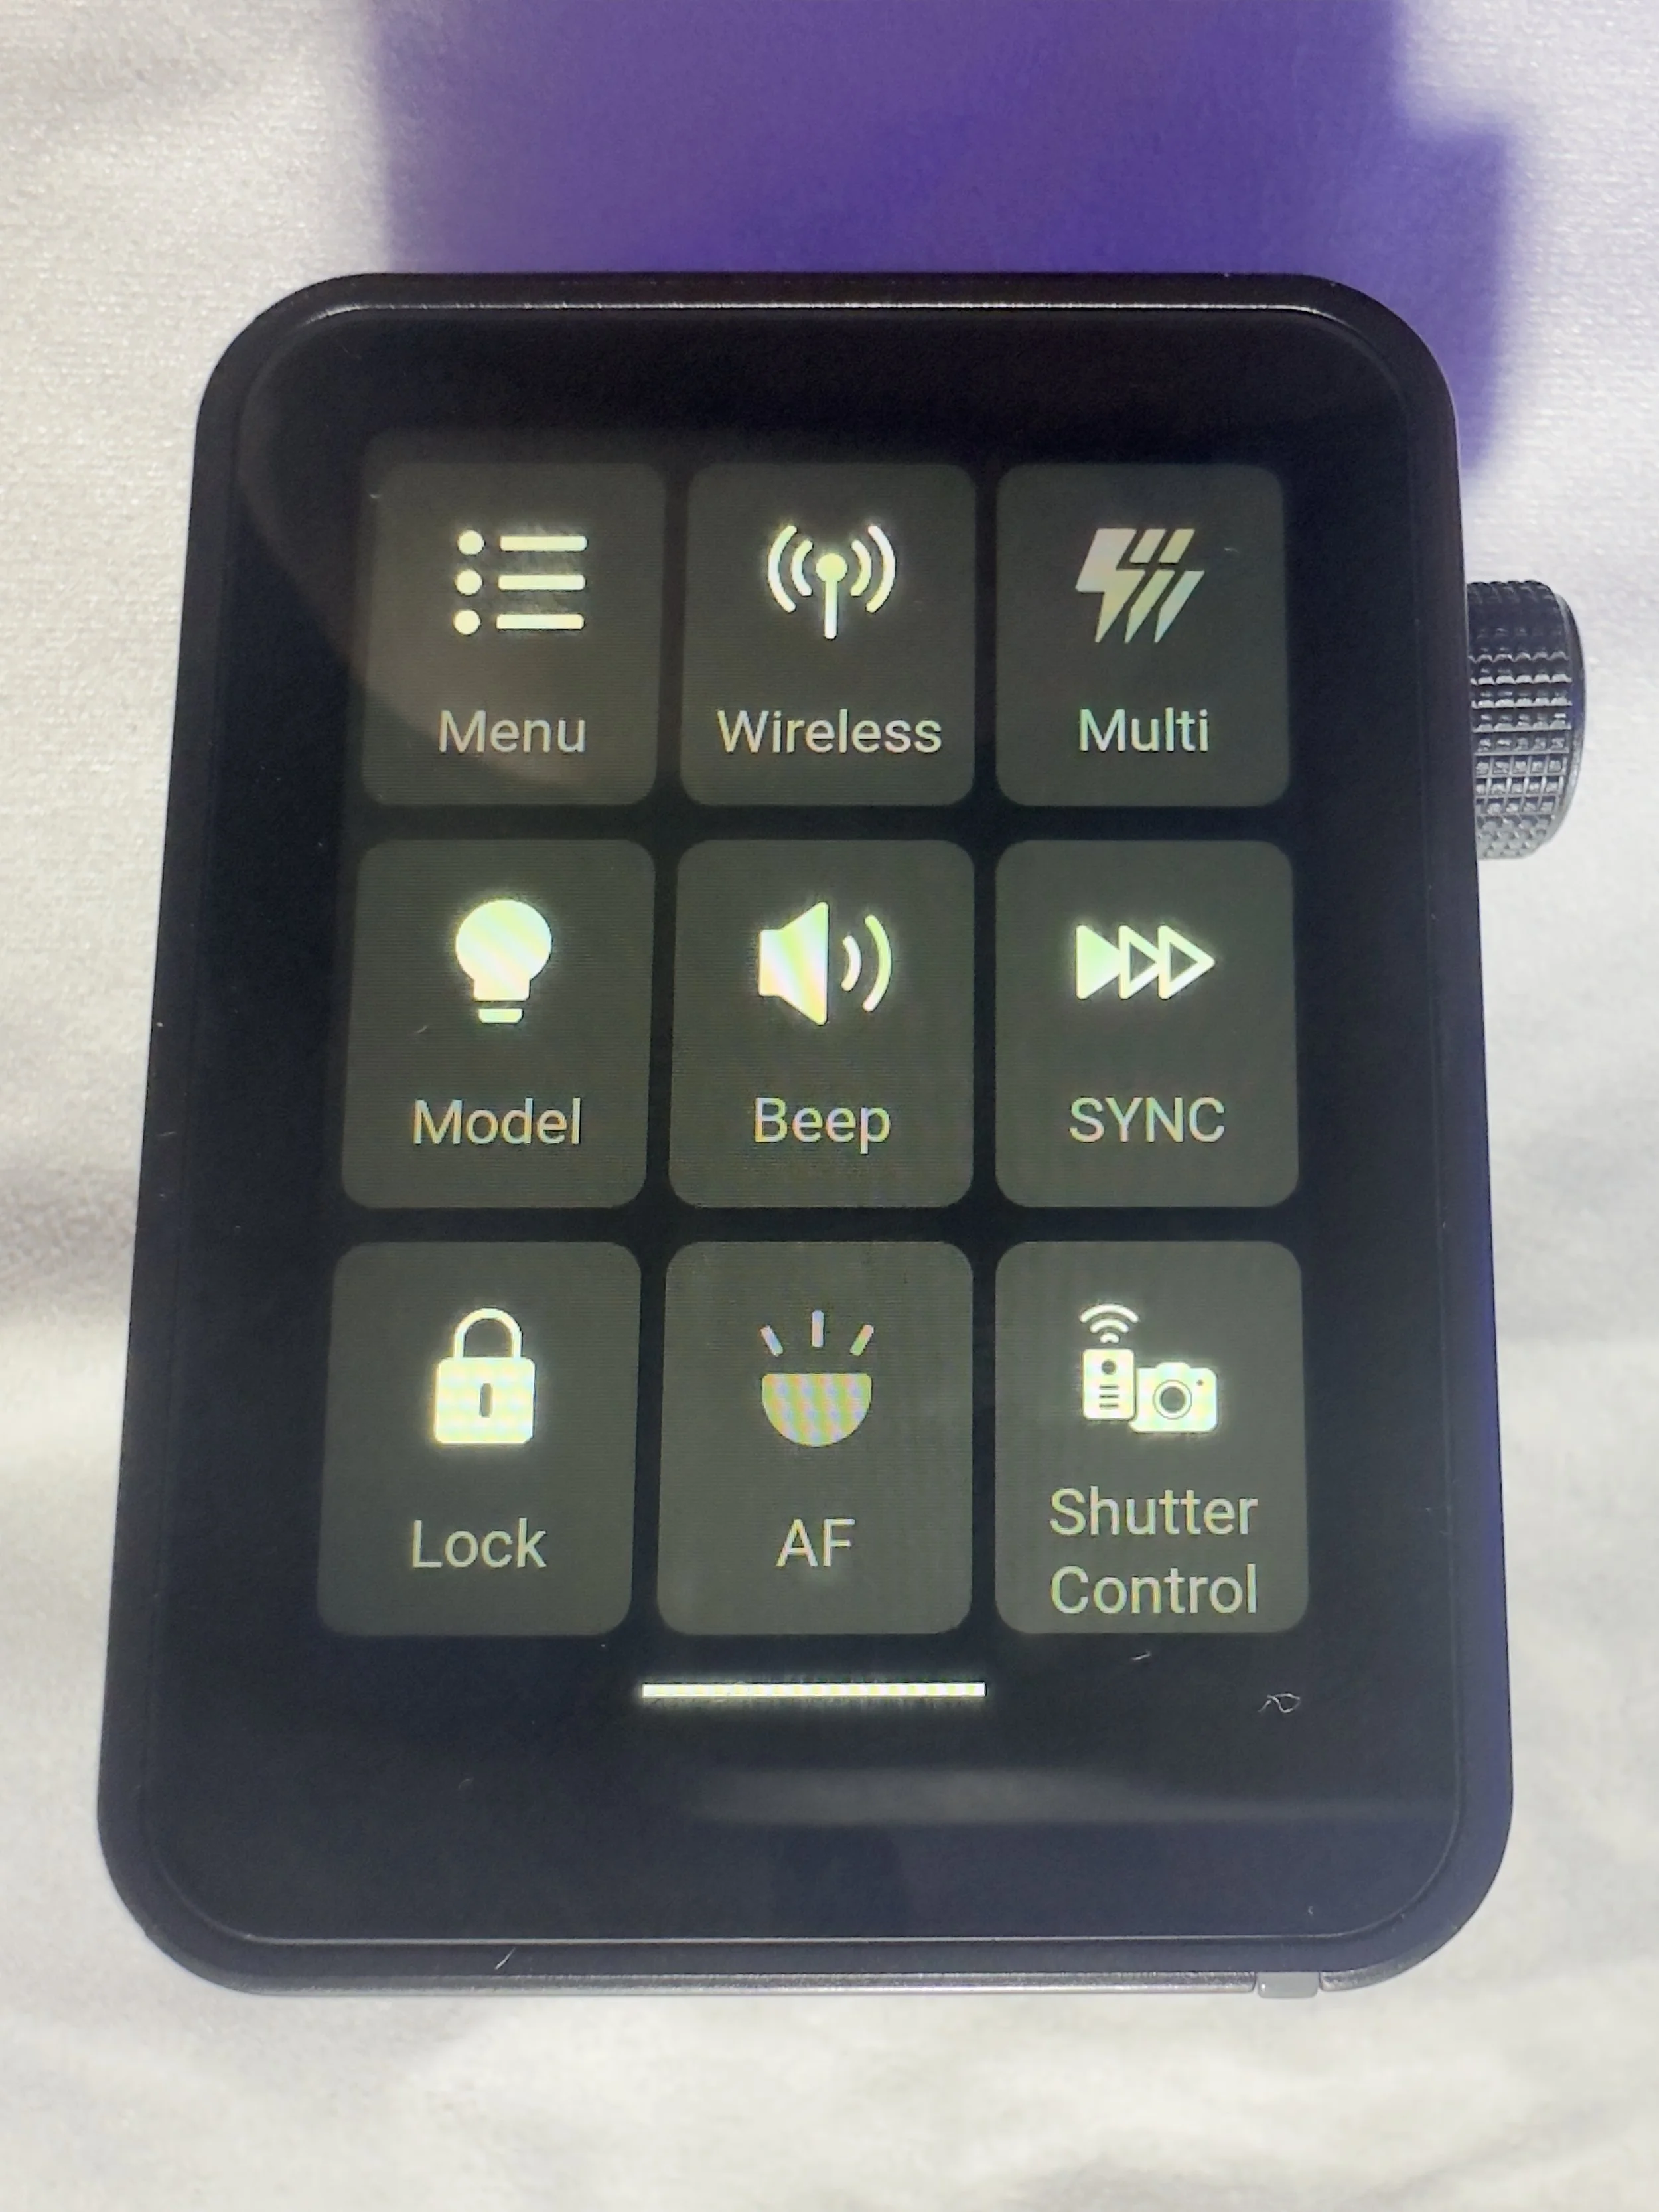
The Godox X3 Pro is a compact, touchscreen flash trigger designed for Canon photographers who want fast, reliable control over off-camera lighting. In this review, I take a practical look at how the X3 Pro performs in real-world shooting, covering its radio triggering reliability, touchscreen workflow, TTL and High-Speed Sync support, and how it fits into a modern Godox lighting setup. If you’re considering upgrading your flash trigger or moving to a cleaner, more portable lighting workflow, this Godox X3 Pro review breaks down who it’s for, how it performs, and whether it’s worth adding to your kit.