
My Photography Blog
Welcome to the Chris Kendrick Photography Blog, where I share the stories, challenges and inspirations behind shooting Lake District landscapes and working as a Cumbria-based photographer. Alongside behind-the-scenes reflections from the fells and lakes, you'll also find honest photography gear reviews, covering the cameras, lenses and accessories that genuinely perform in real Lake District conditions. Whether you’re passionate about landscape photography, exploring Cumbria’s scenery, building your kit, or simply curious about the craft, there’s something here for you.
Some posts include affiliate links; thank you if you choose to support the blog through a qualifying purchase. If there’s a topic or piece of gear you’d like me to cover, let me know. Enjoy exploring!
Enjoy!
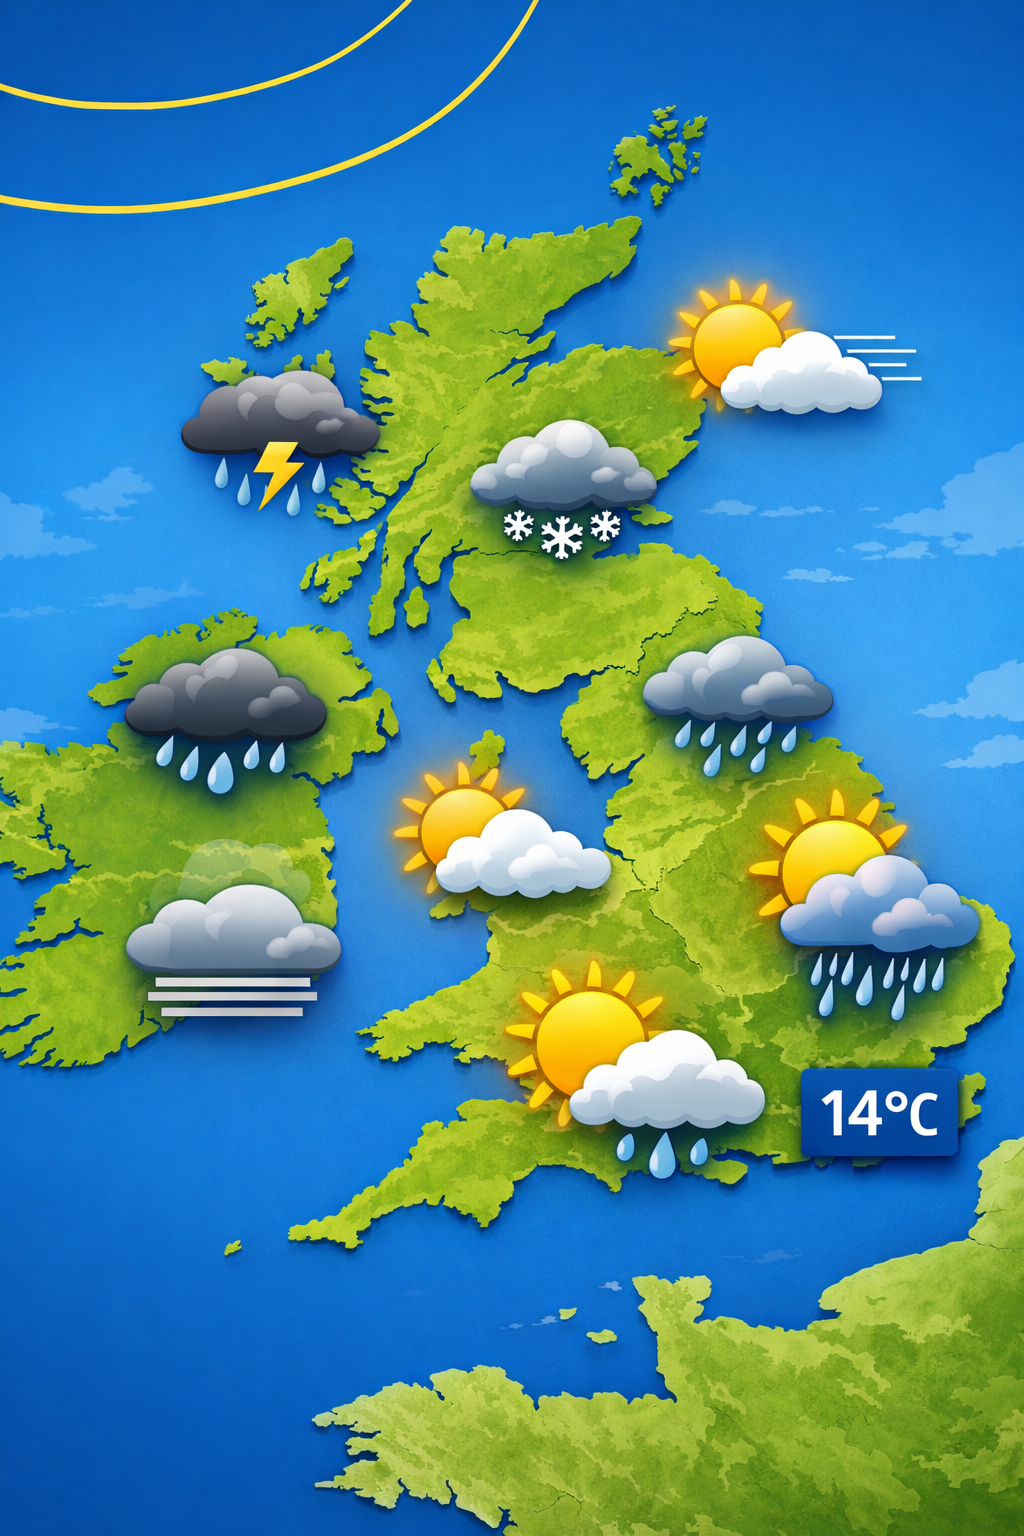
Reading the Lake District Weather Like a Landscape Photographer, not a tourist.
Most people read Lake District forecasts to decide whether it’s worth going out. Photographers need to read them differently. This post explains how I interpret cloud, rain, wind, temperature, and dew point to find atmosphere, mood, and changing light — even on days most people write off.
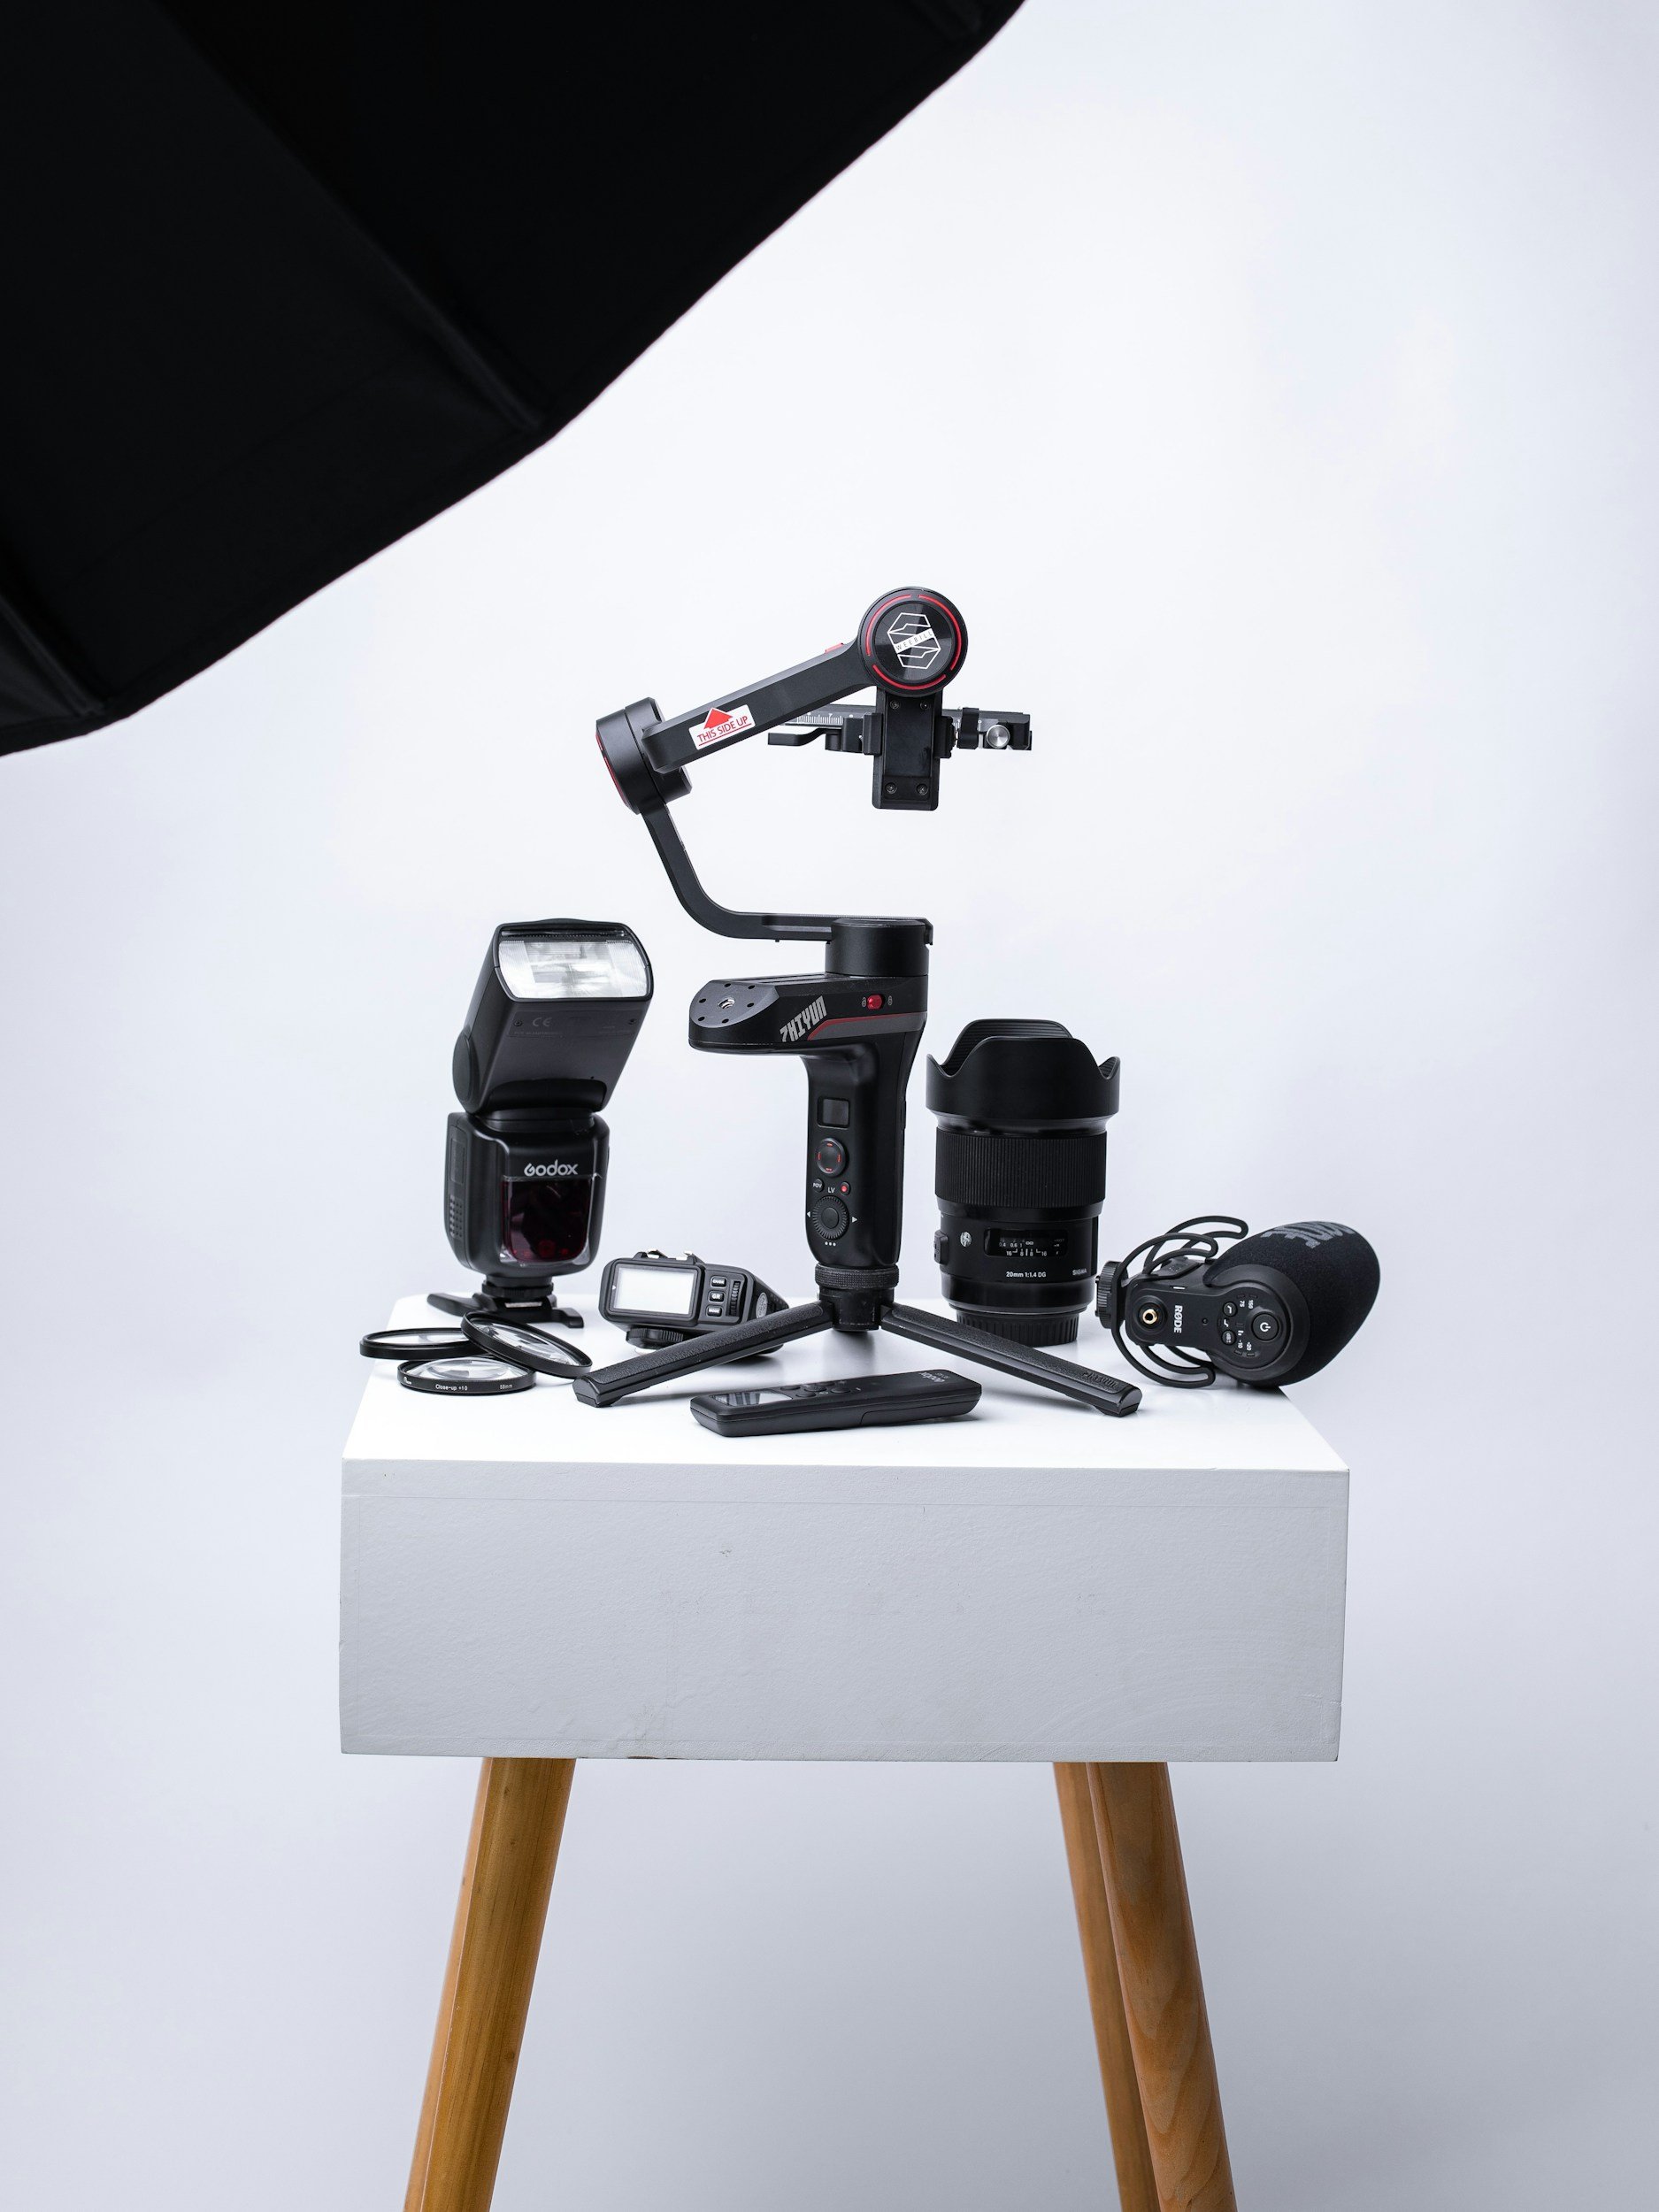
Camera and Photography Accessories that are Actually Worth It.
The world of photography accessories is full of clever marketing, bold promises and expensive kit that often ends up gathering dust. From “must-have” gadgets to trendy add-ons, it can be hard to know what actually improves your photography and what simply lightens your wallet.
In this article, I break down the accessories that are genuinely worth investing in – the tools that make shooting easier, more reliable and more enjoyable, whether you’re photographing landscapes, products, or everyday scenes. No hype, no unnecessary upgrades – just practical gear that earns its place in your camera bag.

You Won’t Take Any Good Photos Today: Shifting Your Mindset in Landscape Photography.
“You won’t take any good photos today.” It’s a thought most landscape photographers have had at some point — often before the camera has even come out of the bag. This article explores how mindset, expectations, and pressure can quietly shape the way we shoot, and why chasing “good photos” can sometimes get in the way of meaningful photography.
Rather than focusing on locations, gear, or conditions, this piece looks at the mental side of landscape photography: learning to let go of outcomes, embracing imperfect days, and staying open to what the landscape offers. By shifting how you approach a shoot, you may find that creativity, enjoyment, and better images follow naturally — even on days that don’t look promising at first.

Landscape Photography Workshops in The Lake District
Discover how landscape photography workshops in the Lake District can transform your skills. Learn to master light, composition and editing with expert field guidance.
5 Beginner Lake District Landscape Photography Locations You Can Reach Without a Long Hike
Short on time or energy but still want great Lake District landscape photos? These five locations offer incredible views with minimal walking, perfect for beginners, visitors, or quick photography trips.
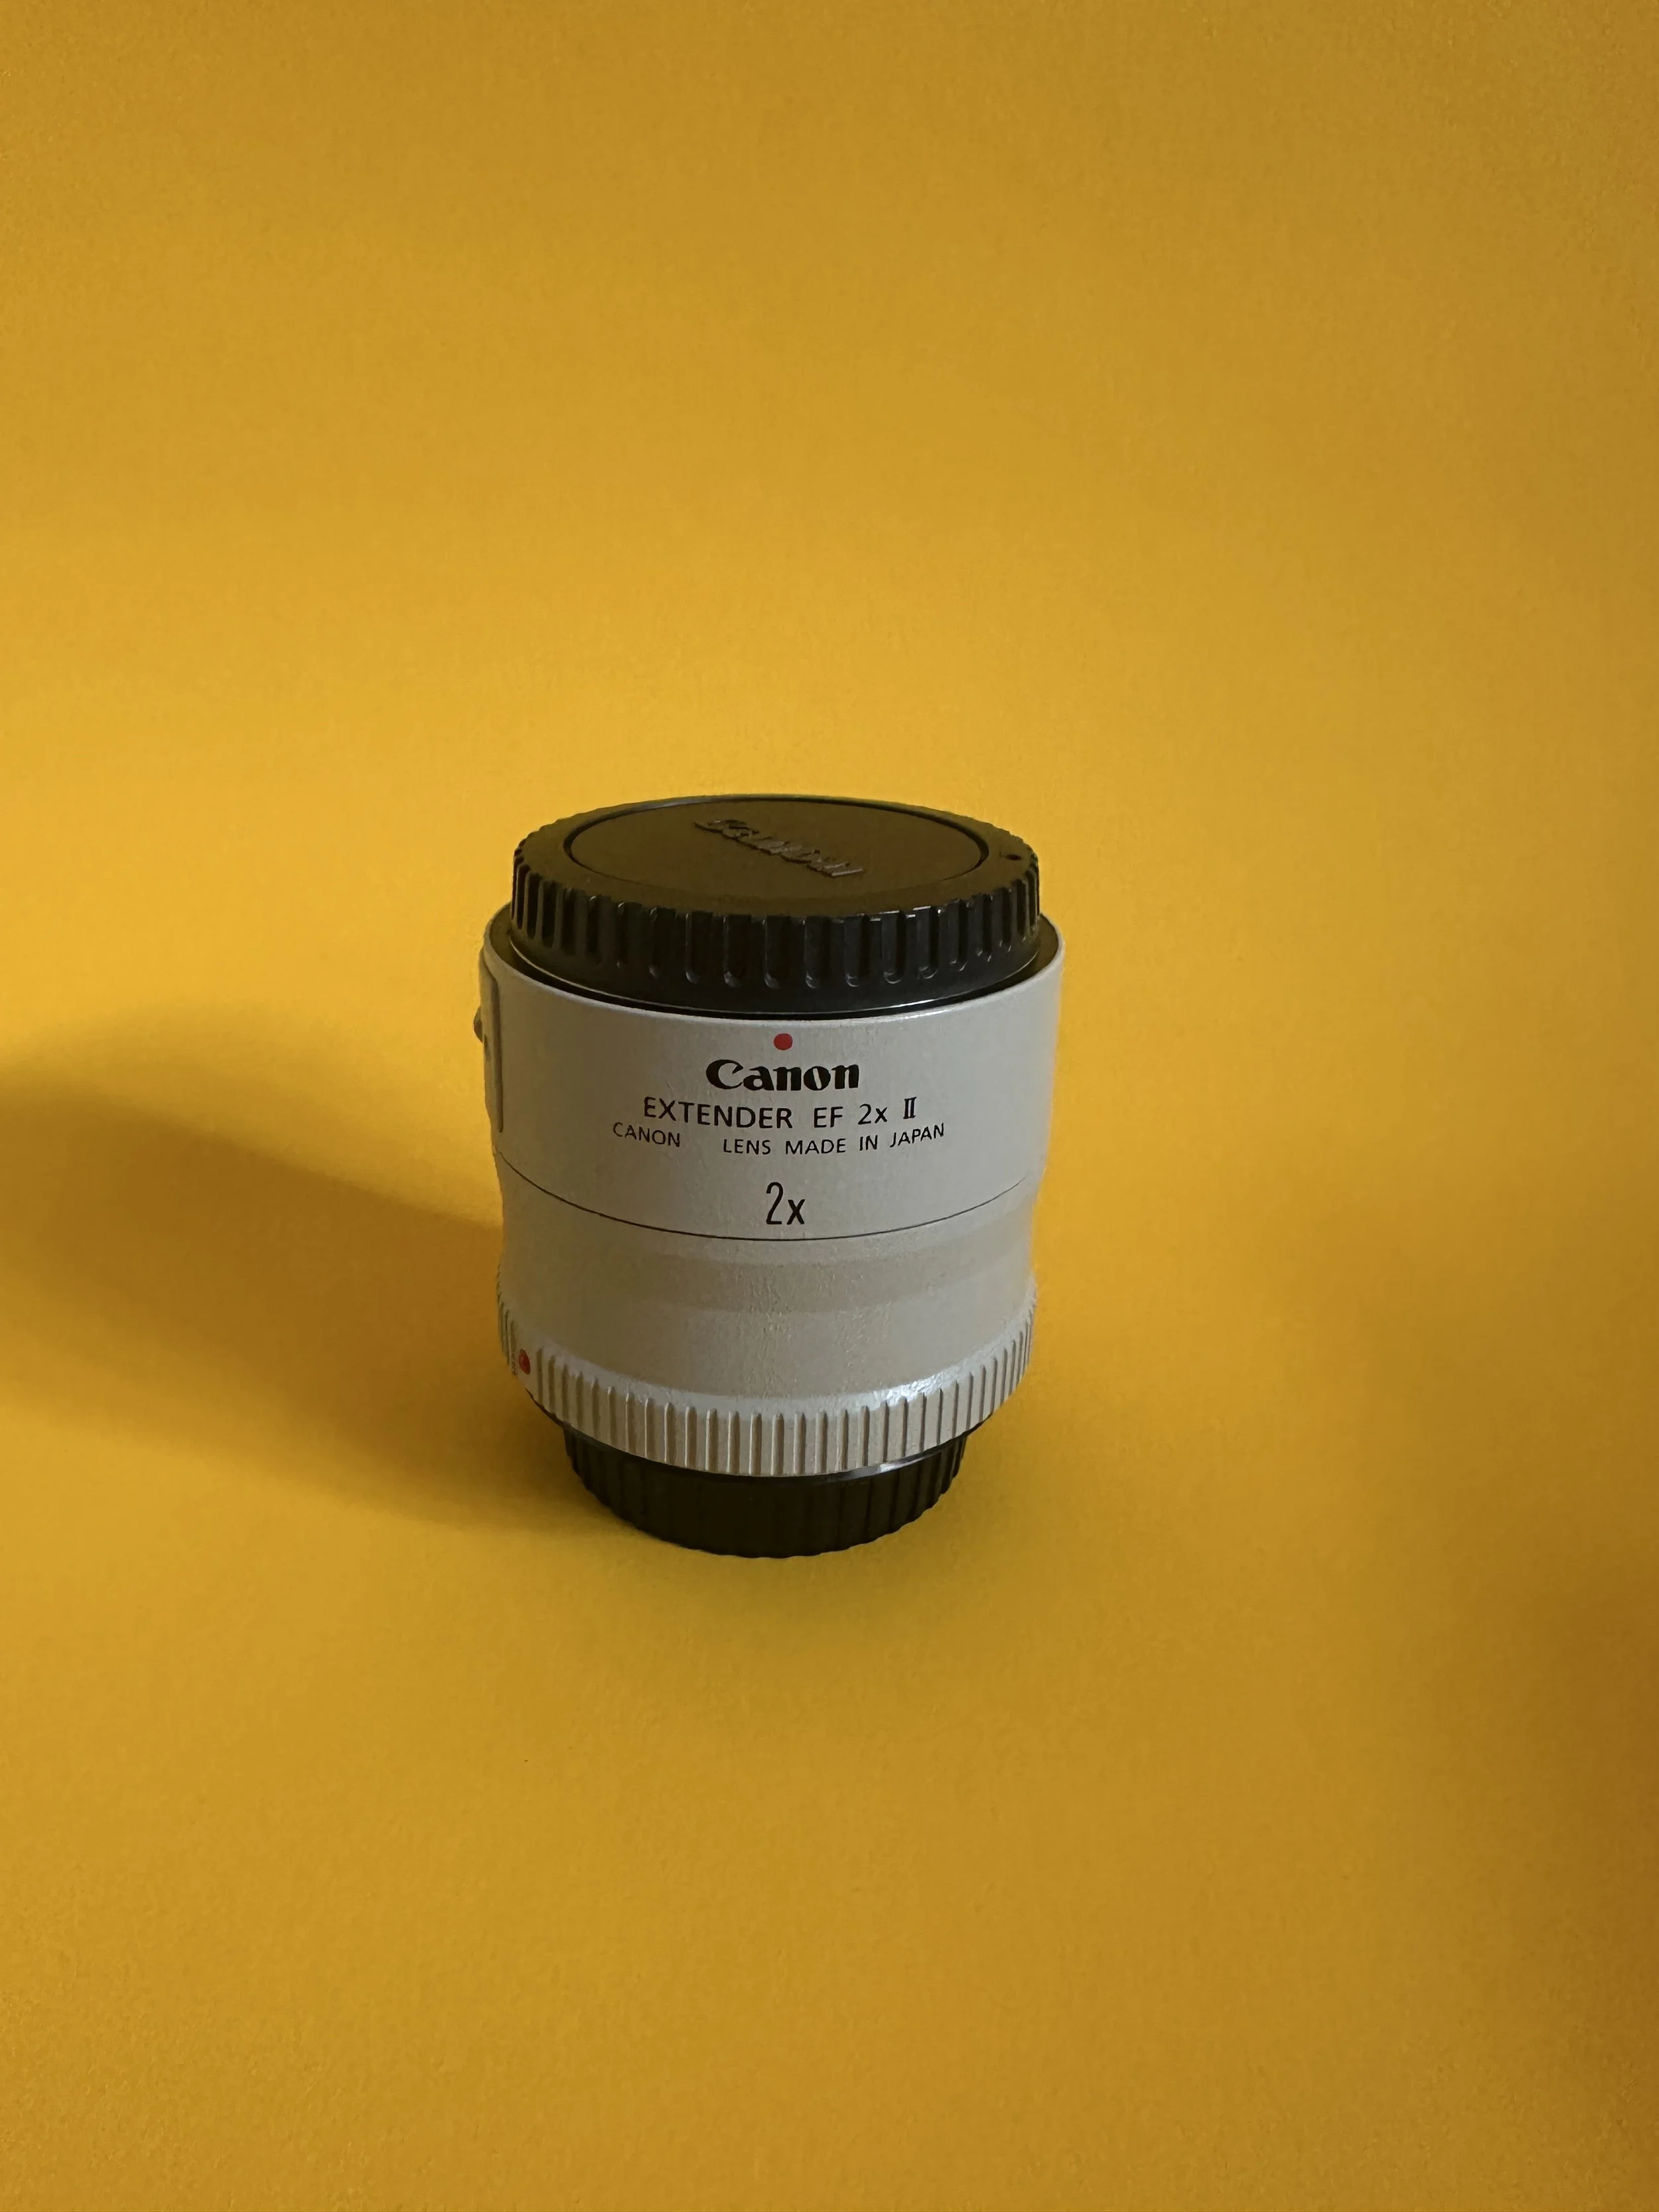
Gear Review: Canon EF 2x Teleconverter MKII
Are you looking for extra reach from your current Canon lenses without investing in a costly super-telephoto? The Canon EF 2x Extender (teleconverter) could be the answer. In this review, I explore the pros and cons of the Canon 2x Extender, how it affects image quality, aperture, and autofocus, and whether it’s worth adding to your kit for wildlife, sports, or landscape photography.

Lake District Photography Itinerary: The Best 3-Day Trip for Stunning Shots
Planning a short break in the Lake District? This 3-day Lake District itinerary is perfect for travellers who want to experience the very best of Cumbria’s landscapes, lakes, and fells in just a long weekend. From hiking iconic Wainwrights to exploring charming villages like Keswick and Ambleside, and photographing world-famous beauty spots such as Ullswater, Buttermere, and Derwentwater, this guide is packed with must-see locations and practical travel tips. Whether you’re a keen landscape photographer, a casual walker, or simply here to soak in the views, this Lake District travel plan helps you make the most of 72 hours in one of England’s most breathtaking national parks.

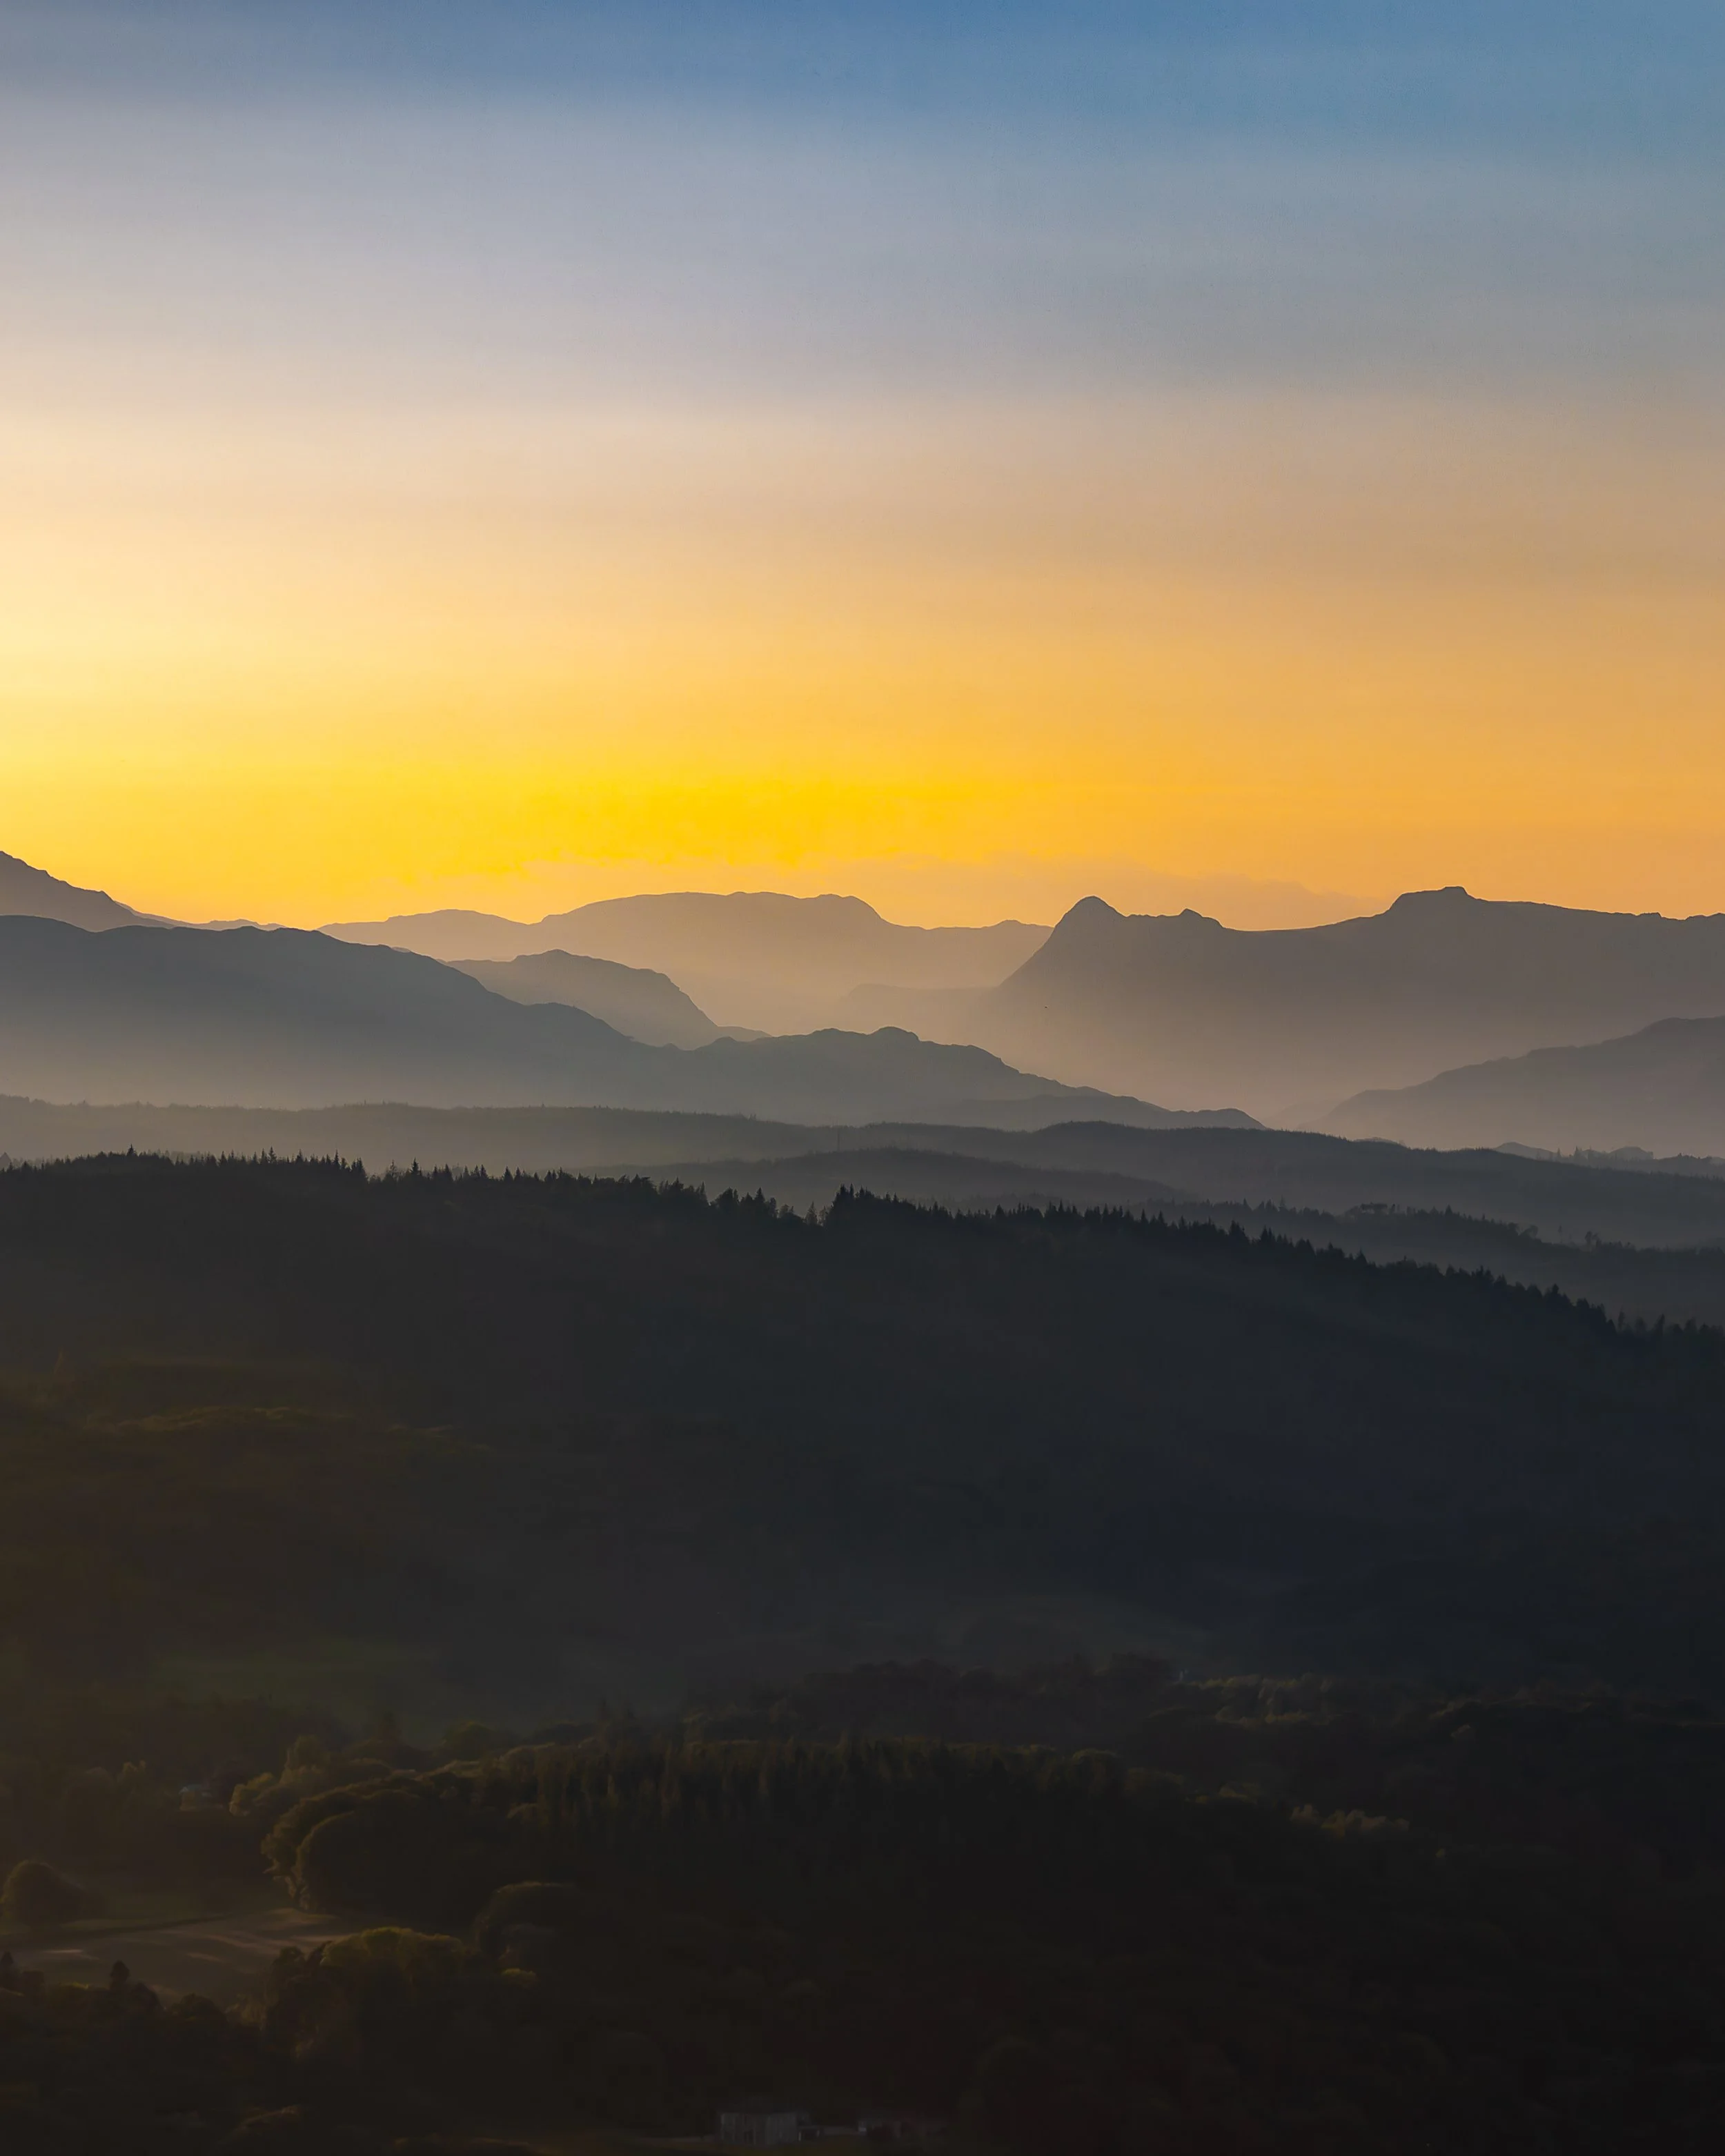
Best Places for Sunrise and Sunset Photography in the Lake District - Updated for 2025 with map!
Chasing golden hour in the Lake District? From misty sunrises over Derwentwater to fiery sunsets at Buttermere, this guide reveals the best spots to capture breathtaking landscape photos. Interactive maps and top tips included.

Street vs. Landscape Photography: A Personal Perspective
Moving from London’s bustling streets to the wild, open fells of the Lake District has transformed the way I see and capture the world through my camera. In this post, I share what I’ve learned making the shift from street photography to landscape photography — from mastering natural light and adapting composition techniques, to preparing for unpredictable weather and refining my gear choices. Whether you’re curious about photographing in the Lakes or looking to adapt your city skills to the countryside, you’ll find tips, techniques, and personal insights from my own journey.