For many years, developing and editing photos was the sole preserve of the dark room and the little red light. In the digital era, these two processes, are, more often than not, confined to the desktop and our computers. These edits take place in a number of pieces of software and until recently, this landscape (pun fully intended) had been almost completely dominated by the Adobe Creative Suite, but more recently, this outlook has become more diluted and there are some serious competitors starting to make waves in this space.
In this blog I am going to explore the difference (in my opinion) between editing and developing images, have a another brief look at raw vs JPEG and explore some the software options that are available to you, including a couple of free options…
Developing vs Editing
For me, there’s a clear distinction between developing an image and editing it.
Developing is the basic set of adjustments we make to bring a photograph to life. In Lightroom this usually means global adjustments such as exposure, white balance, highlights, shadows, whites, and blacks. I might also adjust vibrance or saturation, and I’d include things like lens corrections and dust removal in this stage as well.
Editing, on the other hand, is where we start making more deliberate changes to the image itself. This includes masking, spot removal, skin retouching, dehaze, colour corrections, curves, adding blur, or cropping.
Removing power lines from a landscape? That’s editing.
Removing a pimple from the skin of a model? Editing.
Removing birds so there’s only one focal point in the frame? That’s editing too.
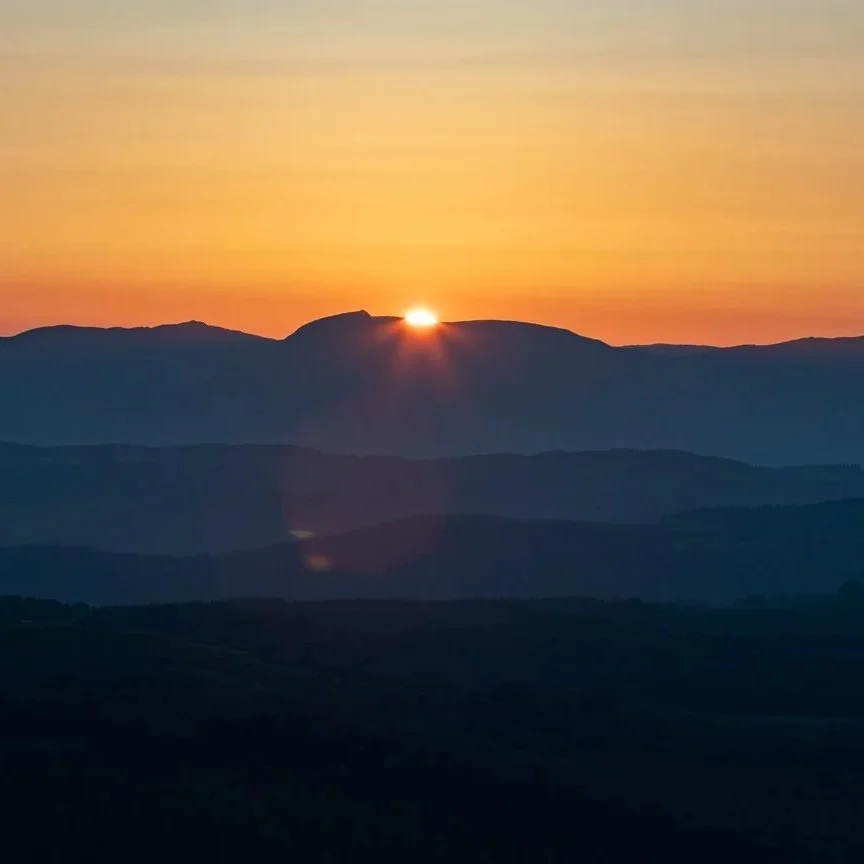
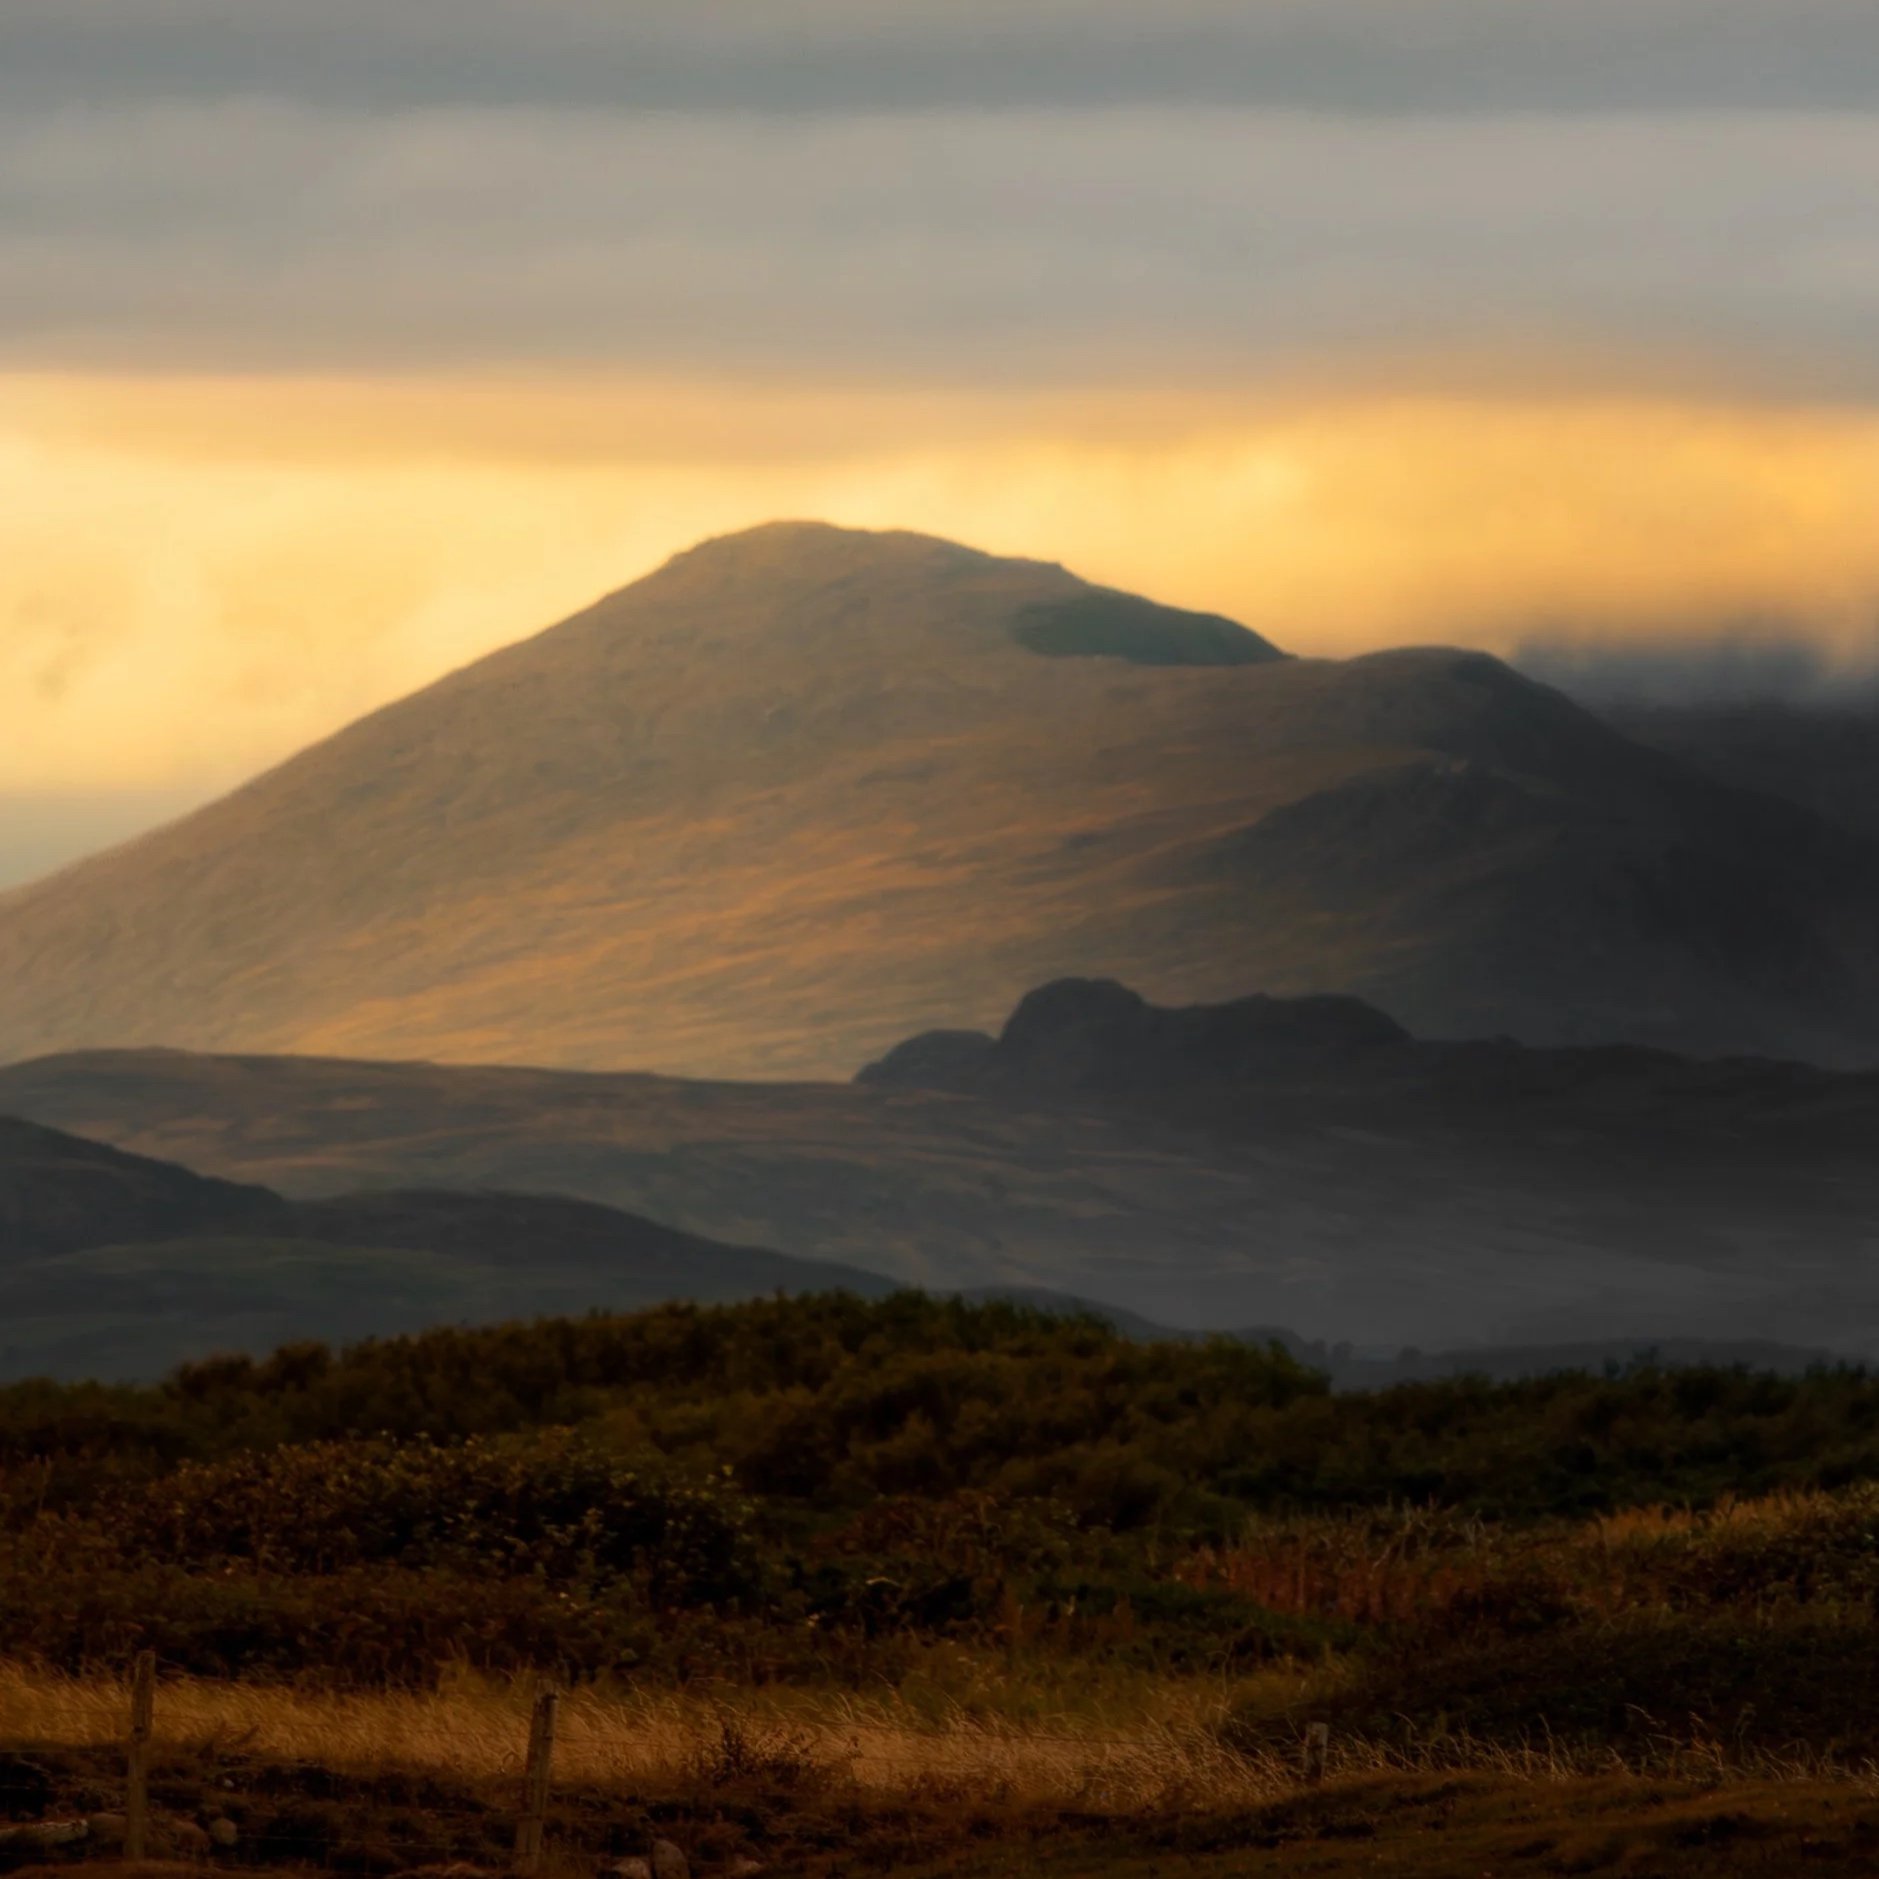
The landscape image above is one that I would consider to be developed - it’s had a crop and some basic adjustments. Nothing has been added and nothing has been taken away.
RAW vs JPEG
I have written about this in a couple of other places, you can explore those musings here. I shoot in raw only, but most decent cameras will let you shoot in raw, jpeg or Raw + JPEG.
Essentially, these are two different file types that your camera can record to your memory card. When you use JPEG, the file is compressed and has a profile applied to it which makes it look good on the back of your camera and they’re pretty social media ready. RAW files are uncompressed, and so are much larger, because they have much more data stored into them. They also give you much more flexibility when it comes to editing. You can do things to raw files that you simply can’t do to a JPEG without breaking it.
All of this means that when you shoot an image as a JPEG you get something that looks good because it meets a set of standards/rules, but you can’t do much of anything else with it. RAW files look less impressive straight out of camera, if you've got everything else right, you can turn them into something really special which, because of the amount of data and flexibility, you can make yours.
Software
This is where it gets slightly more complicated, there are some big players and some names that are starting to come to the fore. Let’s start in the obvious place:
Adobe
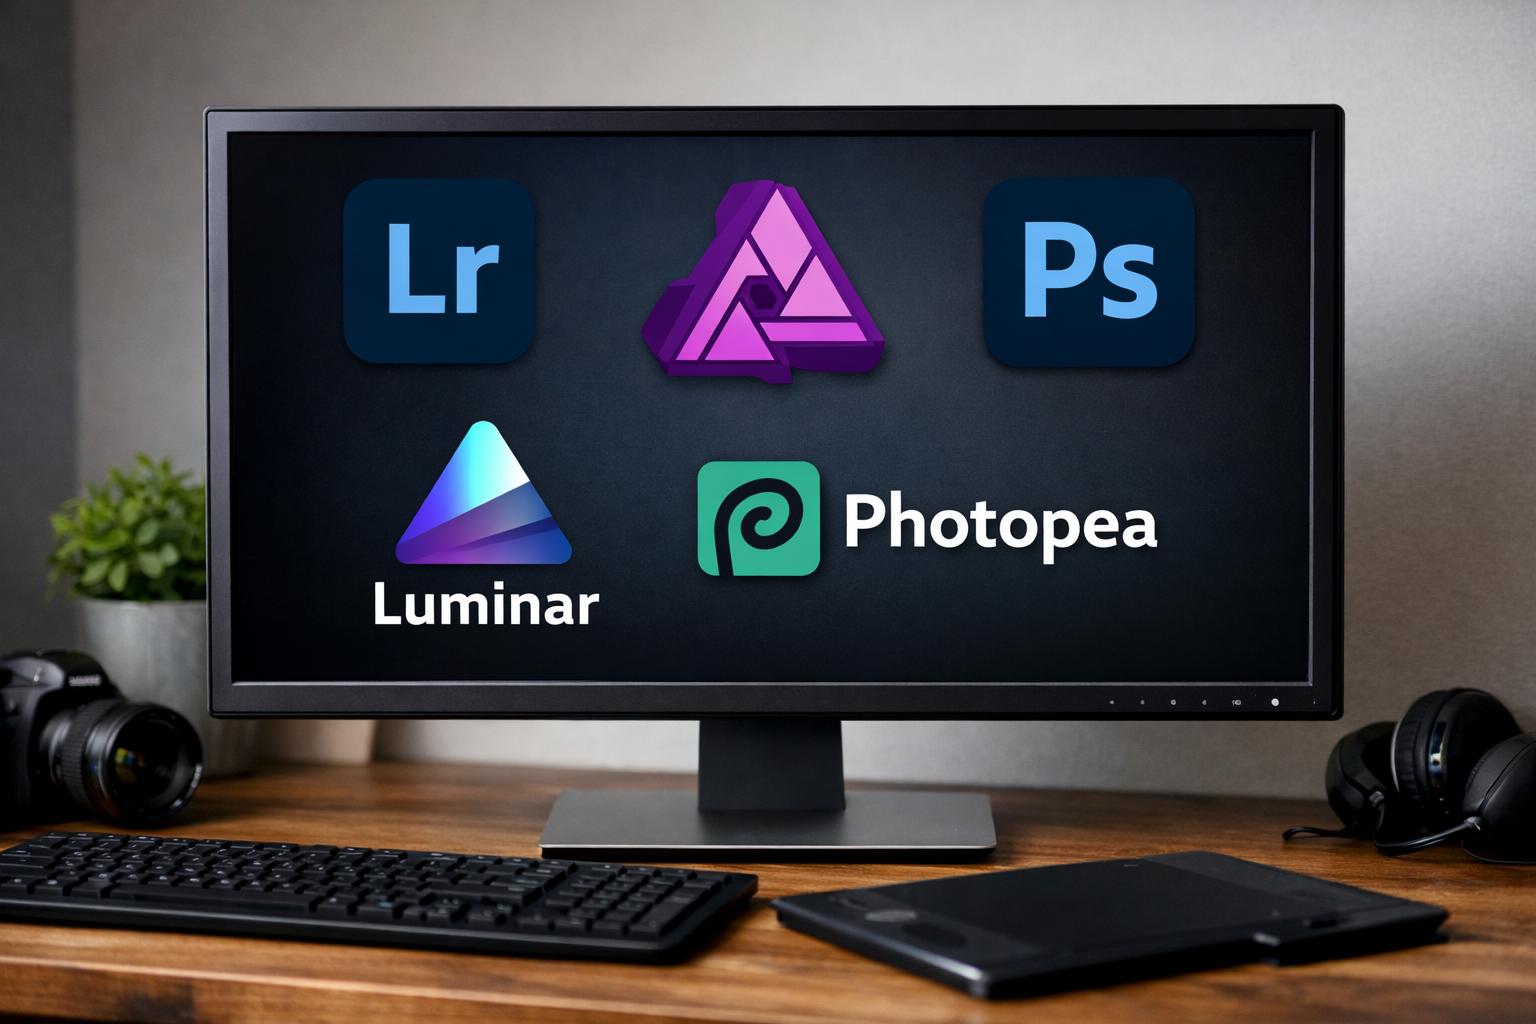
You mention Adobe to anyone and they are likely to know about 2 pieces of their offering: Photoshop and Acrobat. A lot of people don’t know about things like Premier Pro, Indesign and Lightroom. The whole of the Adobe creative suite is massive and it’s powerful (and can be expensive), but I am just talking about Lightroom and Photoshop in this blog.
Lightroom
I am going to start with one of the things that is often less well know, which surprises me, but I think this is because it is such a big part of my workflow. Lightroom does two things (for me), it catalogues my images and it allows me to edit them. This is my workhorse, it’s where do all of my basic adjustments and a most of my colour corrections. It also allows me to do things such as straighten lines that should be straight but aren’t, remove chromatic aberration and get rid of any lens distortion. You can also mask images and make local adjustments and do some of your retouching, but if you doing the latter seriously, you’re probably going to be doing that in Photoshop. That said, the tools in Lightroom are getting better with every update and I find myself reaching for Photoshop less and less.
The other thing it does really well is helping you to get your images ready for print - this is a whole other blog that I will have to write another day!
Photoshop
I use this a lot, just not as much as I used to. What I love about Photoshop is that I can start with nothing at all, just a blank canvas and end up with something that I want to share. In here I am doing more complicated edits using layer masks, making more refined tweaks to images where I need to and doing things like adding text - it’s great for creating thumbnails. If I’m shooting still life stuff for my portfolio or for clients then roughly 90% of the editing is going to be taking place in here.
Capture One
If I am shooting commercial still life photography for either my portfolio or for clients, then this is where it all begins. The tethered capture in here and the way that you can catalogue your images accurately is second to none, this is why it is the industry standard. Lightroom also allows you to shoot tethered, but it isn’t a patch on Capture One. If you’re not shooting tethered then this might not be for you, it’s not an inconsiderable purchase/subscription, so if you’re going to make the purchase, make sure you are getting your money’s worth.
I am not doing this piece of software justice with this short entry here, I should probably write more about it in another blog later in the year, but if this puts it on your radar then I have done my job with this one.
Luminar Neo
I wrote this blog about 6 weeks before it was due to be published. I am writing this less section less than 2 hours before it’s just to go live - that’s because I didn’t have Luminar Neo when I wrote the original copy, but now I do… and I like it!
The initial purchase is around about £100. Once you have paid for it, it’s yours. Forever. No monthly subscription payment. You own the right to use it. There is an annual upgrade with a fee if you want to upgrade, what there isn’t is an obligation to upgrade. If you don’t want to, can’t afford to etc. then you just carry on with the version that you have!
This is much more AI based than something like photoshop and has a big focus on pre-sets, which they upsell to you via one of the pages of the app, but again, it’s up to you. If presets are your bag, then this is going to be right up your street.
It’s quick to learn with good tutorials and does most of the stuff that Lightroom does. I have written a much more detailed blog about Luminar, so click here if you want to learn some more about it.
Afinity Photo
This was the first piece of editing software I owned and couldn’t really get on with it. A lot has changed now and they have been bought by Canva, so you can kind of see the direction it could be heading. This is a free download, but if you want the good stuff then you will need to have a Canva subscription, hence why it’s included in here and not in the free stuff section below.
Free Stuff
If you’re just starting out and you’re not sure what you want to use or if you just don’t have the budget for Adobe or Capture one, then it’s worth knowing what there is that’s free and useful so that you can figure out what you might want to get if your decide to throw some money at the situation.
Photopea
Head to Photopea.com if you want to check this out. It runs in your browser so you don’t need to download anything. It looks very similar to and behaves, in many ways, just like Photoshop. The biggest thing you will need to get used to is the shortcuts, which are similar to those in photoshop, but you will beed to use the alt/option modifier keys on your keyboard to make sure that you are accessing the shortcuts properly. If you’re not sure if photoshop is a going to be a good fit for you, then I would recommend check this out before you make a purchase.
G.I.M.P
Or to give it the full (and slightly less Pulp Fiction) title, GNU Image Manipulation Programme. This is a free, open source piece of software that you can download from gimp.org . This one has been around for a while and is well respected. It’s not one I enjoy using as much as Photopea as the layout doesn’t feel as familiar to to me and I just don’t find it as intuitive. It might be the one for you though and there’s no harm in checking it out.
The Curveball
Davinci Resolve. You have probably heard of this if you watch any photography YouTube. A lot of creators are moving away from Premier Pro and Affects in favour of this software for editing their videos. The nodal colour grading system is excellent, but does take some getting used to, especially of you’re fluent in PP/AE.
This is a new(ish) development, so I can’t give you much more info other than they have updated the software to include a photo page and a library system. Colour grading happens through their nodal system, which is very different to how it works in everything else I have mentioned. It might be the best starting point for a beginner, but it’s definitely worth a look.
If you can think of it, it probably already exists…
The internet is a wonderful thing, it does things such as bringing you to this website. But seriously, the amount things that you can find to help with your photography in the online world is huge. If there’s something you want to do, but can’t be bothered to learn how to (you should always bother to learn), then someone has probably written an app or a plugin that can help you do it, and quickly. I cannot vouch for how well they will do it for you.
In Conclusion
In the end, the distinction between photo editing and digital developing comes down to intent. Developing is about refining what was already there—bringing out the best in your original capture—while editing pushes further, allowing you to reshape, enhance, or even completely transform an image. Most modern software now blends these two approaches, giving photographers the flexibility to stay true to the scene or explore something more creative. The key is knowing when to stop, and choosing the right tools to match your vision. Whether you prefer subtle, natural adjustments or bold, artistic edits, understanding this balance will help you create images that feel both intentional and impactful.
If you’ve found this useful, you can sign up to my newsletter for occasional thoughts like this, along with photography insights and updates from the Lake District. And if you’d like to support the work, you can also buy me a coffee — it helps keep these articles going and is always appreciated.
Thanks for reading! If you enjoyed this one and want more photography tips, thoughts, guides and the occasional ramble like this, you can sign up to my newsletter. I send out new posts, useful resources and other bits that I think photographers might actually find helpful — no spam, no nonsense.
If you'd like to help keep the blog going, you can also buy me a coffee. It helps cover the cost of running the site, testing gear, getting out to make new work and generally gives me an excuse to keep disappearing down photography-related rabbit holes. Completely optional, but always hugely appreciated.
Check out some of my earlier blog posts by licking the links below: