
My Photography Blog
Welcome to the Chris Kendrick Photography Blog, where I share the stories, challenges and inspirations behind shooting Lake District landscapes and working as a Cumbria-based photographer. Alongside behind-the-scenes reflections from the fells and lakes, you'll also find honest photography gear reviews, covering the cameras, lenses and accessories that genuinely perform in real Lake District conditions. Whether you’re passionate about landscape photography, exploring Cumbria’s scenery, building your kit, or simply curious about the craft, there’s something here for you.
Some posts include affiliate links; thank you if you choose to support the blog through a qualifying purchase. If there’s a topic or piece of gear you’d like me to cover, let me know. Enjoy exploring!
Enjoy!
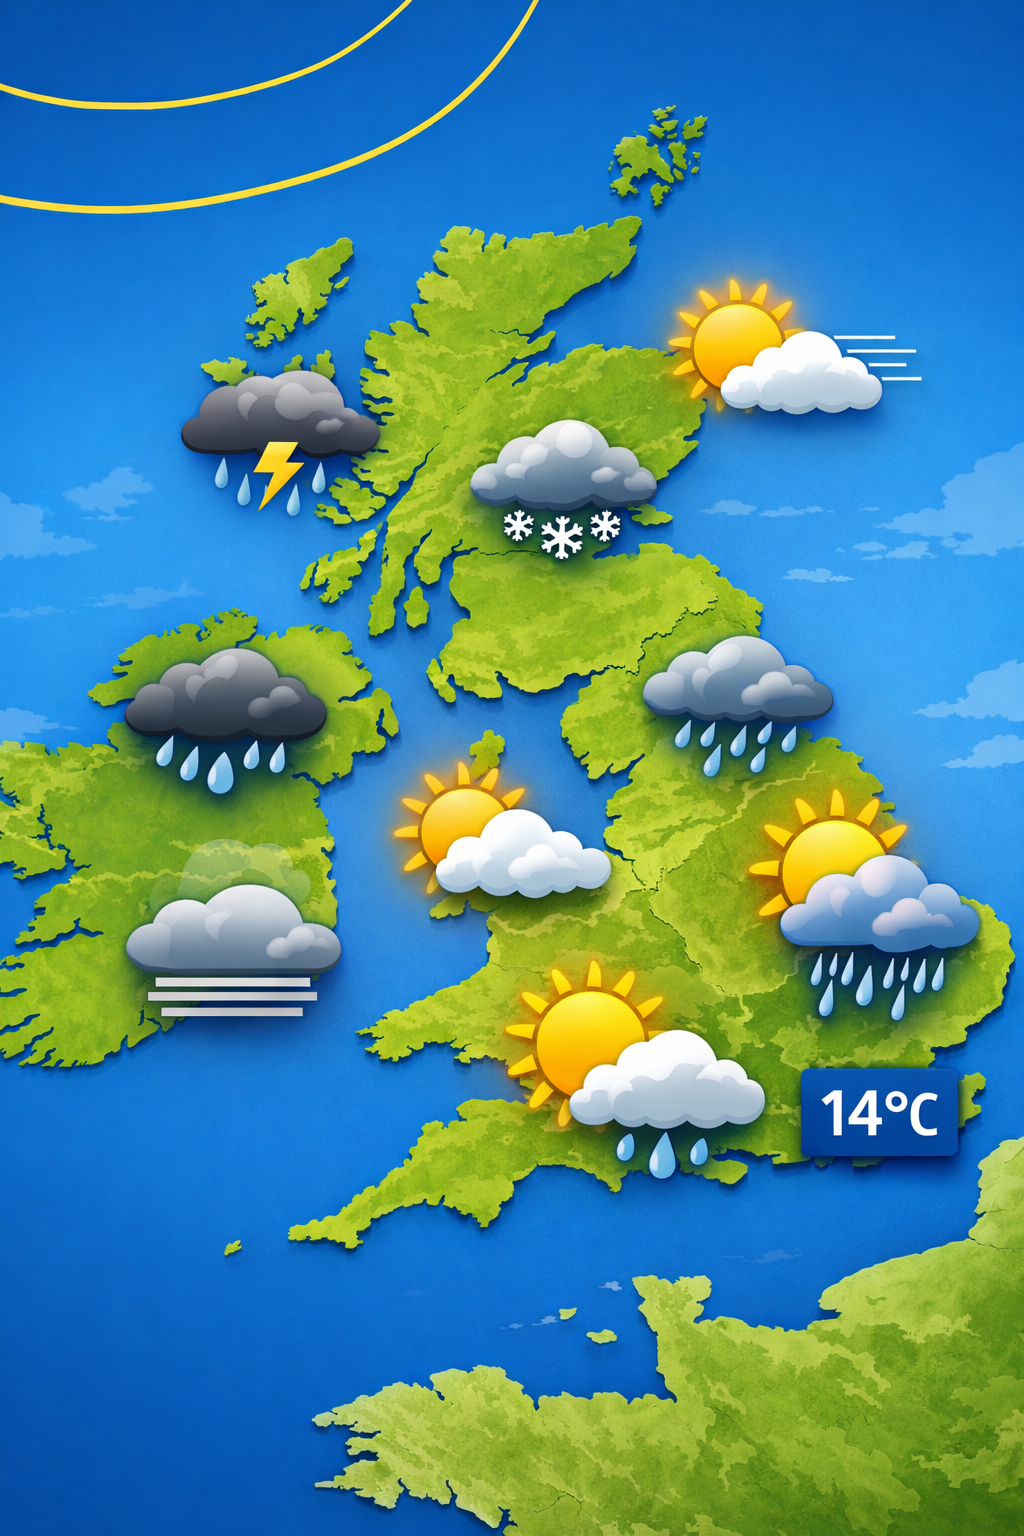
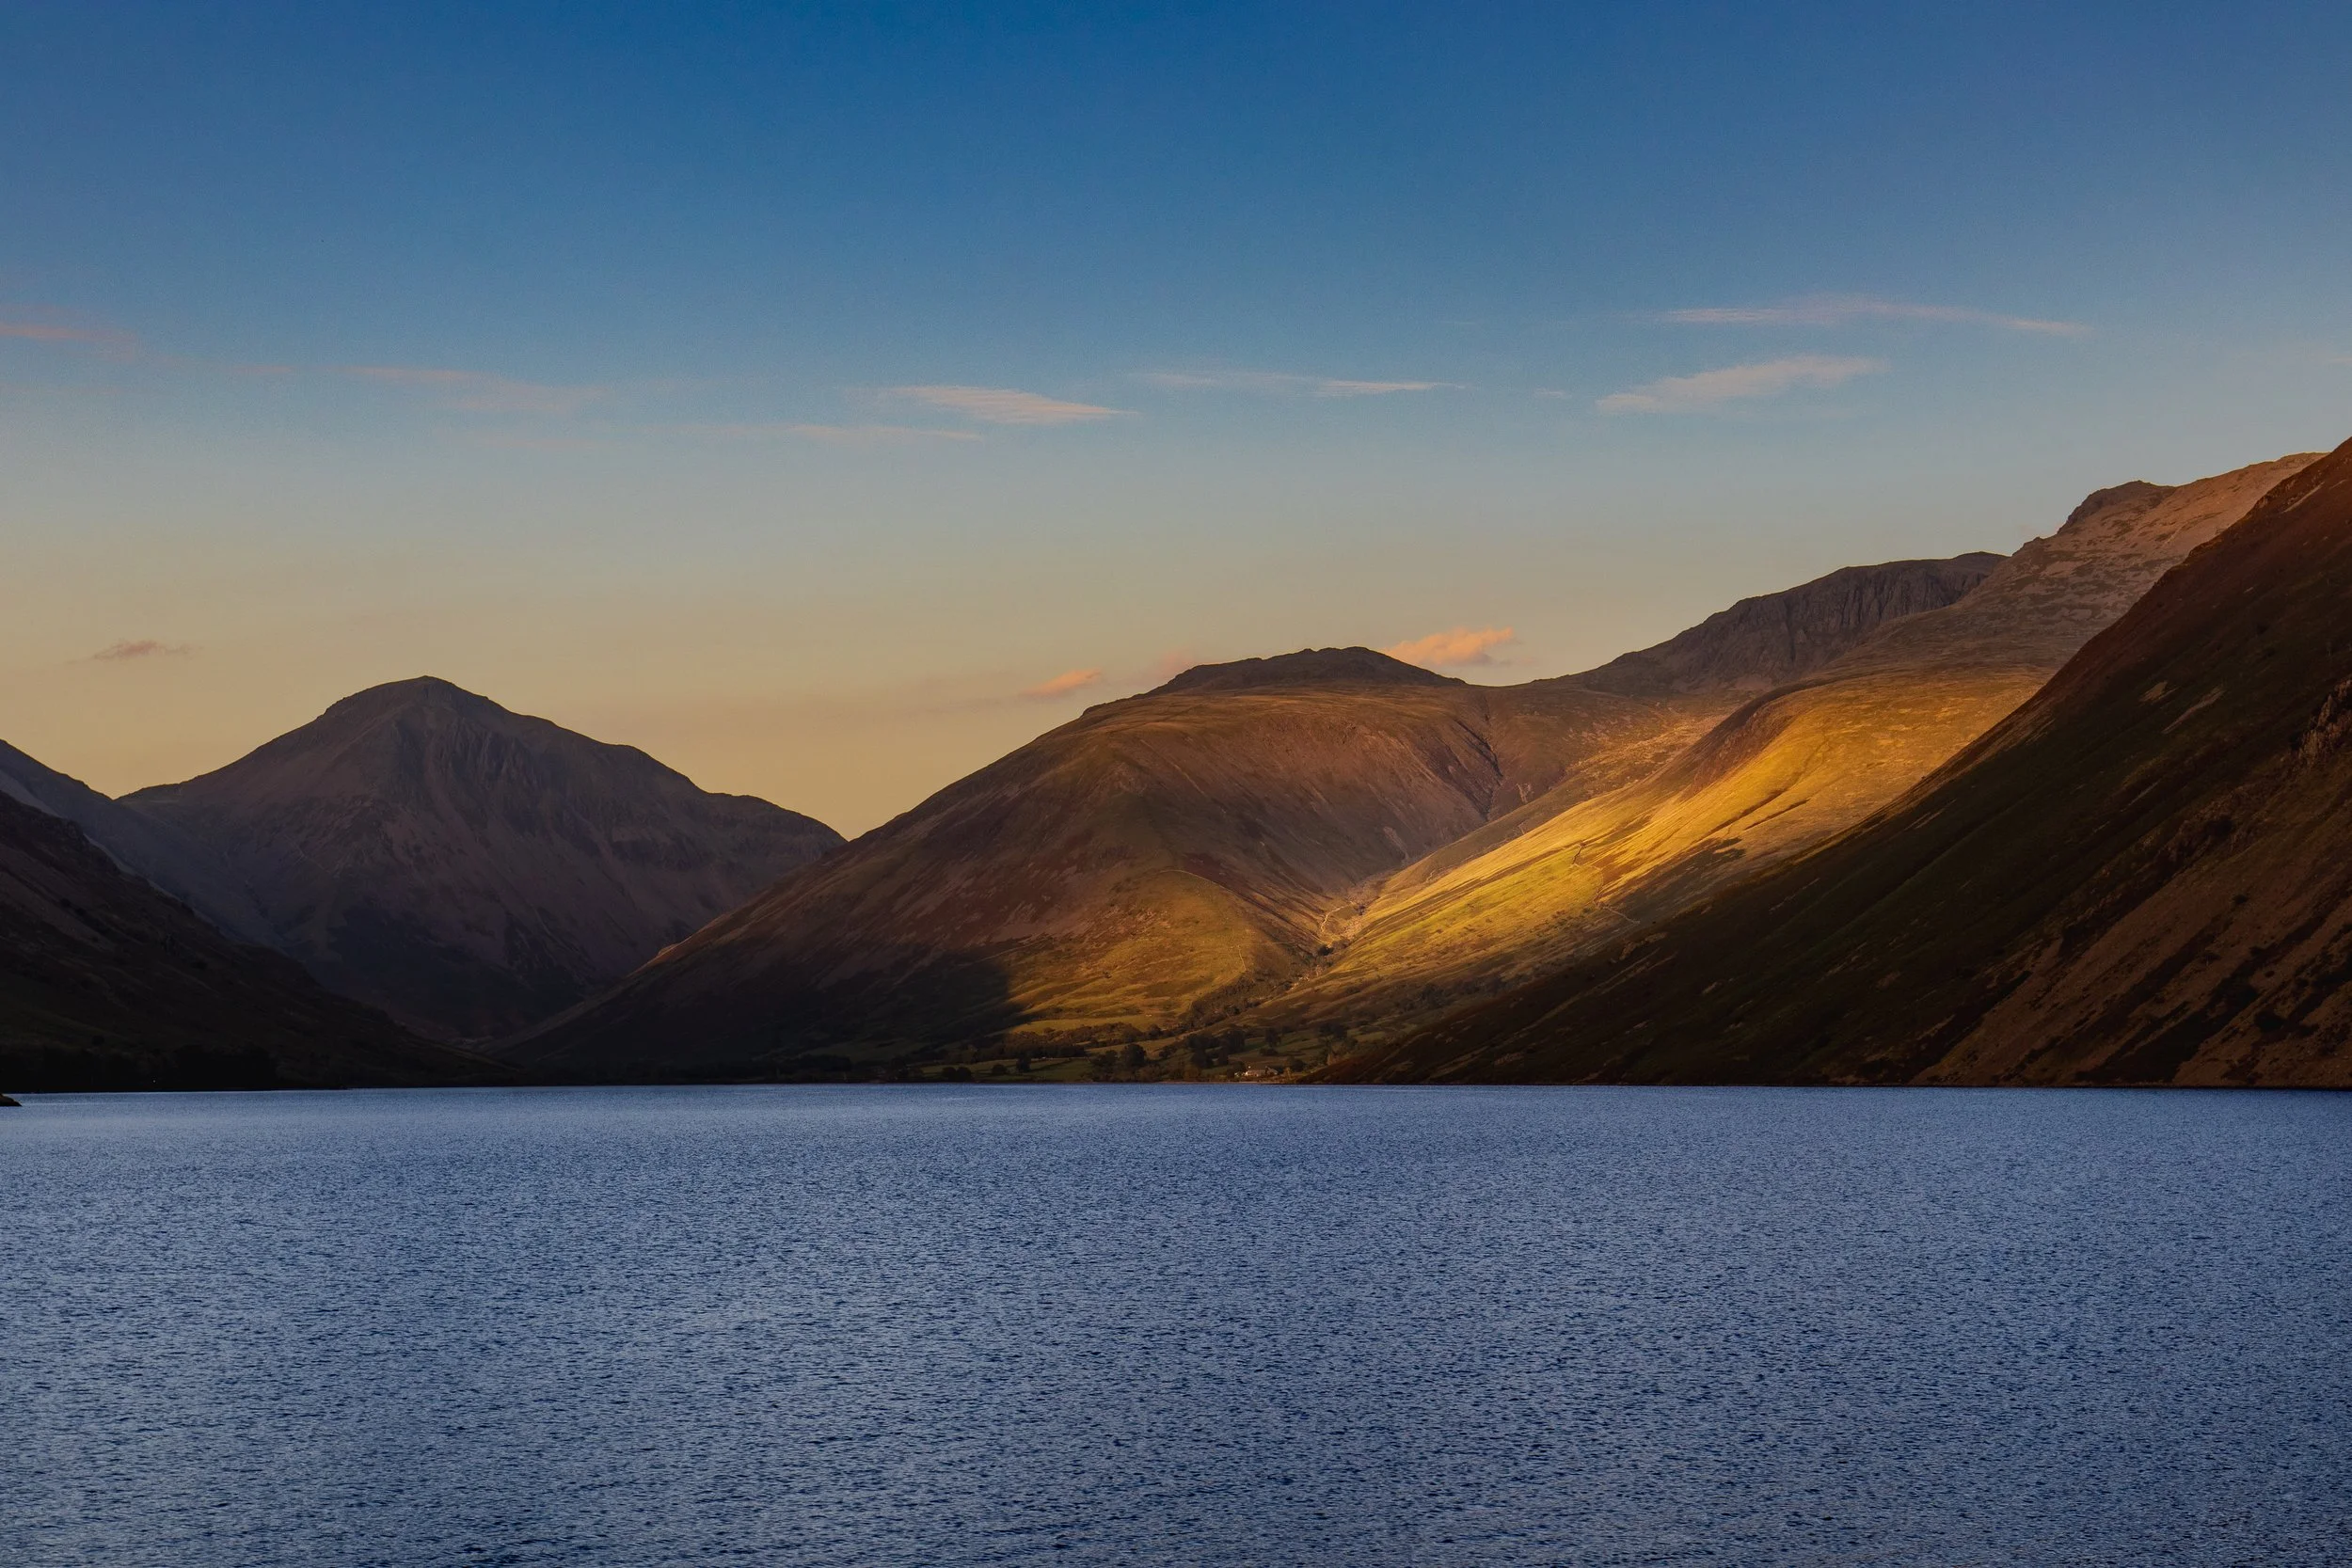
Reading the Lake District Weather Like a Landscape Photographer, not a tourist.
Most people read Lake District forecasts to decide whether it’s worth going out. Photographers need to read them differently. This post explains how I interpret cloud, rain, wind, temperature, and dew point to find atmosphere, mood, and changing light — even on days most people write off.
What Are The Best Camera Settings for Landscape Photography?
When photographers ask “what are the best settings for landscape photography?”, they’re often looking for a simple checklist. The reality is that there’s no single set of perfect settings that works for every landscape scene. Light, weather, subject movement, time of day, and creative intent all influence the choices we make behind the camera.
In this guide, I explain why fixed “best settings” don’t really exist, and instead break down the decision-making process photographers use when choosing aperture, shutter speed, ISO, and focus. By understanding how these elements interact with the scene in front of you, you’ll be able to confidently select the right settings for any landscape, rather than relying on guesswork or presets.
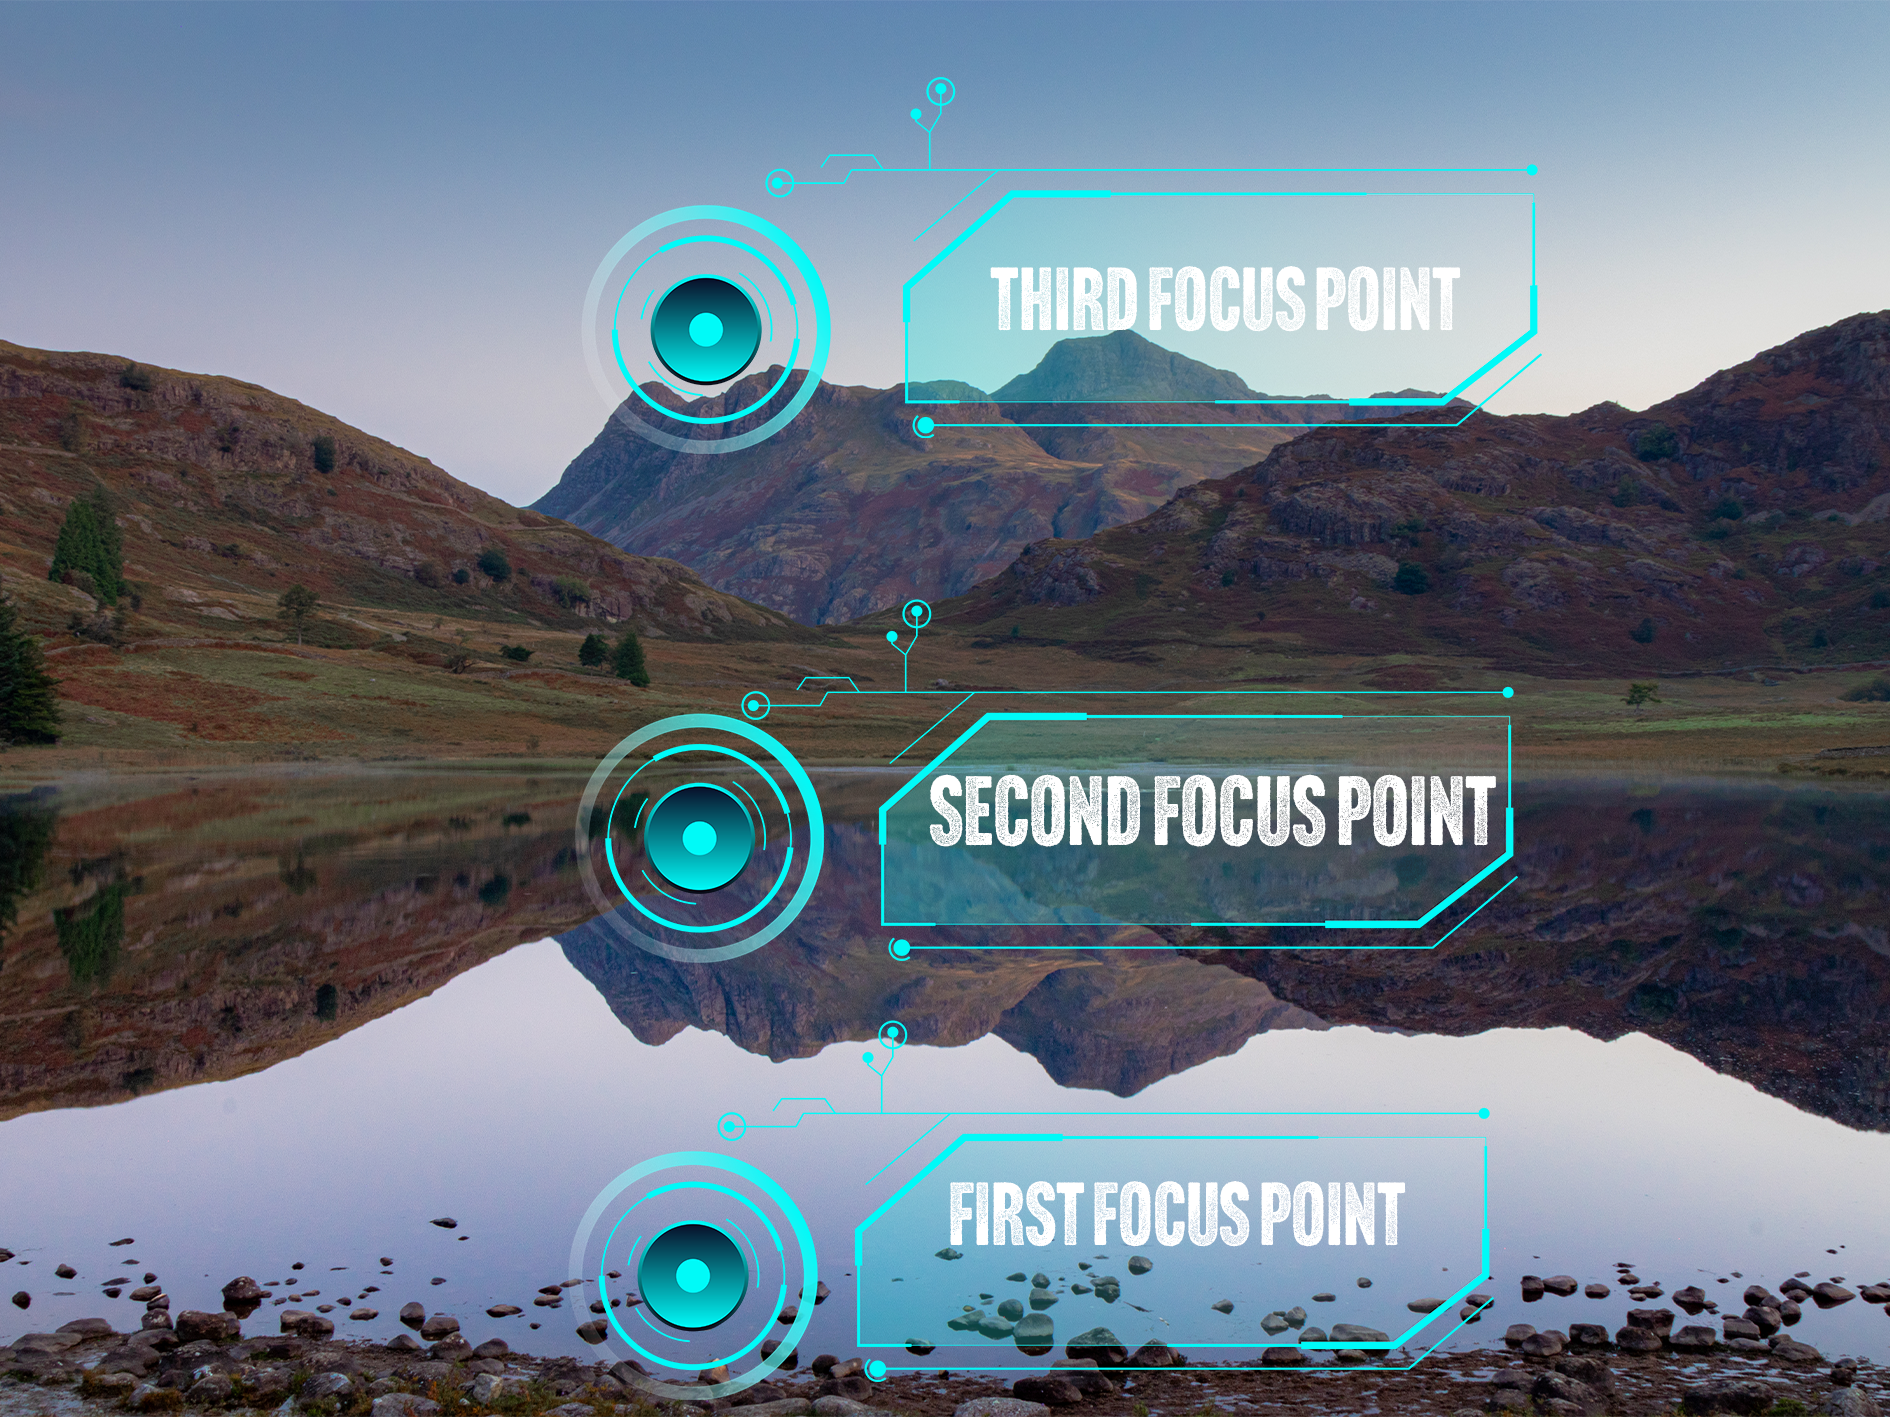
Focus Stacking: How to Get Sharp Images in Landscape Photography
Focus stacking is a powerful technique that allows photographers to achieve sharp focus throughout an entire image, from foreground to background. In this beginner-friendly tutorial, you will learn what focus stacking is, when to use it, how to shoot the required images in the field, and how to blend them together in post-processing for professional results. Ideal for landscape and macro photographers looking to improve image sharpness and detail.
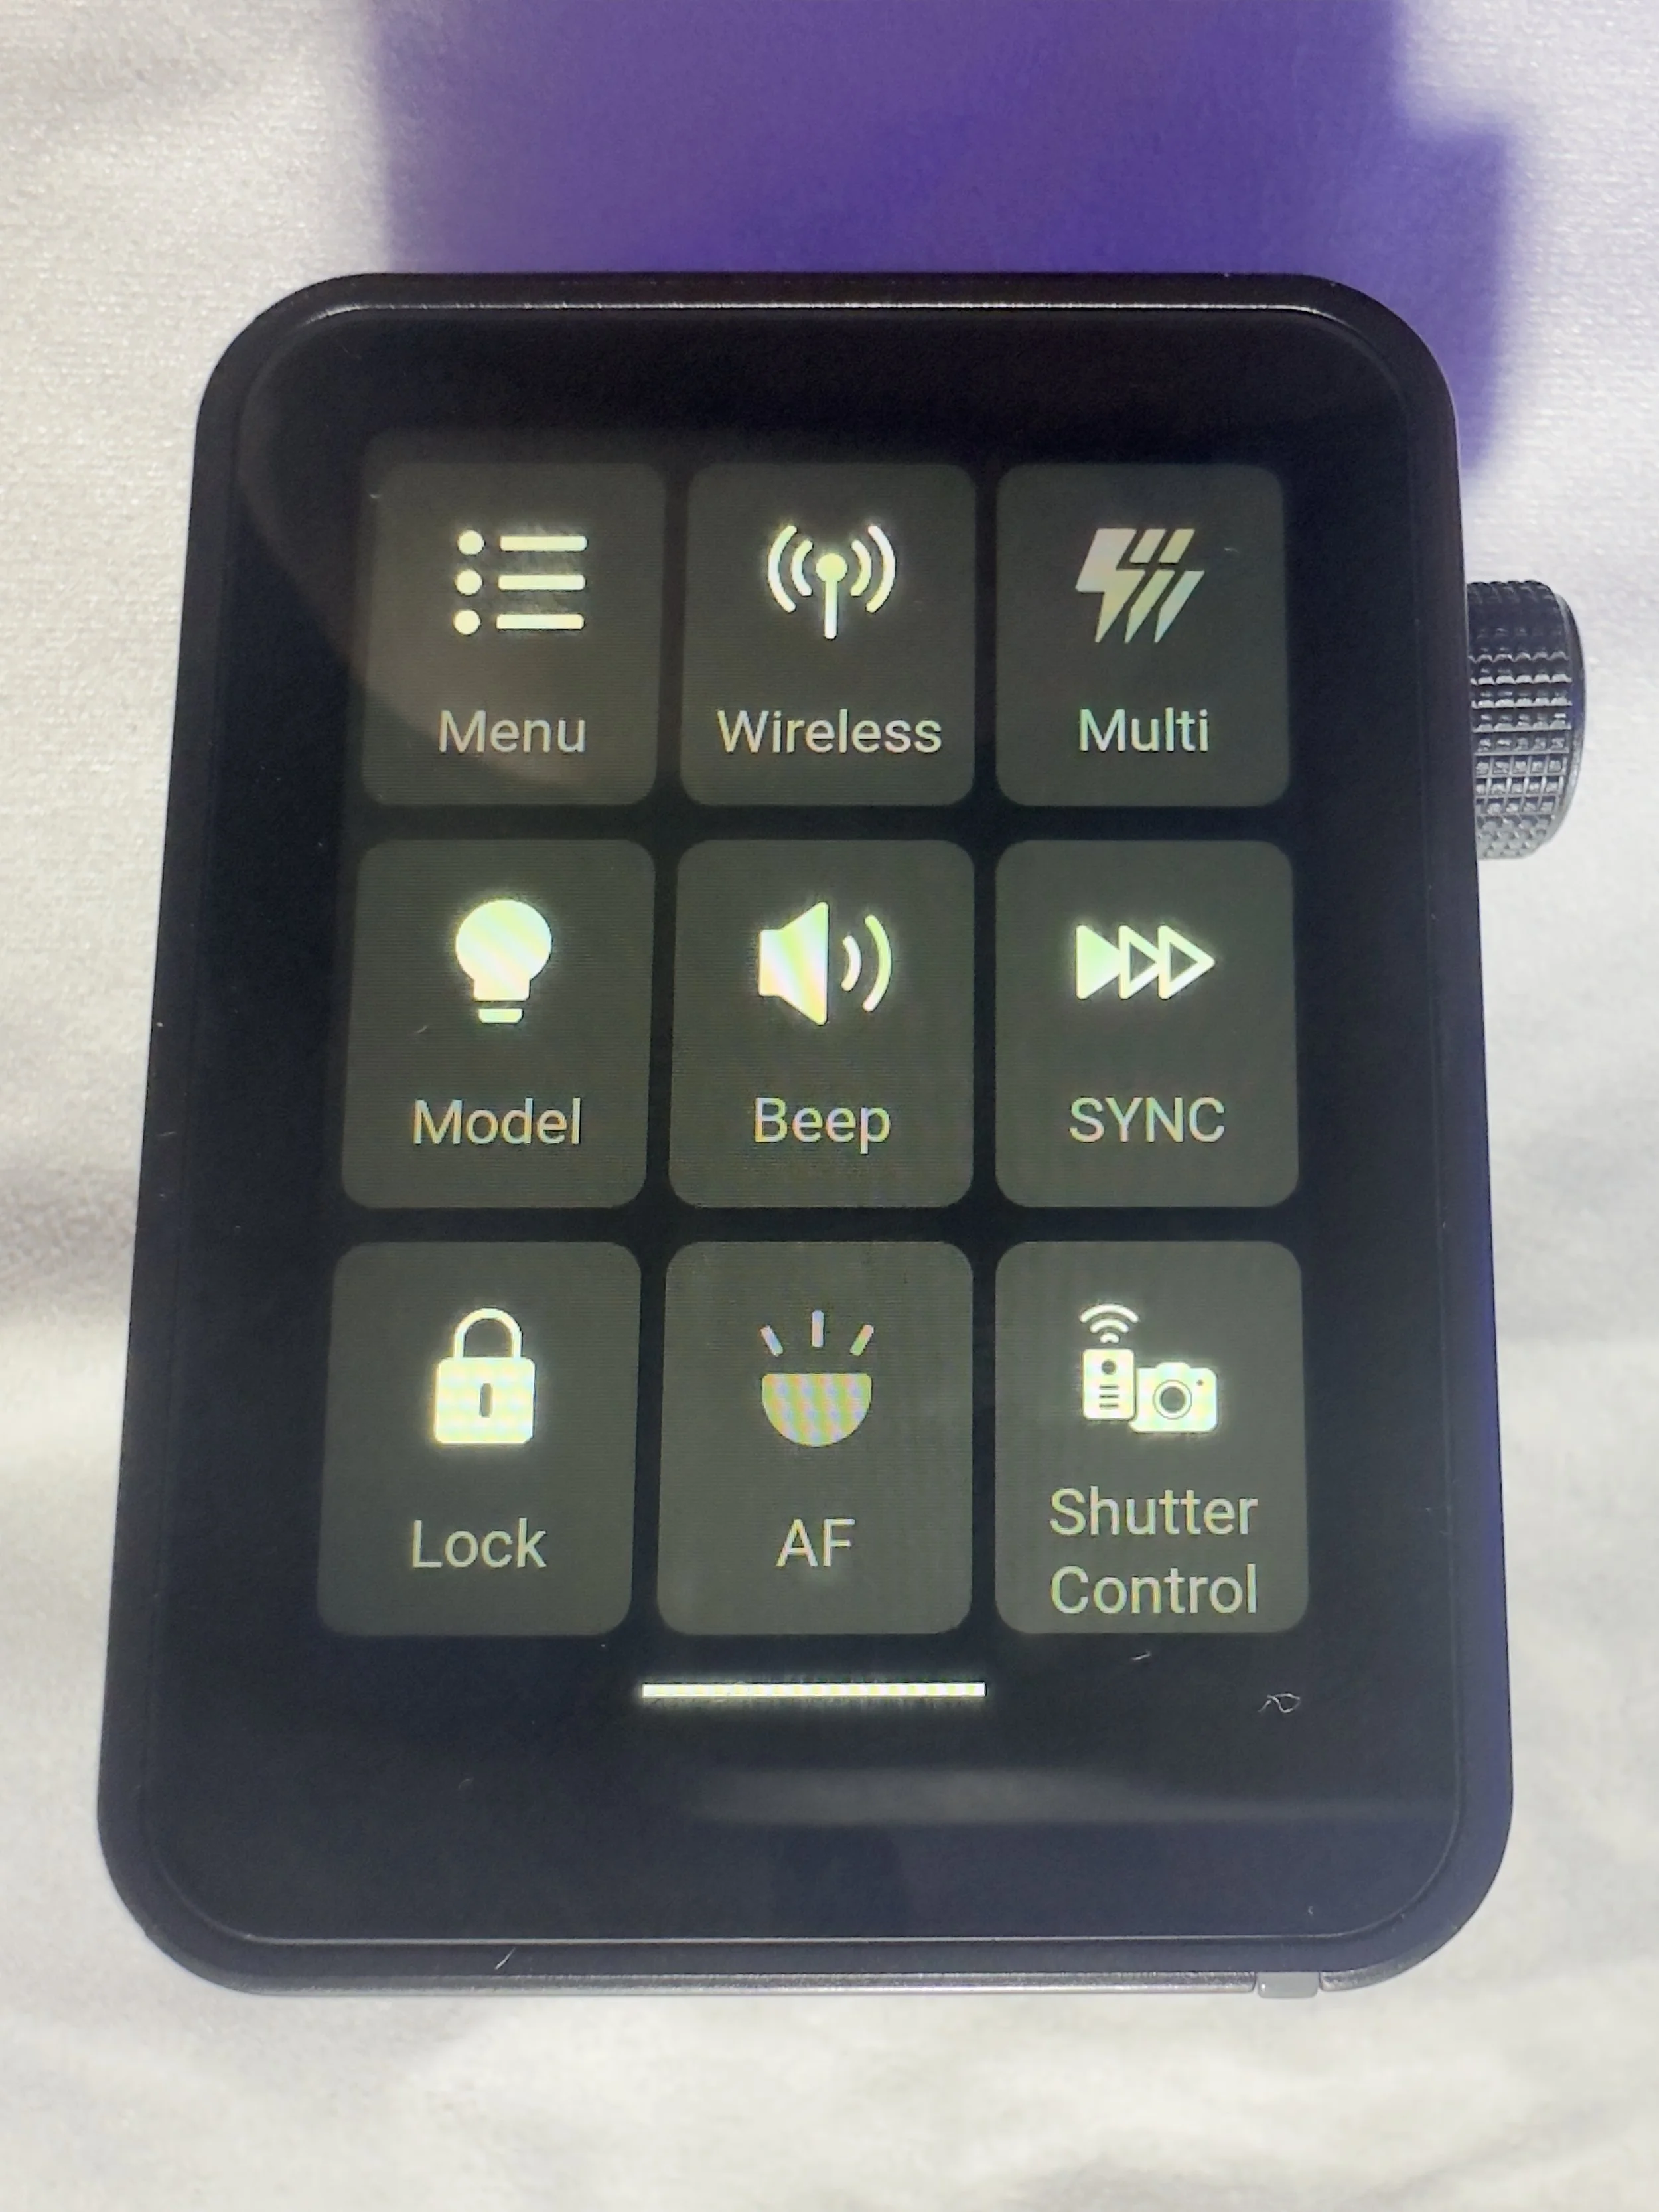
Gear Review: Godox X3 Pro Wireless Touchscreen TTL Flash Trigger.
The Godox X3 Pro is a compact, touchscreen flash trigger designed for Canon photographers who want fast, reliable control over off-camera lighting. In this review, I take a practical look at how the X3 Pro performs in real-world shooting, covering its radio triggering reliability, touchscreen workflow, TTL and High-Speed Sync support, and how it fits into a modern Godox lighting setup. If you’re considering upgrading your flash trigger or moving to a cleaner, more portable lighting workflow, this Godox X3 Pro review breaks down who it’s for, how it performs, and whether it’s worth adding to your kit.

How to Overcome a Creative Rut in Photography: Tips and Strategies for Every Photographer
Every photographer hits a creative rut at some point, but it doesn’t have to stall your progress. In this blog, I share practical tips and strategies to help you break free from a photography rut, from setting yourself simple creative challenges to exploring new techniques and changing your workflow. Whether you are a beginner or a seasoned photographer, these approaches will help you reignite your inspiration, refresh your perspective, and get back to capturing images you love.

What’s wrong with my photo?
Struggling with blurry shots, strange colours, or photos that just don’t quite pop the way you hoped? You’re not alone. In this post, we’ll explore some of the most common issues photographers face—whether you’re just starting out or looking to sharpen your skills—and break down exactly how to fix them. From exposure mishaps to focusing troubles, you’ll learn practical tips to take your images from frustrating to fantastic.


What Gear Do You Need As A Beginner Photographer?
Essential Photography Gear for Beginners: What You Really Need to Get Started
Embarking on your photography journey can be both exciting and overwhelming. With countless gadgets and accessories available, it's crucial to focus on the essentials that will set you up for success. Whether you're aiming to capture stunning landscapes, candid portraits, or everyday moments, having the right equipment is key.

5 Quick (and free) Tips to Boost Your Photography
In this blog, I talk you through five quick and easy tips that will help you to up your photography. Best of all, these are all free and are things that you can start doing right now with a small amount of effort - be sure to read to the end for the two bonus tips!

Does Photography Gear Matter ?
In this blog, I consider the perennial question “Does photography gear matter?”. This takes into account the different places to buy from, new vs secondhand camera kit, the grey market, what you need to get started and whether your phone is any better at capturing images than a dedicated camera set up.